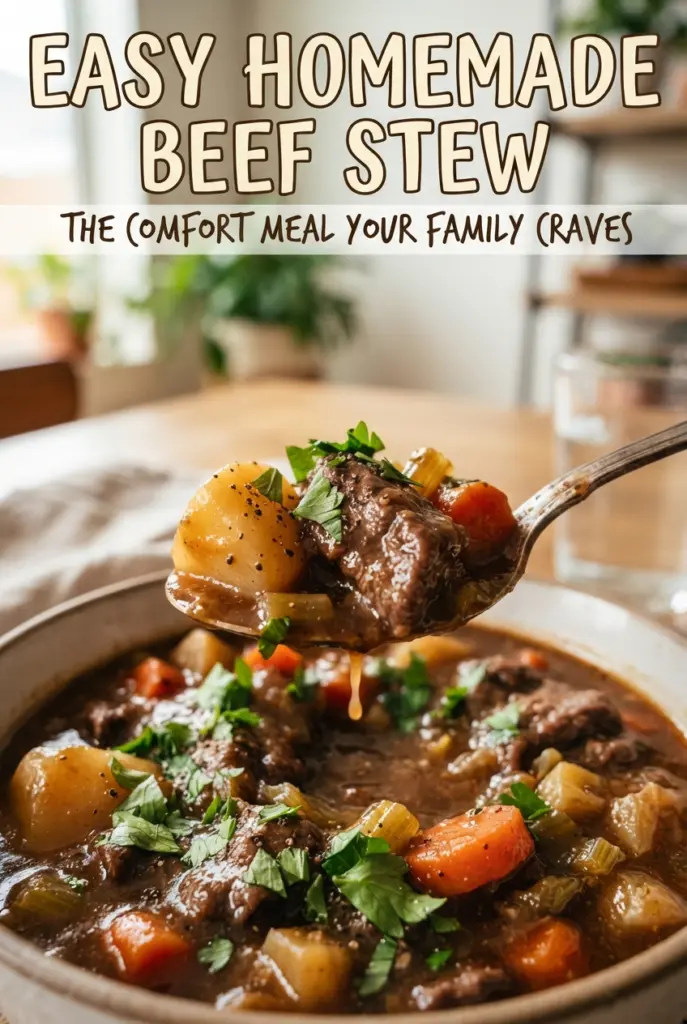
Rich beef stew earns its place in the rotation when the broth turns deep and glossy and the meat gives way with a spoon. The best versions don’t taste flat or watery; they taste like the pot has been working for hours, with tender beef, sweet carrots, and potatoes that hold their shape without turning chalky. This one gets there with patient browning and a simmer that stays low enough to soften the meat without drying it out.
Flouring the beef before it hits the pot does two jobs at once: it helps the meat take on a better crust, and it gives the broth just enough body as everything cooks together. Tomato paste and Worcestershire don’t make this taste like tomato soup or steak sauce; they deepen the savory base so the stew tastes finished instead of just boiled. The vegetables go in later, after the beef has had time to relax, which keeps the potatoes from breaking apart and the carrots from disappearing.
Below you’ll find the timing that matters, the reason the beef browning stage is worth the extra few minutes, and the small adjustments that help if you want to make it ahead or stretch it for a second meal.
The gravy thickened beautifully and the beef was fork-tender without falling apart. I loved that the potatoes stayed intact even after reheating the next day.
Save this beef stew for a slow simmer, silky broth, and fork-tender beef on a cold night.
The Browning Stage That Keeps the Stew from Tasting Flat
Beef stew goes dull when the meat is crowded and steamed instead of browned. That first sear creates the deep savory base you can’t get back later, and it’s worth working in batches so each piece has direct contact with the pan. If the flour coating looks a little pasty at first, that’s fine; it dries into a better crust once the meat hits the oil.
Scrape up the browned bits when the broth goes in. Those stuck-on pieces are concentrated flavor, and they dissolve into the liquid as soon as you add enough moisture. The stew also needs a low simmer, not a hard boil. Boiling tightens the beef and muddies the broth, while a gentle bubble slowly turns tough cuts tender.
What the Flour, Tomato Paste, and Worcestershire Are Doing Here
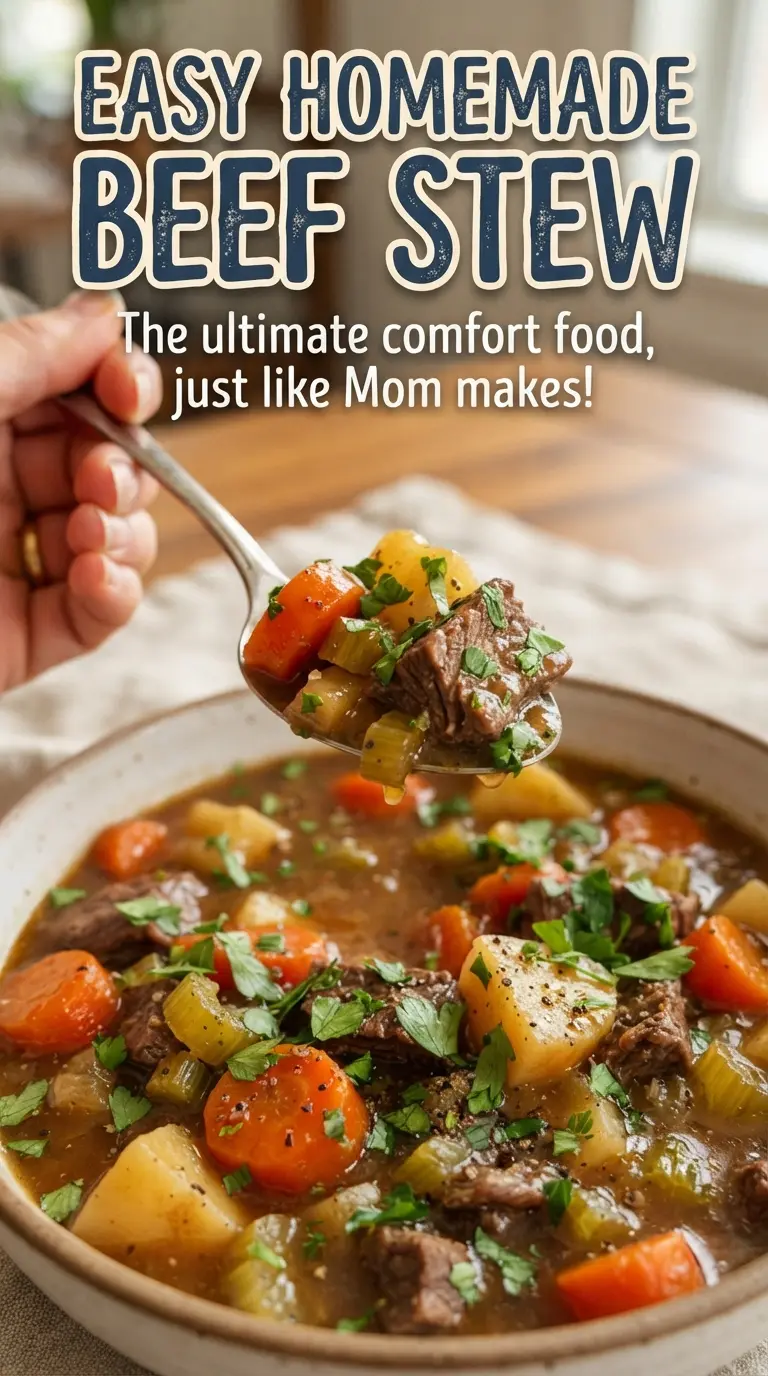
- Beef stew meat — Chuck is the best choice when you can get it because it has enough connective tissue to turn tender during the long simmer. Pre-cut stew meat is convenient, but if the pieces are uneven, the smaller ones can dry out before the larger ones soften, so trim and cut them into even chunks if possible.
- Flour — This lightly coats the beef and thickens the broth as the stew cooks. If you need a gluten-free version, use a measure-for-measure gluten-free flour blend; cornstarch isn’t a direct swap at the beginning because it can turn the broth slick instead of giving it a steady, stew-like body.
- Tomato paste — This is not here for tomato flavor. It adds concentration and color, and it helps the broth taste deeper and more rounded after a long simmer. Cook it briefly with the onions and garlic if you have a minute, because that takes the raw edge off and gives the stew a fuller base.
- Worcestershire sauce — Just a tablespoon makes the broth taste more savory and balanced. There isn’t a perfect substitute for its specific tang and depth, but soy sauce plus a tiny splash of vinegar gets close if that’s what you have on hand.
- Potatoes and carrots — These go in late so they keep their shape. Waxy or all-purpose potatoes hold up better than very starchy ones, which can start to fall apart and cloud the broth if they simmer too long.
Building the Pot in the Right Order
Coating and Browning the Beef
Toss the beef with the flour, salt, and pepper before it goes into the hot oil. You want each piece lightly dusted, not buried, because too much flour can clump and leave raw pockets in the stew. Brown the meat in batches until the surface is deeply colored and the pieces release from the pot without tearing. If the pan looks dry before all the beef is browned, add a little more oil; if the bottom starts to scorch, lower the heat slightly.
Cooking the Onion Base
The onion should soften and start to turn translucent, not dark brown. That four-minute window is enough to sweeten it and lift the fond from the pot once the garlic goes in. Garlic burns fast, so give it only about 30 seconds before the liquid goes in. If it turns too dark, the whole stew can pick up a bitter edge that won’t cook out later.
Slow Simmering Until the Beef Gives
After the broth, tomato paste, Worcestershire, thyme, and bay leaf go in, return the beef and let the pot settle into a gentle simmer. Cover it and keep the heat low enough that only a few lazy bubbles break the surface. The beef should start to feel tender around the edges after about an hour and a half. If the liquid boils hard, the meat tightens instead of relaxing, and the broth can turn cloudy.
Adding the Potatoes and Carrots at the End
Stir in the potatoes and carrots only after the beef has already had time to soften. This keeps the vegetables from dissolving before the meat is done. Keep simmering until a knife slips through the potatoes easily and the carrots are tender all the way through, but still hold their shape. Remove the bay leaf before serving, then taste the broth and adjust the salt and pepper while it’s still hot.
How to Adapt This Beef Stew Without Losing the Good Part
Gluten-Free Beef Stew
Swap the all-purpose flour for a gluten-free all-purpose blend that includes starches. You’ll still get the light thickening from the coating, but the broth may be a touch less velvety than with wheat flour. Don’t use a lot of cornstarch at the start; it works better at the end if you need a last-minute adjustment.
Make It in the Oven Instead of on the Stove
Once the liquid goes in and the beef is returned to the pot, cover it and move it to a 325°F oven. The gentler heat keeps the simmer steady and helps the beef soften evenly without hot spots at the bottom of the pot. Add the potatoes and carrots for the last 45 to 60 minutes in the oven, just as you would on the stove.
Add Mushrooms for a Deeper, Earthier Stew
Brown sliced mushrooms after the onion and before the broth goes in. They’ll release moisture first, then take on color, which gives the stew a more woodsy, savory note. Cremini hold up best; white mushrooms work too, but they give a lighter result.
Storage and Reheating
- Refrigerator: Store in an airtight container for up to 4 days. The broth thickens as it chills, and the flavor gets even better by day two.
- Freezer: This freezes well for up to 3 months. Cool it completely first, then portion it into freezer containers so the potatoes don’t get smashed when you thaw it.
- Reheating: Reheat gently on the stove over low heat, covered, with a splash of broth or water if it has tightened up. High heat can make the beef chewy and break the potatoes apart.
Answers to the Questions Worth Asking
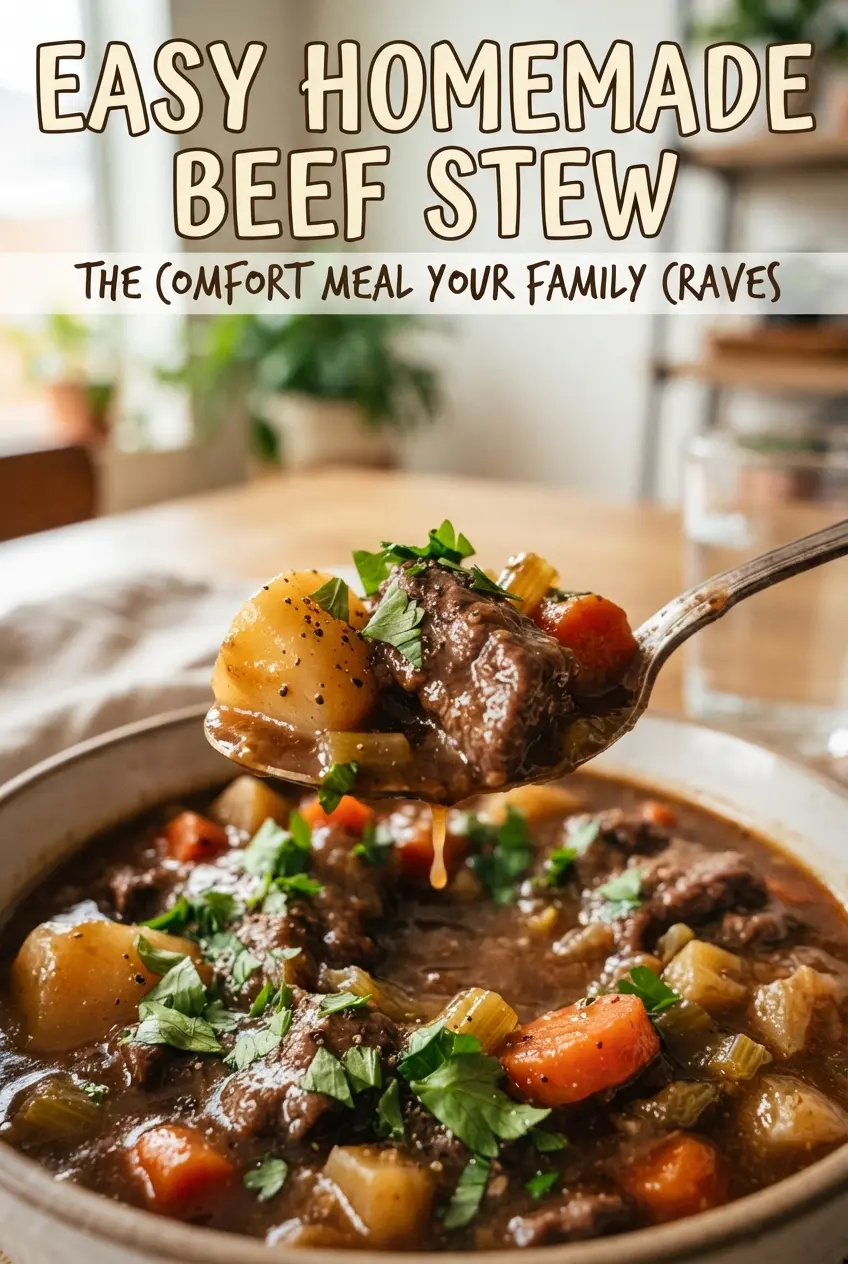
Easy Homemade Beef Stew
Ingredients
Equipment
Method
- Toss the beef with flour, salt, and black pepper until coated; brown in hot vegetable oil in a large Dutch oven in batches, then set aside.
- Keep the heat hot and brown deeply, so the pot has browned bits for the sauce.
- Cook the chopped onion for 4 minutes in the pot, scraping up browned bits as they form.
- Add the minced garlic and cook for 30 seconds, until fragrant, with the pot remaining sizzling.
- Stir in beef broth, tomato paste, Worcestershire sauce, dried thyme, and bay leaf, scraping the bottom to dissolve any stuck brown bits.
- Return the browned beef to the pot, cover, and simmer on low for 1 1/2 hours, until the meat is nearly tender.
- Skim any excess fat if needed during simmering for a cleaner broth.
- Add the cubed potatoes and sliced carrots, then simmer for 45-60 minutes more until everything is tender and the broth thickens slightly.
- Remove the bay leaf, adjust seasoning to taste, and top the stew with chopped fresh parsley before serving.