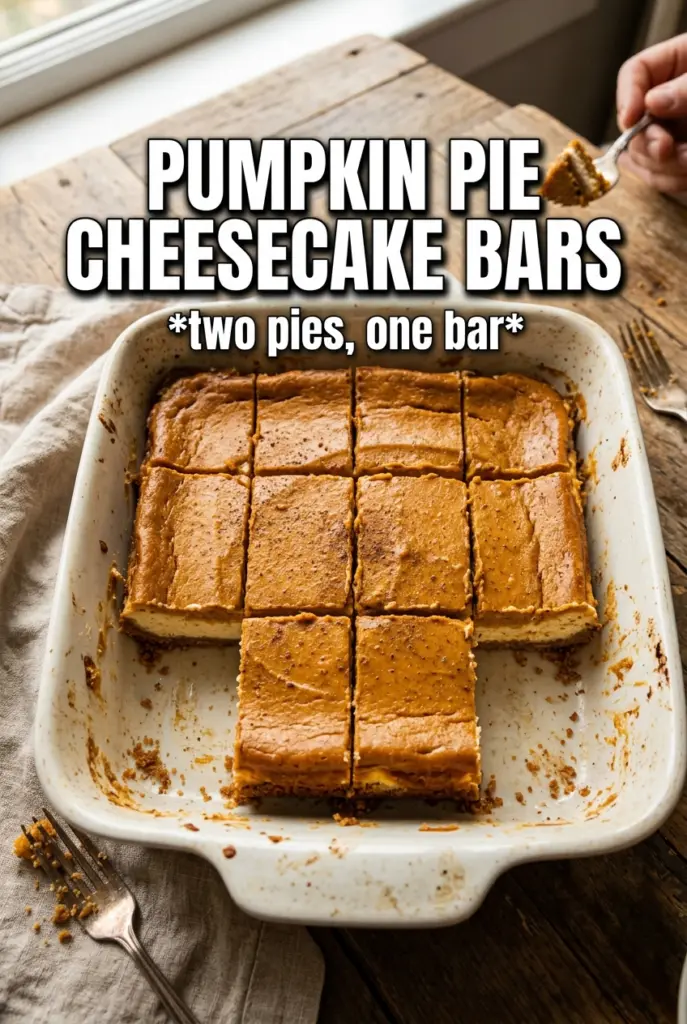
Pumpkin pie cheesecake bars give you the best parts of two desserts in one pan: a spiced, buttery crust, a creamy cheesecake layer, and that familiar pumpkin pie warmth threaded through every bite. The texture is the part that keeps me coming back. The crust stays crisp enough to support clean slices, while the filling sets into something smooth and rich without turning heavy.
What makes these bars work is the way the batter is divided before the pumpkin goes in. That keeps the vanilla cheesecake layer bright and gives the pumpkin layer enough body to swirl without muddying everything together. The gingersnap crust matters too. It brings a deeper spice than graham crackers, and that bold base stands up to the tangy filling instead of disappearing under it.
Below, I’ll walk through the little details that keep the bars from cracking, sinking, or slicing messily. If you’ve ever had cheesecake bars that looked fine but tasted flat, this version fixes that with a few smart moves.
The swirl stayed distinct after baking and the bars sliced cleanly once chilled. The gingersnap crust was the perfect crunchy base under the creamy pumpkin filling.
Save these pumpkin pie cheesecake bars for the dessert table when you want a swirled cheesecake with a crisp gingersnap crust.
The Trick to Keeping the Swirl Distinct Instead of Turning Muddy
The biggest mistake with cheesecake bars like these is overmixing after the pumpkin goes in. Once you’ve divided the batter, the pumpkin half needs just enough stirring to turn evenly colored. If you beat it hard, the two batters lose definition and the swirl looks brown instead of striped.
The other place people go wrong is baking until the center looks fully firm. Cheesecake bars should still have a slight wobble in the middle when they come out. That little jiggle finishes setting as the bars cool, and it’s what keeps the texture creamy instead of dry and chalky.
- Cold eggs are a problem. They don’t blend smoothly into the cream cheese, and that’s where little lumps start. Let them sit out while the cream cheese softens.
- Room-temperature cream cheese matters. It beats into a smooth base without needing extra mixing, which helps keep the filling dense and silky instead of airy.
- The chill time is part of the recipe. Cutting too early gives you soft, messy squares. Four hours is the minimum, and overnight is even better if you want neat edges.
What the Crust, Dairy, and Spice Are Each Doing Here
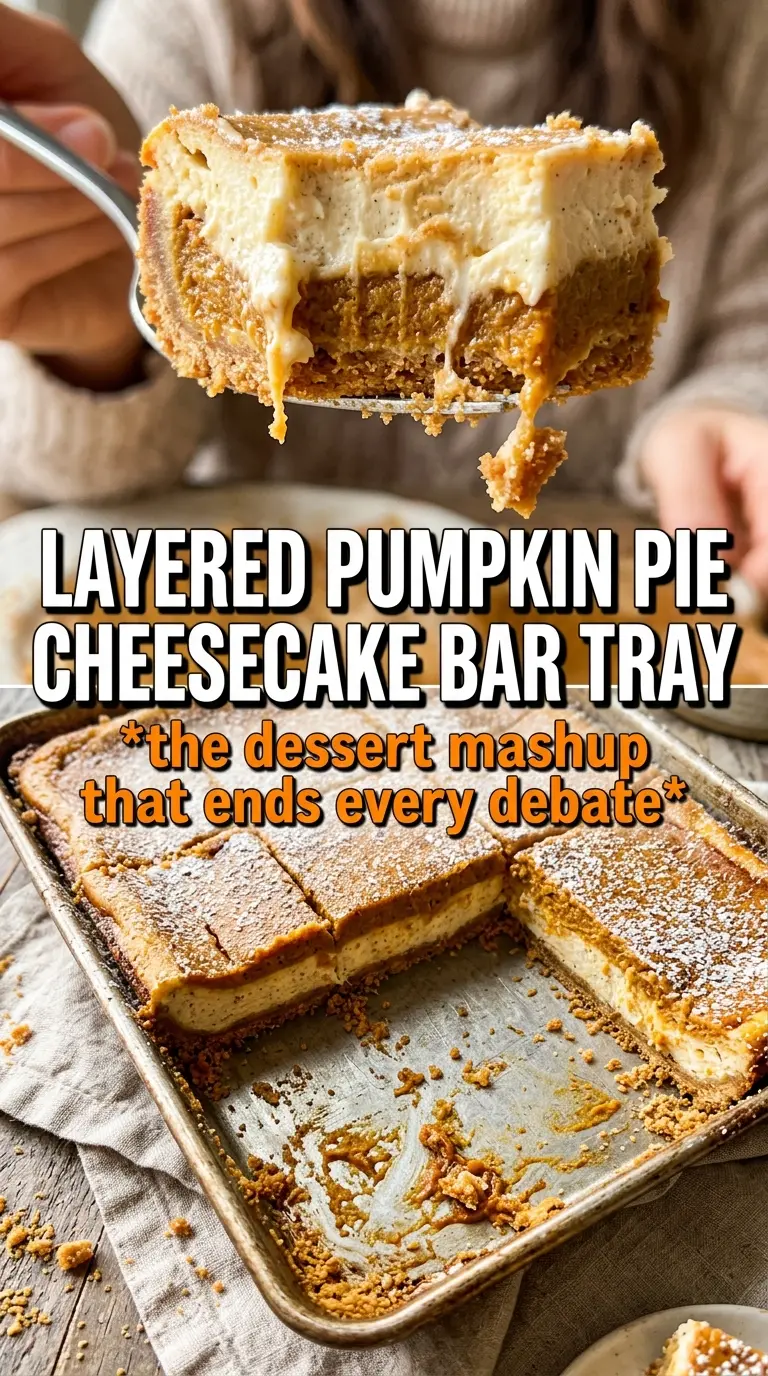
- Gingersnap crumbs bring spice and a firmer crunch than graham crackers. That bolder flavor keeps the crust from getting lost under the creamy filling. If you need a swap, graham crackers work, but the bars will taste milder and a little less seasonal.
- Cream cheese is the backbone of the filling. Use full-fat blocks, not tub cream cheese, because the tubs are softer and can make the bars loose.
- Sour cream adds tang and keeps the filling lush. Plain Greek yogurt works in a pinch, but it gives the bars a slightly sharper finish and a thinner body.
- Pumpkin puree adds flavor and moisture without making the bars taste like pie filling from a can. Use pure pumpkin, not pumpkin pie mix, or the sugar and spice balance will throw off the whole dessert.
- Pumpkin pie spice and cinnamon sharpen the pumpkin layer and keep it from tasting flat. If your spice blend is old, the bars will taste muted, so use fresh spice if you can.
Building the Bars So They Bake Evenly and Slice Cleanly
Press and Prebake the Crust
Mix the gingersnap crumbs, sugar, and melted butter until the texture looks like damp sand, then press it firmly into the lined pan. A loose crust falls apart when you cut the bars, so use the bottom of a measuring cup to pack it down evenly. Bake it just until set and fragrant; you’re not trying to brown it deeply. That short bake gives the crust enough structure to stay crisp under the filling.
Beat the Base Until It’s Smooth
Start with the cream cheese and both sugars, and beat until no lumps remain before the eggs go in. If the mixture is lumpy at this stage, those lumps will still be there after baking. Add the eggs one at a time and stop mixing as soon as they disappear. Too much air in the batter can cause the bars to puff and crack.
Swirl Without Overworking the Batter
Once you stir the pumpkin, spice, and cinnamon into half the filling, spoon or pour the two batters over the crust in alternating patches. Drag a knife through the top just a few times to create ribbons. If you keep swirling until the top looks uniform, you’ve gone too far. The goal is a visible marbled effect, not a fully blended filling.
Watch the Center, Not the Timer
Bake until the edges look set and the middle still has a slight wobble when you nudge the pan. Ovens vary, so the visual cue matters more than the clock. Overbaking tightens the eggs and gives you cracks or a dry edge. Cool the bars at room temperature first, then chill them completely before slicing so the filling firms up enough to hold sharp squares.
How to Change These Bars Without Losing the Texture
Make them gluten-free with a crunchy nut crust
Use certified gluten-free gingersnaps if you can find them, or swap in gluten-free cookie crumbs with the same butter amount. The goal is still a firmly packed crust, so don’t reduce the butter. You’ll keep the same sliceable base without changing the filling.
Make them a little lighter with Greek yogurt
You can swap full-fat sour cream for plain Greek yogurt in equal measure. The bars will still be creamy, but the tang will come through a little more sharply and the filling may bake up just a touch firmer.
Make them ahead for a crowd
These bars are better after a long chill, which makes them a strong make-ahead dessert. Bake them the day before, chill overnight, and cut them cold with a sharp knife wiped clean between slices. That gives you the neatest edges and the cleanest swirl.
Storage and Reheating
- Refrigerator: Store covered for up to 5 days. The crust softens a little over time, but the filling stays creamy.
- Freezer: Freeze the cut bars on a tray, then wrap them individually and store in a freezer bag for up to 2 months. Thaw in the refrigerator so the texture stays smooth.
- Reheating: These bars are meant to be served chilled or cool, not warmed. If you want the whipped cream on top, add it right before serving so it doesn’t melt into the bars.
Questions I Get Asked About This Recipe
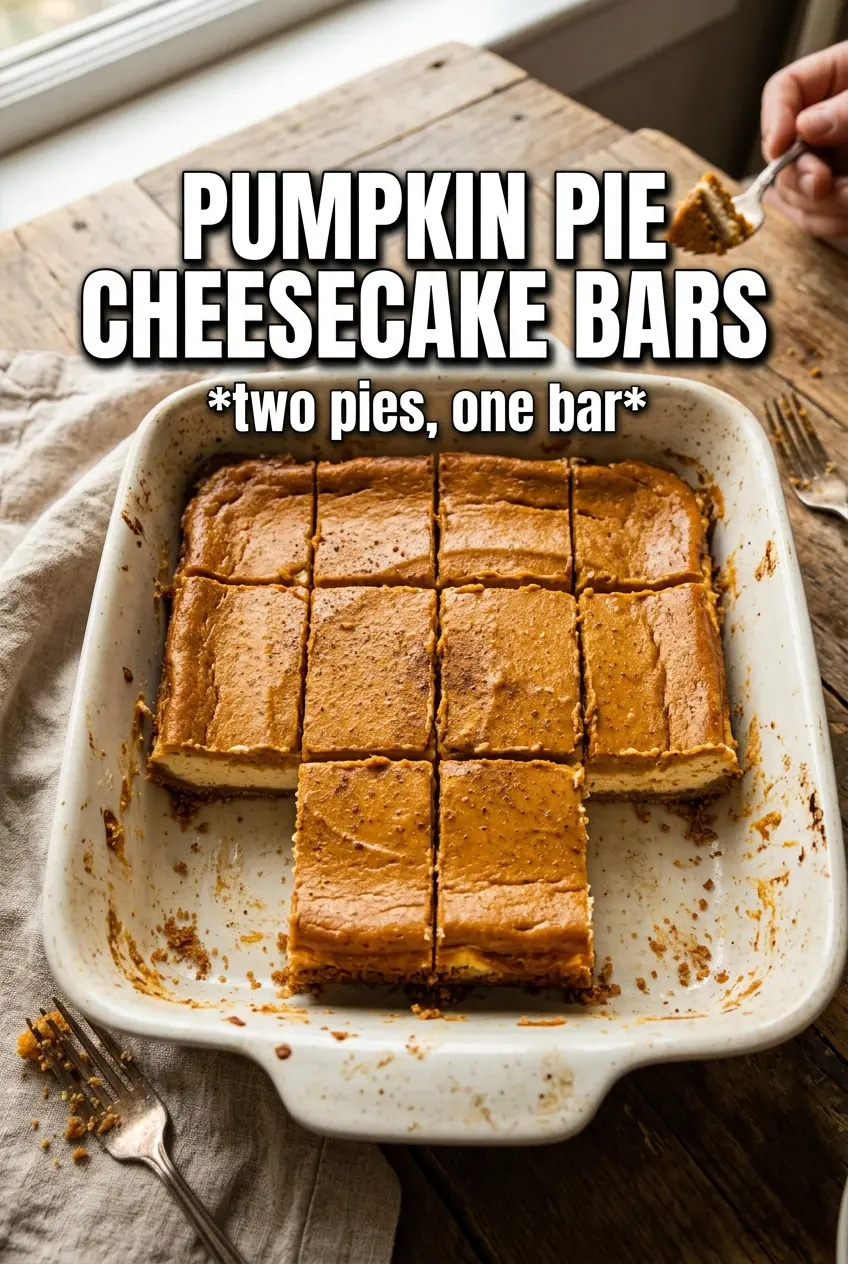
Pumpkin Pie Cheesecake Bars
Ingredients
Equipment
Method
- Preheat the oven to 325F. Press the gingersnap crumbs, sugar, and melted butter into a lined 9x13 pan, pressing firmly so the base is even.
- Bake for 10 minutes at 325F. Look for the crust to smell toasty and hold together without crumbling when you gently tap the edge.
- Beat the cream cheese with both sugars until smooth. Beat until the mixture looks glossy and no sugar granules remain.
- Add the eggs one at a time, beating after each addition. Stop when the batter is thick and smooth, not grainy.
- Stir in the sour cream and vanilla. Mix until the batter is uniform and creamy.
- Divide the batter in half. Keep one portion plain and set it aside while you season the other half.
- Stir the pumpkin puree, pumpkin pie spice, and cinnamon into the first half. Mix until the pumpkin batter looks evenly speckled and slightly darker orange.
- Alternately pour both batters over the crust. Swirl with a knife in gentle figure-eights to create ribboned marbling on top.
- Bake for 40-45 minutes at 325F. The center should be just set with a slight jiggle, and the edges should look set and puffed.
- Cool completely before refrigerating. Refrigerate for 4 hours to firm up the bars for clean slicing.
- Cut into bars and top each with whipped cream. Serve chilled for the tightest texture and defined swirls.