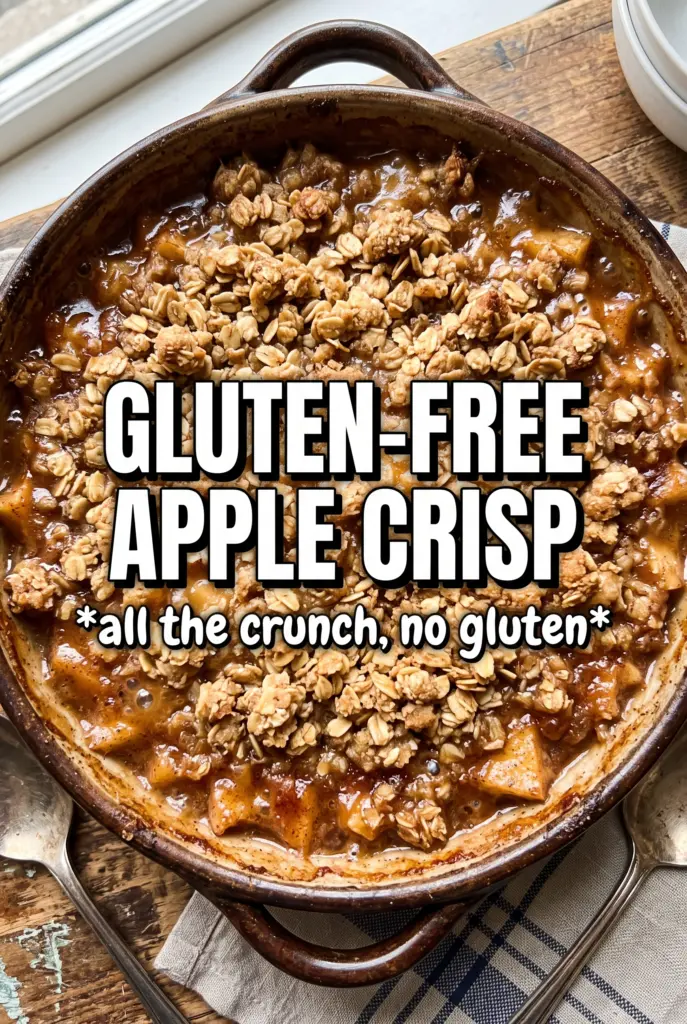
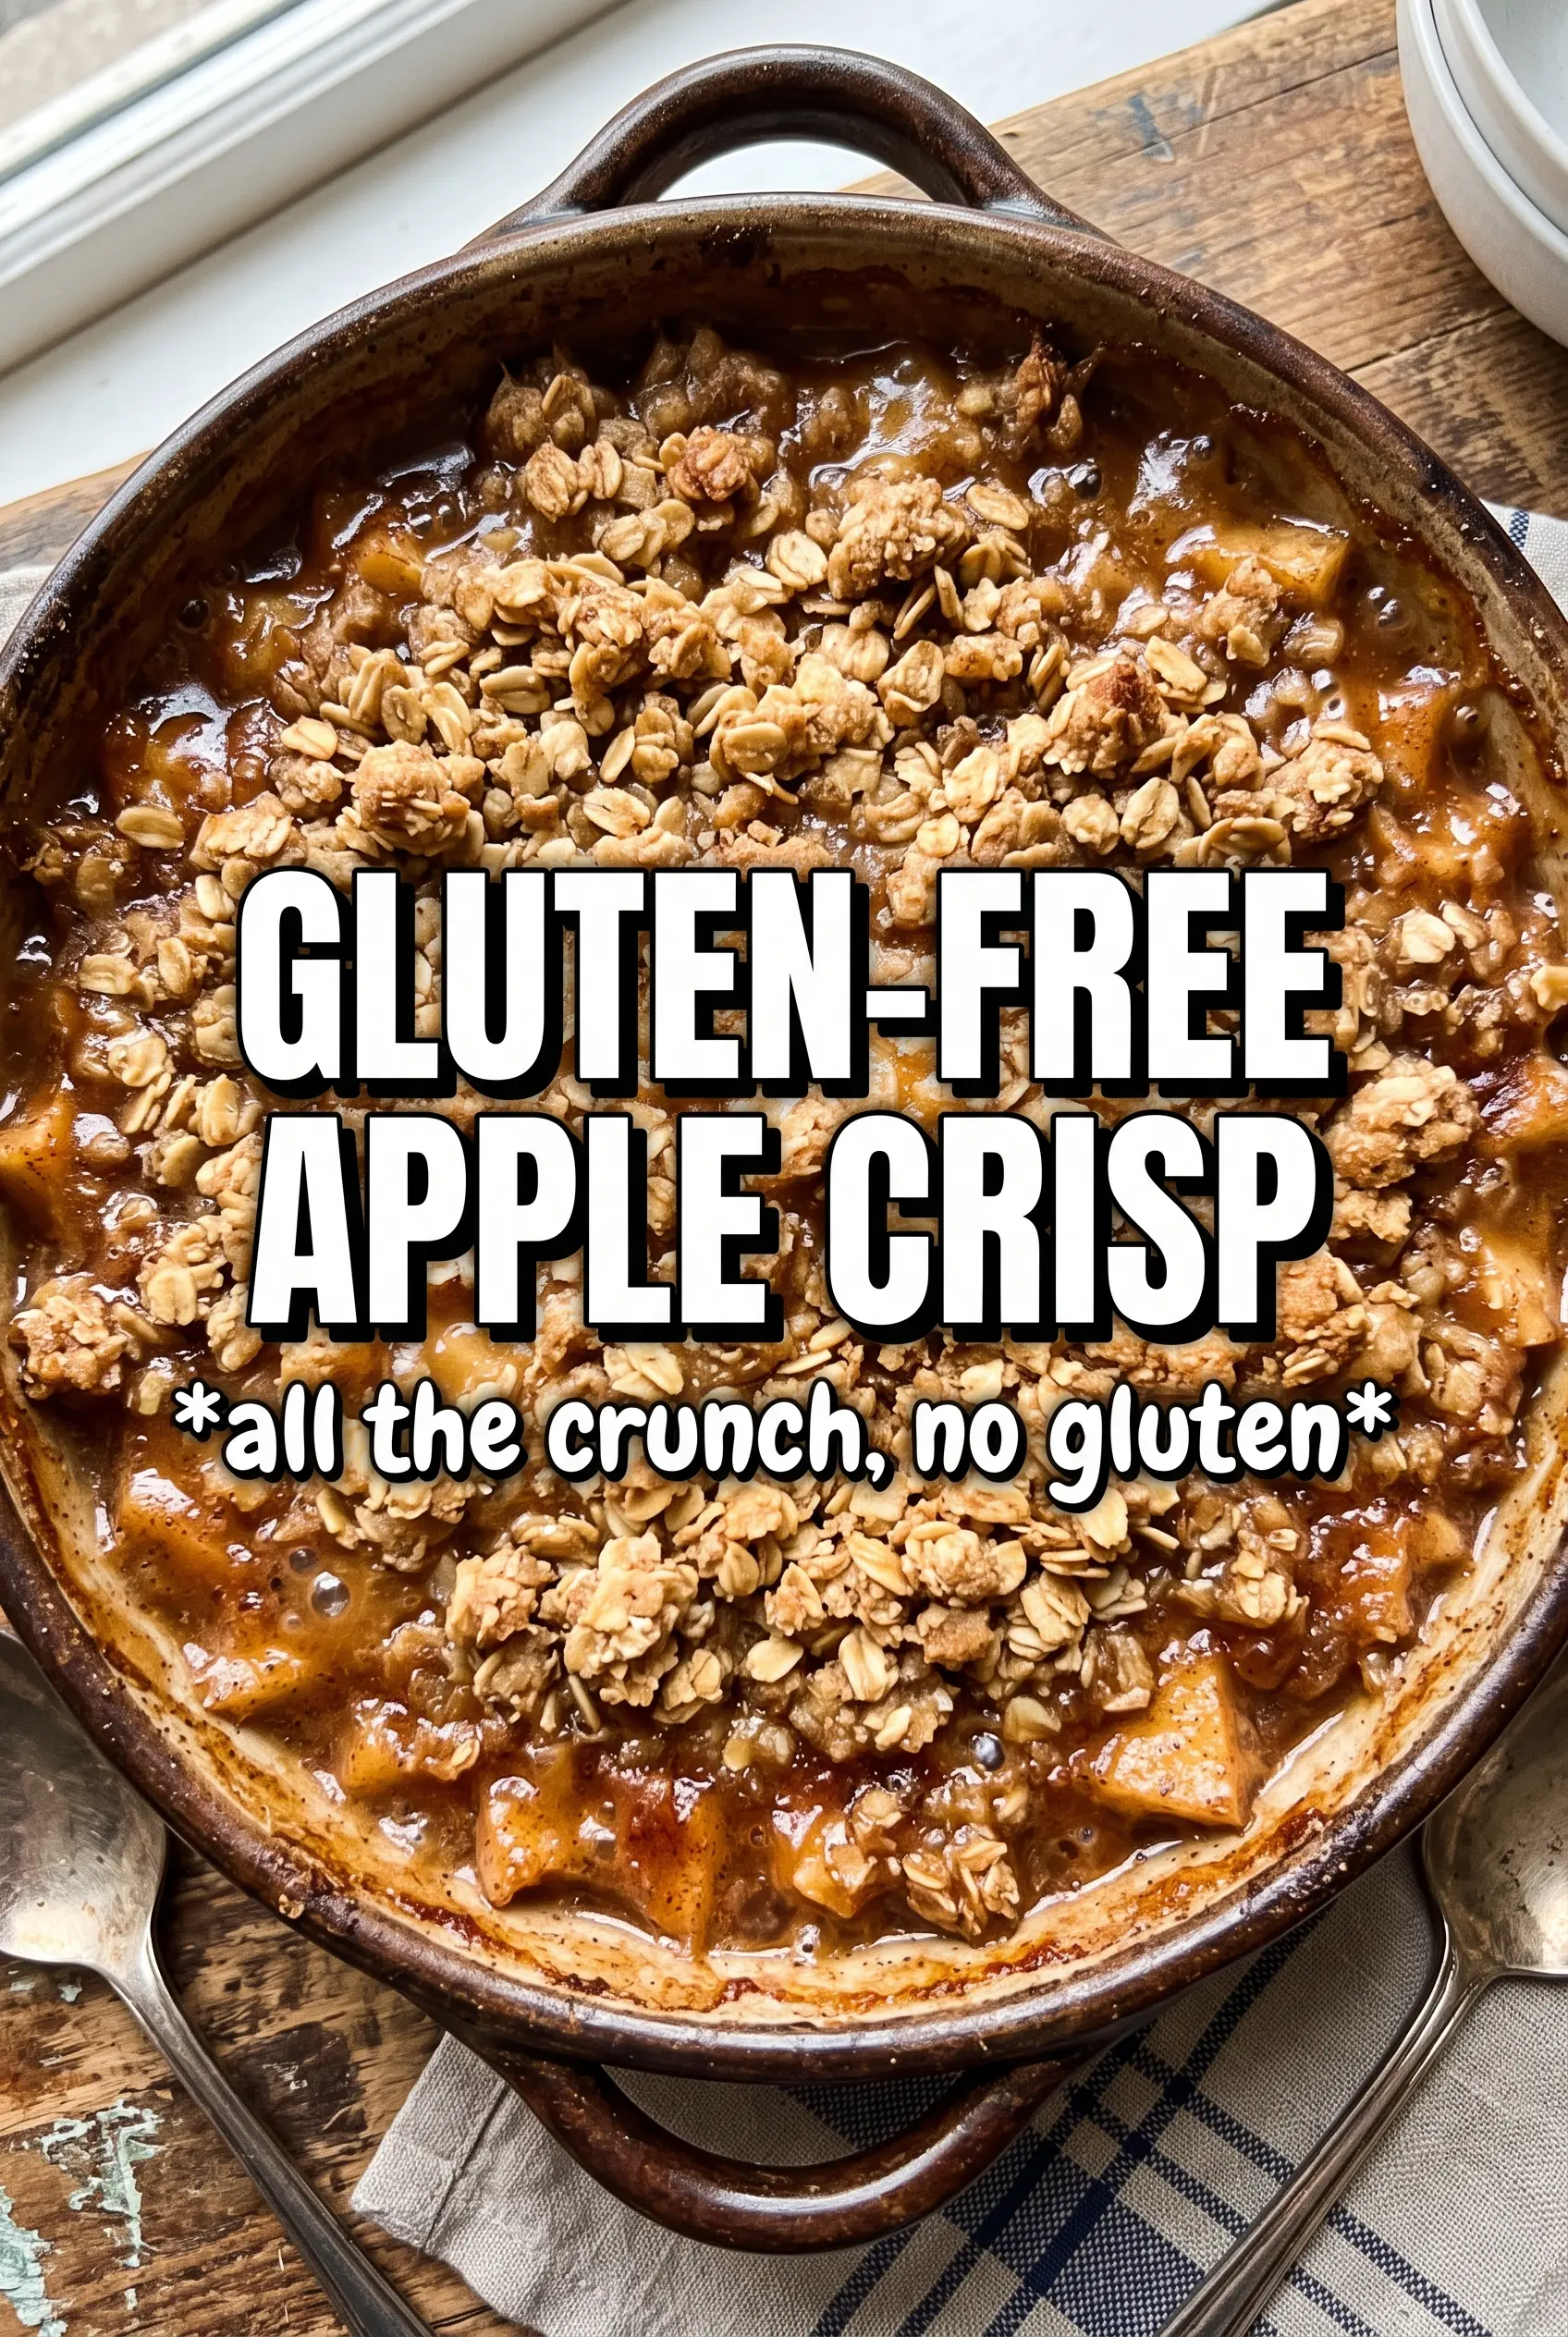
Gluten-free apple crisp bakes into that rare kind of dessert that disappears from the pan while it's still warm. The topping turns deeply golden and craggy, with little buttery clusters that stay crisp around the edges, while the apples underneath soften into a bubbling, cinnamon-spiced filling that holds just enough structure. It's the kind of dessert that tastes like you worked harder than you did, which is always a good thing when you're pulling something together for a weeknight or a casual dinner.
What makes this version work is the balance between the filling and the crumble. Cornstarch gives the apples a glossy, spoonable sauciness without making the fruit watery, and the lemon juice keeps the flavor bright instead of flat. In the topping, almond flour brings tenderness, the certified gluten-free oats give the crisp its signature texture, and the cold butter is what creates those chunky, browned bits you want in every bite.
Below, I'll walk through the one step that matters most for a crisp topping, plus the swaps that work when you're missing an ingredient or baking for someone with a few extra dietary needs.
The topping turned out crisp and buttery, and the apple filling thickened up instead of turning soupy. I used Granny Smith and Honeycrisp like you suggested, and the contrast was perfect with vanilla ice cream.
Save this gluten-free apple crisp for the nights when you want a buttery oat crumble and bubbling cinnamon apples with almost no fuss.
The Trick to Keeping the Crumble Crisp Without Drying Out the Apples
The biggest mistake with apple crisp is treating the topping and filling like they need the same baking behavior. They don't. The apples need enough heat to soften and release some juice, while the topping needs enough fat and dry ingredients to hold together in rough clumps so it can brown instead of melt into a sandy layer. Cold butter is what gives you that separation. If the butter softens before it goes in the oven, the topping bakes up dense and pasty instead of crisp.
The other thing that matters here is the cornstarch. Apples throw off a lot of liquid as they bake, and without a thickener, that juice pools in the bottom of the dish and softens the crumble from underneath. You want the filling bubbling thickly around the edges before you pull it from the oven. That's your sign the starch has activated and the apples have cooked through.
What Each Ingredient Is Actually Doing in This Crisp
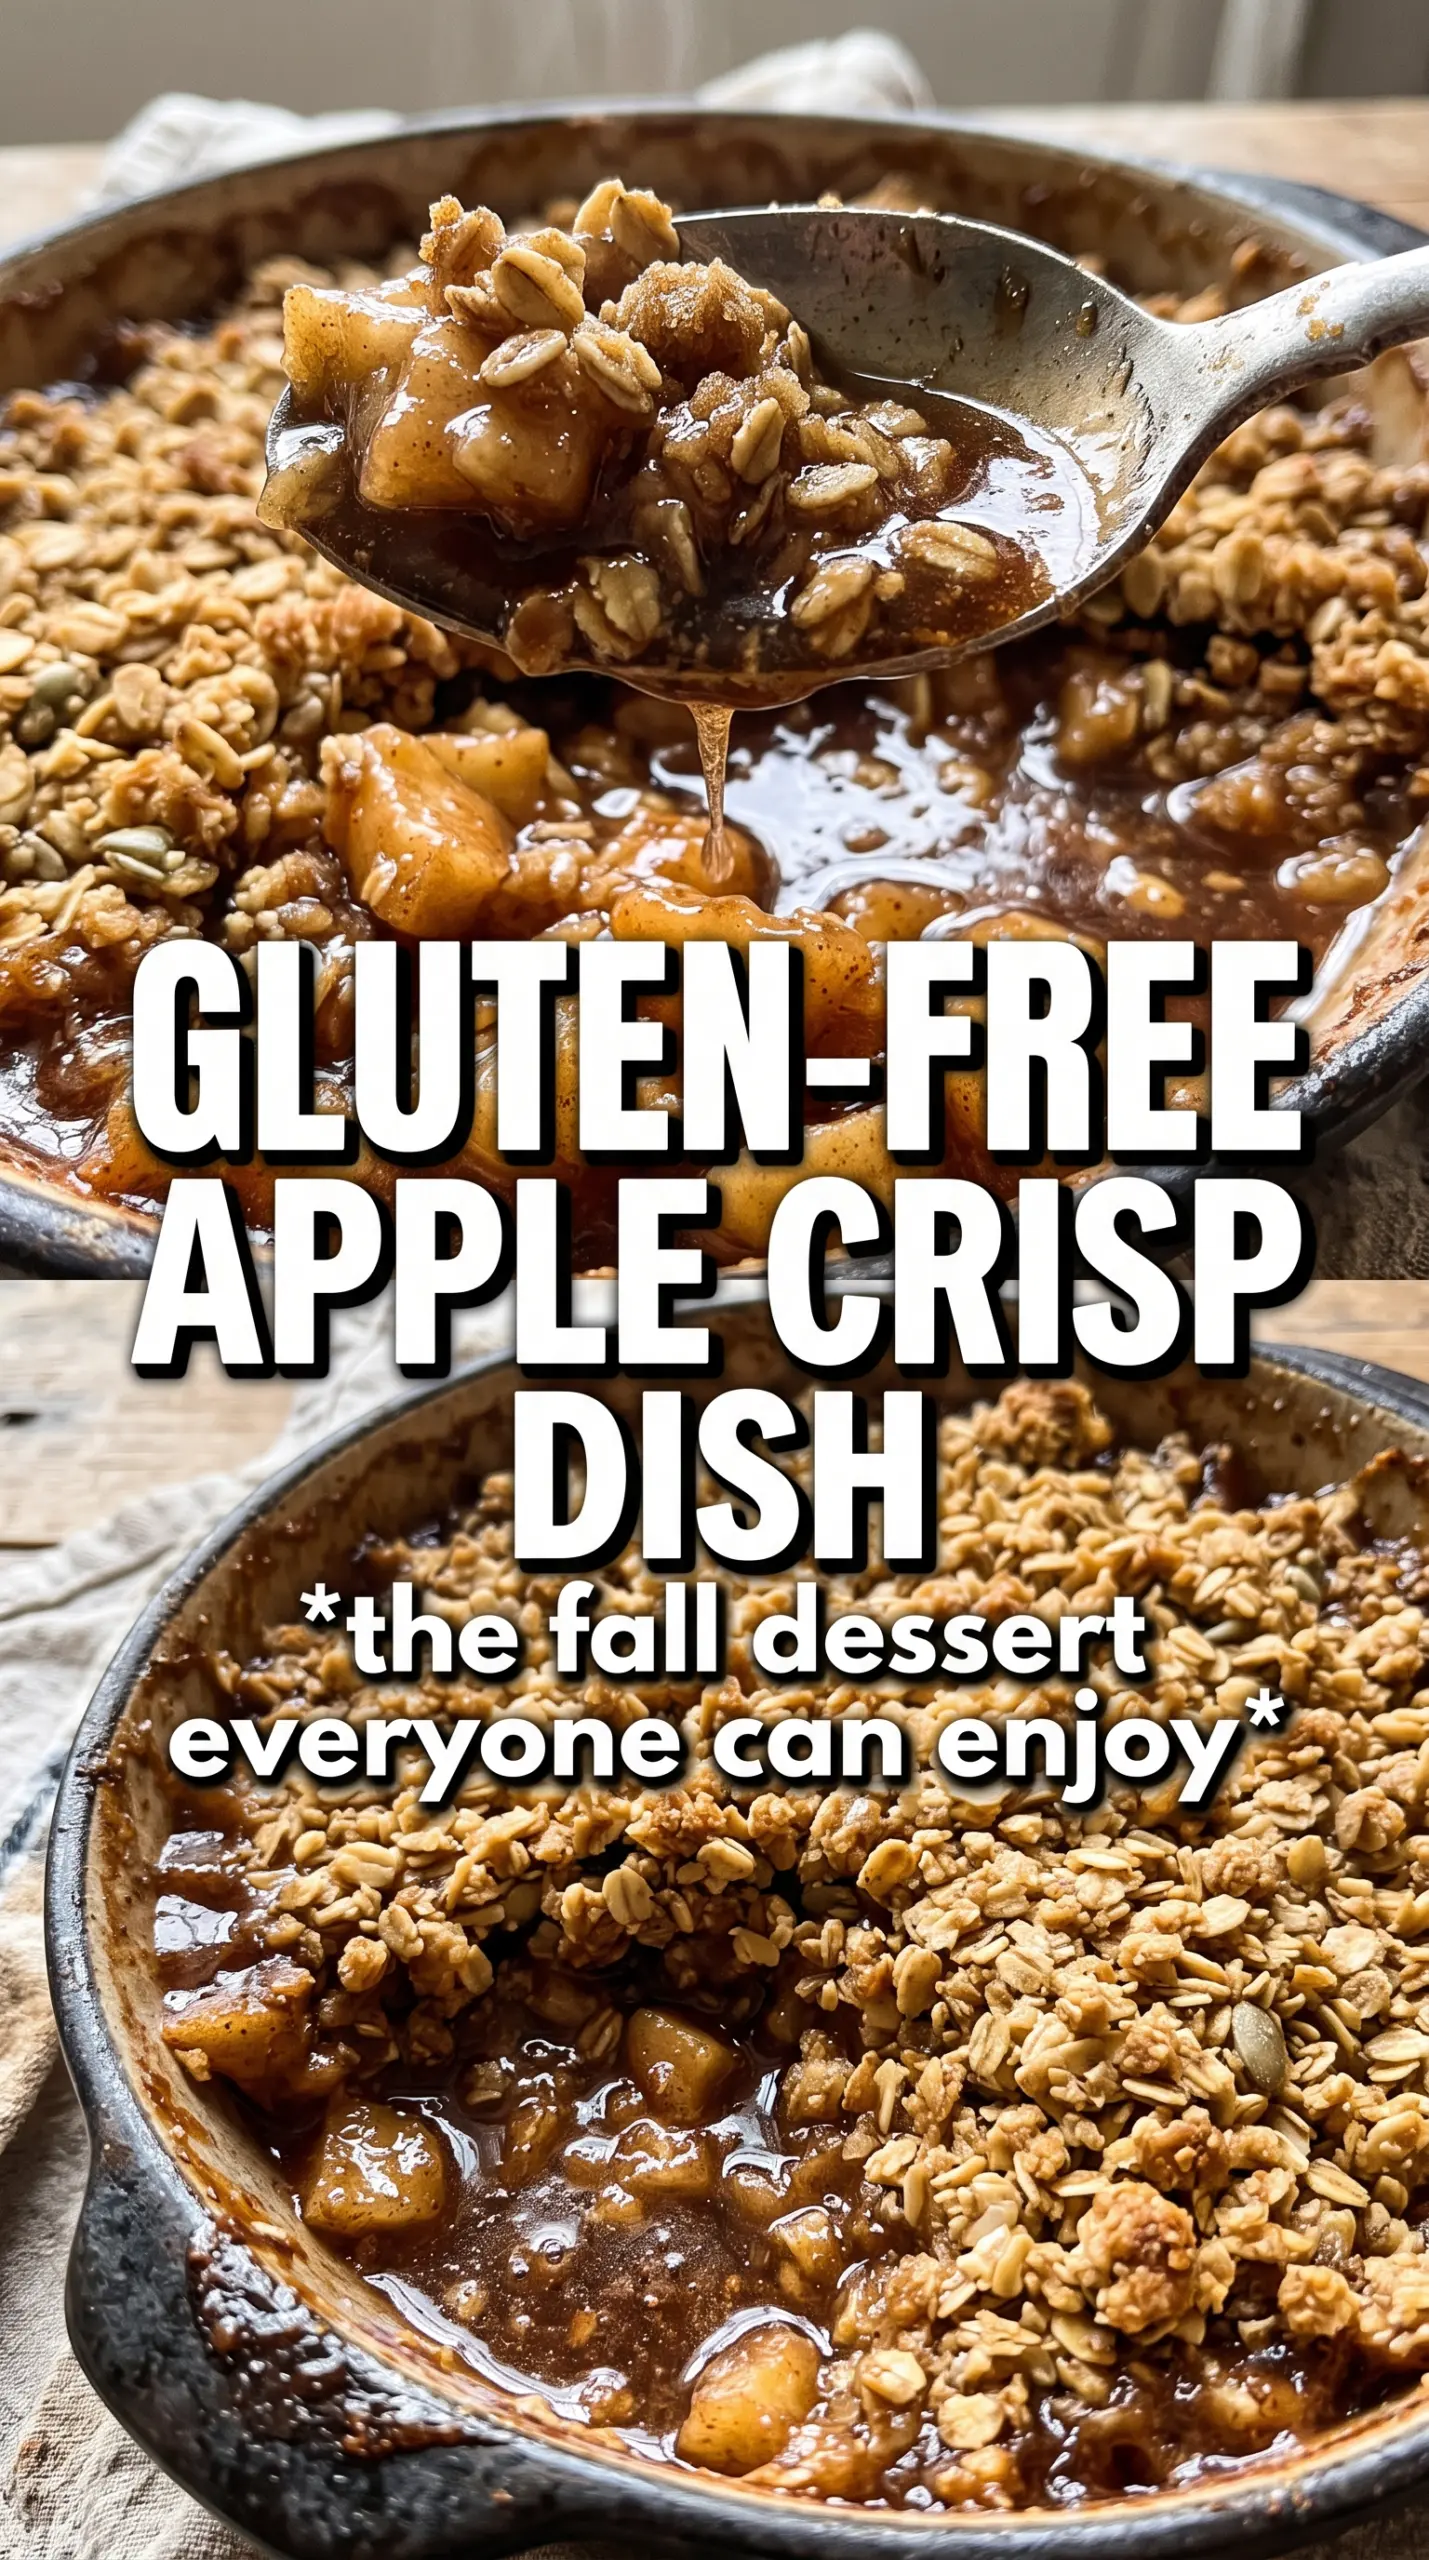
- Apples — Use a mix if you can. Tart apples like Granny Smith keep the filling bright, while sweeter apples like Honeycrisp or Fuji soften into a softer, rounder flavor. All tart apples work, but the crisp tastes deeper with two kinds.
- Certified gluten-free rolled oats — These bring the signature crisp texture. Regular oats can be cross-contaminated, so certification matters here if you're baking for someone who needs strict gluten-free food.
- Almond flour — This adds tenderness and a slightly nutty richness that helps the topping clump. You can't get the same buttery, craggy texture from all-purpose GF flour alone.
- Gluten-free all-purpose flour blend — This helps bind the crumble so it bakes into pieces instead of loose crumbs. A cup-for-cup blend with xanthan gum works best; if your blend doesn't contain it, the topping may be a little looser, but it still bakes fine.
- Cold unsalted butter — Cold butter is nonnegotiable for a crisp topping. It melts in the oven instead of coating the dry ingredients early, which is what creates those golden, crunchy pockets. Salted butter works in a pinch, but cut back the added salt slightly.
- Cornstarch — This thickens the apple juices into a spoonable filling. Arrowroot can work, but it softens faster and doesn't give quite the same glossy finish after baking.
Building the Filling and Topping in the Right Order
Tossing the Apples Until They're Evenly Coated
Start by coating the sliced apples with sugar, cinnamon, nutmeg, cornstarch, and lemon juice until every piece looks lightly dusted and glossy. If you see dry cornstarch clumps at the bottom of the bowl, keep tossing; those pockets won't disappear in the oven. Spread the apples into the greased dish in an even layer so they cook at the same rate. A mounded pile in the center leaves some apples underdone while the edges turn mushy.
Cutting the Butter Into a Real Crumble
Mix the oats, almond flour, GF flour blend, brown sugar, cinnamon, and salt first, then cut in the cold butter until the mixture forms chunky clumps the size of small peas and hazelnuts. If it looks like wet sand, the butter got too warm or it was worked too long. The goal is unevenness; those different-sized clumps bake into the best texture. I like using my fingertips or a pastry cutter and stopping as soon as the mixture holds together when squeezed.
Baking Until the Filling Bubbles Through
Scatter the crumble over the apples without pressing it down. That loose top layer lets steam escape and helps the butter render into crisp edges. Bake until the topping is deeply golden and you can see the fruit bubbling actively around the sides and through the center. If the top looks done but the filling isn't bubbling yet, give it a few more minutes; underbaked apples are the fastest way to get a crisp that tastes raw in the middle.
Letting It Set Before Serving
Give the crisp about 10 minutes to rest after it comes out of the oven. The filling thickens as it settles, and if you serve it too fast, the juices run everywhere. That short rest also keeps the topping crisper because it isn't steaming under a bubbling-hot filling the second it hits the plate. Spoon it warm and finish with vanilla ice cream while the edges are still crunchy.
Three Ways to Adjust This for Different Kitchens and Diets
Make It Dairy-Free
Swap the butter for a solid plant-based butter that's meant for baking. The topping will still brown and clump, though it may set up a little softer than the dairy version. Keep it cold and work quickly so the crumble holds its texture.
Make It Nut-Free
Replace the almond flour with more certified gluten-free rolled oats pulsed a few times in a food processor, or use a little extra GF flour blend. You'll lose some of the rich, nutty flavor and some tenderness, but the topping will still bake into a sturdy crisp.
Use a Different Sweetener
You can replace the granulated sugar in the filling with maple sugar or use part brown sugar for a deeper caramel note. Just don't skip the cornstarch, since sweeter liquid sweeteners can make the filling runnier. The texture stays best when the apples still have enough starch to thicken the juices.
Storage and Reheating
- Refrigerator: Store covered for up to 4 days. The topping softens a little in the fridge, but the flavor stays excellent.
- Freezer: It freezes well baked or unbaked. Wrap tightly and freeze for up to 2 months; if baking from frozen, add extra time and watch for bubbling in the center.
- Reheating: Warm leftovers in a 350F oven until the topping re-crisps and the filling is hot. The microwave works for speed, but it softens the crumble, which is the part you're trying to preserve.
Answers to the Questions Worth Asking
Gluten-Free Apple Crisp
Ingredients
Equipment
Method
- Preheat the oven to 375F and grease a 9x13 baking dish.
- Toss the apple slices with granulated sugar, cinnamon, nutmeg, cornstarch, and lemon juice, then spread them in the dish.
- Combine the gluten-free rolled oats, almond flour, gluten-free flour blend, brown sugar, cinnamon, and salt, then cut in the cold cubed butter until chunky clumps form.
- Scatter the crumble evenly over the apples.
- Bake for 40-45 minutes at 375F until the topping is golden and the filling is bubbling.
- Rest for 10 minutes before serving with vanilla ice cream.