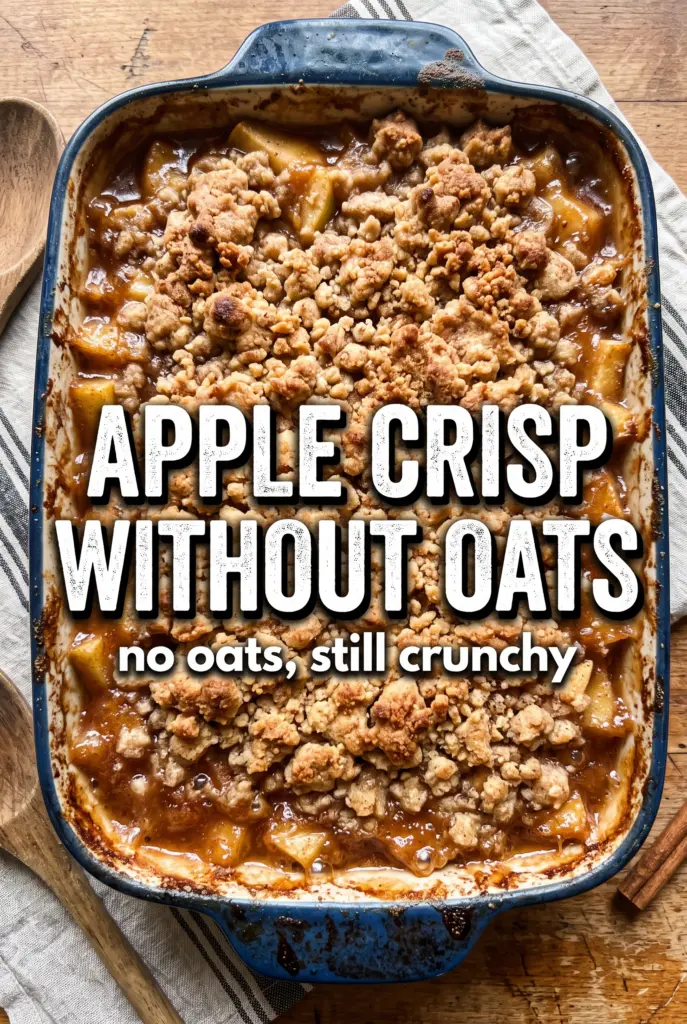
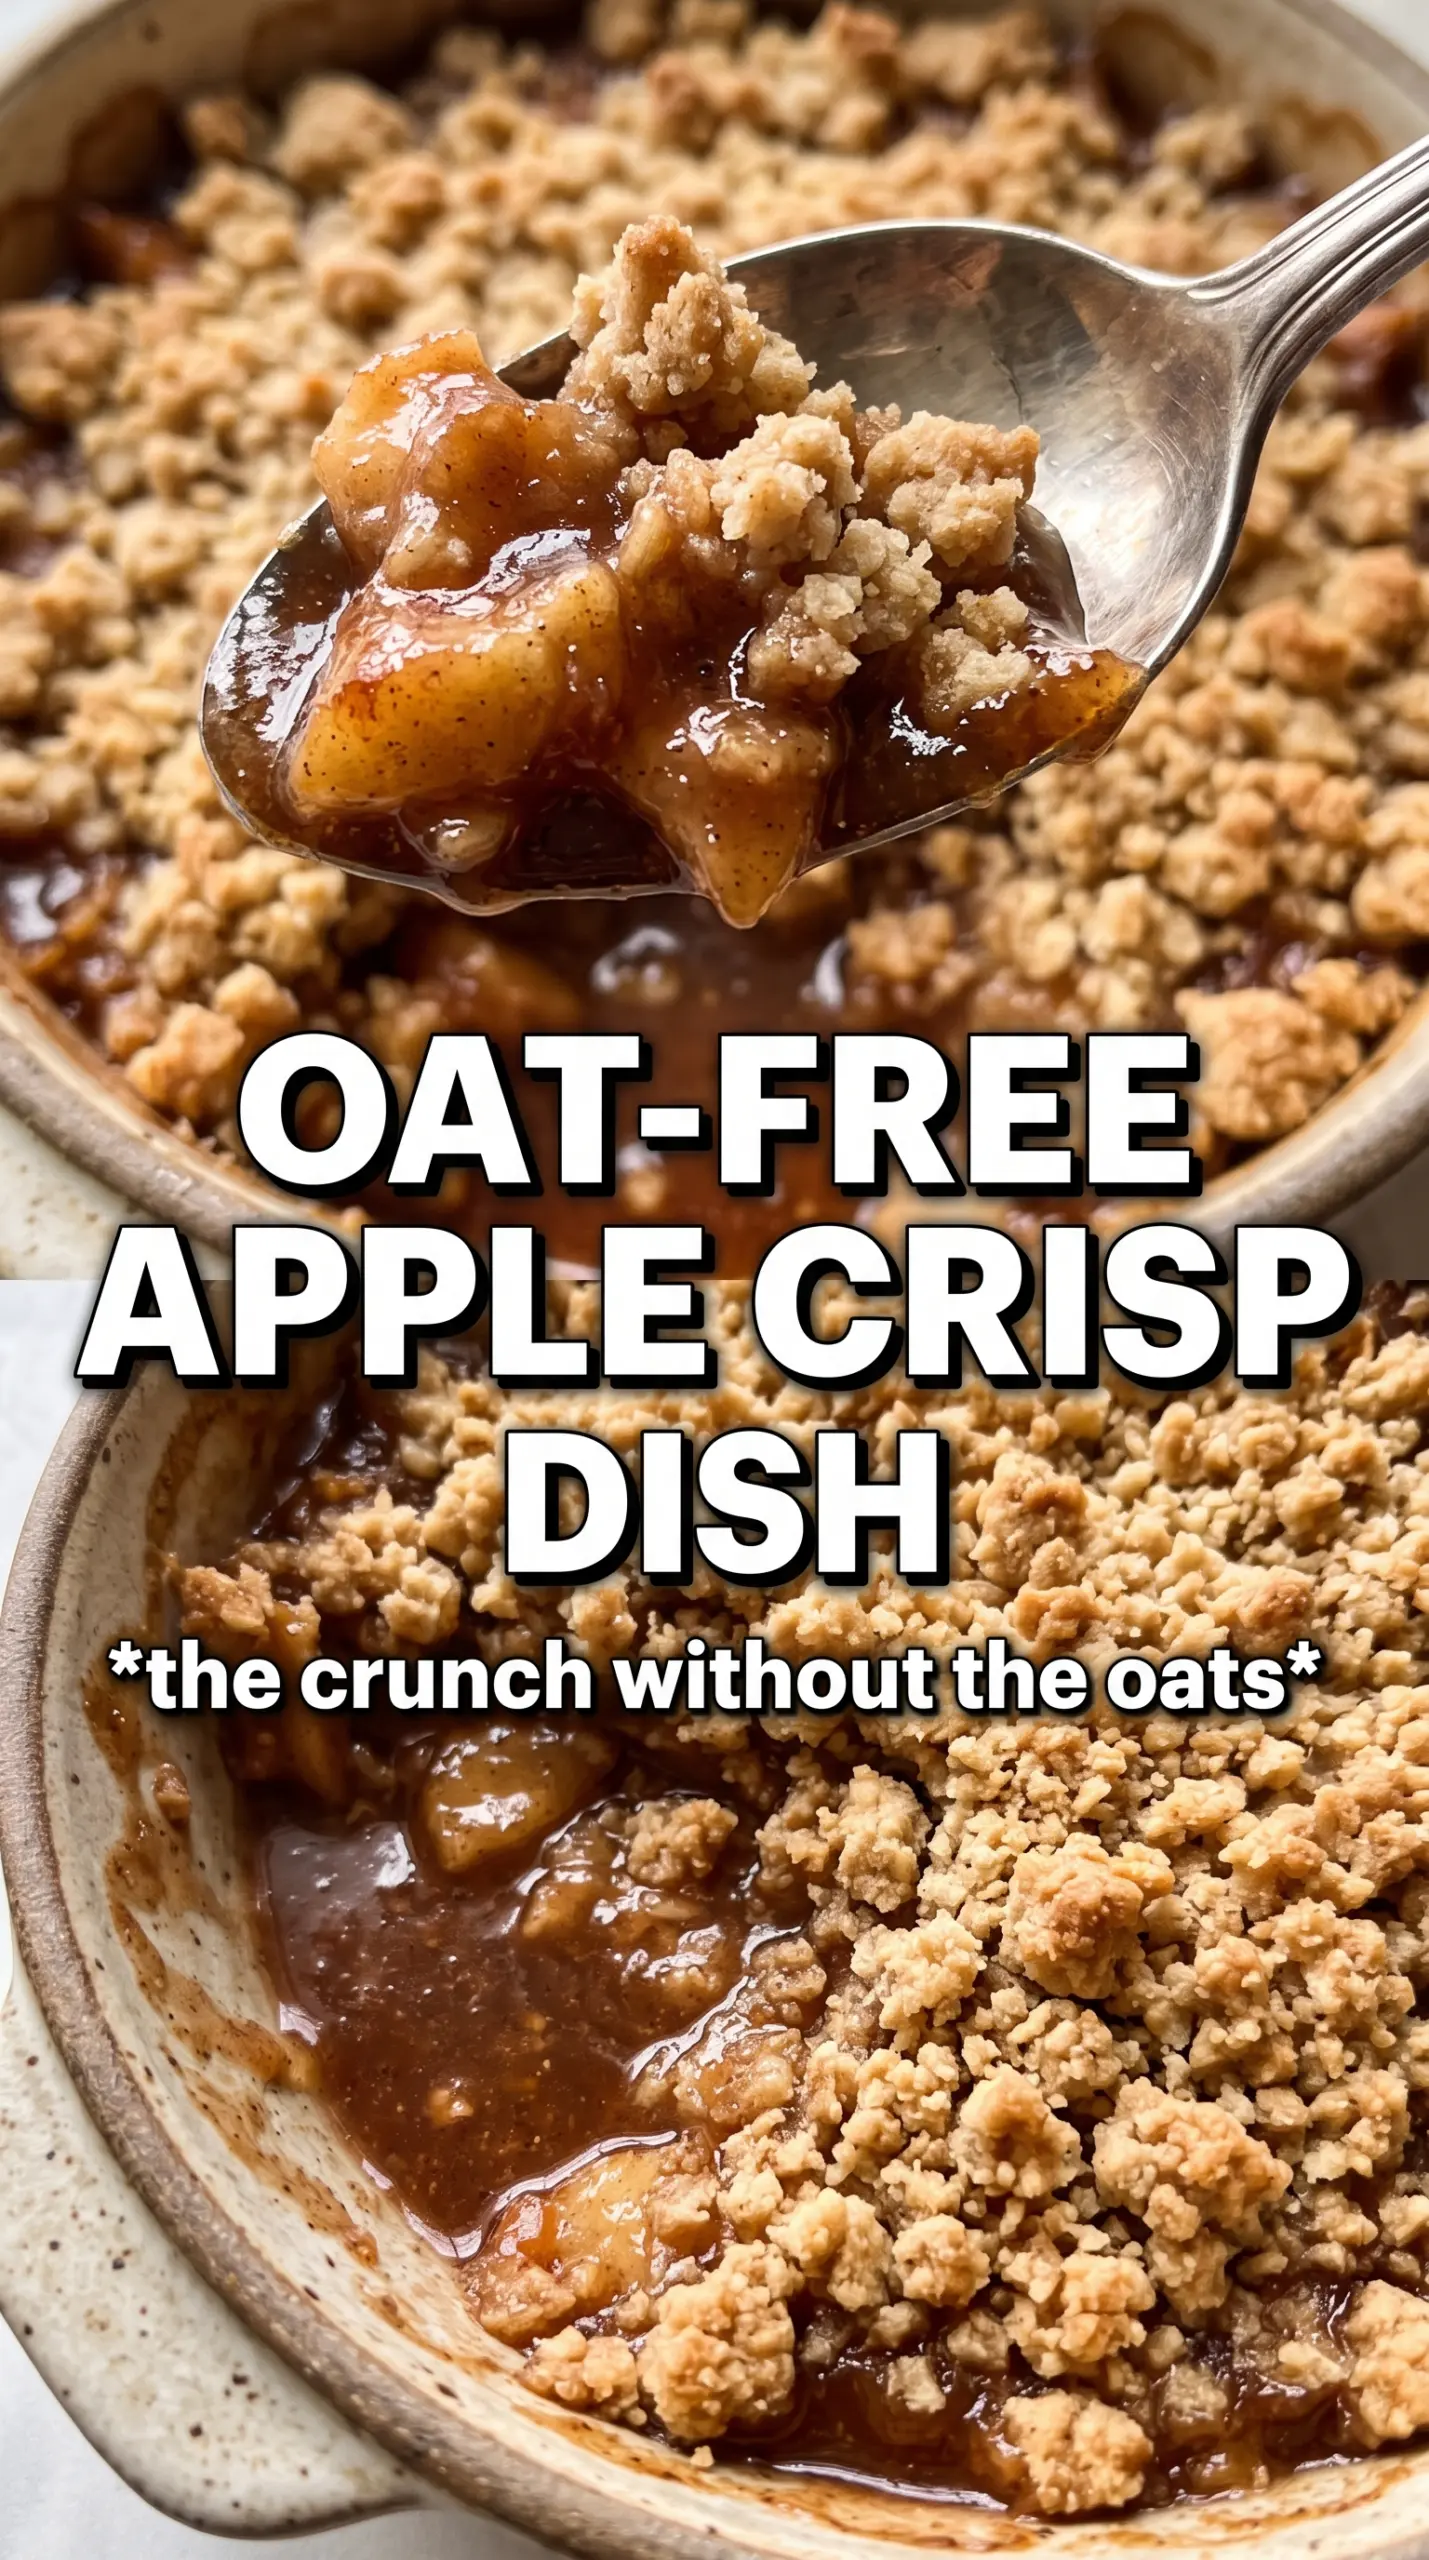
Golden, bubbling apple crisp without oats has the kind of topping that crackles when your spoon breaks through it, then gives way to soft cinnamon apples underneath. The best versions don’t need oats to bring texture; they need a crumble that bakes up sandy, clumpy, and deeply browned so every bite has contrast. This one lands exactly there, with a buttery flour topping that stays crisp instead of turning pasty.
The trick is in the topping. Cold butter gets cut into the flour and sugar mixture until it looks like rough crumbs with a few bigger pebbles mixed in. Those little clumps are what bake into the crisp, toasty pieces people reach for first. The filling gets a little cornstarch too, which keeps the apple juices from turning runny and soaking through the crust before the top has time to brown.
Below, I’ve included the exact cues I watch for in the oven, plus the swaps that still keep the topping crisp if you want to use nuts or leave them out.
The topping came out perfectly sandy and crisp, and the filling thickened instead of running all over the plate. I used a mix of Honeycrisp and Granny Smith, and it baked up with the best balance of sweet and tart.
Save this apple crisp without oats for the nights when you want a crisp, buttery topping and soft cinnamon apples without reaching for oats.
The Part That Keeps the Topping Crisp Instead of Doughy
Apple crisp without oats can go wrong in one very specific way: the topping turns sandy and pale, then bakes into a thick, cookie-like layer instead of a crisp crumble. That happens when the butter gets too warm or the mixture is overworked. The goal is to leave some flour-coated butter pieces intact so they melt, steam, and set into crunchy clusters in the oven.
The other thing that matters here is the balance between flour and sugar. Brown sugar adds moisture and depth, but too much softens the topping. That’s why this recipe uses a mix of brown and granulated sugar: the brown sugar helps the crumble brown, while the granulated sugar keeps it a little more brittle and crisp at the edges.
- Cold butter — This is nonnegotiable. Cold butter creates the little pockets that turn into crisp crumbs, while softened butter blends too smoothly and bakes up heavy.
- Cornstarch — It thickens the apple juices before they flood the pan. Flour can do the job in a pinch, but it won’t stay as clear and clean in the filling.
- Apples — A mix of tart and sweet apples gives the best texture and flavor. If you use only soft apples, the filling can collapse too quickly; if you use only firm tart apples, it can taste sharp.
- Nuts — Optional, but useful if you want extra crunch. Pecans bring a buttery flavor; walnuts are a little more assertive. Chop them roughly so they stay visible in the crumble instead of disappearing into the flour.
What Each Ingredient Is Actually Doing in This Recipe
- Primary ingredient (the star) — Quality matters most. Choose the best you can find.
- Cooking medium (oil, butter, or broth) — This carries flavors and prevents dryness.
- Seasonings (salt, pepper, spices, herbs) — Layer flavors so nothing overpowers. Build depth gradually.
- Aromatics (garlic, onion, herbs) — Cook with fat to bloom flavors. Become the foundation.
- Supporting ingredients — Complement the main ingredient without overpowering it.
- Sauce or liquid (if applicable) — Brings flavors together. Balance richness with acid.
- Acid (lemon, vinegar, wine, or other) — Brightens and prevents flat-tasting results.
- Final finish (garnish, glaze, or sauce) — Prevents one-dimensional taste and adds visual appeal.
Building the Apple Layer and the Crumble So They Bake Evenly
Coating the Apples
Toss the sliced apples with sugar, cinnamon, nutmeg, cornstarch, and lemon juice until every piece is lightly coated. You want the slices glossy, not wet with liquid pooling in the bottom of the bowl. If you skip the cornstarch or undercoat the fruit, the filling will bubble thin and leave you with loose juice at the bottom of the dish. Spread the apples into an even layer so they soften at the same rate.
Cutting in the Butter
Mix the flour, sugars, spices, and salt first, then cut in the cold butter until the mixture looks like damp sand with a few larger nuggets. Those larger bits are what bake into the best crunchy pieces, so don’t grind the mixture into a fine powder. If the butter starts to smear, stop and chill the bowl for a few minutes before continuing. The topping should hold together when you squeeze it, then break apart easily when you scatter it.
Baking Until the Edges Bubble
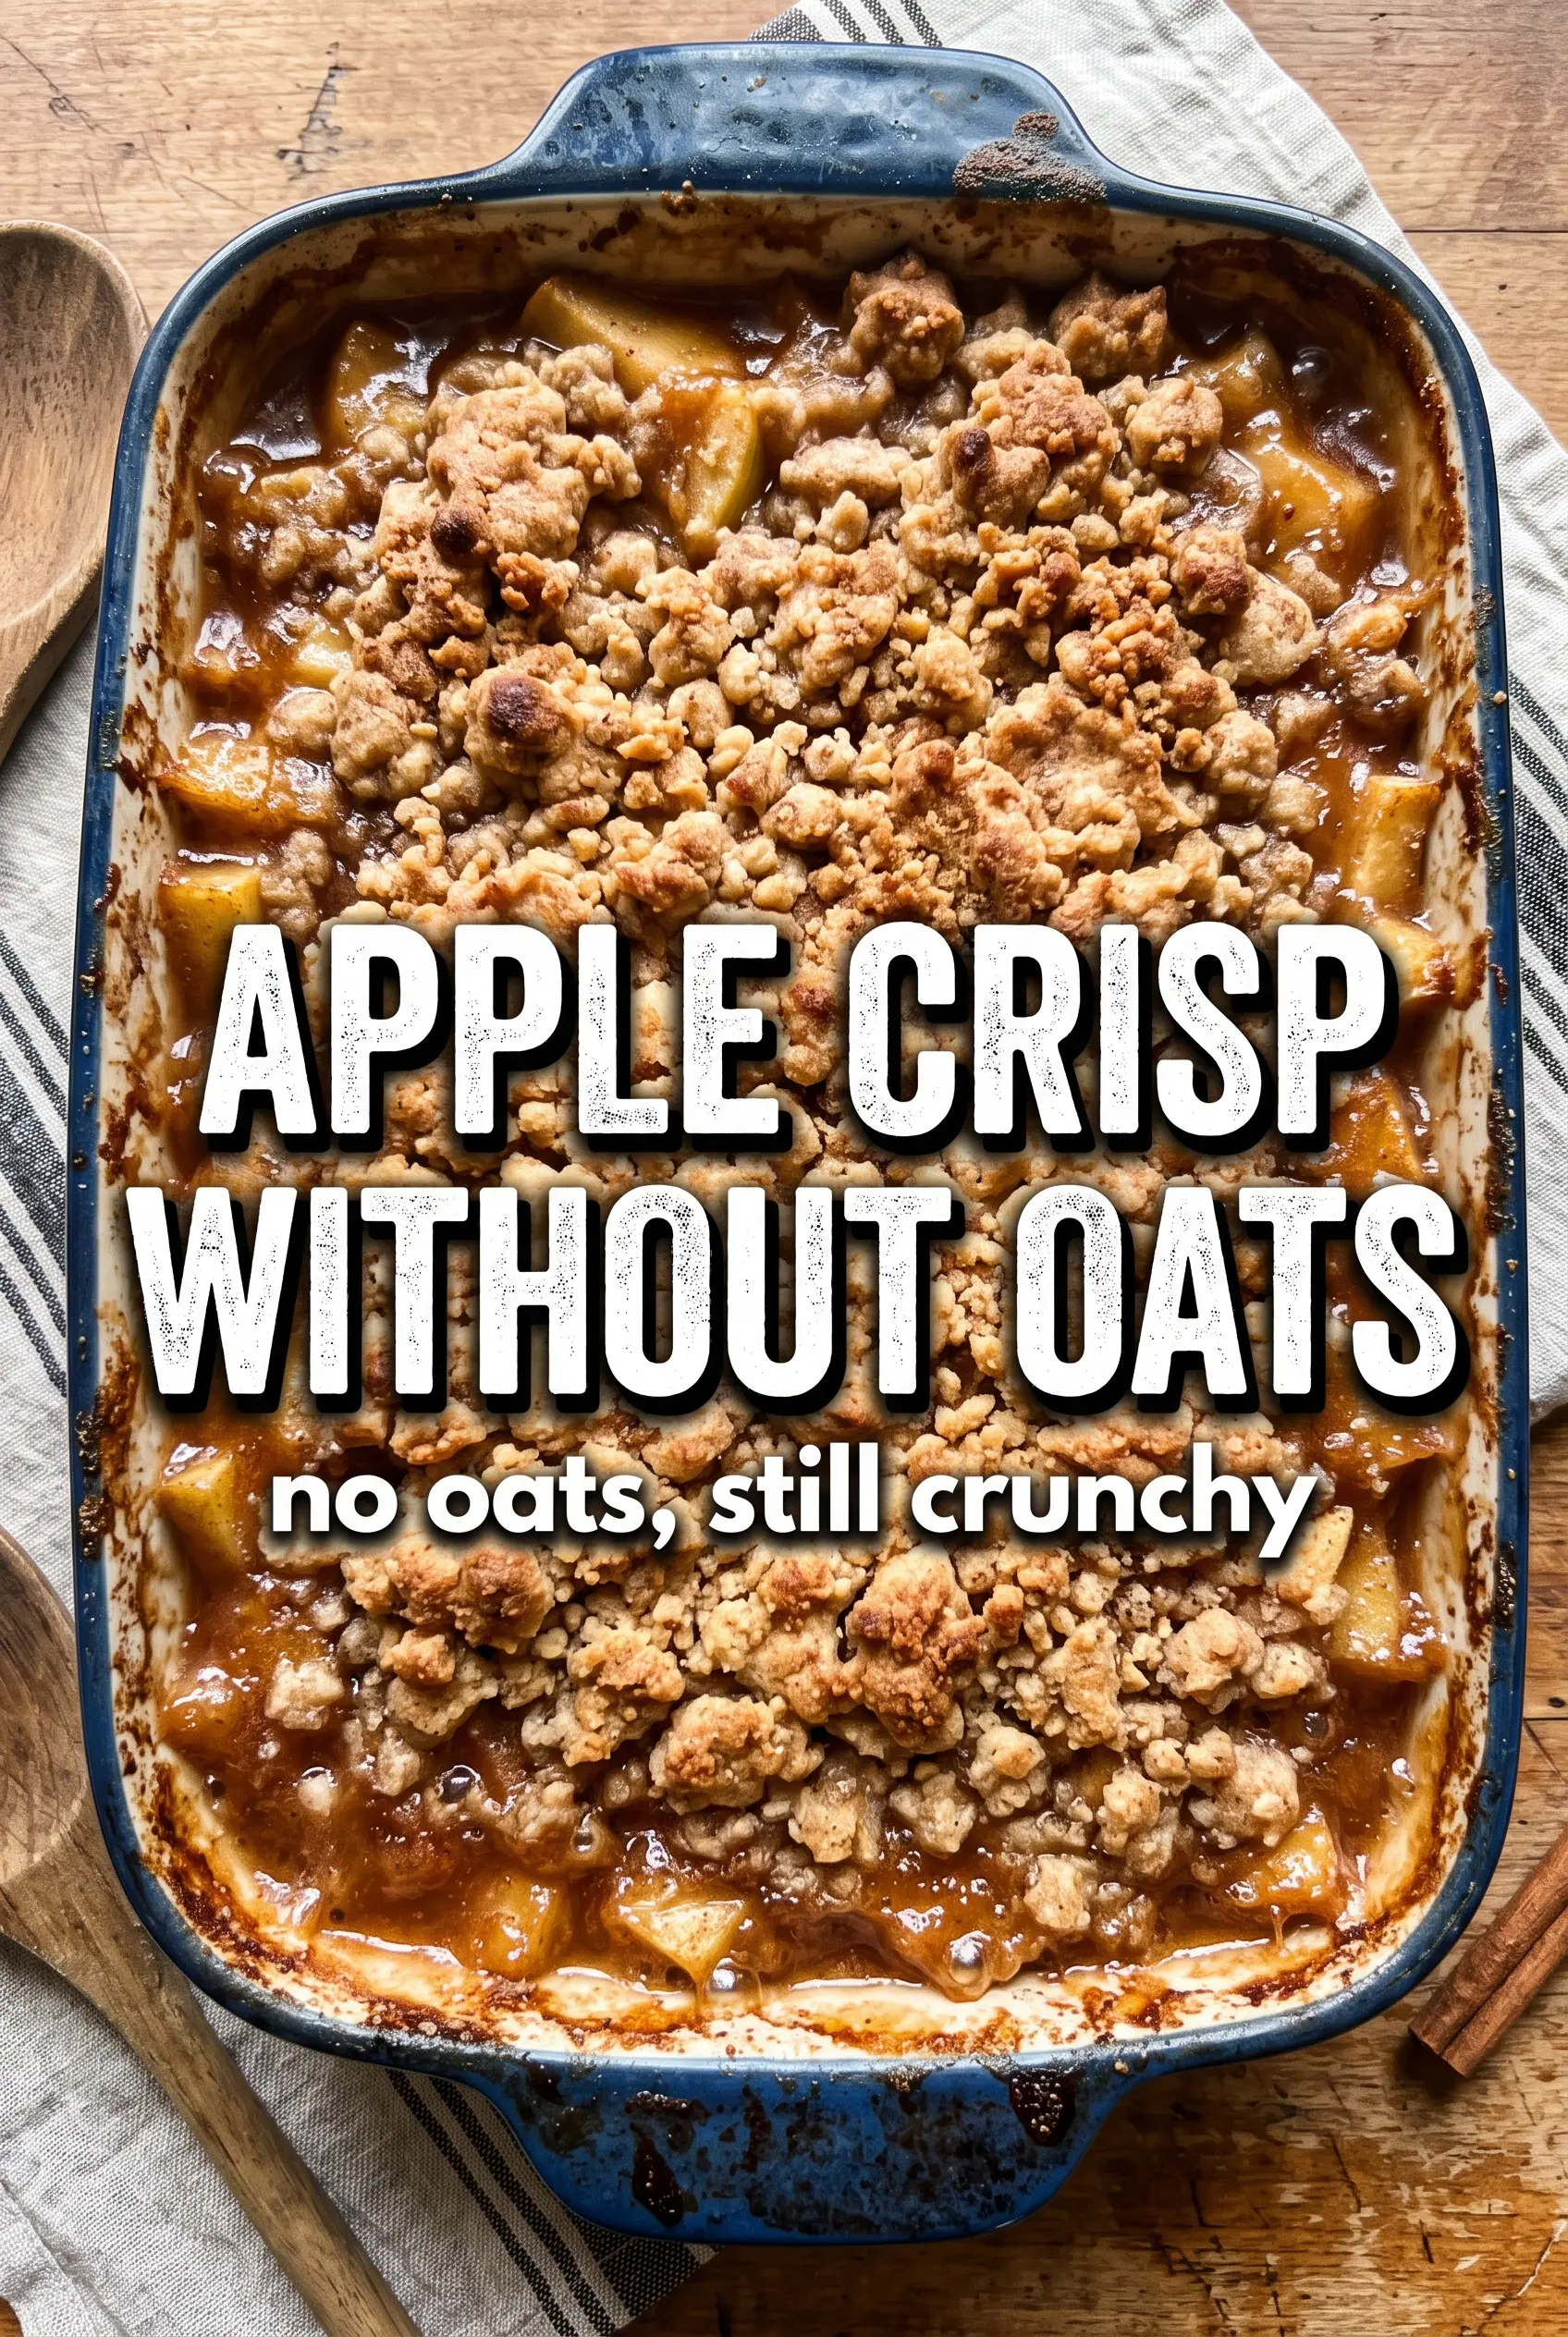
Scatter the crumble evenly over the apples, but don’t press it down. A loose layer lets steam move through the topping and helps it crisp instead of turning dense. Bake until the top is deep golden and you see the filling bubbling up around the edges and in small spots through the center. That bubbling matters more than the clock; it tells you the fruit has thickened and the starch has activated.
Use All Butter for the Most Classic Crisp
All butter gives the richest flavor and the most reliable crunch. The topping browns beautifully, though it can soften a little faster after baking than a topping with shortening. If you want the best flavor, this is the version I’d make first.
Make It Gluten-Free
Use a cup-for-cup gluten-free flour blend in place of the all-purpose flour. The crumble will be a touch more delicate, but it still bakes up with good texture if you keep the butter cold and don’t overmix. Check that your blend includes xanthan gum if you want the topping to hold together in larger crumbs.
Skip the Nuts Without Losing Crunch
Leave the pecans or walnuts out and the crisp still works fine. The topping will be a little more uniform and sandy, which some people actually prefer. If you want extra texture without nuts, use a little more of the crumble mixture to create thicker clumps on top.
Storage and Reheating
- Refrigerator: Store covered for up to 4 days. The topping softens a bit in the fridge, but the flavor stays great.
- Freezer: Freeze baked crisp in a tight container for up to 2 months. Thaw overnight in the refrigerator before reheating.
- Reheating: Warm in a 325F oven until the filling is hot and the topping is crisp again. The microwave will soften the crumble, so use it only if you don’t mind losing texture.
Questions I Get Asked About This Apple Crisp
Apple Crisp Without Oats
Ingredients
Equipment
Method
- Preheat your oven to 375F, then grease a 9x13 baking dish. This ensures the dish is ready for the apples the moment you start layering.
- Toss the apple slices with granulated sugar, cinnamon, nutmeg, cornstarch, and lemon juice, then spread them in the greased dish. The apples should look evenly coated with the dry spices and thickening mixture.
- Combine all-purpose flour, both sugars, cinnamon, nutmeg, and salt in a bowl, then cut in the cold butter until the mixture forms large sandy clumps. The crumbs should hold together when pinched.
- Stir in pecans or walnuts if using, then scatter the crumble evenly over the apples. Make sure the topping covers the surface in an even layer.
- Bake for 40-45 minutes at 375F until the topping is golden and the filling is bubbling at the edges. You should see active bubbling around the perimeter as the filling thickens.
- Rest the apple crisp for 10 minutes at room temperature before serving. This lets the juices set so slices hold their shape.
- Serve warm with vanilla ice cream. Add it right before eating for the contrast of creamy and crisp topping.