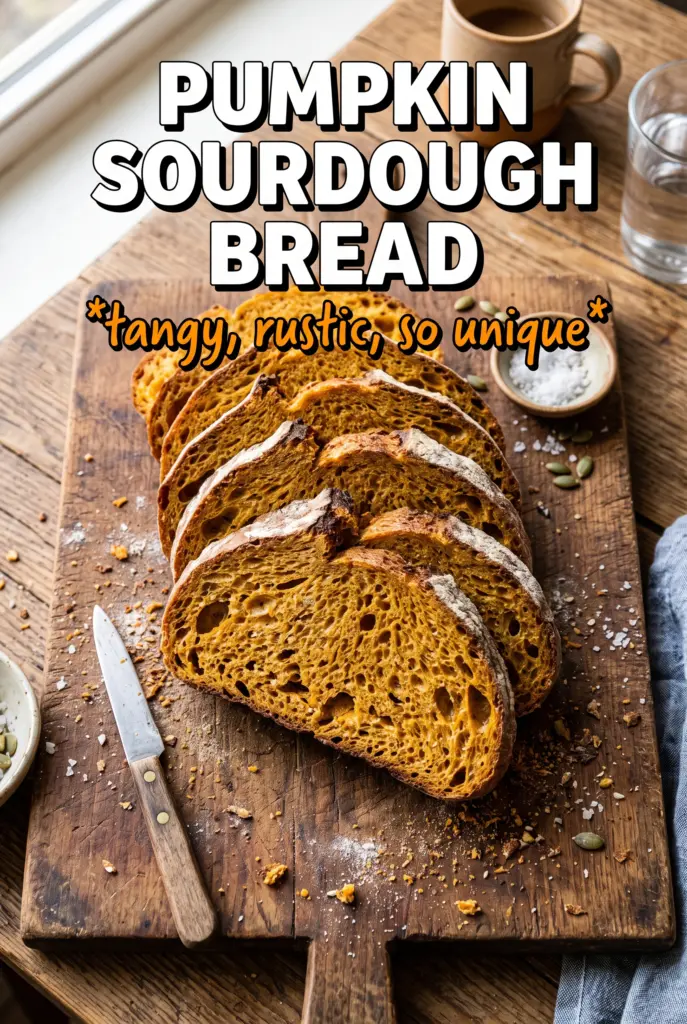
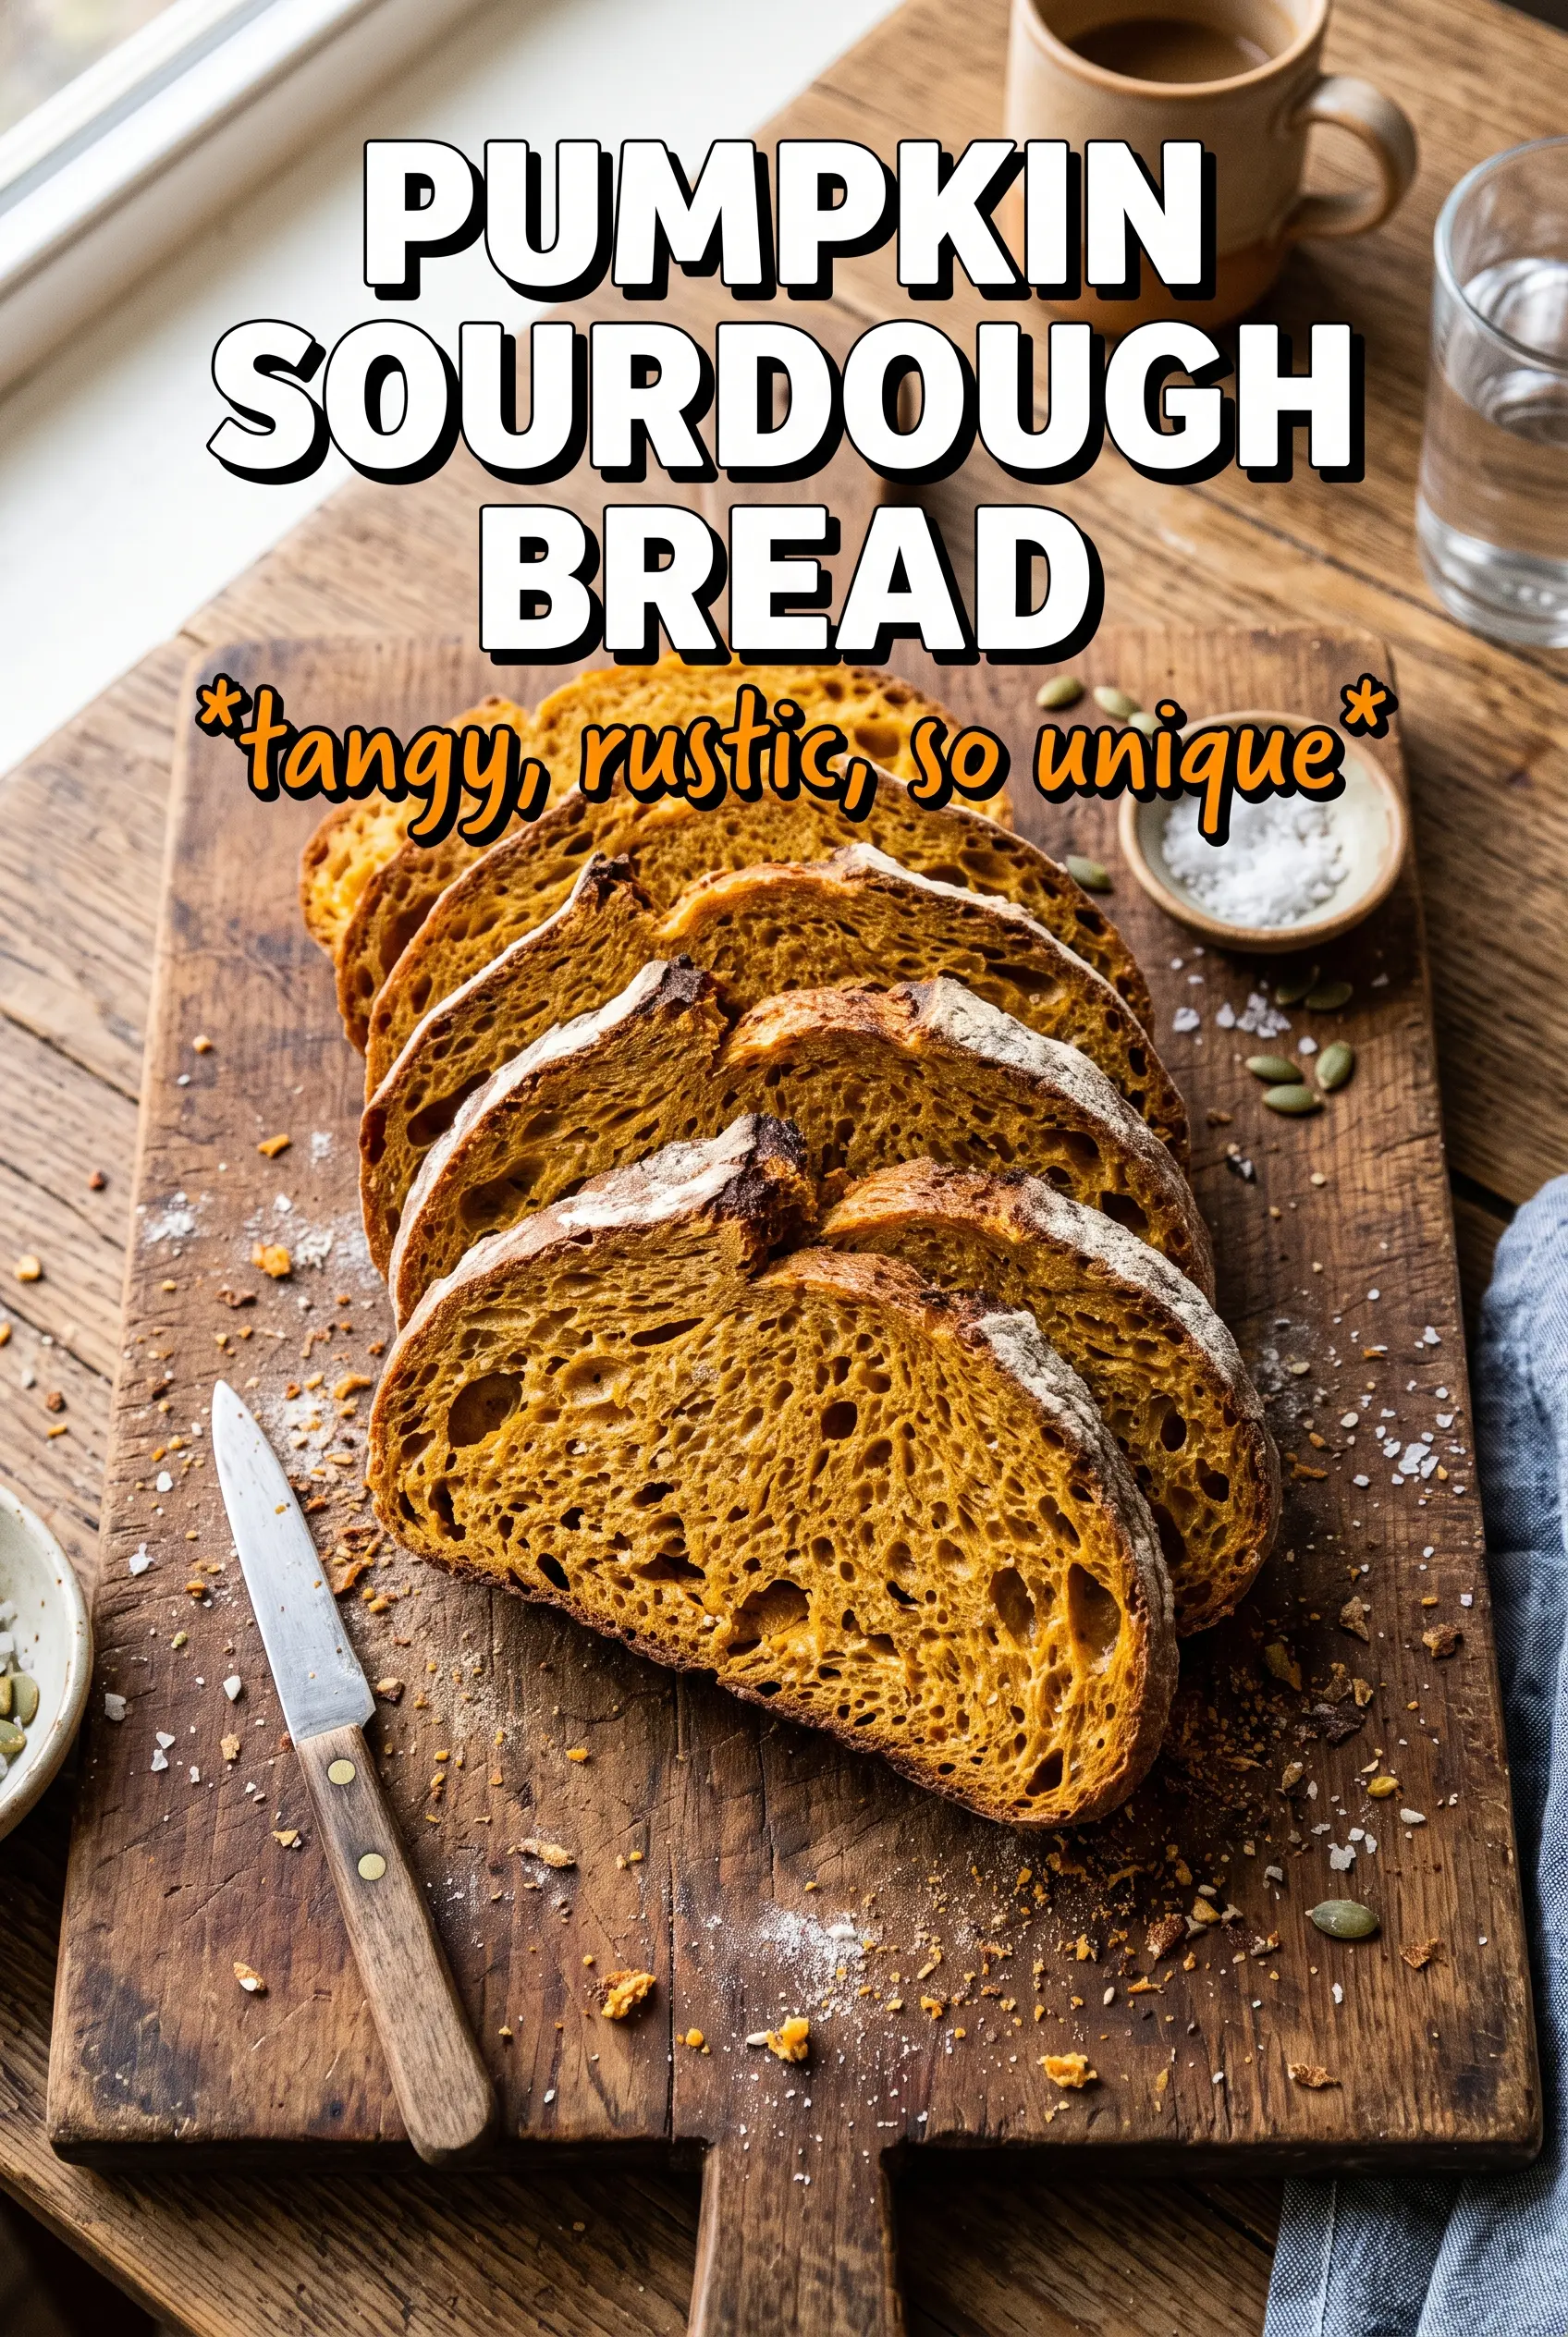
Pumpkin sourdough bread bakes up with a bronzed crust, a gentle sweetness, and a crumb that stays tender for days without feeling heavy. The pumpkin doesn’t make this taste like cake; it gives the loaf a softer interior, a warm color, and just enough moisture to round out the tang from the starter. When it’s baked well, the crust crackles as it cools and the sliced loaf shows those uneven holes that tell you the fermentation was alive and active.
What makes this version work is the balance. Pumpkin puree adds body and moisture, but the bread flour keeps the structure strong enough to hold a good rise. The maple syrup feeds fermentation and nudges the crust toward a deep amber finish, while the whole wheat flour adds a little nuttiness without taking over. Because pumpkin puree can vary in thickness, the dough may feel stickier than a plain sourdough dough at first; that’s normal, and the stretch-and-folds do most of the real work here.
Below, I’ve included the cues I watch for during bulk fermentation, plus the one detail that matters most if you want a loaf that slices cleanly instead of turning gummy in the center. Once you’ve made it once, the process starts to feel less like following steps and more like reading the dough.
The dough was a little sticky at first, but the stretch-and-folds gave it great structure and the loaf came out with a gorgeous open crumb. The pumpkin flavor was subtle and the crust got that deep golden color I was hoping for.
Pumpkin sourdough bread with that golden crust and soft, tangy crumb is worth keeping on hand for breakfast slices and toast.
The Reason Pumpkin Dough Needs More Folding, Not More Flour
Pumpkin puree brings moisture and softness, but it also makes the dough feel looser than a standard sourdough right after mixing. The common mistake is reaching for extra flour too early, which tightens the dough before it has a chance to hydrate and develop strength. A wetter, softer dough here is normal; the stretch-and-folds are what turn that shaggy mixture into a dough that can hold shape.
The other thing that catches people is fermentation timing. Pumpkin adds sugars and can speed things along, so you’re looking for a dough that has expanded, looks aerated, and feels lighter when you handle it — not necessarily one that has tripled. If you wait for a dramatic rise, you can push it too far and end up with a loaf that spreads instead of springs.
- Don’t chase a dry dough. A tacky dough will still bake beautifully here if it’s given enough folds and enough time.
- Watch the edges and bubbles. The surface should look domed and alive, with small bubbles starting to show through the sides.
- Stop bulk fermentation at the right point. About doubled is the sweet spot for this loaf; beyond that, the dough can get fragile.
What Each Ingredient Is Actually Doing in This Loaf

- Bread flour — This is the backbone of the loaf. The higher protein content gives the dough the strength it needs to hold the extra moisture from the pumpkin without collapsing.
- Whole wheat flour — This adds a little depth and nuttiness. You can swap it for more bread flour if needed, but you’ll lose some flavor and a bit of fermentation speed.
- Active sourdough starter — The starter has to be lively for this bread to rise well. If it’s sluggish, the pumpkin’s moisture makes the dough even harder to judge, and the loaf may end up dense.
- Pumpkin puree — Use plain puree, not pie filling. Homemade puree works if it’s thick and not watery; if it’s loose, drain it first so the dough doesn’t turn slack.
- Maple syrup — This boosts browning and gives the sourdough a subtle sweetness that plays nicely with the pumpkin and spice. Honey works in a pinch, but maple tastes cleaner and warmer in this loaf.
- Pumpkin pie spice and cinnamon — These should support the pumpkin, not dominate it. Fresh spices make a noticeable difference because the loaf is otherwise fairly simple and mild.
- Rice flour — Best for the banneton because it resists absorbing into the dough. Regular flour can get gummy on a wetter dough like this and make the loaf harder to release.
Building the Dough So It Holds Shape in the Oven
Autolyse and the First Mix
Mix the flour, starter, pumpkin puree, water, maple syrup, and spices first, then let the dough rest before adding the salt. That rest gives the flour time to hydrate, which matters here because pumpkin puree can make the dough feel uneven at the start. The dough should look shaggy but cohesive after mixing, not smooth yet. If it feels stiff, don’t panic and add flour; the hydration settles as it rests.
Stretching in Strength
Once the salt goes in, work through four sets of stretch and folds at 30-minute intervals. Each round should make the dough feel tighter, smoother, and a little more elastic. If it tears badly, it needs a gentler hand and more rest between folds. By the last set, you should notice it holding its shape better in the bowl instead of spreading flat immediately.
Knowing When Bulk Fermentation Is Done
Let the dough rise at room temperature until it’s roughly doubled and looks airy and jiggly. The biggest mistake is going by time alone, because a warm kitchen can move this dough faster than expected. Look for small bubbles along the sides, a smoother top, and a dough that feels lighter when you tilt the bowl. If it is collapsing or smells overly sharp, it has gone too far.
Shaping, Cold Proofing, and Baking
Shape the dough into a tight boule or batard, then refrigerate it overnight in a floured banneton. The cold proof makes scoring cleaner and helps the loaf keep its form when it hits the hot Dutch oven. Bake with the lid on first to trap steam, then uncover for the final color. Pull it only when the crust is a deep golden brown and the loaf sounds hollow when tapped on the bottom.
How to Adapt This Pumpkin Sourdough Without Losing the Crumb
Make It a Little More Whole Grain
You can replace up to 25g more of the bread flour with whole wheat flour for a nuttier loaf. Push it much farther than that and the crumb starts getting tighter, which works against the light, airy texture you want from sourdough.
Make It Dairy-Free and Still Rich
This loaf is naturally dairy-free as written, which is one reason it’s such a good holiday bread. Keep the pumpkin puree and maple syrup as-is; they give the bread the soft, rounded flavor people usually expect from a richer loaf.
Skip the Spice and Make It Savory
Leave out the pumpkin pie spice and cinnamon, then add a little cracked black pepper or fresh rosemary if you want a more savory loaf. The pumpkin still brings color and softness, but the bread shifts from breakfast toast to something better suited for soups and sandwiches.
Storage and Reheating
- Refrigerator: Store sliced or whole bread for up to 4 days, wrapped well. The crust softens a little in the fridge, but the crumb stays moist.
- Freezer: This loaf freezes well. Slice it first, then freeze with parchment between slices so you can pull out only what you need.
- Reheating: Toast slices straight from the freezer or warm a whole loaf in a low oven. Don’t microwave it if you want to keep the crust from turning leathery.
Answers to the Questions Worth Asking
Pumpkin Sourdough Bread
Ingredients
Equipment
Method
- Mix bread flour, whole wheat flour, active sourdough starter, room temperature water, pumpkin puree, maple syrup, pumpkin pie spice, and cinnamon in a bowl until no dry flour remains. Rest the dough for 30 minutes to hydrate (autolyse), and it should look smoother and more elastic.
- Add salt to the dough and mix thoroughly until evenly incorporated. Use a firm hand to work it in so the dough feels cohesive and slightly tightened.
- Perform the first set of stretch and folds, pulling one side up and folding it over the center. Repeat this motion while rotating the bowl.
- Wait 30 minutes, keeping the dough at room temperature. During this time, the dough should feel more relaxed and begin to gain strength.
- Perform the second set of stretch and folds using the same lifting-and-folding technique. The dough should start to hold shape better.
- Wait 30 minutes at room temperature again. The surface may look slightly smoother and more buoyant.
- Perform the third set of stretch and folds, folding until the dough resists less and gathers into the center. It should look thicker and less slack.
- Wait 30 minutes at room temperature. You should notice gentle expansion and more structure.
- Perform the fourth and final set of stretch and folds, then make a final consolidation by folding the edges toward the center. The dough should feel tighter and more elastic.
- Bulk ferment the dough at room temperature for 4-6 hours until doubled and visibly bubbly. Look for increased volume and bubbles across the surface and edges.
- Shape into a boule or batard, then place it seam-side up in a banneton dusted with rice flour for shaping. The top should be taut while the seam faces up.
- Refrigerate overnight for a cold proof of 8-12 hours. The dough should look slightly puffed after chilling.
- Preheat the oven to 500°F with a Dutch oven inside for 45 minutes. The pot should be very hot when you remove it.
- Score the top of the chilled loaf with quick, confident cuts. You should see the expansion lines opening around the blade marks.
- Bake covered for 20 minutes in the preheated Dutch oven. Watch for strong oven spring and a rising, set crust.
- Uncover the Dutch oven and bake for 20-25 more minutes at 500°F until deeply golden. The crust should look thick, crisp, and intensely browned.
- Cool the loaf completely on a wire rack before slicing. The crumb should not be gummy, and the interior should set as steam releases.