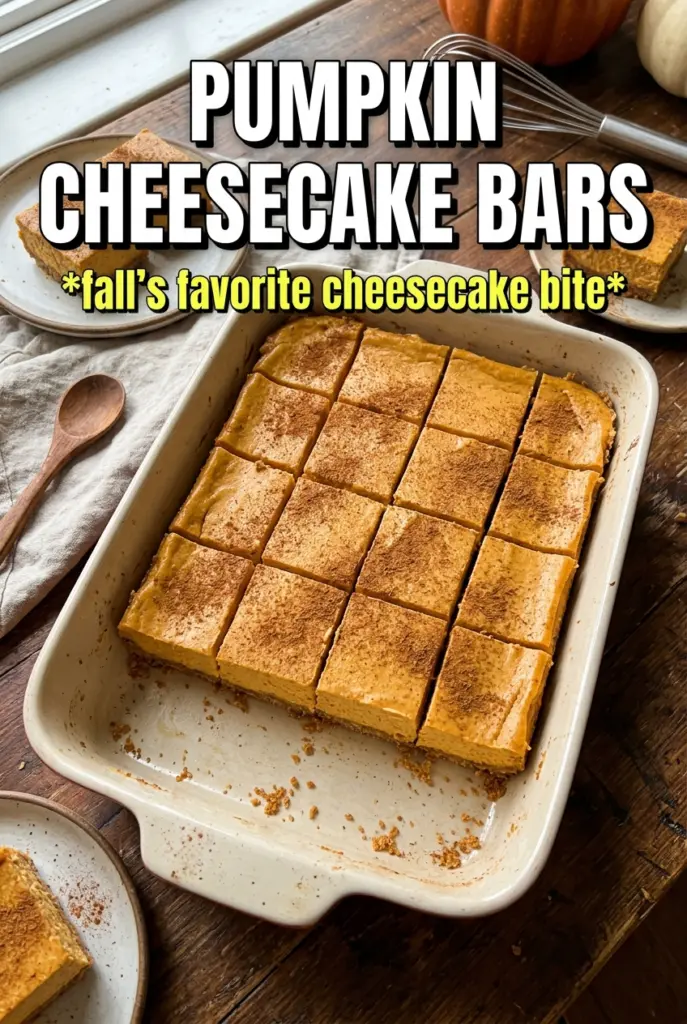
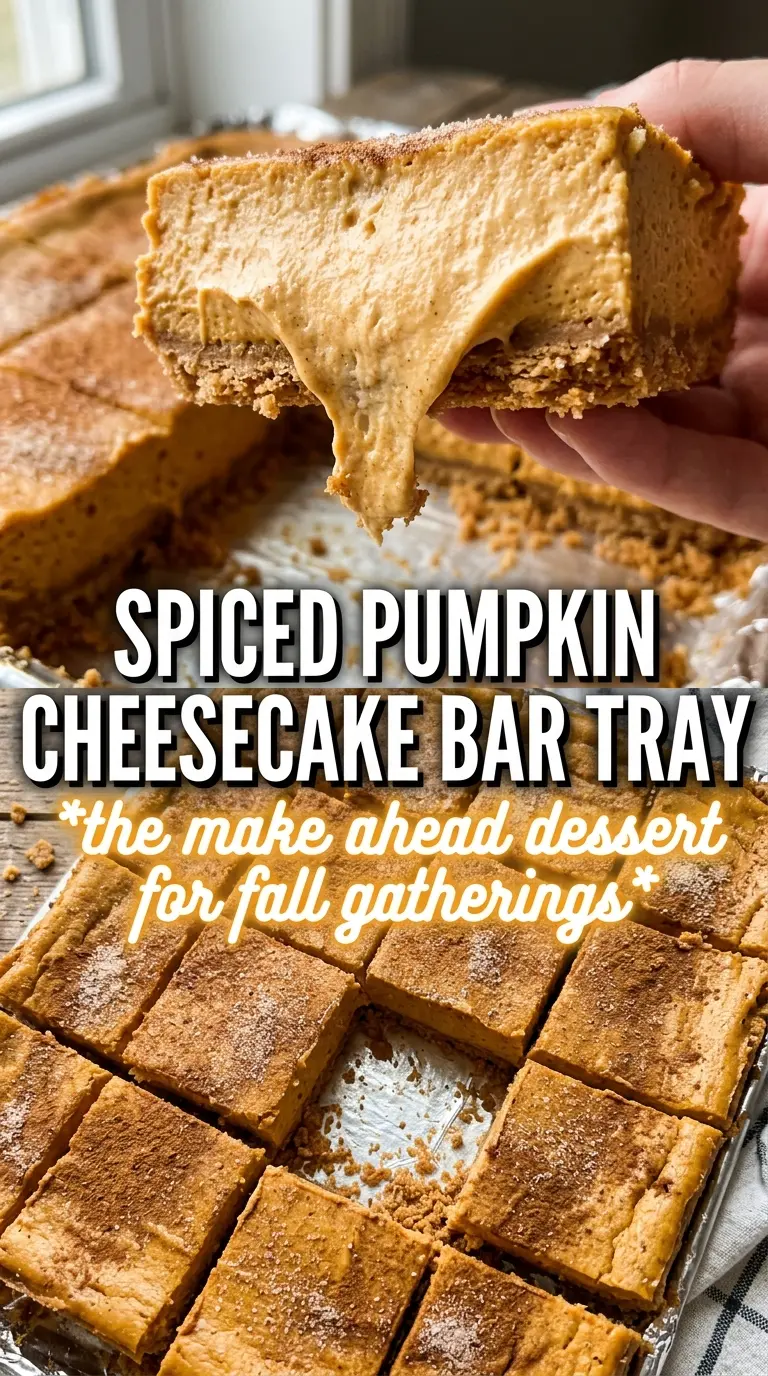
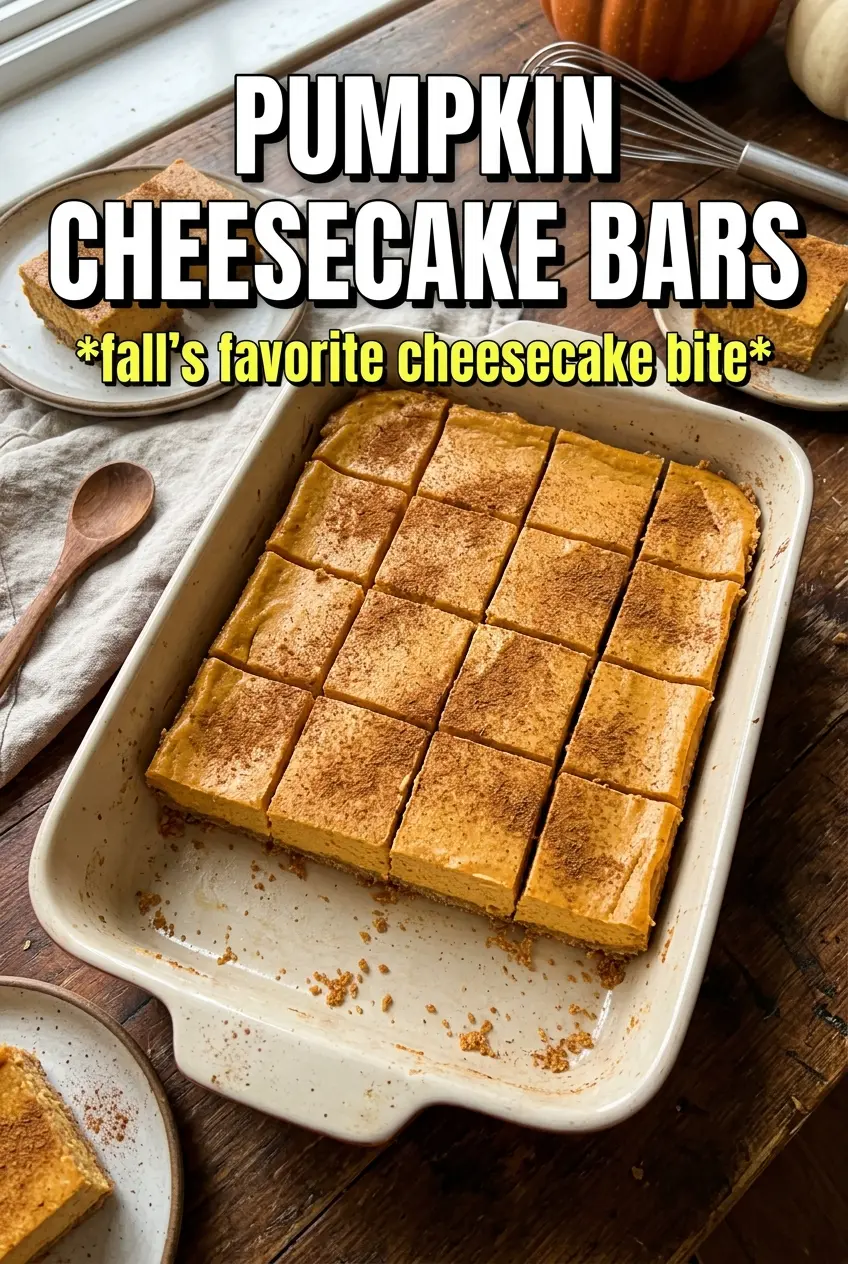
These pumpkin cheesecake bars hit the sweet spot between creamy and spiced, with a gingersnap crust that stays crisp under a smooth, swirled filling. You get the richness of cheesecake, the warmth of pumpkin pie spice, and clean, neat squares that are easier to serve than a full cheesecake. The best part is the contrast: a buttery, crackly base under a chilled filling that slices with sharp edges.
The trick is keeping the cheesecake layer smooth before the pumpkin mixture goes in. Soft cream cheese, low-speed mixing, and room-temperature eggs keep the filling from turning grainy or puffy. The pumpkin portion uses part of the plain batter instead of standing alone, which keeps both layers in the same silky family and gives you those pretty swirls without weighing the bars down.
Below, I’ll walk through the crust, the swirl, and the chilling time that matters more than people think. If you’ve ever cut into cheesecake bars too early and watched them slump, this version gives you the timing and cues that keep the squares clean.
The crust stayed crisp even after chilling, and the pumpkin swirl baked up smooth instead of sinking into the plain cheesecake layer. I cut them after a full chill and they came out in perfect squares.
Save these pumpkin cheesecake bars for the kind of dessert that cuts cleanly, chills beautifully, and gives you a spiced swirl in every square.
The Part Where Cheesecake Bars Usually Go Grainy
The most common mistake with cheesecake bars is rushing the filling and beating too much air into it. Once that happens, the top can puff, crack, or bake up with a dry edge before the center is set. This version stays smoother because the cream cheese gets beaten with the sugar first until it loses every last lump, then the eggs go in one at a time just until combined.
The crust matters too. Gingersnap crumbs have more spice and a deeper crunch than a plain graham crust, and a quick bake before the filling goes in helps it stay firm under the moisture of the cheesecake. If the crust is underbaked, it turns soft at the bottom after chilling and you lose that clean bite.
- Softened cream cheese — This needs to be fully softened so it blends without little white flecks. Cold cream cheese is the fastest way to get a lumpy batter.
- Sour cream — It adds tang and keeps the texture plush instead of dense. Full-fat works best here because low-fat versions can turn watery.
- Pumpkin puree — Use plain pumpkin puree, not pumpkin pie filling. Pie filling already has sugar and spices mixed in, and it throws off both texture and balance.
- Gingersnap crumbs — Their dryness and spice give the base more character than standard cookies. If you swap in graham crackers, add a little pumpkin pie spice to the crust so it doesn’t taste flat.
What Each Ingredient Is Actually Doing in This Recipe
- Primary ingredient (the star) — Quality matters most. Choose the best you can find.
- Cooking medium (oil, butter, or broth) — This carries flavors and prevents dryness.
- Seasonings (salt, pepper, spices, herbs) — Layer flavors so nothing overpowers. Build depth gradually.
- Aromatics (garlic, onion, herbs) — Cook with fat to bloom flavors. Become the foundation.
- Supporting ingredients — Complement the main ingredient without overpowering it.
- Sauce or liquid (if applicable) — Brings flavors together. Balance richness with acid.
- Acid (lemon, vinegar, wine, or other) — Brightens and prevents flat-tasting results.
- Final finish (garnish, glaze, or sauce) — Prevents one-dimensional taste and adds visual appeal.
Building the Swirl Without Mixing It Into One Color
Beat the plain cheesecake mixture first, then scoop out part of it for the pumpkin layer. That keeps both layers thick enough to hold shape, which is what makes the swirl visible after baking instead of turning muddy in the oven. The pumpkin mixture should look smooth and slightly darker than the base batter, but it still needs to pour or spoon easily.
When you dollop the pumpkin mixture over the plain layer, don’t drag the knife through it too many times. A few gentle passes are enough. If you over-swirl, the layers blend into one another and you lose the marbled look that makes these bars special.
Pressing and Baking the Crust
Mix the gingersnap crumbs, sugar, and melted butter until every crumb looks evenly damp, then press it firmly into the parchment-lined pan. A flat-bottomed measuring cup works well for packing it down tight and even. Bake it just long enough to set and deepen the color; if it goes too far, the edges can turn bitter before the filling ever hits the pan.
Mixing the Cheesecake Base
Beat the cream cheese and sugar until the mixture looks glossy and completely smooth, scraping the bowl as needed. Add the eggs one at a time and stop mixing as soon as they disappear. Overmixing after the eggs go in whips in air, and that air is what often causes cracks or a puffed center.
Making the Pumpkin Layer
Scoop out 1 1/2 cups of the plain batter and whisk in the pumpkin puree, brown sugar, pumpkin pie spice, and cinnamon. The result should look thick but spoonable, with no streaks of pumpkin left in the bowl. If it seems loose, the batter was likely too warm or the cream cheese wasn’t thick enough to begin with.
Swirling and Baking to the Set Point
Pour the plain batter over the crust, then drop the pumpkin mixture in spoonfuls across the surface. Run a knife through it in broad figure-eight motions, stopping while the marbling still looks distinct. Bake until the edges are set and the center has only a slight wobble when you nudge the pan; if the middle looks liquid, it needs more time, but if it looks completely firm in the oven, it’s probably overbaked.
Make Them Gluten-Free with the Right Crumb Swap
Use gluten-free gingersnap cookies or gluten-free graham crackers and crush them finely. The texture stays close to the original as long as the crumbs are dry and uniform, but very soft gluten-free cookies can make the crust sandy instead of crisp.
Dairy-Free Bars That Still Slice Cleanly
Use a dairy-free cream cheese that’s designed for baking and swap the butter for a plant-based stick butter. The filling won’t have quite the same tang as classic cheesecake, but it will still chill into neat bars if you give it the full resting time.
Extra-Spiced Bars for Bigger Pumpkin Flavor
Add another 1/2 teaspoon pumpkin pie spice to the pumpkin portion if you want a sharper spiced finish. That gives the bars more warmth, but too much cinnamon will crowd out the cream cheese flavor, so keep the boost modest.
Storage and Reheating
- Refrigerator: Store covered for up to 5 days. The bars actually slice more cleanly after an overnight chill.
- Freezer: These freeze well. Cut into bars, wrap individually, and freeze in a tight container for up to 2 months.
- Reheating: There’s no real need to reheat them. Let frozen bars thaw in the fridge so the filling stays creamy; microwaving softens the crust and makes the layers blur.
Answers to the Questions Worth Asking
Pumpkin Cheesecake Bars
Ingredients
Equipment
Method
- Preheat oven to 325°F and line a 9x13 pan with parchment paper.
- Press gingersnap crumbs mixed with sugar and melted butter into the lined pan to form an even crust.
- Bake the crust for 8 minutes, until set and fragrant, then remove to cool slightly.
- Beat the softened cream cheese and granulated sugar until smooth.
- Add eggs, sour cream, and vanilla, then beat just until fully combined and glossy.
- Remove 1-1/2 cups of the cream cheese mixture into a separate bowl and whisk in pumpkin puree, brown sugar, pumpkin pie spice, and cinnamon until smooth.
- Pour the plain cheesecake mixture over the baked crust and spread it into an even layer.
- Dollop the pumpkin mixture over the top in spoonfuls.
- Swirl the layers with a knife by making gentle passes through the batter for a marbled look.
- Bake at 325°F for 35 to 38 minutes, until the center is just set with a slight jiggle.
- Cool the bars to room temperature, about 30 minutes, so the filling finishes setting.
- Refrigerate for 3 hours to fully chill before slicing.
- Cut into bars and serve chilled for the cleanest layers.