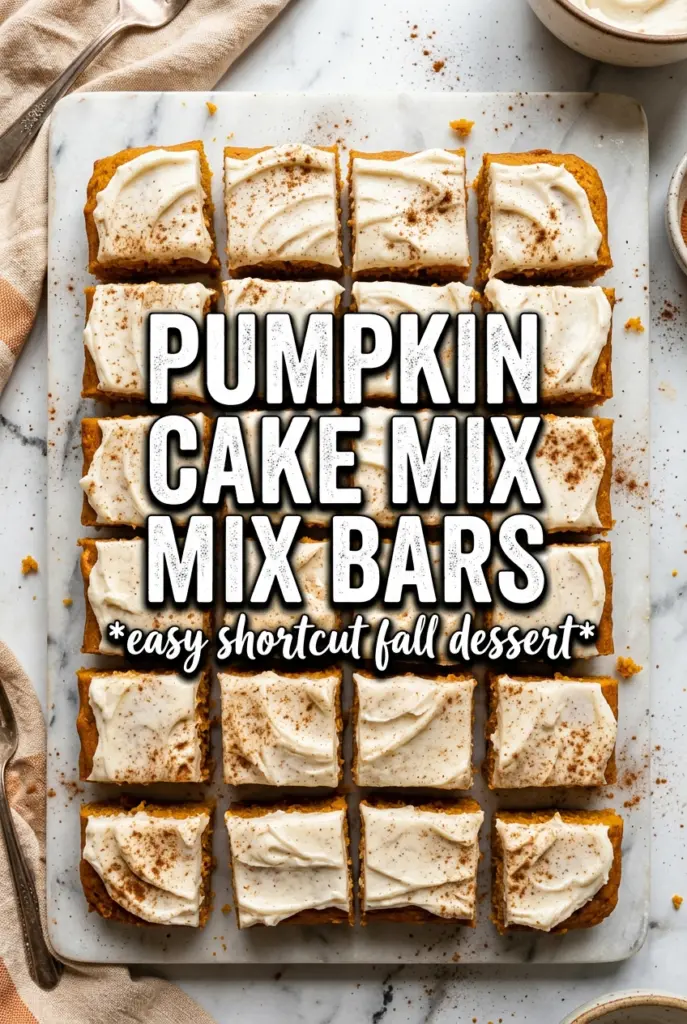
Soft, spiced pumpkin bars with cake mix are the kind of dessert that disappears fast because they hit the sweet spot between cake and bar cookie. The crumb stays tender and moist, the pumpkin gives them that deep orange color and gentle earthiness, and the cream cheese frosting seals the whole thing together with a cool, tangy finish. Cut into neat rectangles, they look like you spent far more time on them than you did.
The shortcut works because spice cake mix already carries the warm baking spices and structure you need, so the pumpkin can do what it does best: add moisture and keep the bars plush. A full can of pumpkin puree is enough to make the batter thick and rich, but the eggs and oil are still doing important work here. They keep the bars from turning gummy, which is the main risk with pumpkin desserts made from boxed mix.
Below, I’m sharing the small details that keep the bars from baking up dense, plus the frosting trick that makes them slice cleanly after chilling. If you’ve ever had pumpkin bars that tasted good but looked messy on the plate, this version fixes that.
The bars baked up super moist without being heavy, and the frosting set just enough after chilling that I could cut perfect squares. My sister asked for the recipe before dessert was even over.
Save these pumpkin bars with cake mix for the easiest frosted dessert that still slices into tidy, bakery-style squares.
The Mistake That Makes Cake Mix Pumpkin Bars Heavy
The biggest trap with pumpkin bars made from boxed mix is overmixing a batter that’s already on the thick side. Once the dry mix hits the pumpkin, eggs, and oil, it comes together fast. Stir just until the batter looks smooth and the flour streaks are gone. If you keep beating it, the bars can turn tight and bready instead of soft and plush.
The other place people go wrong is underbaking. These bars should look set at the edges and spring back lightly in the center, with a toothpick coming out clean or with a few moist crumbs. If the middle still looks wet, give them a few more minutes. Pumpkin batter can hide raw spots under a browned top, and pulling them too early leaves you with a gummy center.
What the Box Mix, Pumpkin, and Frosting Each Bring to the Pan
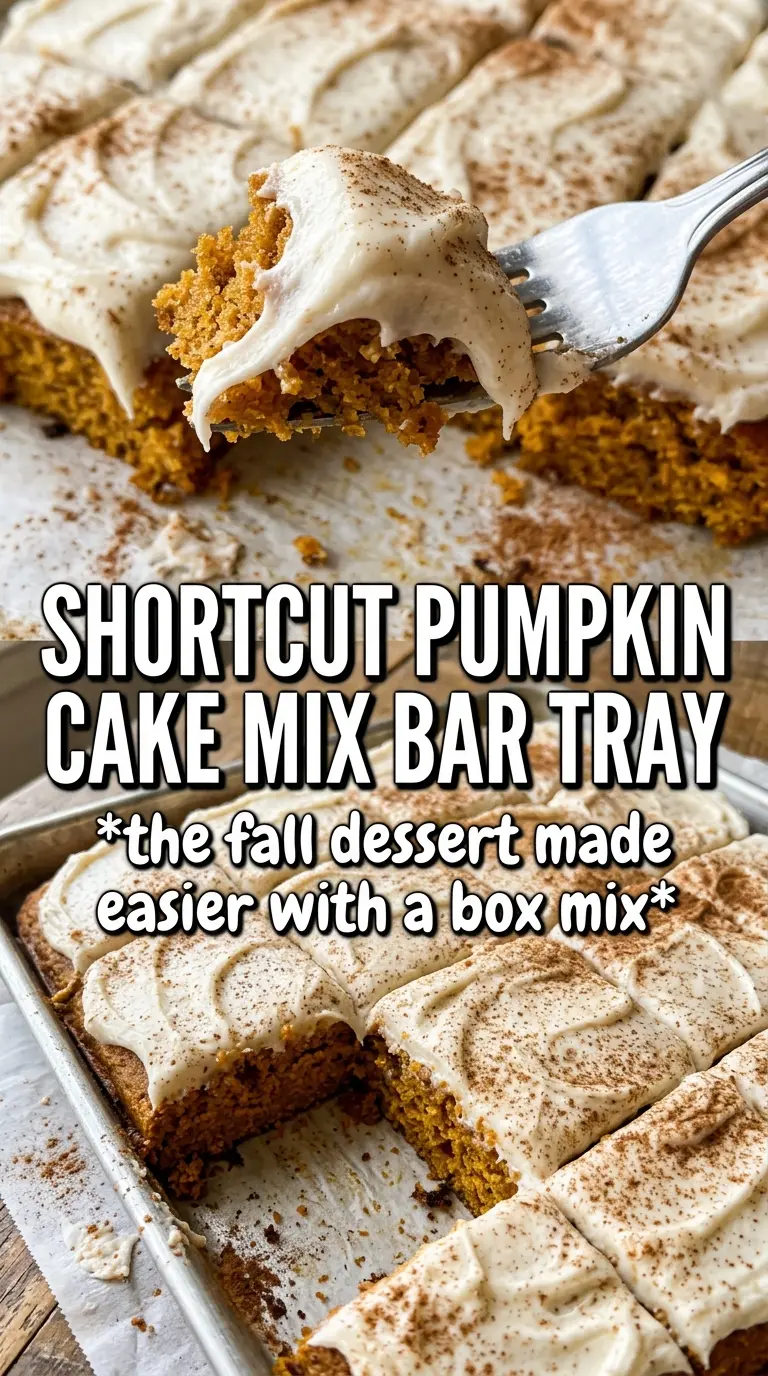
- Spice cake mix — This is the shortcut that gives the bars structure and built-in warm spice. A plain yellow cake mix works in a pinch, but you’ll need extra pumpkin pie spice to get the same depth.
- Pumpkin puree — Use pure pumpkin puree, not pumpkin pie filling. The puree keeps the bars moist without making them overly sweet, and the difference matters because pie filling brings sugar and spices that throw off the balance.
- Eggs — These hold the batter together and help the bars set in the pan. Three eggs may seem like a lot, but they keep the pumpkin-heavy batter from baking up dense and wet in the middle.
- Vegetable oil — Oil gives the bars a softer crumb than melted butter would. If you swap in butter, the bars will taste a little richer but they can bake up firmer once chilled.
- Cream cheese frosting — This is what turns a good pan of pumpkin bars into something worth cutting neatly and serving. The cream cheese needs to be softened enough to beat smooth before the powdered sugar goes in, or you’ll end up chasing lumps the whole time.
How to Get Pumpkin Bars That Bake Evenly and Slice Cleanly
Building the Batter Without Overworking It
Start with a large bowl and stir the cake mix, pumpkin puree, eggs, oil, and pumpkin pie spice together until the batter is smooth and no dry pockets remain. It will be thick, almost like a very heavy cake batter, and that’s exactly what you want. Don’t keep mixing once it looks combined. Extra stirring develops the cake mix more than you need and can make the bars tough.
Spreading It Into the Pan
Grease the 15×10 jelly roll pan well, then scrape the batter in and spread it into an even layer. An offset spatula helps, but the back of a spoon works too. The surface doesn’t need to be perfectly smooth, just level enough that the bars bake at the same speed. If the batter is piled thicker in the corners, those edges can dry out before the center finishes.
Baking Until Set, Not Dry
Bake at 350°F for 25 to 30 minutes. Start checking early, because a pan this size can go from perfectly done to overbaked quickly. The bars are ready when the top springs back when touched lightly and a toothpick inserted in the center comes out clean. Let them cool completely before frosting or the topping will melt and slide around.
Frosting and Chilling for Neat Squares
Beat the cream cheese, butter, powdered sugar, vanilla, cinnamon, and milk until the frosting is smooth and fluffy. If it feels too thick to spread, add a teaspoon of milk at a time. Spread it over fully cooled bars, then refrigerate for about 30 minutes before cutting. That short chill firms the frosting just enough to give you clean edges instead of smears.
How to Adapt These Pumpkin Bars When You Need a Different Version
Gluten-Free Version With a Cake Mix Swap
Use a gluten-free spice cake mix in place of the regular one and keep everything else the same. The texture will be a touch more delicate, so let the bars cool completely before frosting and chilling. They still hold together well, but they slice best when cold.
Dairy-Free Frosting That Still Spreads Well
Swap the cream cheese and butter for dairy-free versions that are meant for baking and frosting. The flavor will be a little less tangy, but the bars still taste great if you keep the cinnamon and vanilla in the frosting. Chill before cutting, since dairy-free frosting can be softer at room temperature.
A Thicker, More Cake-Like Bar
Bake the batter in a slightly smaller pan if you want thicker bars, but add a few extra minutes and watch the center closely. The bars will come out more cake-like and less snackable in shape, which is great for serving on a plate with a fork. Just don’t cut into them warm or they’ll collapse a bit at the center.
Storage and Reheating
- Refrigerator: Store covered for up to 5 days. The bars actually slice a little cleaner after a night in the fridge.
- Freezer: Freeze unfrosted bars tightly wrapped for up to 2 months. Frosting after thawing gives the best texture, since cream cheese frosting can weep a little when frozen and thawed.
- Reheating: These are best served chilled or at cool room temperature, not reheated. If you want to soften a refrigerated bar, let it sit out for 15 to 20 minutes instead of microwaving it, which can make the frosting melt and the crumb get greasy.
Questions I Get Asked About This Recipe
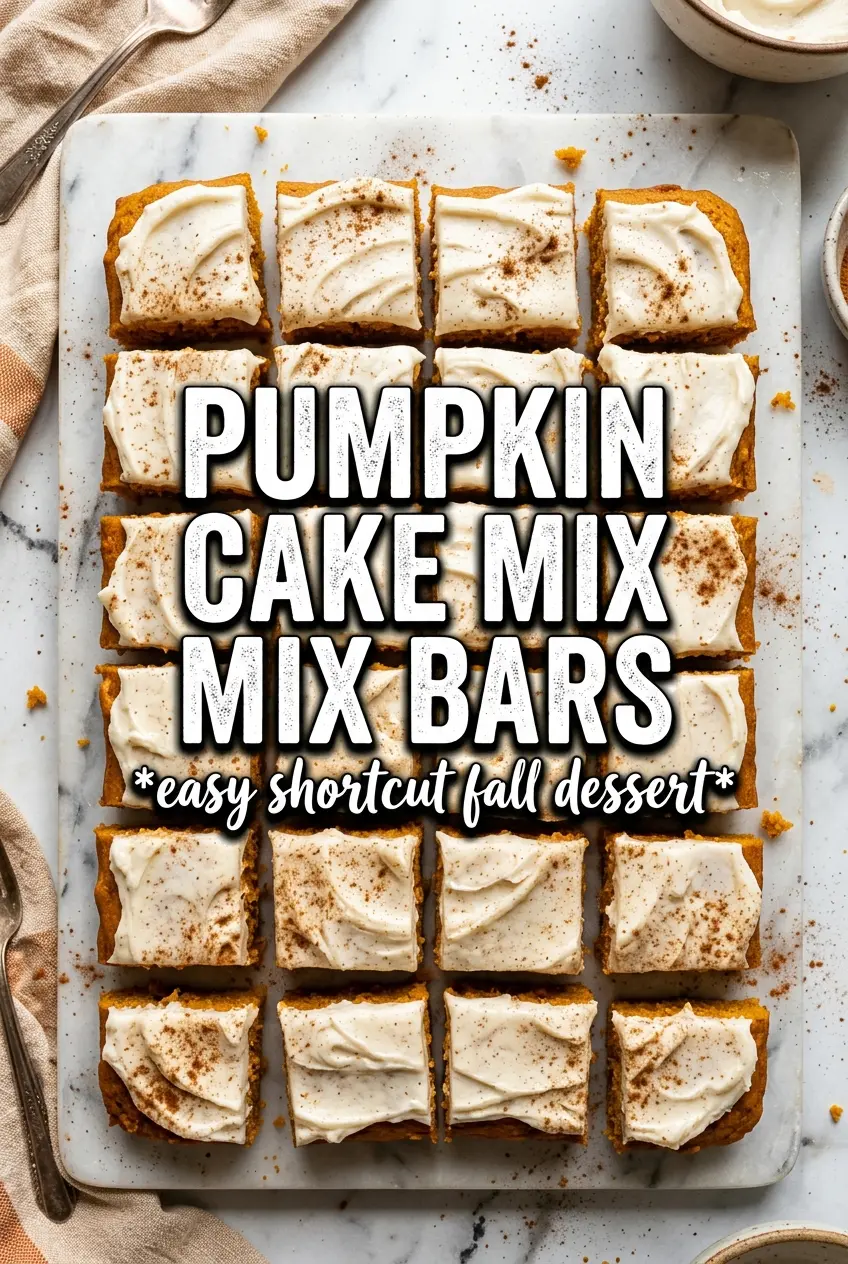
Pumpkin Bars With Cake Mix
Ingredients
Equipment
Method
- Preheat the oven to 350F, then grease a 15x10 jelly roll pan so the bars release cleanly.
- Combine spice cake mix, pumpkin puree, eggs, vegetable oil, and pumpkin pie spice, then stir until smooth with no visible dry streaks.
- Spread the batter evenly in the prepared pan, smoothing the top so it bakes uniformly.
- Bake for 25-30 minutes, until a toothpick inserted in the center comes out clean and the edges look set.
- Cool completely in the pan before frosting, so the frosting won’t melt or slide.
- Beat cream cheese frosting ingredients together until smooth and fluffy, with a lighter, spreadable texture.
- Spread the frosting over the cooled bars, then swirl lightly with a spatula to create ribbons on top.
- Refrigerate for 30 minutes before cutting, until the frosting firms and the bars hold their shape.