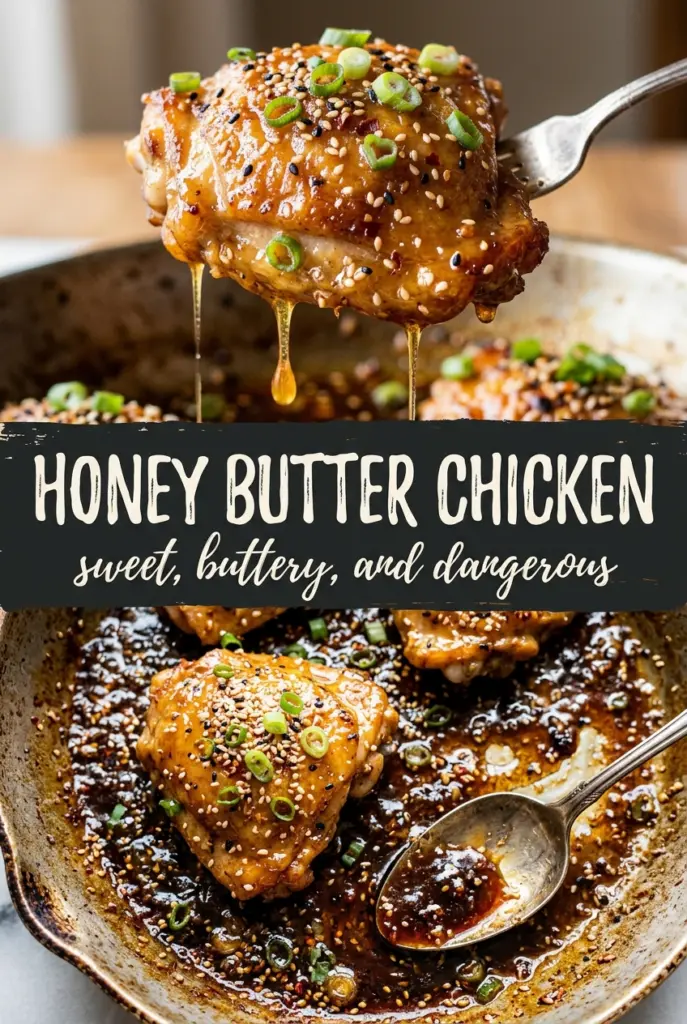
Honey butter chicken lands in that sweet spot between weeknight simple and special enough to feel like you did something extra. The chicken sears into a deep golden crust, then gets coated in a glossy sauce that tastes rich, sticky, and just sharp enough from the vinegar to keep the butter from turning heavy. Every bite has that contrast: savory edges, tender meat, and a glaze that clings instead of running off the plate.
What makes this version work is balance. The chicken gets seasoned before it ever hits the pan, so the crust starts with flavor instead of relying on the sauce to do all the work. Then the sauce builds in the same skillet, which means the browned bits left behind by the chicken melt into the butter and honey instead of getting washed away. That’s where the real depth comes from.
Below, I’ve broken down the one part that matters most for getting the sauce glossy instead of greasy, plus a few swaps and storage notes that help this recipe hold up on a real weeknight.
The sauce turned glossy instead of greasy, and the garlic stayed mellow rather than burning. I basted the chicken for the last couple minutes like you said, and it coated the breasts beautifully.
Save this honey butter chicken for the nights when you want a sticky skillet glaze and a fast chicken dinner with almost no cleanup.
The One Thing That Keeps the Glaze From Turning Thin and Watery
The mistake most honey chicken recipes make is rushing the sauce before the pan has enough flavor in it. You need those browned chicken bits stuck to the skillet first, because they dissolve into the butter and give the glaze a savory backbone. Without that, the honey tastes flat and the sauce can slide off the chicken instead of coating it.
The other thing worth watching is heat. Honey thickens fast, and butter can separate if the pan is too hot when the sauce comes together. Keep the sauce at a gentle simmer, then return the chicken long enough to coat and reduce slightly. That last minute or two is what turns it from a sweet pan sauce into an actual glaze.
What Each Ingredient Is Actually Doing in the Pan

- Chicken breasts — Boneless, skinless breasts give you a lean base that sears well and finishes quickly. If yours are thick, slice them horizontally or pound them to even thickness so they cook through before the outside overcooks.
- Butter — This is what gives the sauce its body and shine. Salted or unsalted both work, but if you use salted butter, back off a little on the seasoning until the sauce is finished.
- Honey — Use a honey you actually like the taste of, because it leads the sauce. Darker honey brings a deeper finish; lighter honey tastes cleaner and softer.
- Soy sauce and apple cider vinegar — Soy sauce brings salt and umami, while vinegar cuts through the sweetness so the glaze doesn’t taste one-note. Skip either one and the sauce gets dull or overly sticky.
- Garlic — Fresh garlic matters here. Jarred garlic can work in a pinch, but fresh cloves give the sauce a cleaner finish and don’t taste muddy after simmering.
Getting the Chicken Golden Before the Glaze Goes On
Seasoning the Meat
Season the chicken before it hits the skillet so the surface has flavor all the way through the crust. Salt, pepper, garlic powder, and smoked paprika give you a savory base that stands up to the honey. If the chicken is wet when it goes in, it steams instead of browns, so pat it dry first.
Building the Sear
Heat the olive oil over medium-high until it shimmers, then lay the chicken in without crowding the pan. You want a steady sizzle the second it touches the surface. Leave it alone until it releases cleanly and the underside is deep golden; if you force it early, you’ll tear the crust and lose that flavor.
Making the Sauce in the Same Pan
Once the chicken comes out, keep the skillet on the heat and add the butter. The garlic should smell fragrant in about a minute, not browned and bitter. Stir in the honey, soy sauce, and vinegar, then let it come to a gentle simmer so the sauce thickens slightly before the chicken goes back in.
Finishing and Basting
Return the chicken to the pan and spoon the sauce over the top for the last couple minutes. This is where the glaze tightens up and starts clinging in a shiny layer. If the sauce looks too thin, give it another minute; if it looks greasy, the heat was too high and you need to pull the pan back before it separates further.
How to Adjust Honey Butter Chicken for Different Kitchens and Different Nights
Make it with chicken thighs
Boneless thighs stay juicier and forgive a little extra cooking time. They’ll take a few minutes longer than breasts, but the richer meat stands up well to the sweet glaze and gives you a slightly more savory finish.
Make it dairy-free
Use a plant-based butter that melts smoothly and has a neutral flavor. You’ll lose a little richness, but the honey, garlic, and vinegar still carry the dish well if you keep the pan at a gentle simmer.
Make it gluten-free
Swap in tamari or a certified gluten-free soy sauce. The flavor stays close to the original, and the sauce still thickens the same way because the reduction is doing the work, not a flour-based roux.
Turn it into a spicier glaze
Add a pinch of red pepper flakes with the garlic or stir in a little hot sauce with the honey. That gives the glaze heat without changing its texture, and the little kick keeps the sweetness from taking over.
Storage and Reheating
- Refrigerator: Store leftovers in an airtight container for up to 3 days. The sauce will thicken as it chills, which is normal.
- Freezer: It freezes, but the glaze can separate a bit on thawing. Freeze in a sealed container for up to 2 months if needed, then stir well after reheating.
- Reheating: Warm gently in a covered skillet over low heat with a splash of water to loosen the sauce. High heat can make the honey scorch and the chicken dry out before the center is warm.
Answers to the Questions Worth Asking
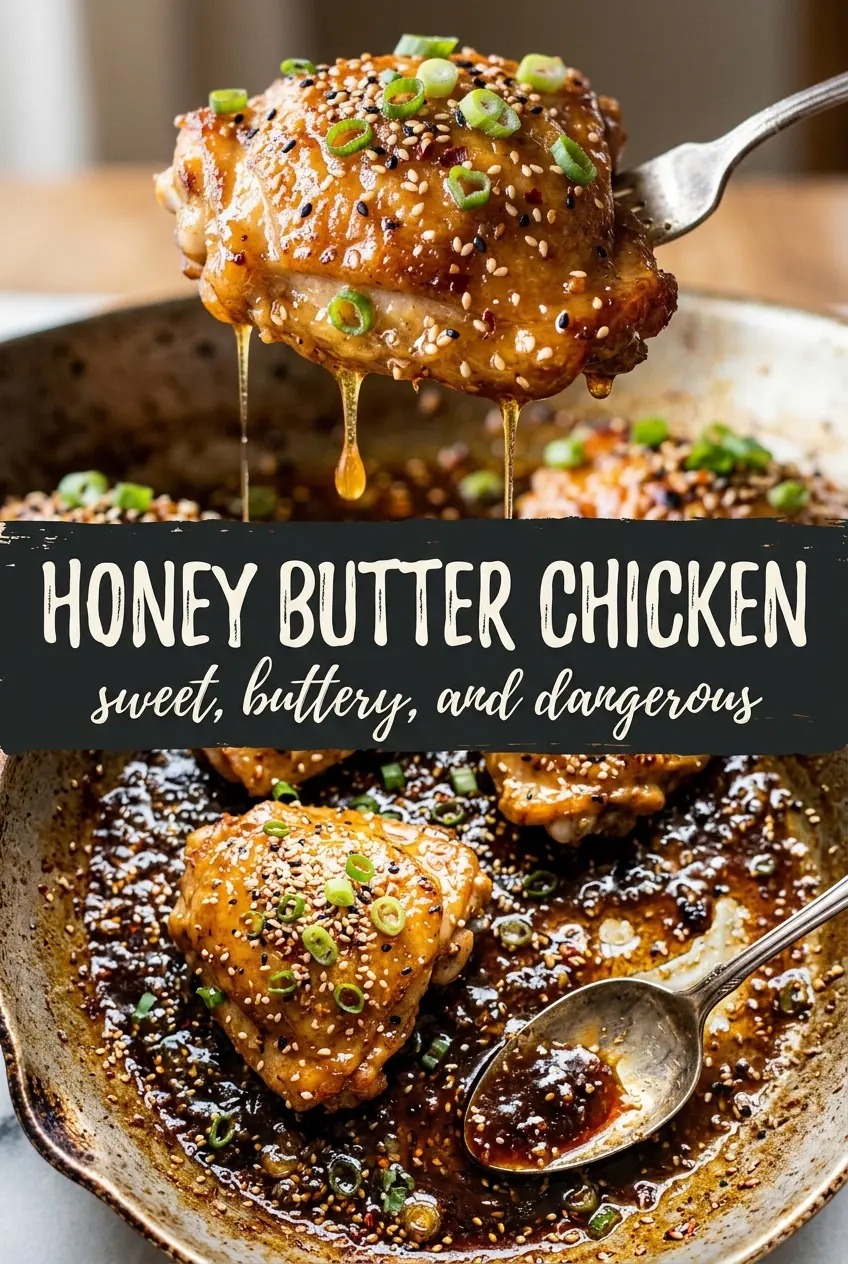
Honey Butter Chicken
Ingredients
Equipment
Method
- Season boneless skinless chicken breasts with salt, pepper, garlic powder, and smoked paprika to taste. Heat olive oil in a large skillet over medium-high heat and sear until deep golden, 5-6 minutes per side, until the chicken reaches an internal temperature of 165°F, then remove.
- Melt butter in the same pan over medium heat. Add minced garlic and cook for 1 minute until fragrant and lightly golden.
- Stir in honey, soy sauce, and apple cider vinegar, then bring the mixture to a simmer. Let it simmer briefly so the flavors meld and the sauce starts to look glossy.
- Return the chicken to the pan and cook for 2-3 minutes, turning and basting as the sauce reduces. Cook until the honey butter sauce caramelizes and coats the chicken in a shiny amber layer.
- Plate the chicken and drizzle with any remaining sauce. Finish with fresh thyme leaves and flaky sea salt.