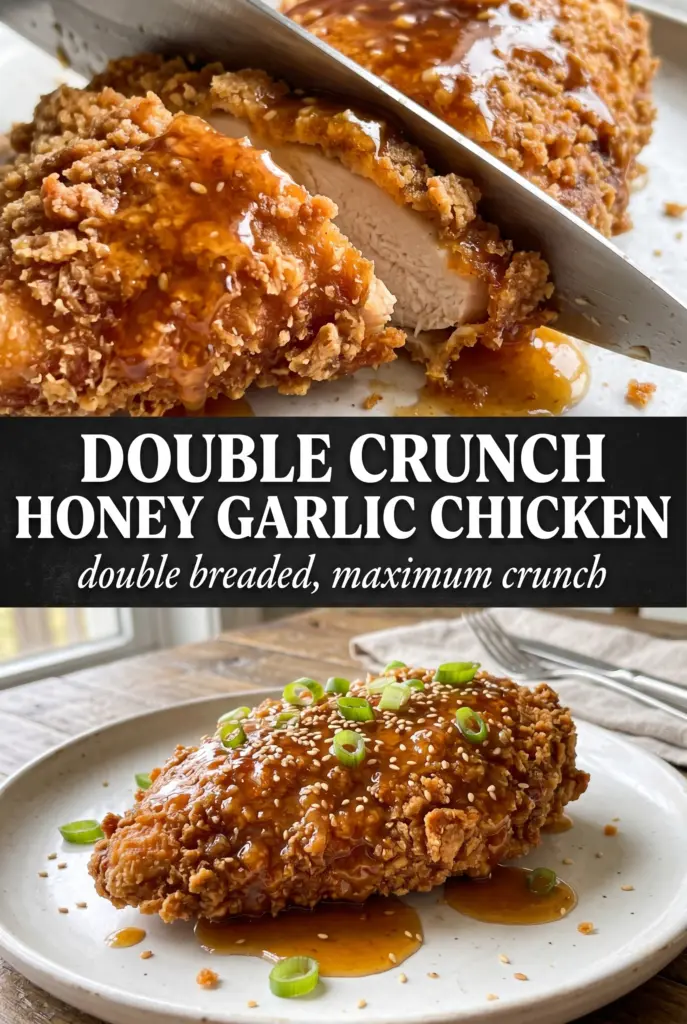
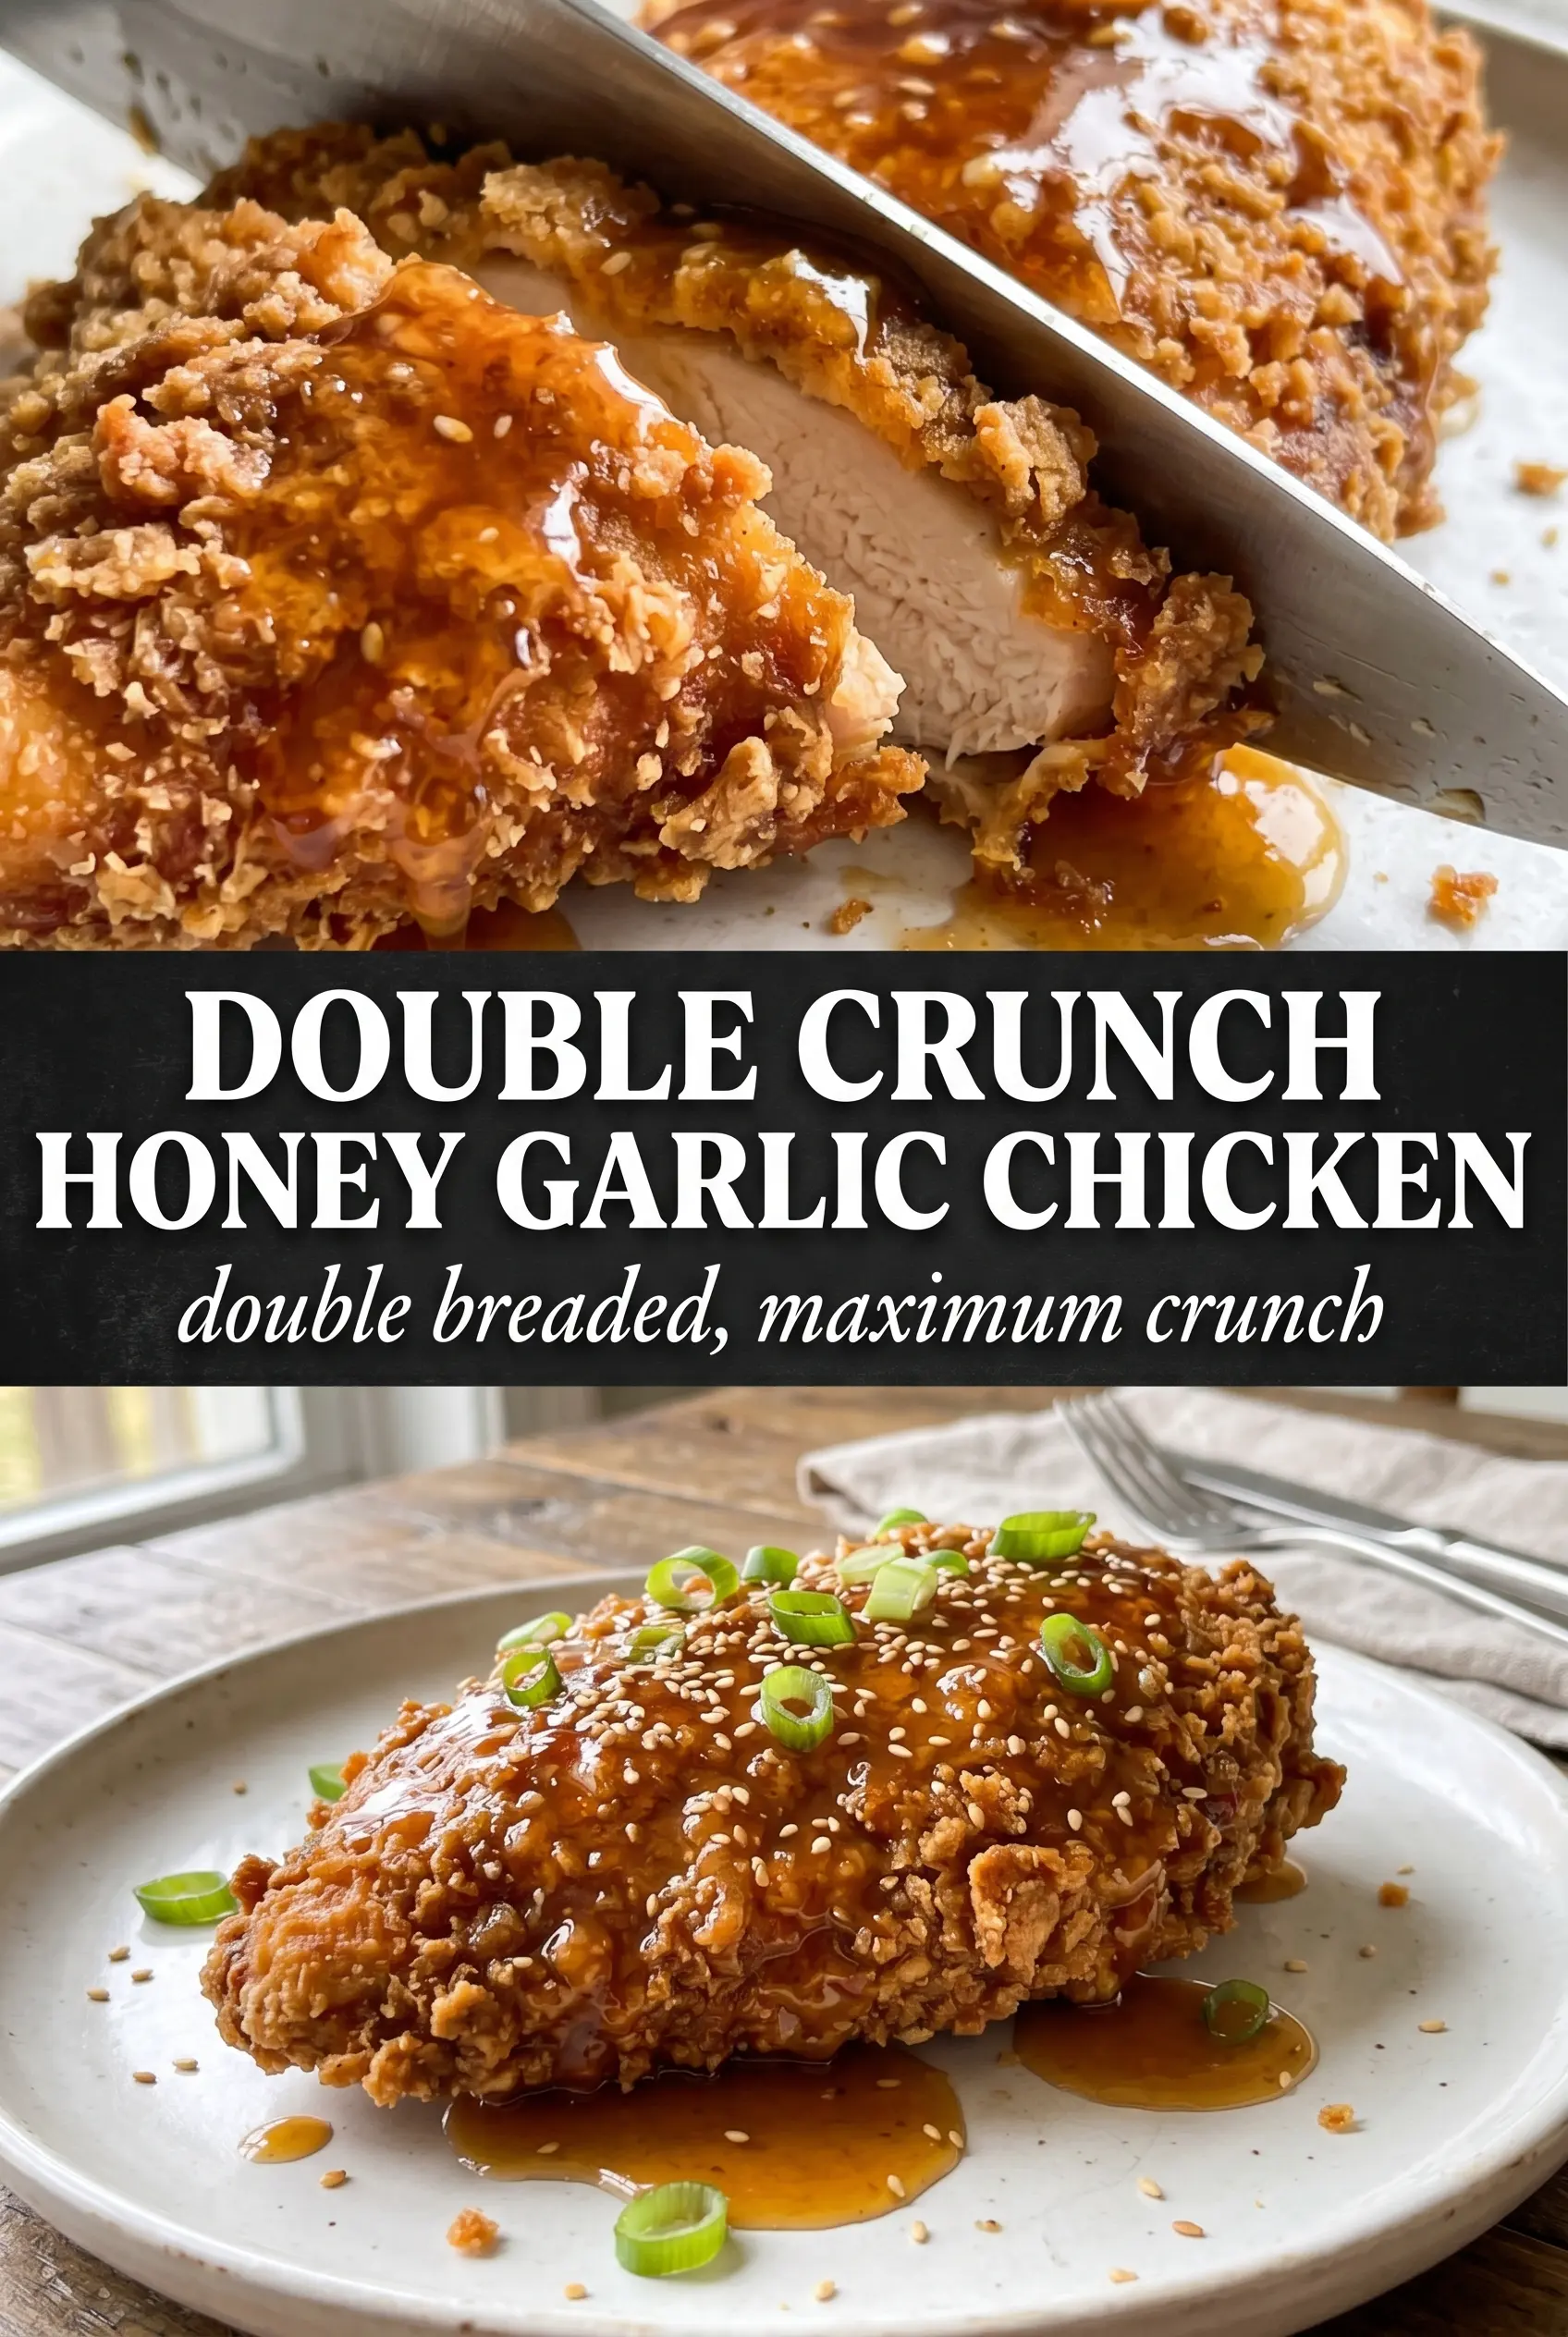
Extra-crisp chicken breasts drenched in sticky honey garlic sauce earn their place fast, because the coating stays shatteringly crunchy even after the glaze hits the plate. The first bite gives you salt, smoke, and garlic from the crust, then that sweet-savory sauce comes through and clings to every ridge instead of sliding off.
The double-dredge is what makes this version worth making. Flour, egg, then flour again builds a rough, craggy shell that fries up with more surface area, which means more crunch and better sauce hold. Pounding the chicken to an even thickness matters too; it keeps the breasts juicy and helps the coating cook at the same pace as the center.
Below you’ll find the exact cues I watch for in the skillet, plus a few ways to keep the coating crisp if you’re serving this with rice, noodles, or leftovers the next day.
The coating stayed crunchy even under the sauce, and the honey garlic glaze thickened up instead of turning watery. I pounded the chicken a little thinner and it cooked evenly in the pan with no dry spots at all.
Pin the double crunch honey garlic chicken for nights when you want extra-crispy chicken breasts with a sticky glaze that actually stays put.
The Double Dredge Is What Keeps the Crust from Going Flat
Most breaded chicken loses its edge because the coating is too smooth. A single flour dredge makes a thin shell, but the flour-egg-flour sequence gives you those rough little ridges that fry into a bigger, crunchier crust. That’s the whole trick here. The second coat grabs the egg in uneven patches, and those patches turn into crisp craters in the oil.
The other mistake is crowding the pan or frying at the wrong temperature. If the oil is too cool, the chicken drinks it up and goes greasy. If it’s too hot, the coating browns before the breast cooks through. You want steady medium-high heat and enough space for the oil to stay around 350°F.
- First flour dredge — This gives the egg something dry to cling to. Shake off the excess, but don’t be too neat; a little shaginess is what helps the second coat grab.
- Beaten eggs — They act like glue. Beat them until the whites and yolks are fully combined so every part of the chicken gets an even coating.
- Second flour dredge — This is where the crunch gets built. Press the flour on lightly with your fingertips so it sticks in craggy layers instead of dusting on in a smooth film.
- Oil temperature — Use a thermometer if you have one. At 350°F, the crust browns steadily while the chicken cooks through without scorching.
What the Seasoning Blend Is Actually Doing Here
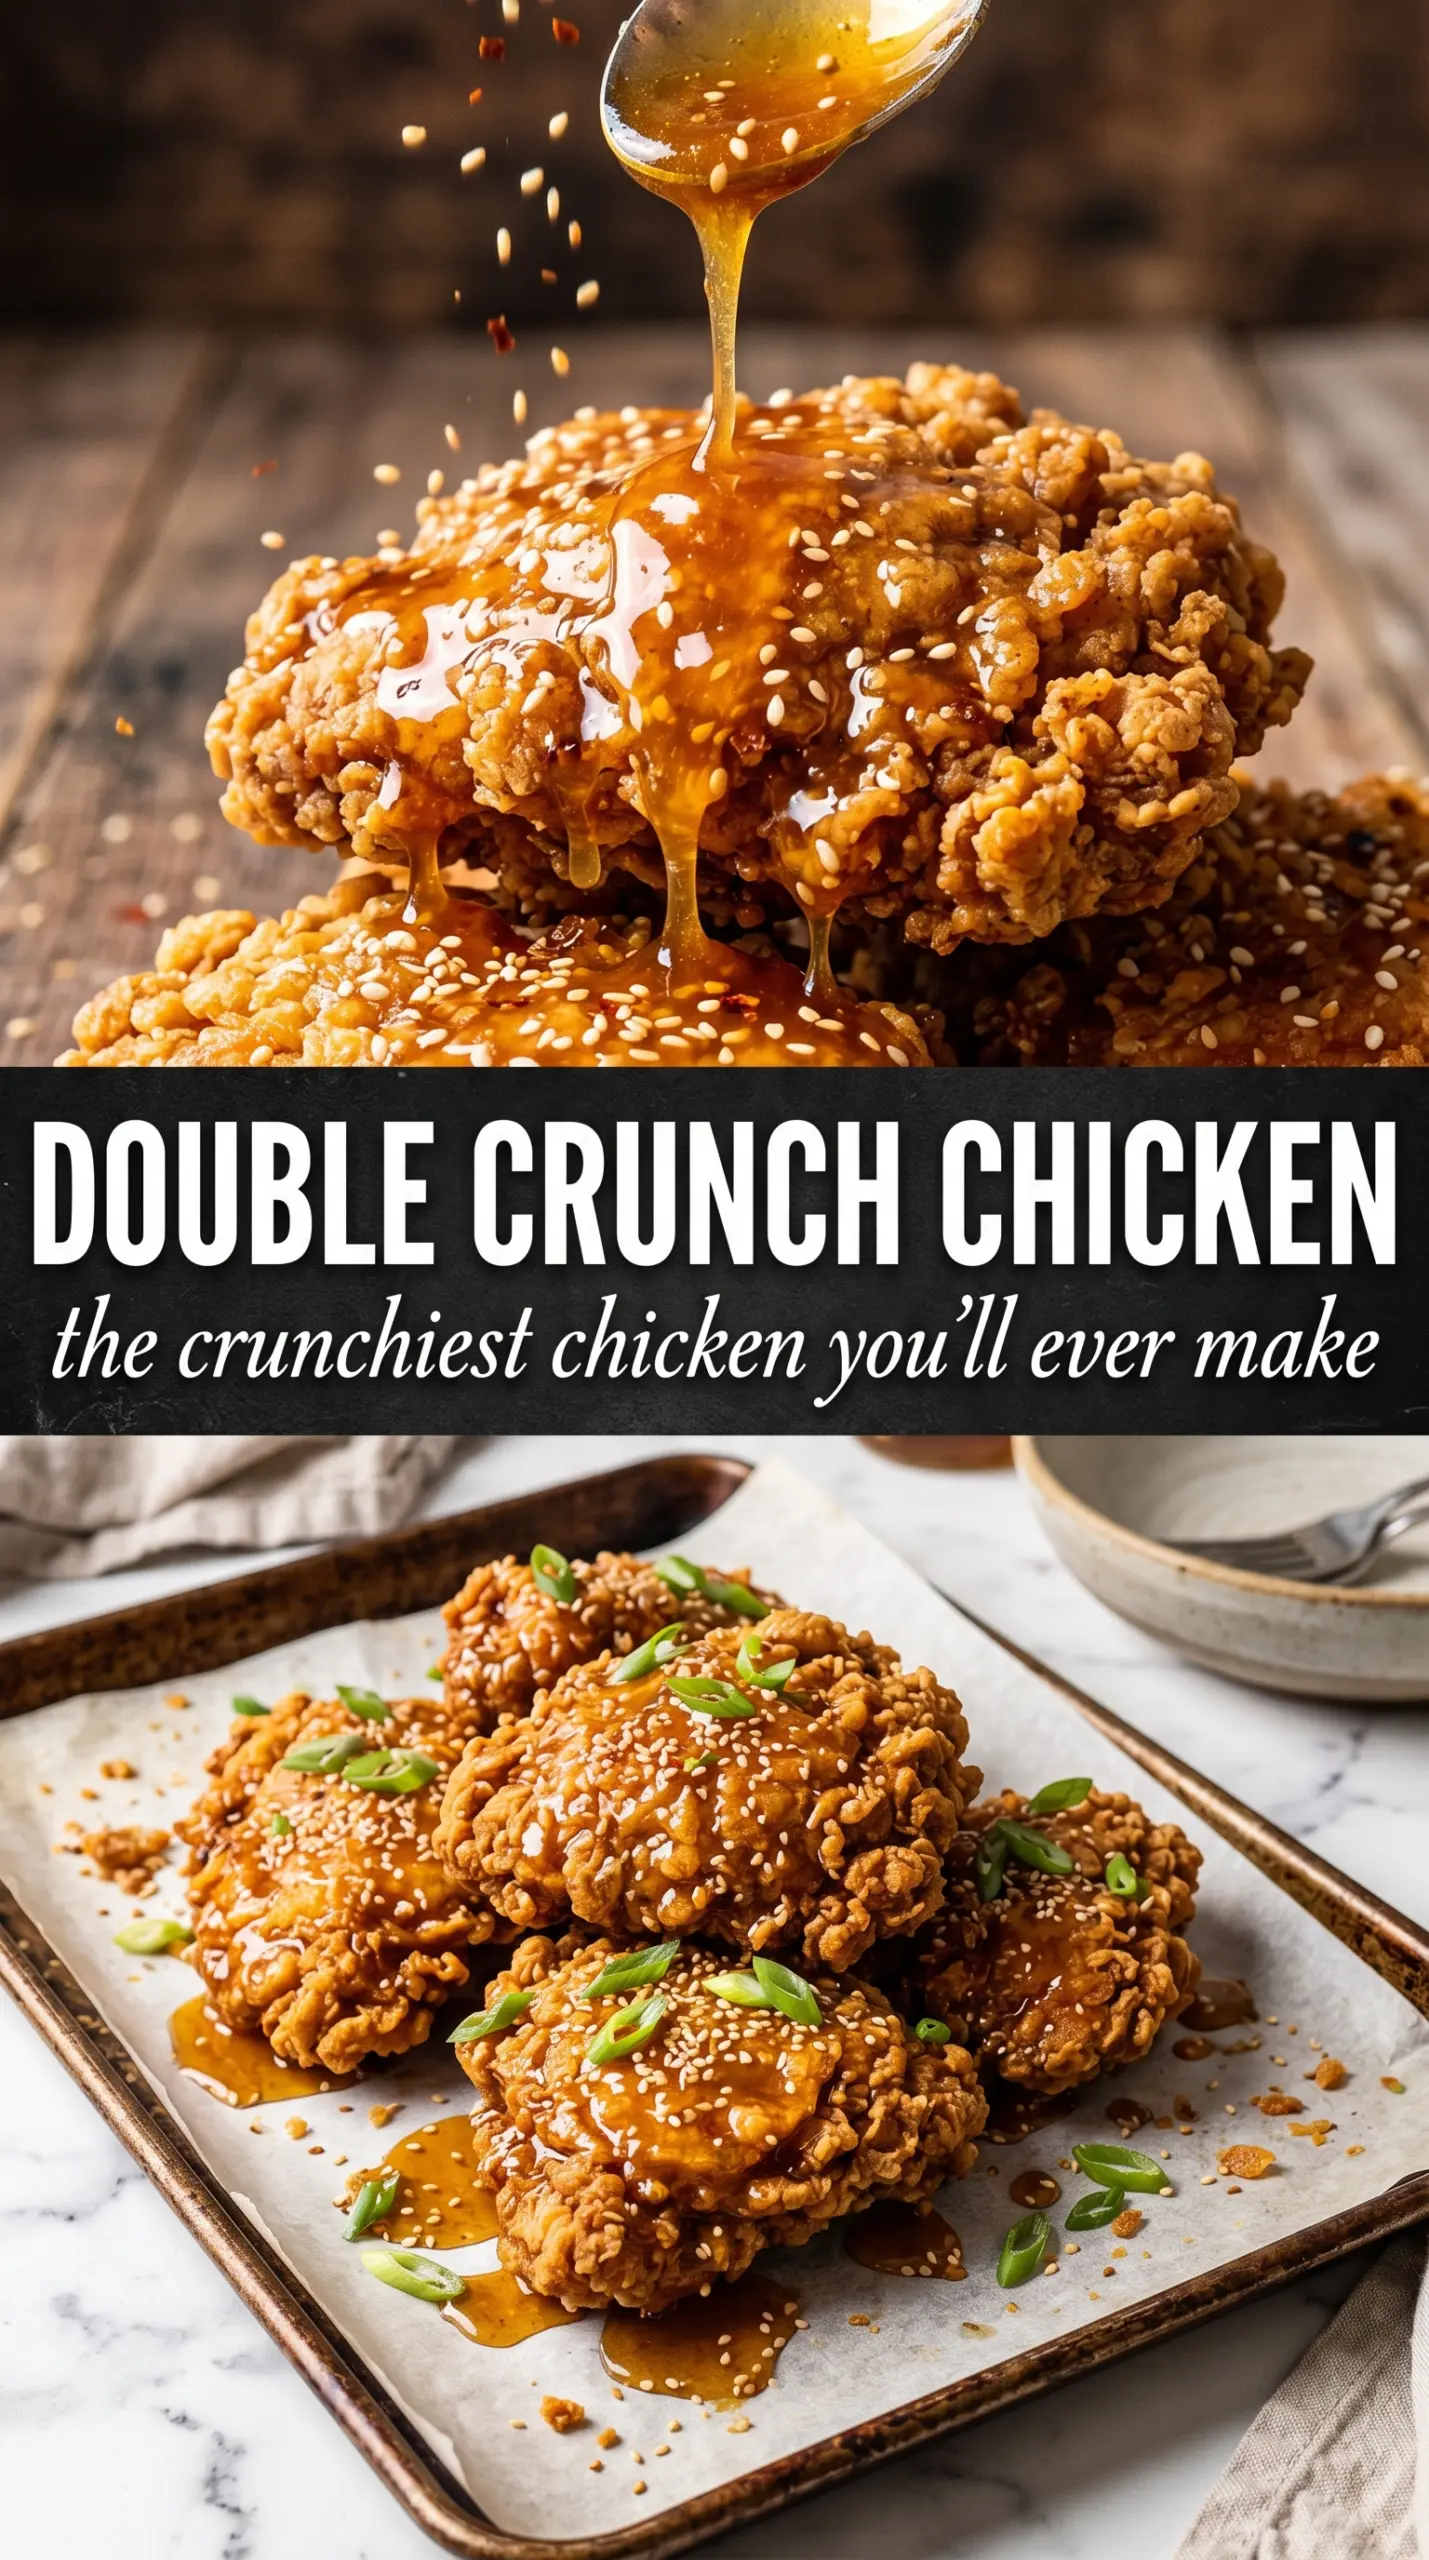
There isn’t any filler in the coating. The flour carries the structure, but the spices are what keep it from tasting like plain fried chicken under the glaze. Garlic powder and onion powder round out the base, smoked paprika adds a little warmth and color, and soy sauce in the glaze brings the salt and umami that make the honey taste deeper instead of candy-sweet.
- All-purpose flour — This is the crust builder, and it’s one place where the cheap stuff works fine. If you swap in gluten-free flour, use a 1:1 blend designed for frying so the coating still crisps instead of turning sandy.
- Smoked paprika — It doesn’t make the chicken smoky in a barbecue way; it gives the crust a deeper color and a little bass note under the honey. Regular paprika works, but the smoked version makes the finished dish taste more complete.
- Soy sauce — This keeps the glaze from tasting one-dimensional. Use low-sodium if that’s what you keep around, but don’t leave it out; the sauce needs that savory edge to balance the honey.
- Apple cider vinegar — A small splash keeps the sauce from cloying. If you don’t have it, rice vinegar is the best stand-in because it stays clean and sharp.
- Butter — It smooths the sauce and helps it cling. If you need a dairy-free version, use a good plant butter or a neutral oil, though the glaze will be a little less rounded.
Frying the Chicken Before the Sauce Ever Hits the Pan
Setting Up the Coating Station
Start by pounding the chicken breasts to an even thickness so the thickest part doesn’t lag behind the crust. Mix the flour with the garlic powder, onion powder, paprika, salt, and pepper in a wide dish so each breast can lay flat. Coat each piece in flour, dip it into the egg, then back into the flour and press lightly to build the rough surface that fries up crisp. If the coating looks smooth, it won’t give you the crunch you’re after.
Frying to a Deep Golden Finish
Pour about 1/2 inch of oil into a cast iron skillet and heat it to 350°F over medium-high heat. Lay the chicken in gently and don’t crowd the pan, or the temperature will drop and the crust will soften before it sets. Fry for 5 to 6 minutes per side until the crust is deep golden and the center reaches 165°F. If the coating is getting too dark before the chicken is done, lower the heat a notch and give it another minute or two.
Cooking the Sauce Until It Clings
While the chicken drains, combine the honey, garlic, soy sauce, butter, and vinegar in a small saucepan over medium heat. Let it bubble gently for 3 to 4 minutes, just until it looks a touch thicker and the garlic smells sweet instead of sharp. If you boil it hard, the honey can taste burnt and the garlic turns bitter. You want a glossy sauce that coats the back of a spoon and pours in a slow ribbon.
Finishing Without Losing the Crunch
Pour the hot sauce over the chicken right before serving, then finish with sesame seeds and green onions. The glaze should cling in shiny streaks and soak into the ridges without flattening the crust. Serve it immediately over rice, because this dish is at its best in that short window when the outside is crisp and the sauce is still warm. Wait too long and the steam from the glaze will soften the coating.
How to Adapt This Double Crunch Chicken Without Losing the Texture
Make It Gluten-Free
Use a 1:1 gluten-free flour blend for the dredge and swap in tamari for the soy sauce. The crust will still crisp, but it may be a touch more delicate, so let the chicken rest for a minute after frying before saucing it.
Make It Dairy-Free
Swap the butter in the glaze for plant butter or use a neutral oil if that’s what you have. You’ll lose a little of the sauce’s rounded finish, but the honey and vinegar still carry the same sticky-salty balance.
Turn It Into Chicken Cutlets
Slice the breasts in half horizontally before pounding if you want thinner pieces that fry faster and serve more easily. The result is still crunchy, but the glaze will dominate a little more because there are more edges and less thick chicken in each bite.
Storage and Reheating
- Refrigerator: Store leftovers in an airtight container for up to 3 days. The crust will soften after saucing, but the flavor stays strong.
- Freezer: The fried chicken can be frozen before saucing for up to 2 months. Freeze it in a single layer, then reheat from frozen in the oven; the sauced version doesn’t freeze well because the glaze turns loose and sticky in a bad way.
- Reheating: Warm in a 375°F oven or air fryer until hot and crisp again. Don’t use the microwave unless you want soft coating, because steam is the fastest way to flatten the crust.
Questions I Get Asked About This Recipe
Double Crunch Honey Garlic Chicken Breasts
Ingredients
Equipment
Method
- Mix the flour with garlic powder, onion powder, smoked paprika, salt, and pepper. Dredge the chicken in the seasoned flour, dip in beaten eggs, then dredge in flour again for the double-crunch coat.
- Heat 1/2 inch of vegetable oil in a large cast iron skillet over medium-high heat to 350°F. Pan-fry the chicken for 5-6 minutes per side until golden and crunchy, with the internal temperature reaching 165°F.
- Drain the fried chicken briefly so excess oil doesn’t soften the crust. Keep the chicken hot and crisp while you make the sauce.
- Simmer honey, garlic, soy sauce, butter, and apple cider vinegar in a saucepan over medium heat for 3-4 minutes until slightly thickened. Watch for a glossy sheen as it coats the back of a spoon.
- Pour the honey garlic sauce over the hot crispy chicken. Serve immediately over rice so the crunchy coating stays crisp.
- Garnish with sesame seeds and sliced green onions. Add them right before serving for fresh color and aroma.