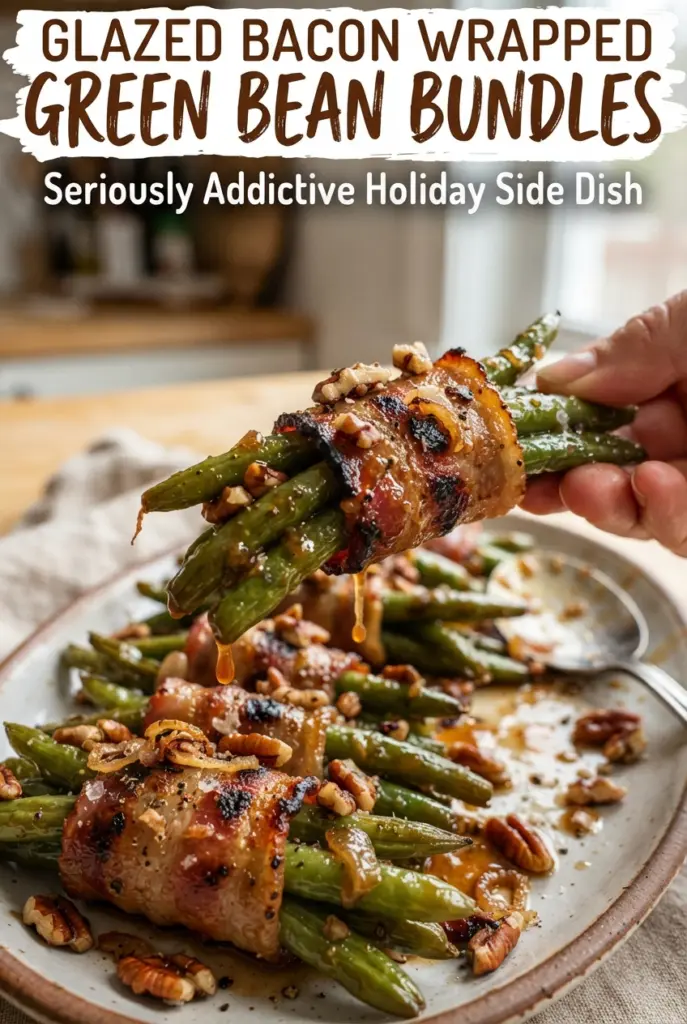
Green bean bundles hit that sweet spot between side dish and centerpiece. The beans stay bright and a little snappy under the bacon, while the brown sugar garlic butter bakes into a glossy glaze that clings to every bundle instead of pooling at the bottom of the dish. You get crisp edges, salty bacon, and just enough sweetness to make people go back for another bundle before the main course disappears.
The part that makes this recipe work is the blanching. Three minutes in boiling water, then a fast ice bath, locks in that green color and keeps the beans from drying out before the bacon is done. The bacon goes in raw so it has time to render and crisp in the oven, and the bundles are arranged seam-side down so they hold together without needing toothpicks.
Below, you’ll find the little details that matter most: how to keep the beans from turning limp, why the glaze goes on before baking instead of at the end, and a few smart variations if you want to adjust the sweetness or make the dish fit your table a little better.
The beans stayed crisp-tender and the bacon got perfectly caramelized around the edges. I was nervous about the glaze being too sweet, but it balanced the salt from the bacon exactly right.
Love these bacon-wrapped green bean bundles with the sticky garlic glaze? Save them to Pinterest for your next holiday dinner or Sunday roast.
The Part That Keeps the Beans Crisp Under the Bacon
Green beans are one of those vegetables that punish overcooking fast. If you skip the blanch and send raw beans straight into the oven, they’ll usually end up wrinkled and dry by the time the bacon finishes. The quick boil softens them just enough to stay tender, and the ice bath stops the cooking immediately so they keep their color and a little bite.
The bacon also needs that head start. It won’t fully crisp from a short bake unless the beans underneath are already nearly done. This recipe solves that by giving the beans a quick pre-cook, then baking just long enough for the bacon to render and the glaze to turn sticky.
What Each Ingredient Is Doing in the Bundle
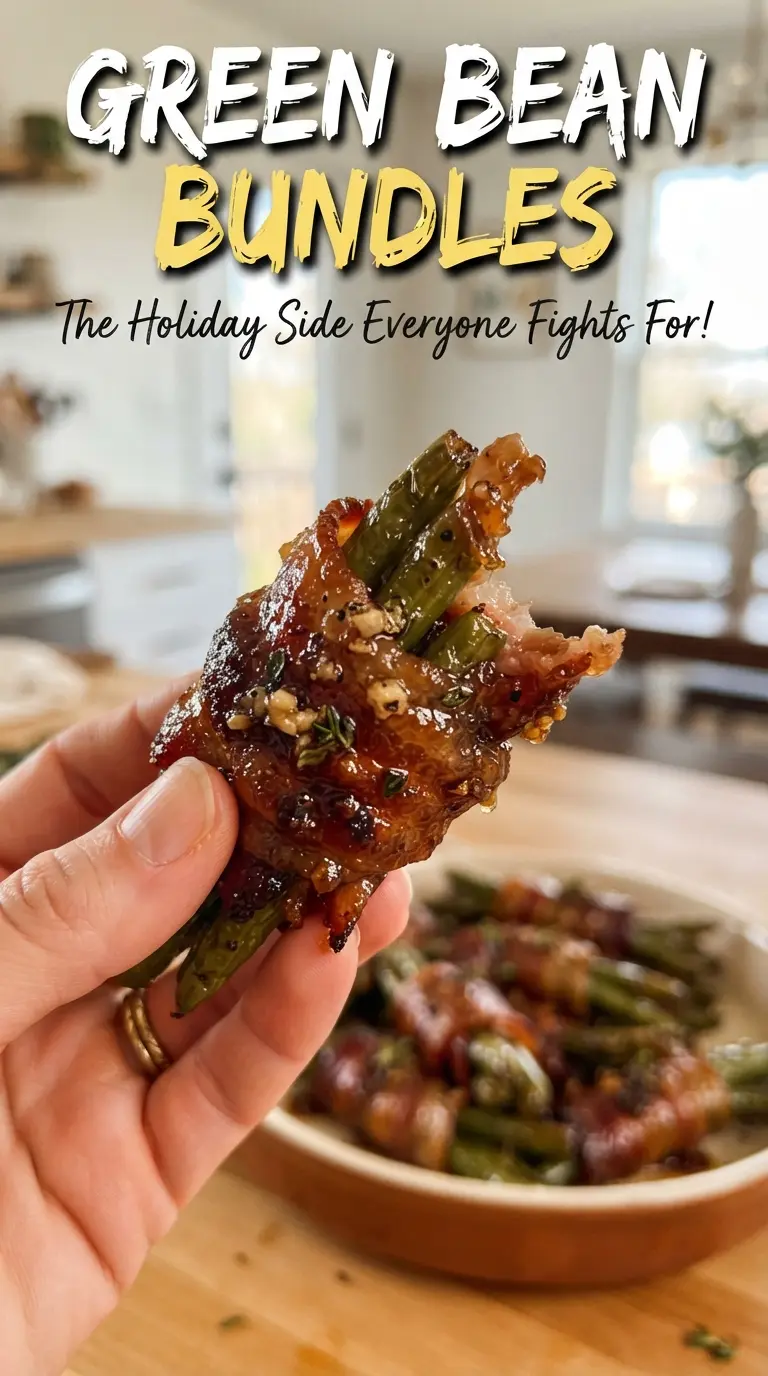
- Fresh green beans — Use fresh beans here, not canned. They hold their shape, stay bright, and give you that crisp-tender bite that makes the dish worth serving. Trim the ends well so the bundles look neat and cook evenly.
- Bacon — Thin or regular-cut bacon works best because it has time to render before the beans overcook. Thick-cut bacon can stay soft unless you bake longer, and that risks drying out the beans. Halving the slices crosswise makes wrapping easier and keeps each bundle balanced.
- Brown sugar — This is what gives the glaze its glossy, caramelized finish. Light brown sugar is fine; dark brown sugar brings a deeper molasses note if you want a richer sauce.
- Butter — Melted butter carries the sugar, garlic, soy sauce, and pepper across the bundles and helps the glaze bubble in the oven. It also keeps the bacon from drying out on the surface before it starts to brown.
- Soy sauce — Just a little adds salt and depth so the glaze doesn’t taste flat or cloying. If you need a gluten-free version, use tamari in the same amount.
- Garlic — Fresh minced garlic gives the glaze its bite. Garlic powder won’t melt into the butter the same way, and the finished dish loses that savory edge that keeps the sweetness in check.
How to Keep the Bacon Crisp Without Overcooking the Beans
Blanch the beans just until they turn bright green
Bring the water to a real boil before the beans go in, then start your timer for three minutes. You want them bright and slightly softened, not fully tender, because they’re heading back into the oven. If they sit in the water too long, they’ll lose their snap and go dull before the bacon has time to crisp.
Wrap the bundles tightly and set them seam-side down
Gather about 8 to 10 beans per bundle, depending on their thickness, and wrap each one with a half slice of bacon. Press the seam against the dish so the bacon doesn’t unravel as it cooks. If your bundles are loose, the bacon shrinks away from the beans instead of hugging them.
Pour the glaze on before baking
Whisk the butter, brown sugar, garlic, soy sauce, and pepper until the sugar starts to dissolve, then pour it over the bundles in the dish. That early glaze bakes into the bacon instead of sitting on top as a thin syrup. If the sauce looks grainy at first, don’t worry; it melts down and bubbles as it heats.
Bake until the glaze is bubbling and the bacon edges brown
At 400°F, 25 to 30 minutes is the sweet spot for most ovens. You’re looking for bacon that has tightened and browned at the edges, plus a glaze that bubbles around the pan in thick, sticky pools. If the bacon looks pale, give it a few more minutes; if the glaze is darkening too fast, loosely cover the dish with foil for the last stretch.
Three Ways to Adjust These Bundles for Your Table
Gluten-Free Version
Swap the soy sauce for tamari or coconut aminos. Tamari gives you the same salty depth without changing the texture of the glaze, while coconut aminos tastes a little sweeter and softer. Either one keeps the sauce glossy and balanced.
Less Sweet, More Savory
Cut the brown sugar back to 1/4 cup if you want a glaze that leans more savory than sticky-sweet. The bundles will still brown nicely, but the finish will be lighter and the bacon flavor will come through more strongly. A splash of extra soy sauce can help replace the missing depth.
Make-Ahead for a Busy Dinner
You can blanch the beans and assemble the bundles earlier in the day, then cover and refrigerate them until dinner. Mix the glaze separately and pour it over just before baking so the sugar doesn’t draw moisture from the bacon. That keeps the finished bundles neater and helps the bacon brown instead of steaming.
Bacon Swap for a Different Texture
Turkey bacon will work in a pinch, but it won’t render the same way and the bundles won’t get that same crisp, lacquered finish. If you use it, watch closely and pull the dish when the edges start to brown so the beans don’t go soft. The flavor will be leaner and less smoky.
Storage and Reheating
- Refrigerator: Store leftovers in an airtight container for up to 3 days. The beans stay tasty, but the bacon softens a bit.
- Freezer: Freezing isn’t ideal here. The beans lose their best texture after thawing, and the glaze can separate.
- Reheating: Reheat in a 350°F oven until warmed through and the bacon firms up again, about 10 minutes. The microwave will heat them faster, but it turns the bacon chewy and the beans limp.
Answers to the Questions Worth Asking
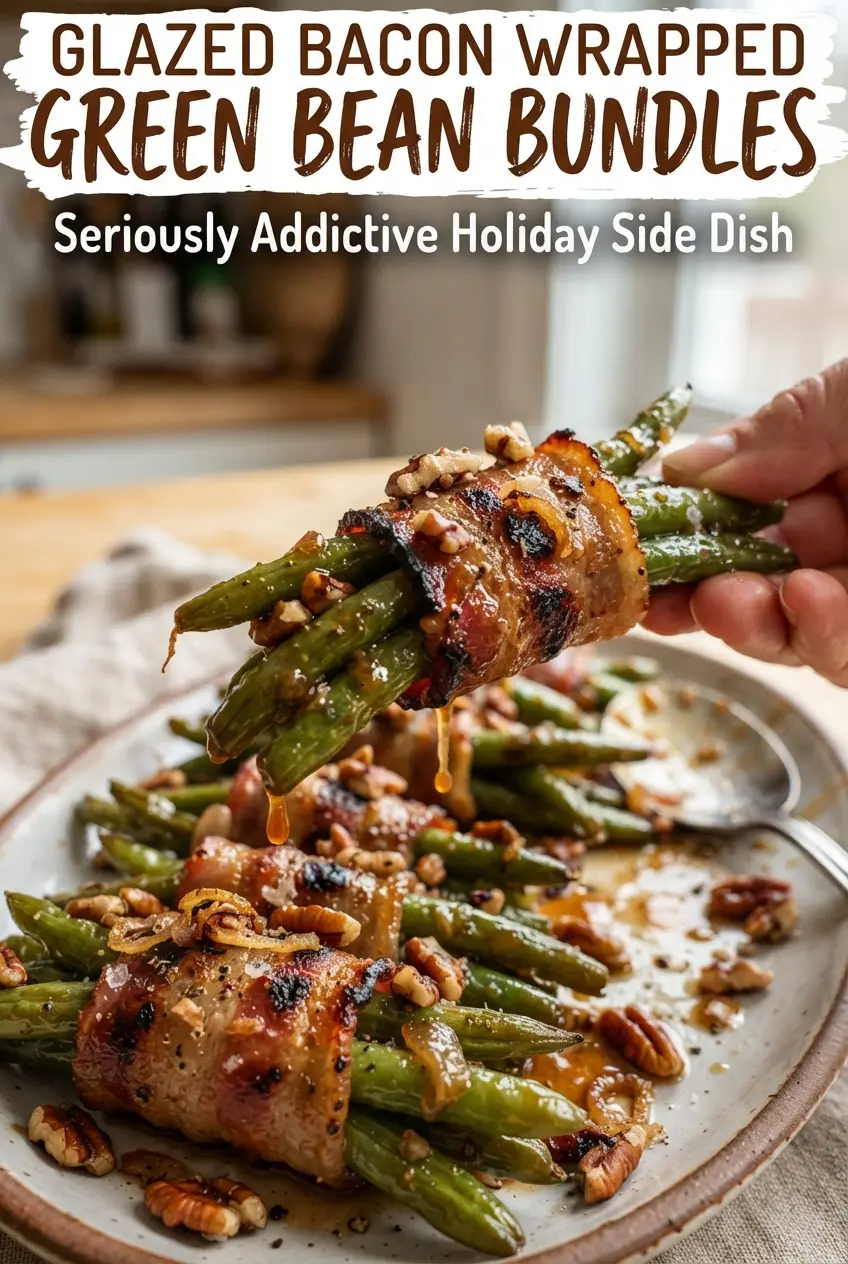
Green Bean Bundles
Ingredients
Equipment
Method
- Preheat oven to 400F. Blanch green beans in boiling water 3 minutes, then plunge into ice water and drain.
- Gather 8-10 beans into a bundle and wrap with a half slice of bacon, seam-side down in a baking dish. Keep bundles snug so they stay together as the bacon crisps.
- Whisk melted butter, brown sugar, garlic, soy sauce, and pepper until smooth. The glaze should look glossy and pourable.
- Pour glaze evenly over the bundles. Make sure most of the bacon tops and exposed beans get coated.
- Bake 25-30 minutes at 400F until bacon is crisp and glaze is bubbly. Look for caramel-colored edges on the bacon and a bubbling surface in the dish.
- Spoon pan glaze over the bundles and serve warm. Let them rest 2 minutes so the glaze clings before serving.