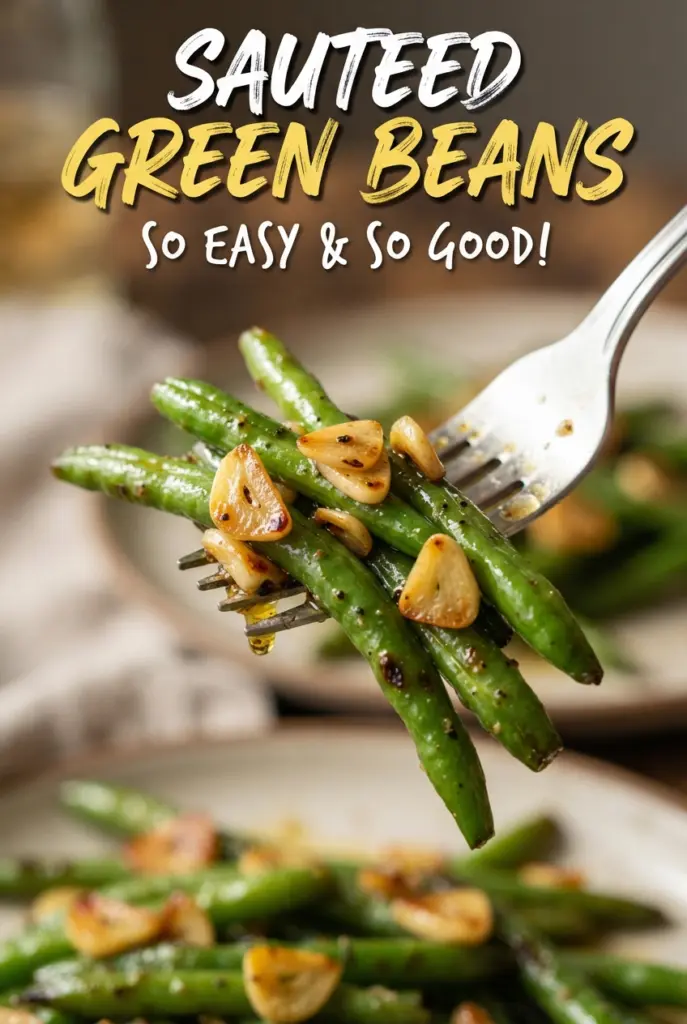
Bright, blistered sauteed green beans earn their place on the table because they stay crisp-tender instead of collapsing into soft, gray strands. The edges pick up a little char in the pan, the garlic turns golden in the butter, and the lemon at the end keeps the whole dish tasting fresh instead of heavy.
The trick is giving the beans a head start before the garlic goes in. Green beans need direct heat and space to blister; garlic needs gentler heat or it burns before the beans are done. A quick finish with lemon zest, lemon juice, and toasted almonds pulls everything together with crunch, perfume, and a little brightness.
Below, I’ll walk through the part that matters most: how to get that crisp-tender texture without overcooking the beans. I’ve also included a few smart swaps and storage notes, since this side dish is one of those recipes that works just as well on a weeknight as it does next to something more special.
The beans stayed bright and crisp, and the garlic browned just enough without burning. I loved the lemon at the end — it kept the butter from feeling heavy.
Save these lemon garlic sauteed green beans for a fast side dish with crisp edges, toasted almonds, and a bright finish.
The Reason These Beans Stay Crisp Instead of Turning Limp
The biggest mistake with sauteed green beans is crowding the pan. When the beans sit in a steamy pile, they soften before they blister, and you end up with dull color instead of those dark little spots that give the dish its flavor. A large skillet and medium-high heat are what let the moisture cook off fast enough for browning to happen.
The second thing that matters is when the garlic goes in. Garlic burns faster than green beans cook, so it belongs after the beans have already taken on some color. By that point, the pan has enough heat left to perfume the butter without turning the garlic bitter.
What Each Ingredient Is Actually Doing Here
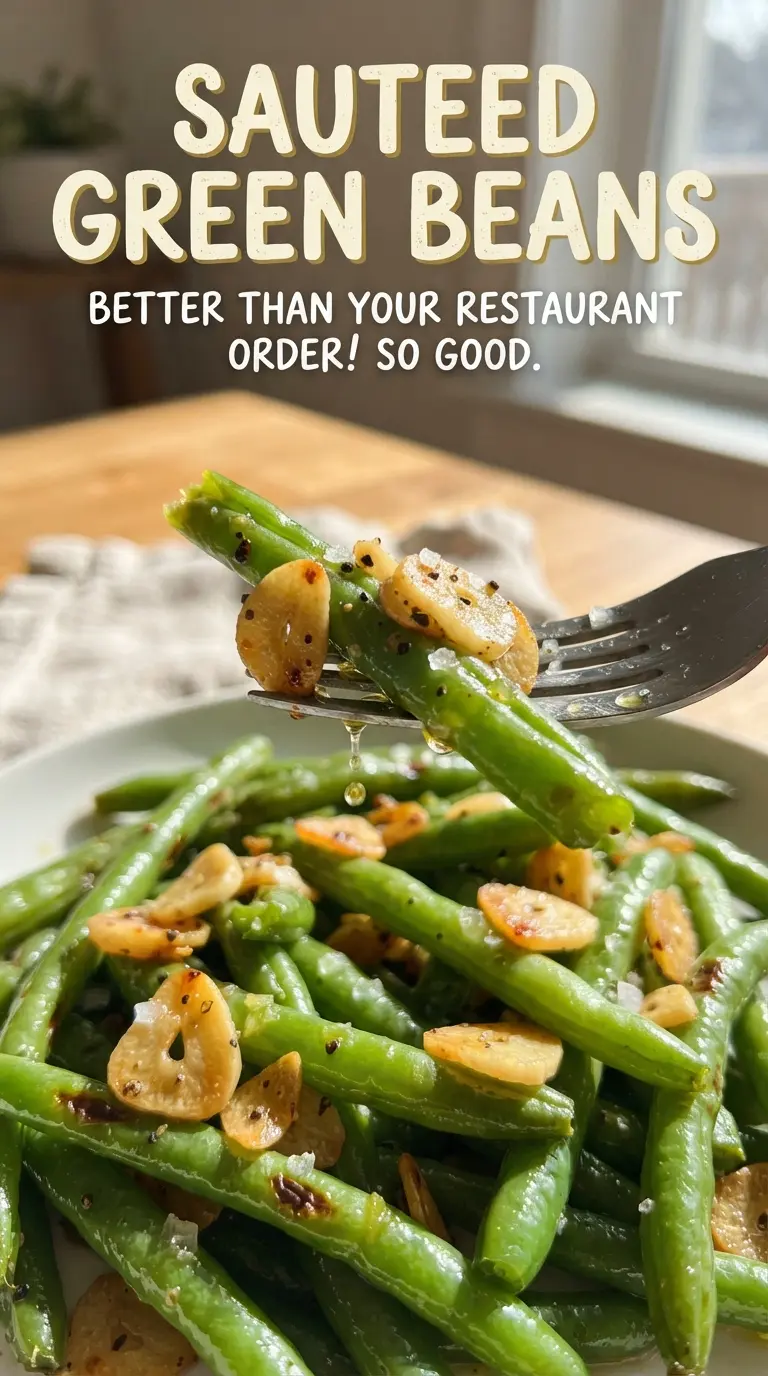
- Fresh green beans — Fresh beans hold their snap and blister beautifully. Haricots verts work too; they cook a little faster, so start checking them a minute or two earlier.
- Olive oil and butter — The oil handles the higher heat at the start, then the butter adds richness at the finish. If you use only butter, it can brown too fast before the beans are ready.
- Garlic — Thin slices give you little golden chips instead of a harsh, raw bite. Minced garlic works in a pinch, but it burns more easily and disappears into the pan.
- Lemon zest and juice — Zest gives you aroma without watering down the pan, and juice cuts through the butter at the end. Skip bottled lemon juice here; fresh lemon makes the whole dish taste cleaner.
- Toasted almonds — They add crunch after the beans are done. If you add them too early, they lose that clean toasted texture.
How to Build the Blister, Then Finish Without Burning the Garlic
Start with a hot pan and dry beans
Heat the olive oil over medium-high until it shimmers, then add the trimmed green beans in a single layer as much as possible. You want to hear an active sizzle right away. If the pan is too small or the beans are wet, they steam instead of blister, so work with a dry skillet and give them room. Toss often, but let them sit long enough between turns to pick up color.
Add the butter after the beans have color
Once the beans are blistered and crisp-tender, lower the heat to medium and add the butter and sliced garlic. This is the point where the aroma changes from grassy to nutty and rich. If the garlic starts to go brown too fast, pull the pan off the heat for a few seconds. Burnt garlic turns the whole dish bitter, and there’s no saving that once it happens.
Finish with lemon and almonds
Season with salt, pepper, and red pepper flakes, then toss in the lemon zest, lemon juice, and toasted almonds right at the end. The lemon should smell bright the second it hits the hot pan. Add the almonds last so they stay crisp, and serve immediately while the beans still have a little bite.
How to Adapt These Sauteed Green Beans Without Losing the Point
Dairy-free version
Use all olive oil instead of butter. You’ll lose a little richness, but the beans will still blister and the lemon will stand out even more. If you want a rounder finish, add an extra teaspoon of olive oil at the end.
Nut-free swap
Leave out the almonds and finish with a tablespoon of toasted breadcrumbs instead. You’ll still get crunch, but it will feel more like a skillet-tossed vegetable side than a nutty salad-style dish.
Make it spicier
Increase the red pepper flakes to 1/2 teaspoon or add a pinch of cayenne with the garlic. That gives the butter a gentle heat that lingers under the lemon instead of overpowering it.
How to make it vegan
Swap the butter for more olive oil or a good plant-based butter. Olive oil gives the cleanest flavor, while vegan butter adds a richer finish but can soften the brightness a little.
Storage and Reheating
- Refrigerator: Store leftovers in an airtight container for up to 3 days. The beans will soften a little, but they’ll still taste good.
- Freezer: I don’t recommend freezing this dish. The beans lose their crisp texture and turn soft after thawing.
- Reheating: Reheat in a skillet over medium heat with a small splash of water or a tiny dab of butter. The microwave works in a pinch, but it softens the beans quickly and mutes the garlic.
Answers to the Questions Worth Asking
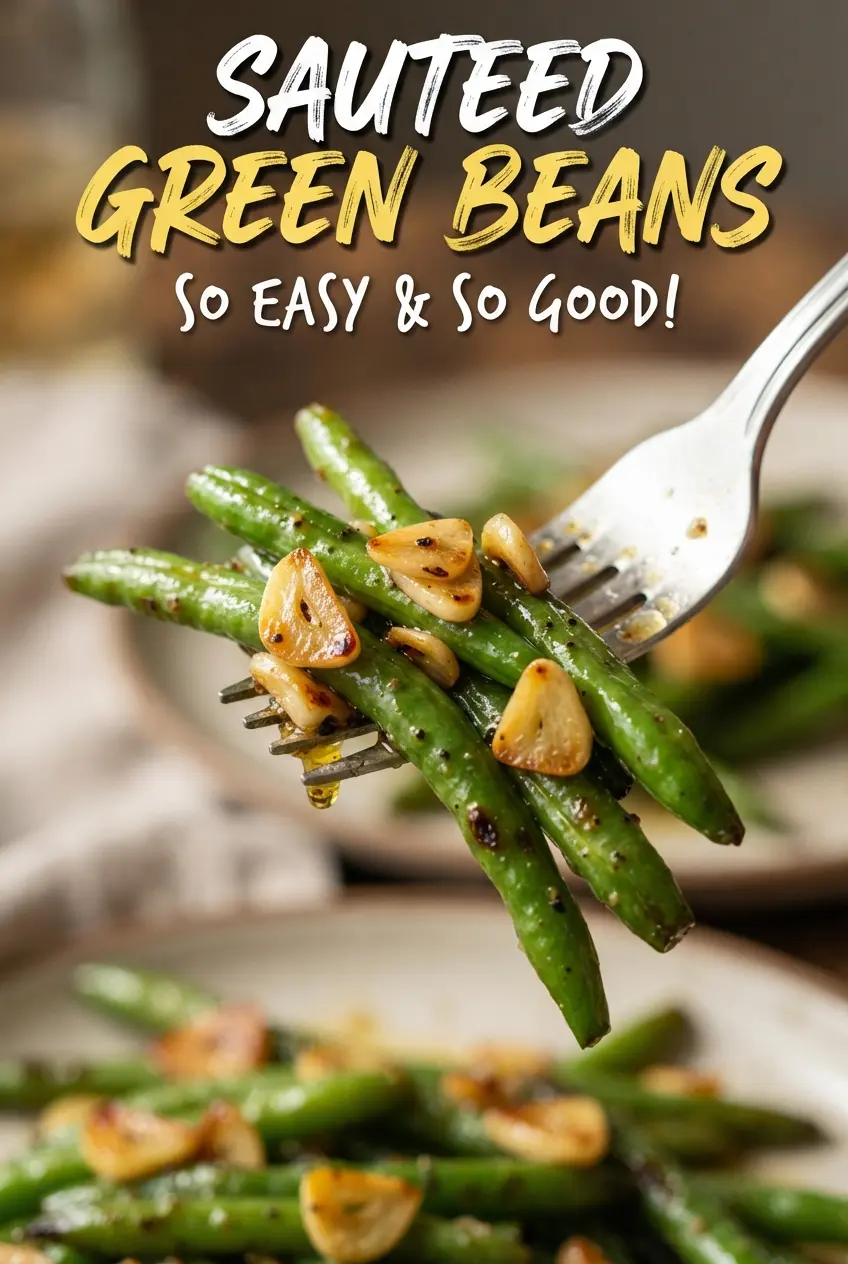
Sauteed Green Beans with Garlic, Lemon, and Toasted Almonds
Ingredients
Equipment
Method
- Heat olive oil in a large skillet over medium-high heat. Wait until the oil looks shimmery before adding the beans.
- Add green beans and cook 6-8 minutes, tossing, until blistered and crisp-tender. Keep the beans moving so blistering happens evenly.
- Reduce heat to medium, then add butter and garlic and cook 1-2 minutes until golden. Watch for the garlic to turn golden without burning.
- Season with salt, black pepper, and red pepper flakes. Toss just until the seasoning looks evenly distributed.
- Toss with lemon zest, lemon juice, and toasted sliced almonds — serve. The beans should look glossy with visible flecks of zest and toasted almonds.