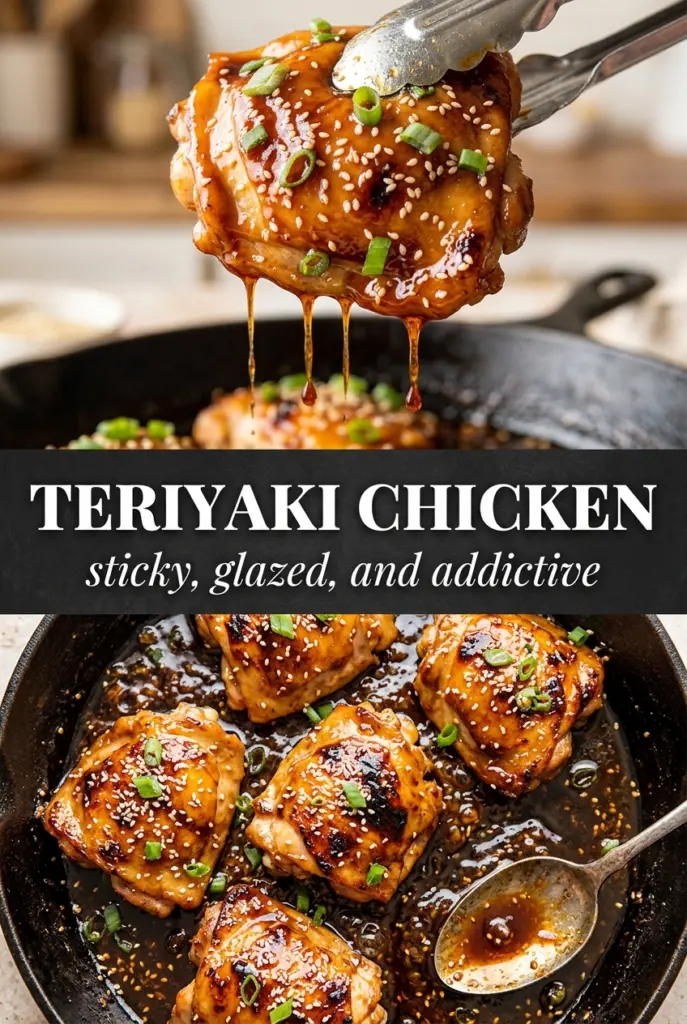
Sticky, glossy teriyaki chicken works because the sauce clings instead of sliding off the meat. The edges turn dark and caramelized in the pan, while the center stays juicy and tender, which is exactly what you want spooned over a bowl of rice. It tastes like takeout, but the sauce has a fresher, deeper finish because you build it yourself from soy sauce, honey, brown sugar, ginger, and garlic.
The trick here is splitting the sauce before it ever touches the chicken. Half becomes the marinade, and the other half stays clean for the pan, which keeps the final glaze glossy and safe to simmer down without worrying about raw chicken juices. A quick cornstarch slurry finishes the sauce fast, so you get that thick, lacquered coating instead of a thin soy mixture pooling at the bottom of the skillet.
Below, I’ll show you the point where the sauce needs a little patience, plus the small ingredient swaps that still keep the chicken sticky and balanced. If you’ve had teriyaki sauce turn watery or burn before it thickens, the process section will help you avoid both.
The sauce thickened up exactly when you said it would, and the chicken stayed juicy even after sitting under the glaze for a few minutes. My husband kept saying it tasted better than the teriyaki place by our house.
Sticky homemade teriyaki chicken over rice is the kind of dinner worth pinning for fast nights when you want glossy sauce, caramelized edges, and almost no cleanup.
The Move That Keeps Teriyaki Glossy Instead of Watery
Most homemade teriyaki recipes go wrong in the same place: everything gets mixed together, then the sauce never has a chance to reduce cleanly. Splitting the marinade from the reserved sauce keeps the flavor deep without forcing you to boil a chicken-soaked liquid to make it safe for serving. That separation also helps the glaze stay bright and glossy instead of turning dull and muddy.
Chicken thighs are the right cut here because they stay tender through a hot skillet sear and keep their shape once they’re tossed back in the sauce. If you use chicken breast, pull it from the heat the moment it reaches 165°F, because it dries out fast once the glaze starts to tighten. The cornstarch slurry goes in after the sauce has started simmering, not before. If you add it too early, the sugar can seize and the sauce can go from silky to gummy.
What Each Ingredient Is Actually Doing in the Pan
- Chicken thighs — These stay juicy under high heat and tolerate a longer simmer in the glaze. Boneless, skinless thighs give you the best balance of fast cooking and caramelized edges.
- Soy sauce — This is the backbone of the flavor and the salt. Use regular soy sauce for a balanced result; low-sodium works too if you want a gentler finish, but the sauce may need a pinch more salt at the end.
- Brown sugar and honey — They create the sticky lacquer and help the sauce darken in the pan. Honey brings shine, while brown sugar adds that deeper, almost molasses-like note.
- Mirin or rice vinegar — Mirin gives the sauce a round, mild sweetness. If you use rice vinegar instead, the sauce tastes a little sharper, so the honey becomes more important.
- Sake or dry sherry — Optional, but it adds that cooked, restaurant-style depth. If you skip it, the recipe still works; the sauce just tastes a little more straightforward and sweet.
- Cornstarch slurry — This thickens the sauce fast without making it cloudy. Mix it with cold water first so it disperses evenly instead of clumping the second it hits heat.
- Ginger and garlic — Fresh is worth using here. Powdered versions taste flatter and don’t give you the same bite in a short-cooked sauce.
The 20 Minutes That Turn Into Dinner
Marinating Without Losing Time
Whisk the sauce ingredients together until the sugar dissolves, then take half out for the reserved sauce before the chicken goes in. That step matters because once raw chicken touches the marinade, it can’t be used straight from the bowl. Twenty minutes is enough to season the outside without making the thighs mushy or overly salty. If you marinate much longer, the soy and sugar start to work too hard on the surface and the chicken can brown too fast before the center is ready.
Getting the Sear Before the Sauce
Heat the oil in a large skillet over medium-high until it shimmers, then add the chicken in a single layer. You want steady sizzling, not aggressive splattering; if the pan is overcrowded, the chicken steams and the glaze later has nothing crisp to cling to. Cook until the first side is deeply browned and releases easily, then turn and finish the second side. If the chicken sticks, it usually needs another minute of searing.
Reducing the Glaze to a Shine
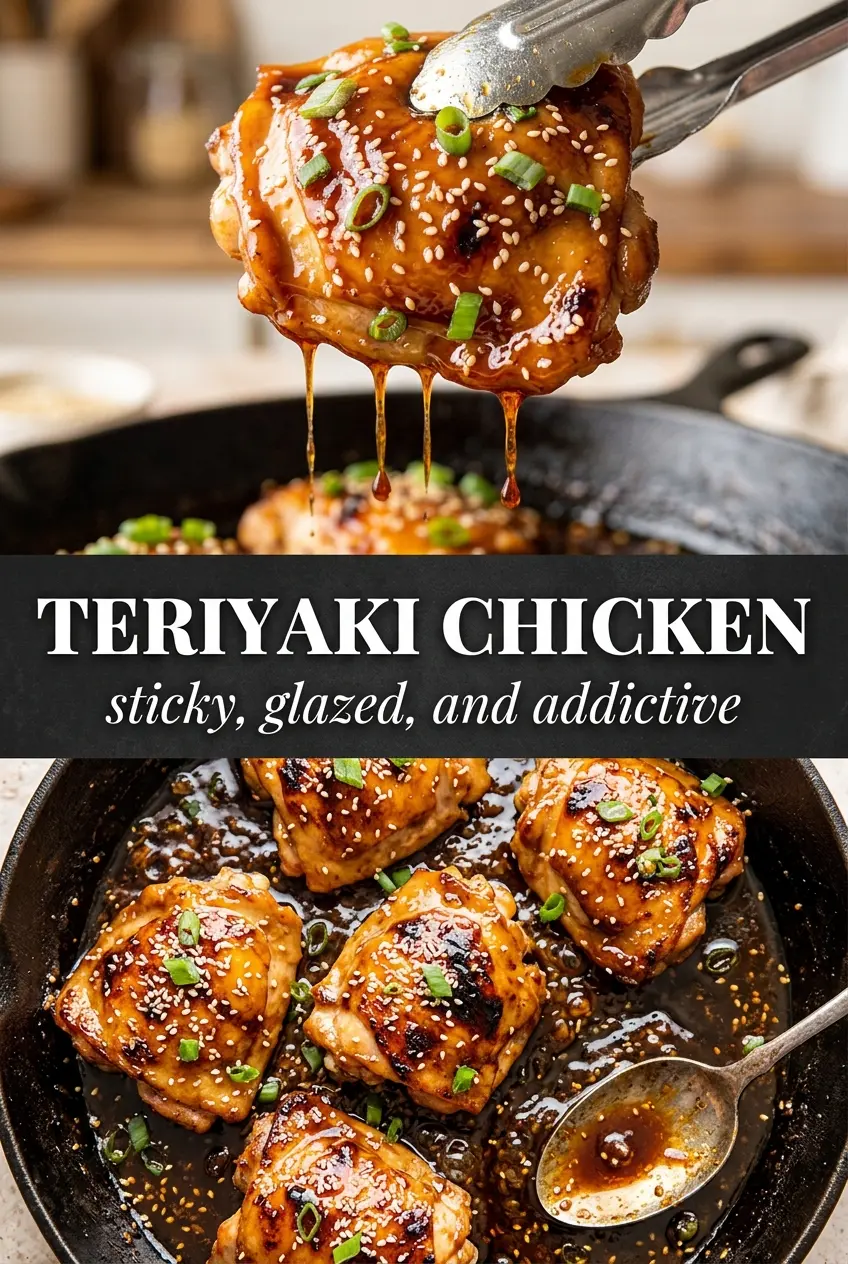
After the chicken comes out, pour in the reserved sauce and bring it to a simmer. Stir in the cornstarch slurry and keep it moving as the sauce turns from thin and glossy to noticeably thicker, usually in 2 to 3 minutes. Pull it off the heat once it coats the back of a spoon and looks like a light syrup. If you leave it too long, the sugar can push it from shiny to sticky-fast, which makes it hard to coat the chicken evenly.
Coating and Serving
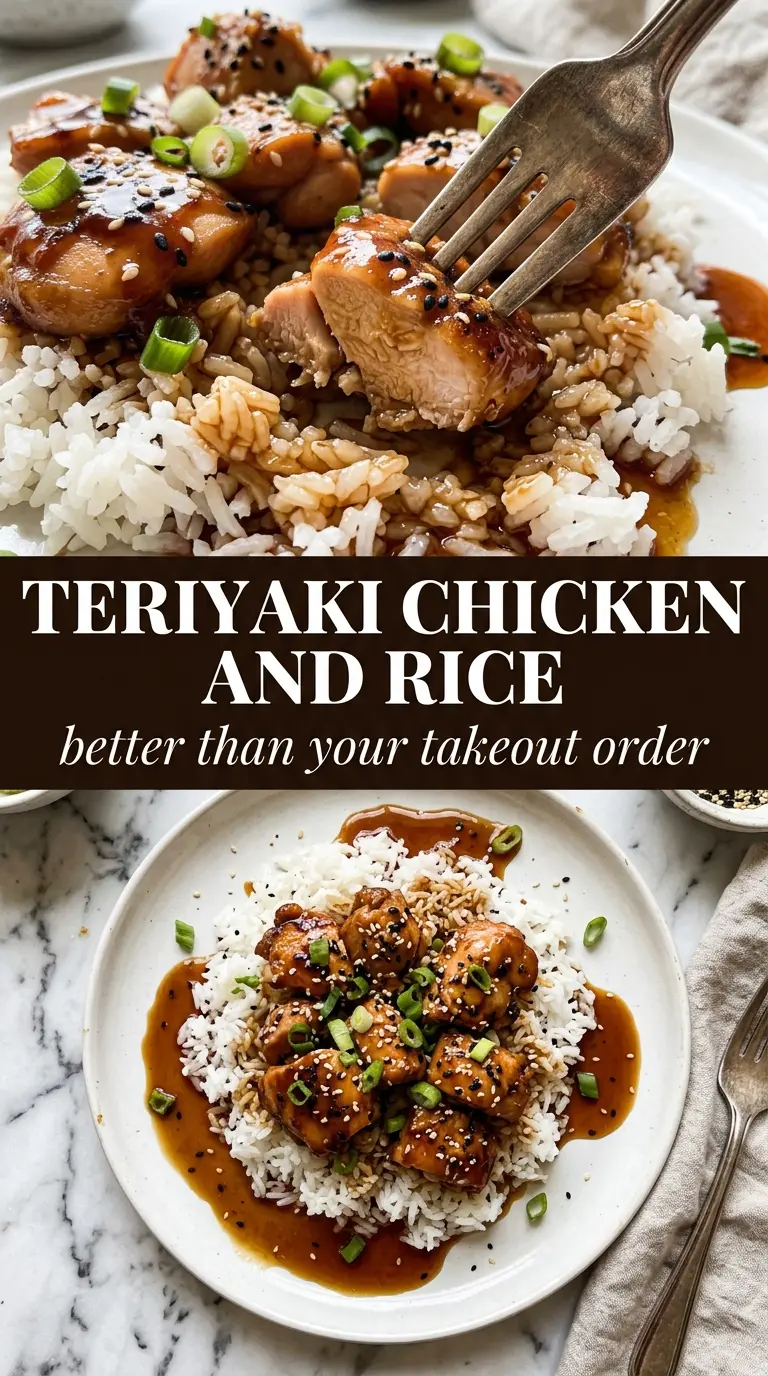
Return the chicken to the pan and turn it in the sauce until every piece is lacquered. The sauce should cling in a thin layer, not puddle around the skillet. Spoon it over steamed rice, then finish with sesame seeds and sliced green onions for a little crunch and freshness. That last garnish matters more than it sounds like it should; it keeps the dish from tasting one-note and heavy.
How to Adapt This for Different Pans, Tastes, and Diets
Make It Gluten-Free
Swap the soy sauce for gluten-free tamari or coconut aminos. Tamari gives the closest match in color and saltiness, while coconut aminos taste sweeter and lighter, so you may want to reduce the brown sugar a little.
Use Chicken Breast Without Drying It Out
Chicken breast works, but it needs a shorter cook time and a little more attention. Slice it into cutlets or smaller chunks so it cooks quickly, then pull it the moment it hits 165°F and coat it in the sauce right away.
Dial Back the Sweetness
If you like a less sticky finish, cut the brown sugar to 3 tablespoons and keep the honey as written. You’ll lose a little of the deep caramel note, but the sauce will taste more savory and less syrupy.
Storage and Reheating
- Refrigerator: Store leftovers in an airtight container for up to 4 days. The sauce thickens as it chills, so the chicken may look even glossier the next day.
- Freezer: It freezes well for up to 2 months. Cool completely first and freeze with a little extra sauce so the chicken stays coated after thawing.
- Reheating: Rewarm gently in a skillet over low heat with a splash of water to loosen the glaze. High heat can dry out the thighs and make the sugar in the sauce stick to the pan before the center is hot.
Answers to the Questions Worth Asking
Teriyaki Chicken
Ingredients
Equipment
Method
- In a bowl, whisk together soy sauce, brown sugar, honey, mirin, sake, garlic, and ginger until the sugar dissolves.
- Reserve half the mixture for the sauce, then pour the other half over the chicken thighs and marinate for 20 minutes.
- Heat the vegetable oil in a large skillet over medium-high heat.
- Add the marinated chicken and cook 5-6 minutes per side, until caramelized and the internal temperature reaches 165°F.
- Remove the chicken from the pan and keep it warm.
- Pour the reserved marinade into the pan and bring it to a simmer.
- Stir in the cornstarch slurry and cook 2-3 minutes, stirring, until the sauce turns thick and glossy.
- Return the chicken to the pan and turn to coat in the teriyaki sauce.
- Serve the teriyaki chicken over steamed rice and drizzle with any extra sauce.
- Garnish with sesame seeds and sliced green onions.