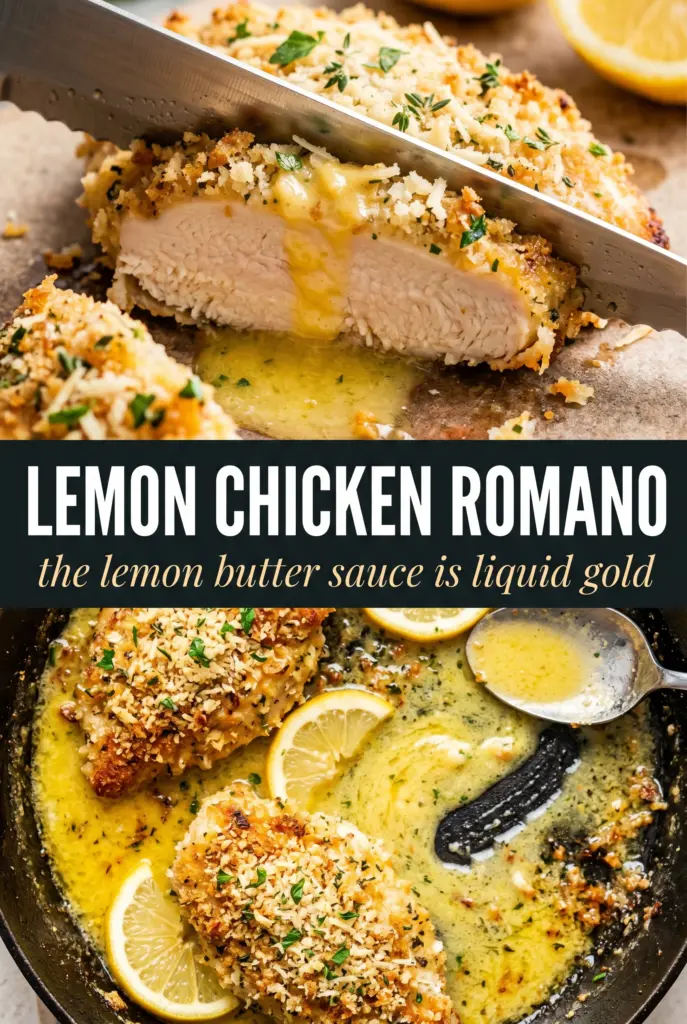
Thin chicken cutlets with a Romano crust are one of those dinners that disappear fast because the contrast is impossible to ignore: crisp, salty, golden coating on the outside and juicy chicken underneath, all finished with a lemon-butter sauce that cuts through the richness instead of burying it. The sauce doesn’t turn this into a heavy chicken dinner. It gives the crust something bright to cling to, and the capers keep each bite sharp and briny.
What makes this version work is the breading. Pecorino Romano is salty and dry enough to brown well, but it can go from pale to too dark quickly, so the panko lightens the coating and helps it fry up with a little more structure. Thin cutlets matter just as much. They cook fast, stay tender, and give you enough surface area for that crunchy crust without needing a long oven finish that would soften everything.
Below you’ll find the small details that keep the crust crisp, the sauce glossy, and the chicken from overcooking. If you’ve ever had breaded chicken turn soggy as soon as the sauce goes on, the fix is here.
The Romano crust stayed crisp even after I spooned the lemon sauce over it, and the chicken was still juicy after just a few minutes per side. My husband kept going back for “one more piece” because the capers and lemon made it taste bright instead of heavy.
Lemon Chicken Romano is a crisp, saucy chicken dinner worth pinning for the nights when you want something fast with a golden crust and bright lemon-caper butter.
The Part Most Chicken Cutlets Get Wrong: Keeping the Romano Crust Crisp
The biggest mistake with breaded chicken like this is treating the coating and the sauce as one continuous step. They’re not. The cutlets need to fry until the crust is deeply golden and set before they ever meet the lemon butter sauce, because any half-cooked coating will steam and soften the second it hits the pan again. Thin cutlets help here, but the real insurance is a hot pan and a coating that gets pressed on firmly so it clings instead of flaking off.
Romano cheese brings salt, sharpness, and browning power, but it also means the coating can darken faster than plain breadcrumbs. That’s why the panko matters. It lightens the cheese just enough to keep the crust crisp instead of dense, and it gives you those tiny rough edges that fry up into a better crunch.
- Let the chicken sit after breading for a few minutes. That short rest helps the coating hydrate and stick, which means less shedding in the skillet.
- Keep the heat at medium-high, not blazing hot. You want a fast sear and a crisp crust, not scorched cheese with raw chicken underneath.
- Don’t crowd the pan. If the cutlets are too close together, they’ll steam and the crust will go soft before it has a chance to set.
What Each Ingredient Is Doing in Lemon Chicken Romano
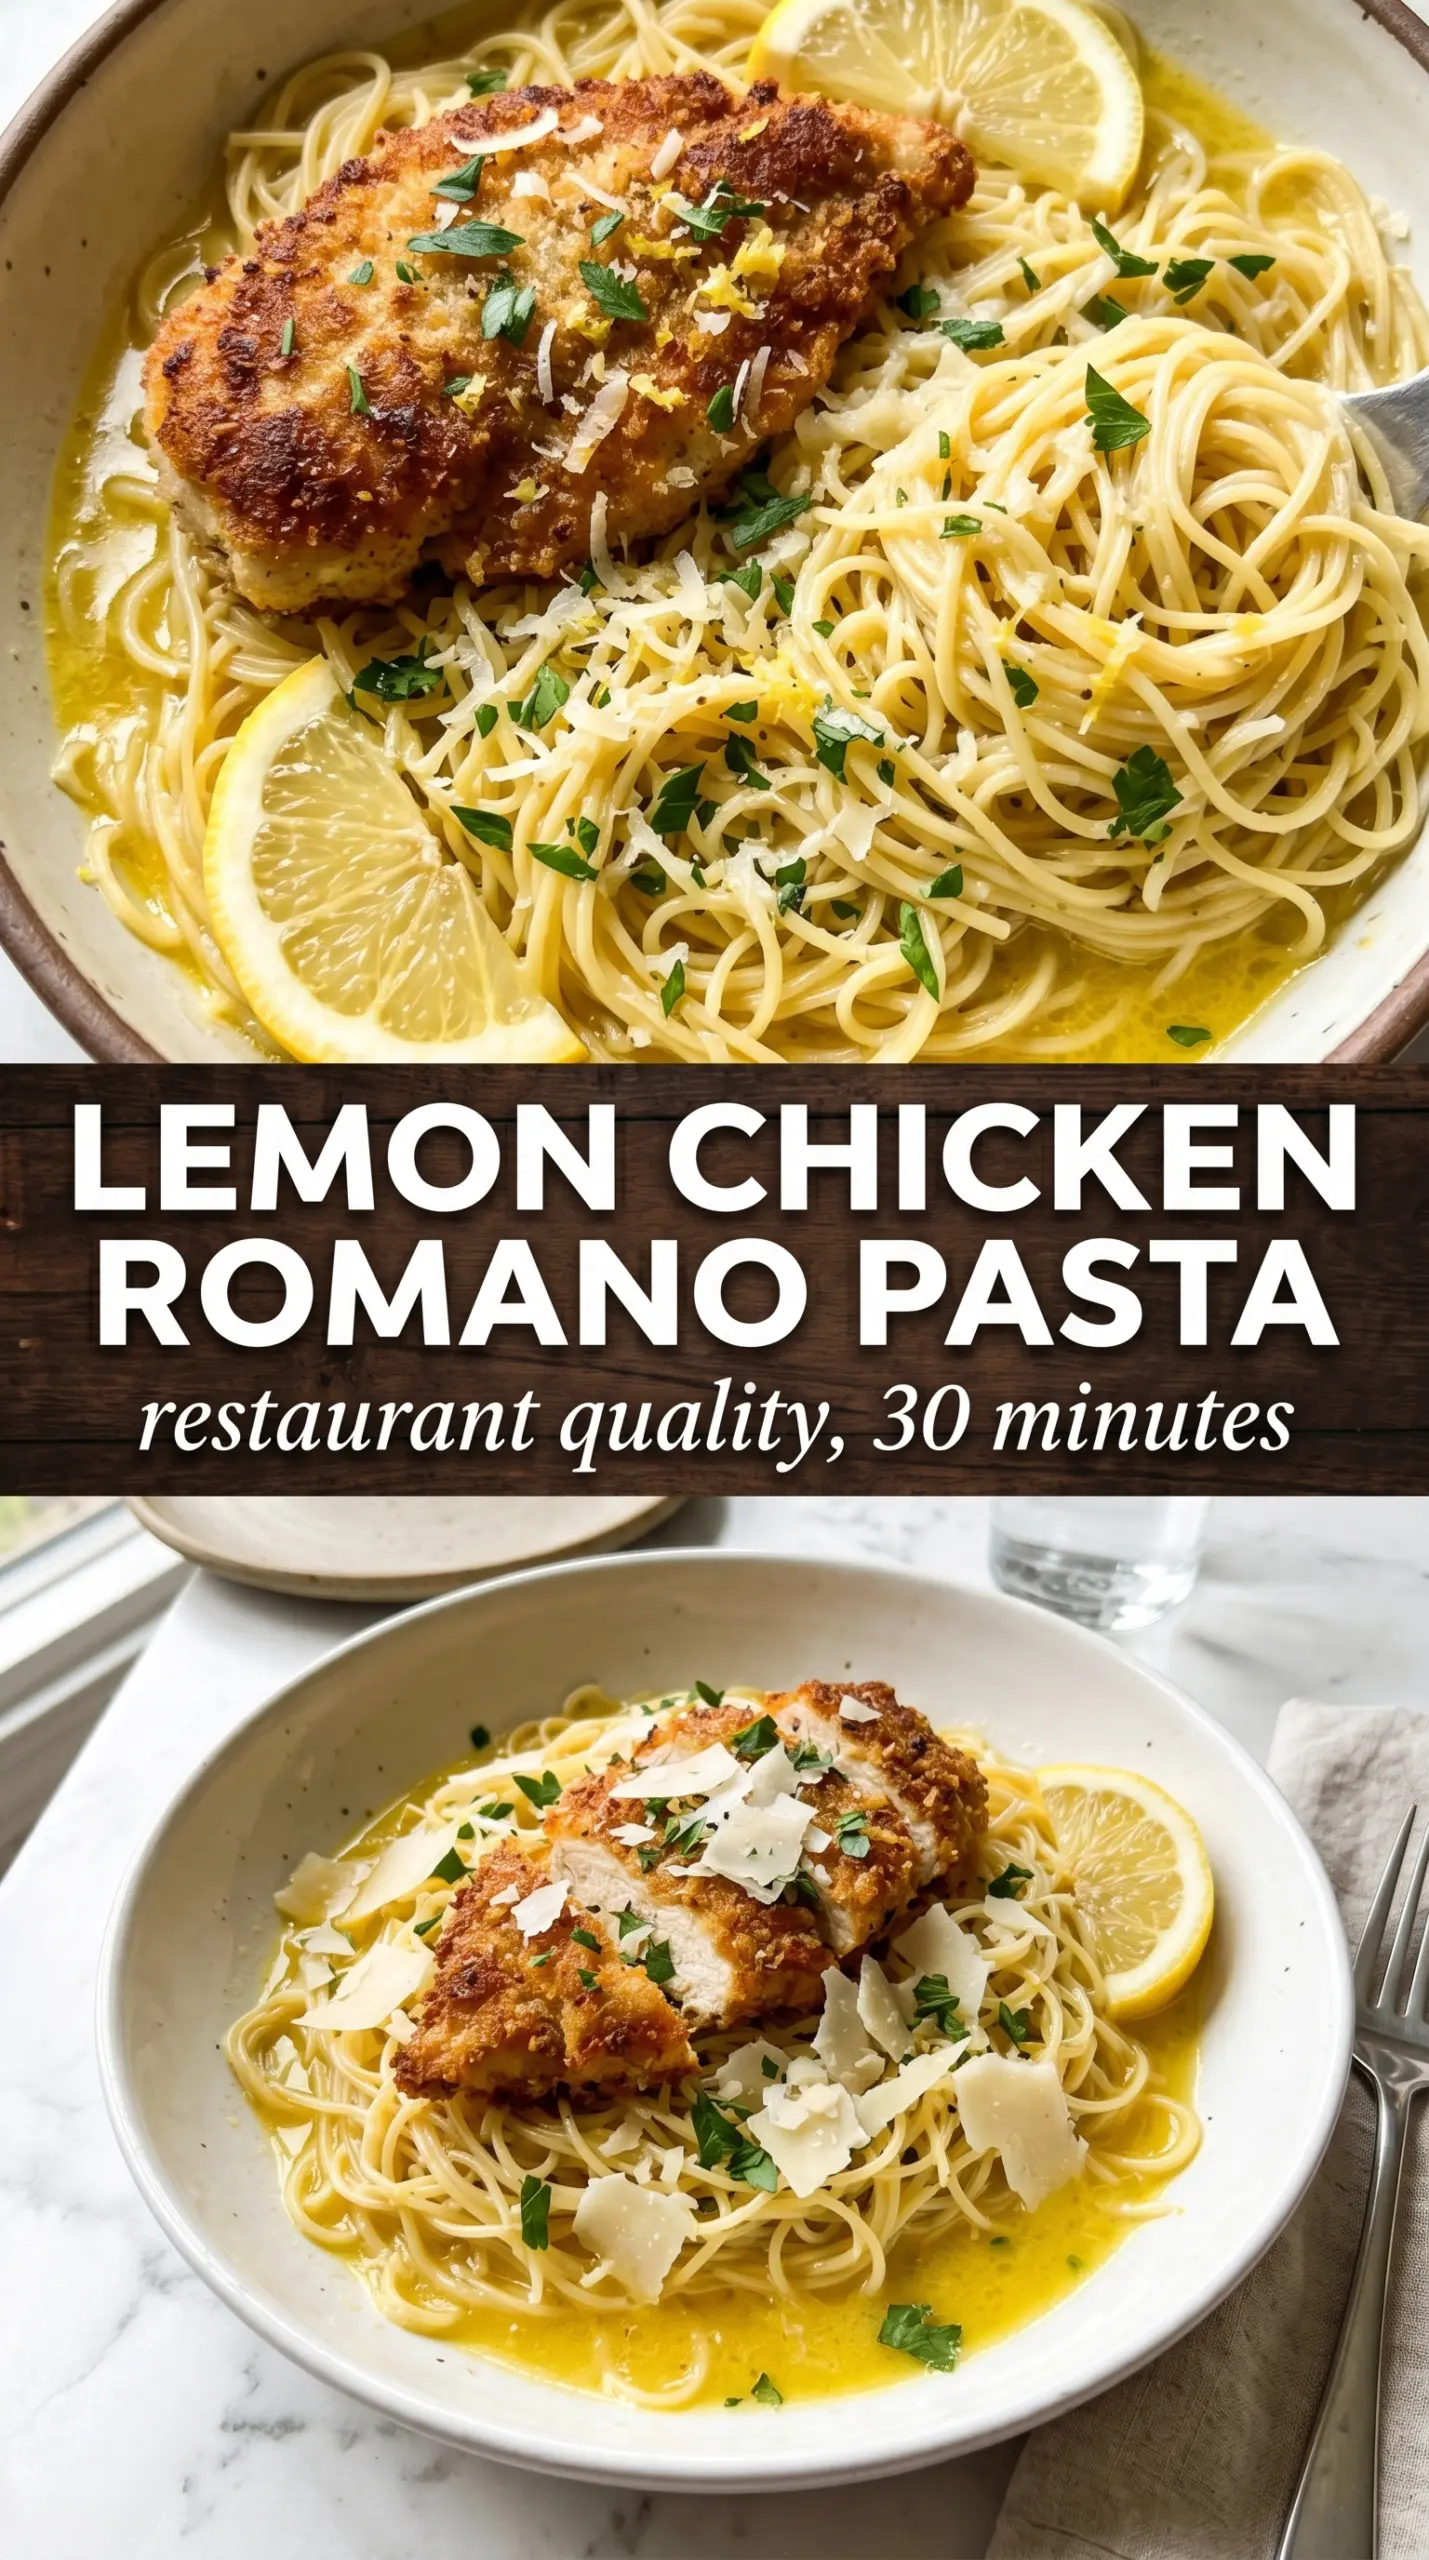
The chicken breasts need to be sliced into thin cutlets because this dish depends on speed. Thick chicken would overcook the crust before the center is done, and you’d lose the texture contrast that makes the recipe worth making. If your cutlets are uneven, pound the thick spots lightly so the pan-fry time stays consistent.
Pecorino Romano is the ingredient you don’t want to swap casually. Parmesan can work in a pinch, but Romano is sharper and saltier, which gives the crust its punch. The panko is there to keep the coating from becoming too dense or greasy. If you only use cheese and flour, the crust can turn heavy and brittle instead of crisp.
- Pecorino Romano: This is the main flavor in the crust, so use finely grated cheese for the best adhesion and browning. Pre-shredded cheese won’t coat as evenly.
- Panko breadcrumbs: These lighten the cheese coating and help it fry to a cleaner crunch. Standard breadcrumbs work, but the texture won’t be as crisp.
- Dry white wine: It loosens the browned bits in the pan and gives the sauce a little depth. If you skip it, use chicken broth plus a small splash more lemon juice, but the sauce will be flatter.
- Capers: They bring the salty, briny edge that keeps the sauce from tasting one-note. Rinse them only if they’re packed very salty; otherwise, drain and use them as-is.
- Cold butter at the end: That last swirl is what makes the sauce glossy and slightly thickened. If you add it over high heat, it can separate instead of emulsifying.
How to Fry the Cutlets and Finish the Sauce Without Losing the Crunch
Setting Up the Breading Station
Line up the flour, eggs, and Romano-panko mixture before the chicken touches the counter. Dry the cutlets with paper towels first so the flour grabs instead of sliding off in clumps. Season every layer lightly, not just the chicken, because the coating itself needs enough salt to stand up to the lemon sauce. If the flour looks wet and paste-like, shake off the excess and start again.
Coating for a Tight, Even Crust
Dredge in flour, dip in egg, then press hard into the Romano mixture so the cheese and crumbs actually cling. Pressing matters more than people think; a quick dip leaves gaps, and those bare spots turn soggy in the pan. Lay the coated cutlets on a tray and let them sit while the skillet heats. That pause helps the crust settle and keeps it from slipping off the moment it hits the oil.
Pan-Frying to Deep Gold
Add the olive oil and butter to the pan and wait until the butter foams, then quiets down. That’s the window you want. Put the chicken in and leave it alone until the underside turns deep golden and releases easily. If you force it too soon, the crust tears. Cook in batches if needed; cramming the pan lowers the temperature and gives you pale, greasy breading instead of a crisp finish.
Building the Lemon Butter Sauce
Pull the chicken out, then use the same pan for the sauce. The browned bits stuck to the bottom are what give it depth. Cook the garlic for only about 30 seconds so it softens without taking on color, then add the wine and let it bubble until the sharp alcohol smell fades. Stir in the lemon juice and capers, simmer briefly, then take the pan off the heat before swirling in the cold butter. If the sauce looks broken, it’s usually because the heat was too high when the butter went in.
How to Adapt Lemon Chicken Romano for Different Kitchens and Different Nights
Gluten-Free Cutlets
Swap the all-purpose flour for a gluten-free flour blend and use gluten-free panko. The coating still fries up crisp, but gluten-free crumbs can brown a little faster, so keep the heat at medium-high and watch the edges closely. The texture stays close to the original if you press the coating on well.
Dairy-Free Version
This one takes more than a simple swap because the Romano is doing a lot. For the closest result, use a dairy-free Parmesan-style alternative in the breading and finish the sauce with olive oil instead of butter. The crust won’t taste exactly the same, but you’ll still get a crisp chicken with a bright lemon-caper finish.
Parmesan Instead of Romano
Parmesan makes a milder crust with a slightly nuttier finish. It works well if you want less salt and a softer cheese flavor, but the breading won’t taste as sharp or assertive. Use the same amount and keep the sauce seasoned carefully, since Parmesan brings less punch than Romano.
Storage and Reheating
- Refrigerator: Store leftovers in an airtight container for up to 3 days. The crust will soften in the fridge, which is normal.
- Freezer: The cooked cutlets freeze, but the sauce doesn’t hold up as well. Freeze the chicken separately for up to 2 months and make the sauce fresh when you’re ready to serve.
- Reheating: Warm the chicken on a rack in a 375°F oven until hot, then spoon the sauce over after reheating. Microwaving makes the crust limp almost immediately, which is the main thing to avoid.
Answers to the Questions Worth Asking
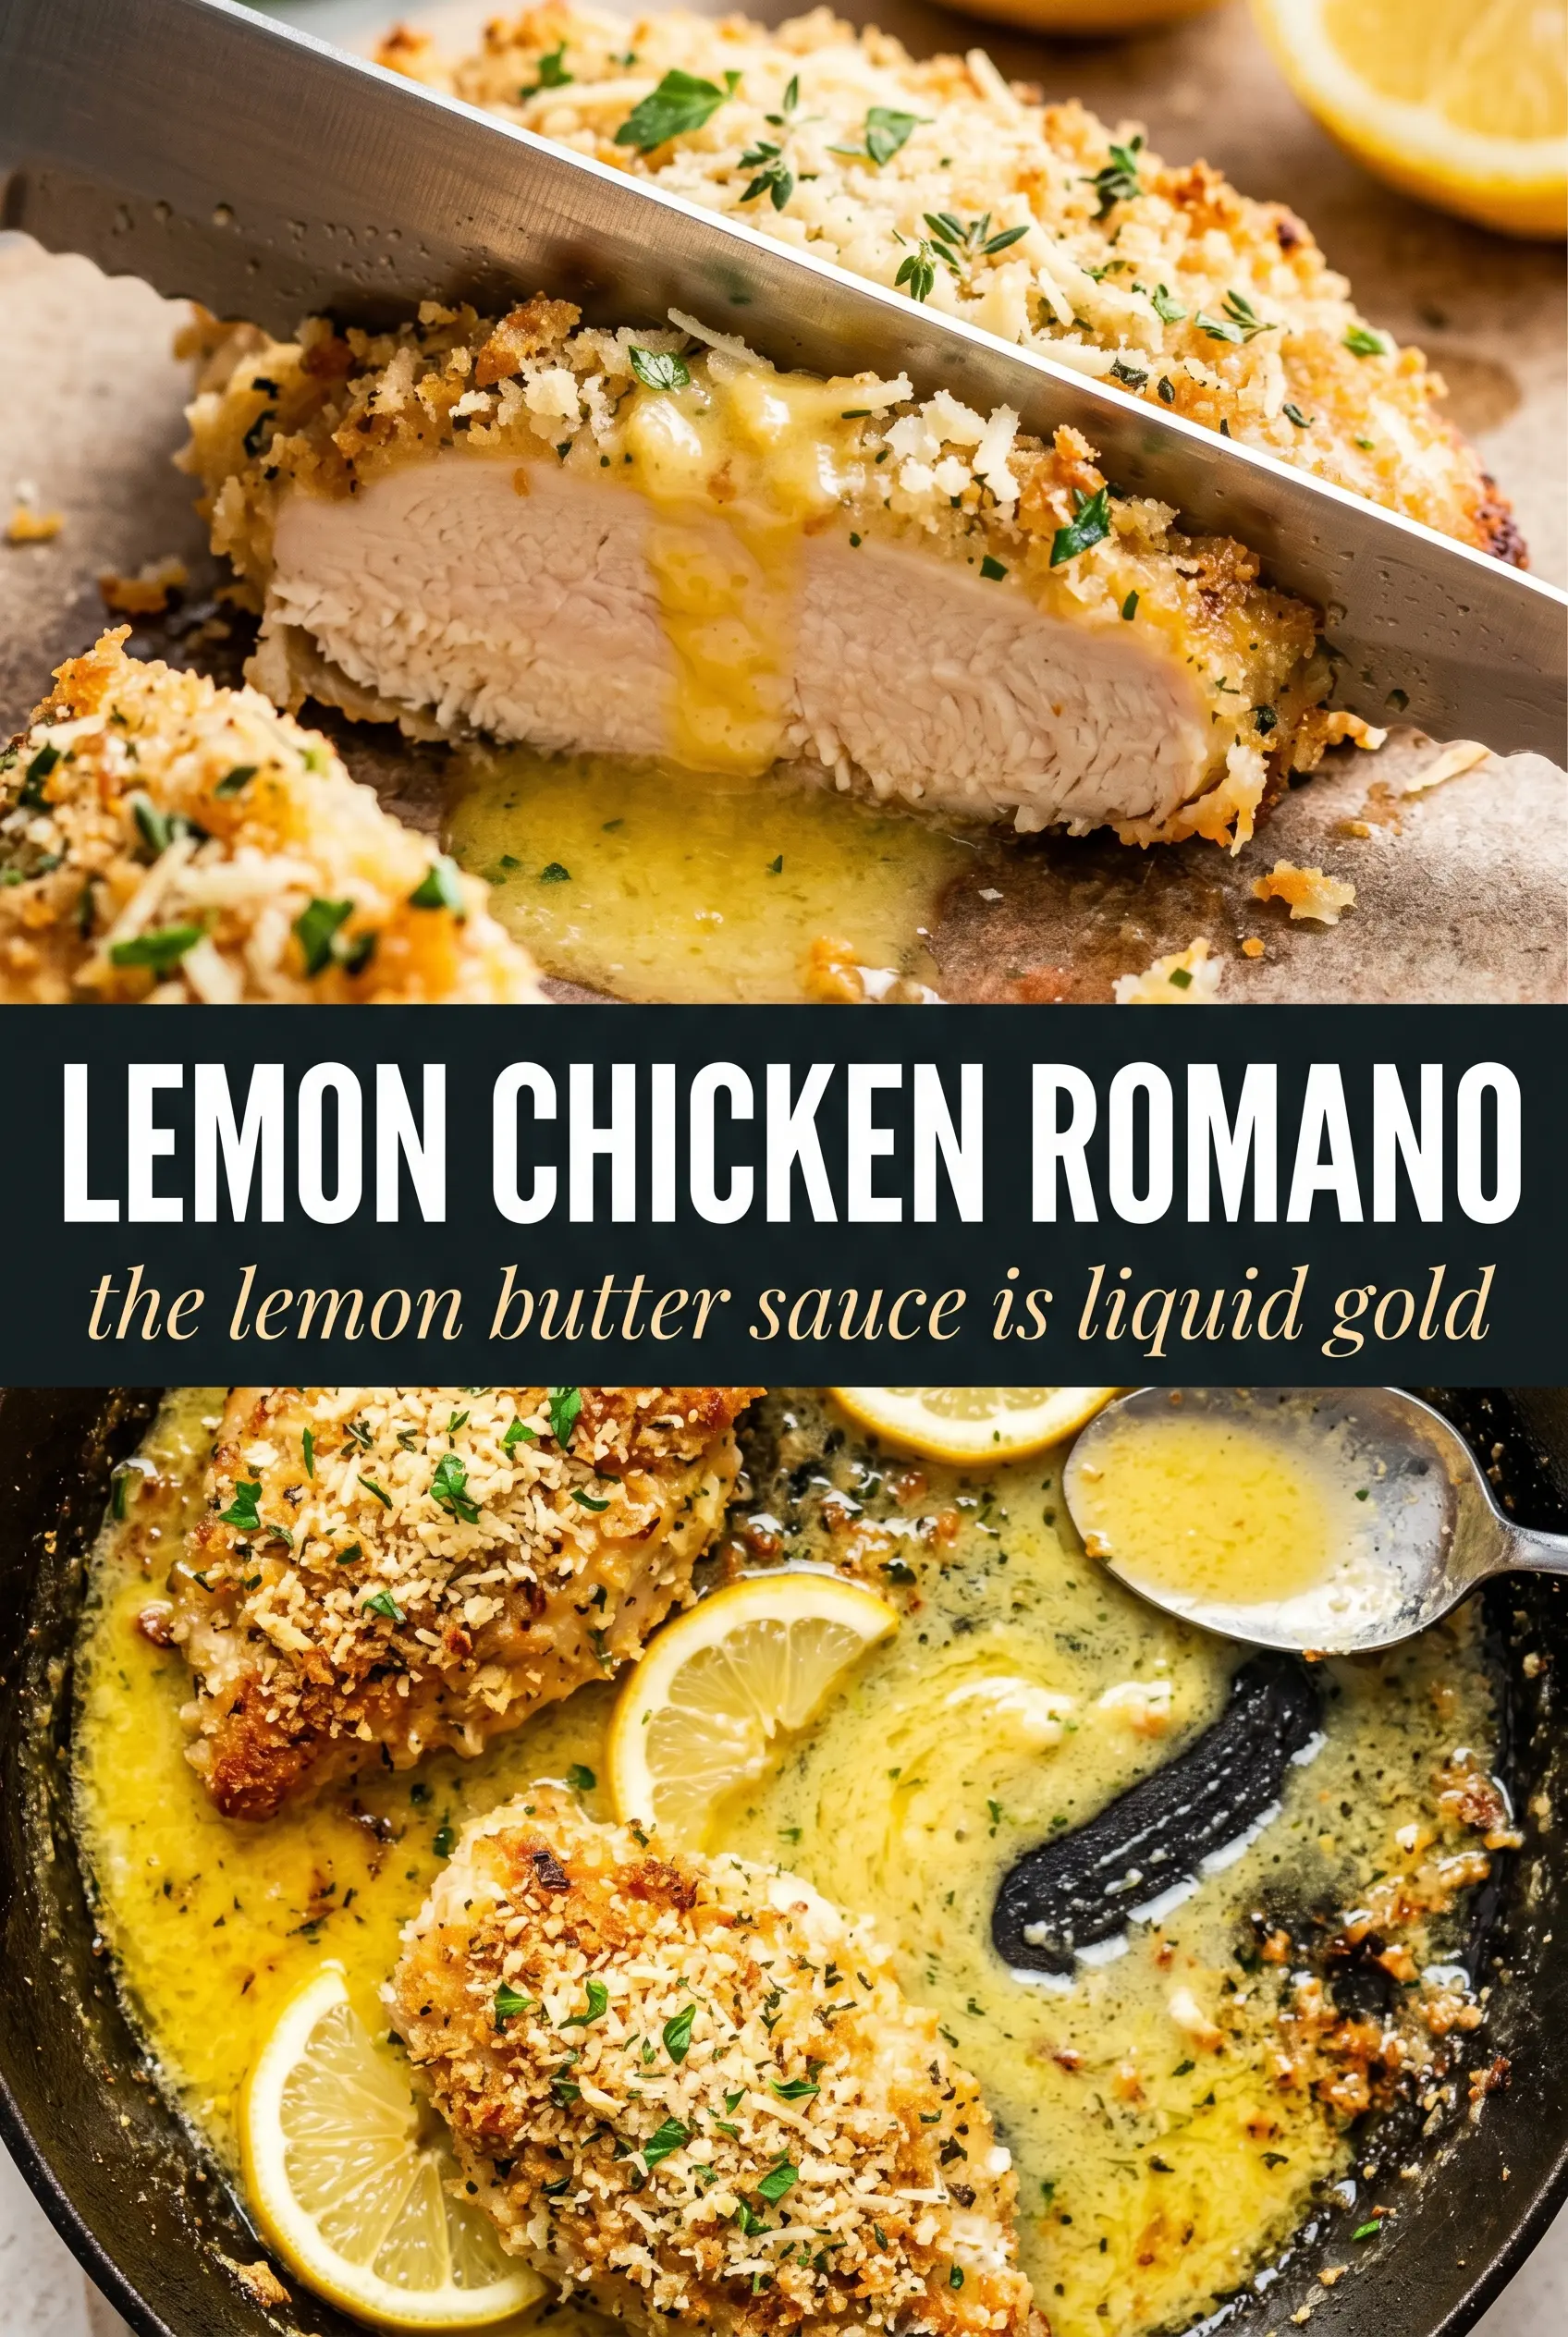
Lemon Chicken Romano
Ingredients
Equipment
Method
- Season the chicken cutlets with salt and pepper, then set up a breading station with flour, beaten egg, and a mixture of Romano cheese and panko.
- Dredge each cutlet in flour, dip in egg, and press firmly into the Romano coating so it adheres evenly.
- Heat olive oil with 2 tablespoons butter in a cast iron skillet over medium-high heat and pan-fry the cutlets for 3-4 minutes per side until deeply golden and crisp.
- Transfer the cutlets to a plate and keep them ready for the sauce while you cook the pan sauce.
- In the same pan, cook the garlic for 30 seconds until fragrant, then deglaze with the white wine.
- Add the lemon juice and capers, then simmer for 3 minutes to concentrate the flavors.
- Swirl in the remaining 2 tablespoons cold butter until the sauce looks glossy and emulsified.
- Plate the cutlets and pour the lemon-caper butter sauce over each one, then garnish with fresh parsley.