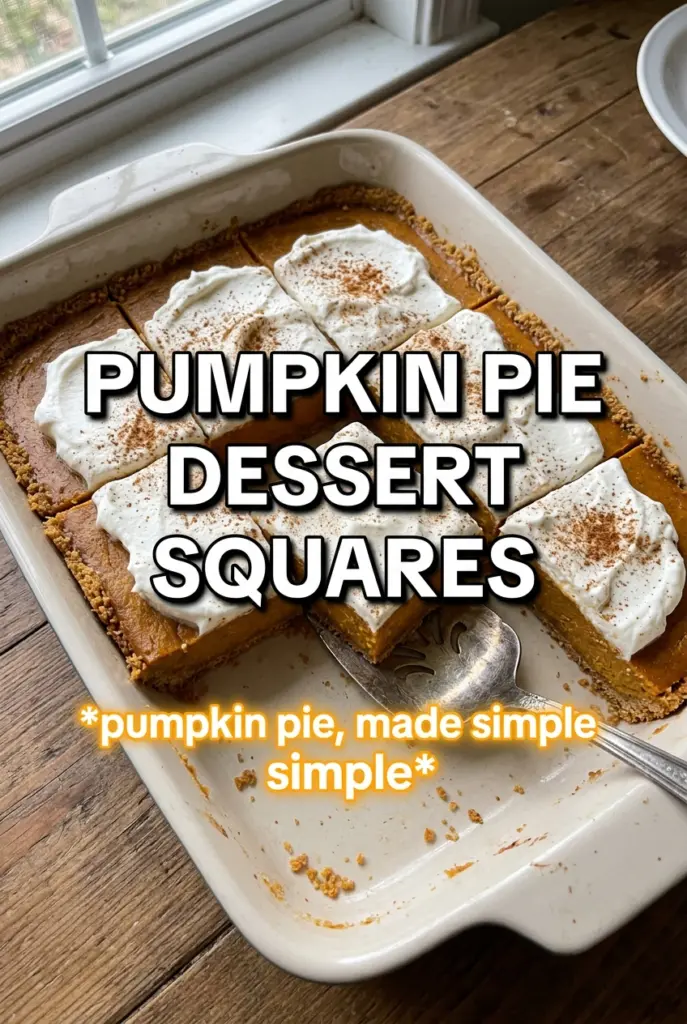
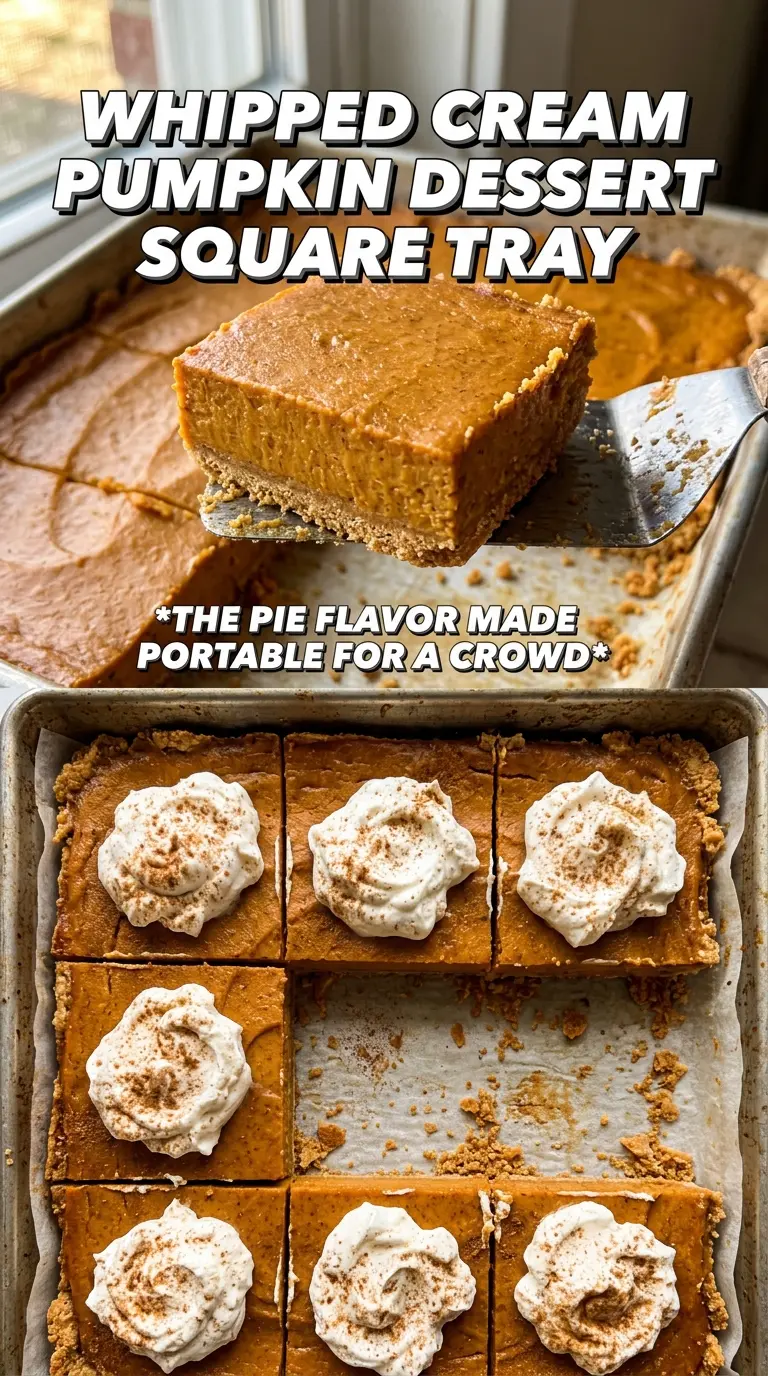
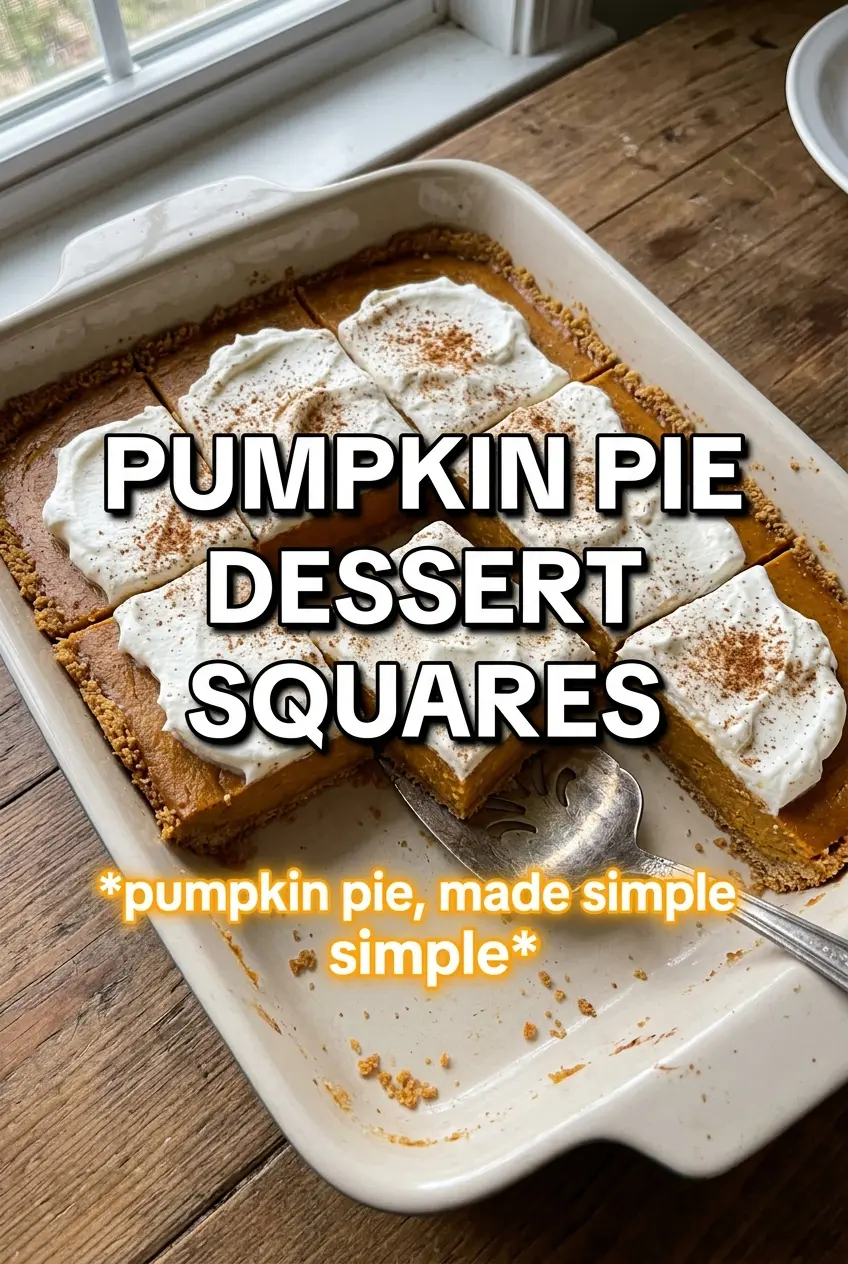
Pumpkin pie dessert squares hit that sweet spot between a classic pie and a simple pan dessert: a buttery yellow cake crust, a smooth spiced pumpkin filling, and a crumbly golden topping that gives each square a little texture at the edges. The finished bars slice cleanly once they’re cooled, which makes them a lot less fussy than pie when you need to feed a crowd.
What makes this version work is the crust layer. Pressing the cake-mix mixture into the pan and baking it before the filling goes on keeps the base from turning gummy under the custard. The evaporated milk also matters here; it gives the filling that rich pie-shop texture without making it heavy, and the combination of pumpkin pie spice, cinnamon, and ginger keeps the flavor warm without tasting muddy.
Below, I’ve included the small details that keep the layers distinct, plus the one cooling step that saves you from a messy pan. If you’ve ever had pumpkin bars that fell apart before they hit the plate, this method fixes that.
The crust stayed firm under the pumpkin layer and the topping baked into the prettiest little crumble. I cut them after chilling overnight and got perfect squares with no mess.
Save these pumpkin pie dessert squares for the dessert table when you want a creamy pumpkin layer, a buttery cake crust, and clean-cut squares from one pan.
The Crust Needs a Head Start, Not a Shortcut
The biggest mistake with pumpkin bars like this is pouring the filling onto an unbaked base and hoping everything sets at the same pace. It doesn’t. The crust mixture here is soft enough to press into the pan, but it still needs those first 10 minutes in the oven so the butter and egg can lock it together before the custard goes on top.
That short bake gives you structure without turning the crust dry. You want the surface just set and lightly matte, not deeply browned. If the crust looks pale but feels firm when you tap it, that’s the right moment to move on.
- Yellow cake mix — This does double duty as both the crust and the crumble topping, which keeps the recipe simple and gives the bars that familiar buttery bakery-style flavor. A standard boxed mix works fine here; don’t use a super-moist or pudding-style mix, because it won’t press and crumble the same way.
- Pumpkin puree — Use pure pumpkin, not pumpkin pie filling. Pie filling is already sweetened and spiced, and it throws off the texture and balance of this recipe.
- Evaporated milk — This is what makes the filling silky and pie-like. Regular milk won’t give the same richness, and cream makes it heavier than it needs to be.
- Cold butter for the crumble — Cold butter is what creates those little nuggets on top instead of a sandy blanket. Work it in just until the mixture clumps when squeezed; if it turns into paste, it’ll melt flat in the oven.
What Each Ingredient Is Actually Doing in This Recipe
- Primary ingredient (the star) — Quality matters most. Choose the best you can find.
- Cooking medium (oil, butter, or broth) — This carries flavors and prevents dryness.
- Seasonings (salt, pepper, spices, herbs) — Layer flavors so nothing overpowers. Build depth gradually.
- Aromatics (garlic, onion, herbs) — Cook with fat to bloom flavors. Become the foundation.
- Supporting ingredients — Complement the main ingredient without overpowering it.
- Sauce or liquid (if applicable) — Brings flavors together. Balance richness with acid.
- Acid (lemon, vinegar, wine, or other) — Brightens and prevents flat-tasting results.
- Final finish (garnish, glaze, or sauce) — Prevents one-dimensional taste and adds visual appeal.
How to Layer the Filling So the Squares Slice Cleanly
Press and Prebake the Crust
Mix the cake mix, melted butter, and egg until the dough comes together, then press it evenly into the greased 9×13 pan. It helps to use the bottom of a measuring cup to get an even layer without sticking to your fingers. Bake it just 10 minutes, until it looks set at the edges and no longer shiny in the center. If it puffs a little, just press it back down gently before adding the filling.
Whisk the Custard Until It’s Smooth
The pumpkin filling should be fully smooth before it goes onto the crust. Whisk until the sugar disappears and the spices are evenly distributed, because lumps at this stage usually mean a grainy bite later. Pour it over the warm crust slowly so you don’t tear the surface. The warmth helps the layers bond, which is part of why the bars slice neatly once cooled.
Build the Crumble on Top
Cut the reserved cake mix together with sugar, cold butter, and cinnamon until you have pea-sized crumbs and a few bigger bits. Scatter it evenly over the filling; don’t press it in. You want the topping to sit loose so it bakes into a crumbly cap instead of sinking into the custard. If the crumbs look too fine, they’ll disappear into the filling, so stop mixing while some texture is still visible.
Bake Until the Center Barely Moves
Bake until the topping is golden and the filling is set around the edges with just a slight wobble in the middle. That wobble finishes as the pan cools. If you wait until the center is completely firm in the oven, the edges usually overbake and the squares turn dry. Let the pan cool all the way before cutting; warm pumpkin filling always smears, even when it tastes fine.
How to Adjust These Pumpkin Pie Dessert Squares for Different Needs
Dairy-Free Version
Swap the butter for a plant-based baking stick and use canned coconut milk in place of evaporated milk. The coconut milk adds a faint flavor, but it still gives the filling the richness it needs. Choose a dairy-free butter that’s meant for baking, not a soft tub spread, or the crust will bake up greasy.
Gluten-Free Shortcut
Use a gluten-free yellow cake mix in both the crust and the topping. The texture is a little more delicate, so let the bars cool completely before moving them from the pan. If your mix tends to be dry, add the butter slowly until it holds together when pressed.
Extra-Spiced Filling
If you like a stronger spice note, add another 1/4 teaspoon cinnamon or a pinch more ginger. Keep the balance in mind; too much spice can drown out the pumpkin and make the filling taste sharp instead of rounded.
Storage and Reheating
- Refrigerator: Store covered for up to 4 days. The filling firms up as it chills, which makes the squares even easier to cut.
- Freezer: These freeze well. Wrap individual squares tightly and freeze for up to 2 months, then thaw in the refrigerator overnight.
- Reheating: Serve cold or let a square sit at room temperature for 20 minutes. If you warm it, use short bursts in the microwave; long heating softens the crust and can make the filling watery.
Answers to the Questions Worth Asking
Pumpkin Pie Dessert Squares
Ingredients
Equipment
Method
- Preheat the oven to 350°F and grease a 9x13 pan so the crust releases cleanly.
- Combine the cake mix (minus 1 cup reserved for topping), melted butter, and egg, then press into the bottom of the pan in an even layer.
- Bake the crust for 10 minutes, until it looks set and lightly golden at the edges.
- Whisk together the pumpkin puree, eggs, granulated sugar, evaporated milk, pumpkin pie spice, cinnamon, ginger, and salt until smooth.
- Pour the filling over the warm crust, keeping the layer even so the squares bake uniformly.
- Combine the reserved 1 cup cake mix, 1/4 cup sugar, cold butter, and cinnamon until crumbly, with no large dry patches.
- Scatter the crumble topping over the filling, covering most of the surface for a crisp golden top.
- Bake for 40-45 minutes at 350°F until the topping is golden and the center is set with a slight jiggle.
- Cool completely, so the custard firms up and the squares cut without smearing.
- Cut into squares and serve with whipped cream.