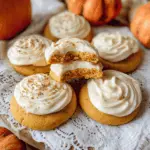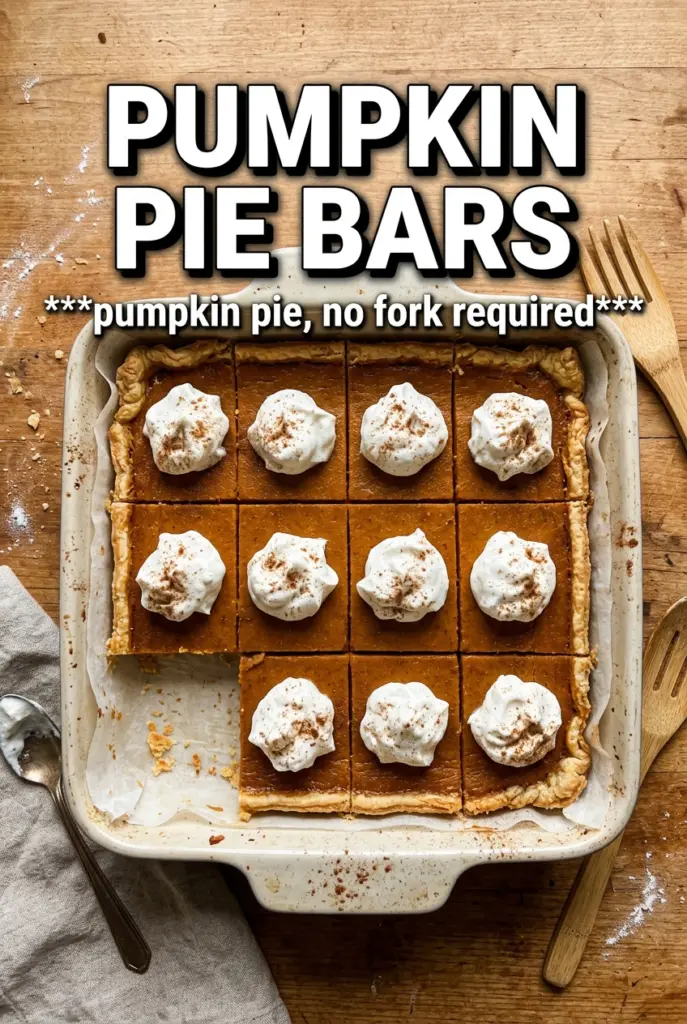
Buttery shortbread and silky pumpkin custard make these pumpkin pie bars disappear fast. You get all the flavor of classic pumpkin pie, but the crust bakes up sturdy enough to slice into neat squares, which means no wrestling with a crumbly wedge on a plate. The filling sets into a smooth, spiced layer that stays creamy without weeping, and the contrast between the cool whipped cream and the warm spices makes every bite feel balanced.
The crust matters here. Cold butter cut into the flour gives you that tender, sandy base that holds up under the custard instead of turning soggy. Baking it before the filling goes in gives the bars their shape and keeps the bottom from tasting underdone. The filling is whisked until completely smooth, then baked hot at first to set the top and finished lower so the center can cook through without overbaking the edges.
Below, I’ve included the little details that keep the bars clean-cutting and creamy, plus a few smart swaps if you need to work around what’s in your pantry.
The crust stayed crisp even after chilling, and the filling set up beautifully after two hours in the fridge. I used the whipped cream on top and the cinnamon finish made them taste just like pumpkin pie in bar form.
Save these pumpkin pie bars for the dessert table when you want clean slices, a buttery crust, and classic spiced filling without the fuss of a full pie.
The Trick That Keeps the Custard Set and the Crust Crisp
Pumpkin pie bars fail in one of two ways: the crust goes soft, or the filling turns grainy and overbaked. The fix is baked right into the method. Start with a fully pre-baked crust, then pour in the filling while it’s still hot from the oven. That hot base gives the bottom of the custard a head start, so the bars set evenly instead of sinking into a soggy layer.
The two-temperature bake matters too. The first blast at 425F helps the top of the filling set quickly, which reduces the chance of a loose, watery center. Dropping to 350F finishes the custard gently. If you keep the oven too hot the whole time, the edges tighten before the middle has a chance to cook, and you end up with cracks or a curdled texture.
What Each Ingredient Is Actually Doing in These Bars
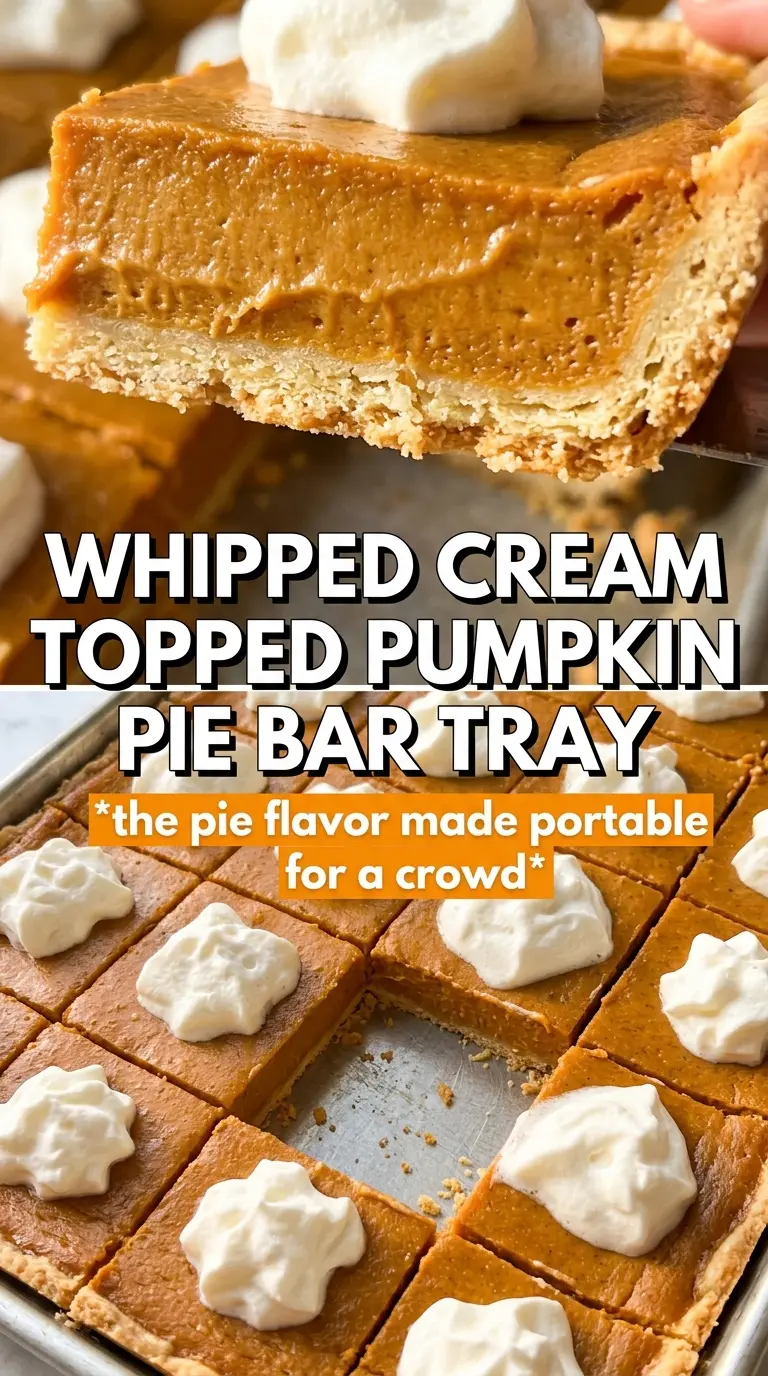
- Cold unsalted butter — This is what gives the crust its short, tender bite. Salted butter works in a pinch, but you’ll lose a little control over seasoning. Keep the butter cold and cube it first; soft butter blends too smoothly and makes the crust dense instead of sandy.
- Powdered sugar — It dissolves right into the crust and helps it bake into a fine, delicate base. Granulated sugar makes the crust a little more crunchy and less melt-in-your-mouth, which changes the whole feel of the bars.
- Pumpkin puree — Use plain pumpkin puree, not pumpkin pie filling. The canned pie filling already has sugar and spices added, which throws off the balance and makes the bars overly sweet and muddy-tasting.
- Evaporated milk — This gives the custard its classic pie texture and a richer mouthfeel than regular milk. Heavy cream makes the filling heavier and softer; whole milk works, but the bars won’t taste quite as plush.
- Eggs — They set the filling. Whisk them until the mixture is smooth and even, but don’t beat in a lot of air or you’ll get a puffed top that can crack as it cools.
- Pumpkin pie spice, cinnamon, ginger, and cloves — The spice blend is what makes the filling taste layered instead of flat. If you only have pumpkin pie spice, use that and add a little extra cinnamon. The separate spices give you more control, which matters here because the filling is mild and needs a confident hand.
- Vanilla — It rounds out the custard and softens the edges of the spice. It won’t taste like vanilla bars; it just makes the pumpkin taste fuller.
How to Build the Bars So They Slice Cleanly
Pressing and Prebaking the Crust
Mix the flour, powdered sugar, and salt, then cut in the cold butter until the mixture looks like damp sand with a few pea-sized bits left. Those butter pieces are what keep the crust tender. Press it firmly and evenly into the parchment-lined pan, especially into the corners, because thin spots will brown too fast and crumble when you cut the bars. Bake until it looks pale golden at the edges and set on top; if it still looks raw in the center, it will collapse under the filling.
Whisking the Filling Until It’s Smooth
Combine the pumpkin, evaporated milk, eggs, sugar, spices, salt, and vanilla in a large bowl and whisk until the mixture looks completely even. Scrape the bottom of the bowl because the sugar likes to hide there. Stop once it’s smooth; you’re not trying to whip air into it. If the filling looks foamy, let it sit for a minute before pouring so the bubbles rise and disappear, which helps prevent a pockmarked top.
Baking for a Gentle Set
Pour the filling over the hot crust and slide the pan into the oven right away. Bake at 425F first, then reduce the heat and continue until the center has just a slight wobble when you nudge the pan. The edges should look set and matte, while the center still has a small jiggle, like firm gelatin. If you wait for the middle to look completely solid in the oven, it will overcook as it cools and turn dry.
Cooling Before You Cut
Let the bars cool all the way at room temperature, then chill them for the full two hours. This is the part that gives you sharp edges and clean slices. If you cut them while they’re still warm, the filling will ooze and the crust will crack apart. Use a sharp knife wiped clean between cuts, and lift the bars out with the parchment if you want the neatest squares.
Three Ways to Adjust These Bars Without Losing What Makes Them Good
Gluten-Free Crust Swap
Use a 1:1 gluten-free all-purpose flour blend in the crust. The filling is naturally gluten-free, so this is the only change you need. The crust may be a little more fragile, so press it extra firmly into the pan and let the bars chill fully before slicing.
Dairy-Free Version
Swap the butter for a firm vegan butter that bakes well, and replace the evaporated milk with full-fat canned coconut milk. That coconut milk gives the filling a slightly richer, softer finish and a faint coconut note, so it works best if you like that flavor alongside pumpkin and spice.
Less Sweet, More Spiced
Drop the granulated sugar to 1 1/4 cups and bump the cinnamon slightly if you want the pumpkin to come through more clearly. The bars will taste less like dessert-pie filling and more like a balanced custard. Don’t reduce the sugar much further or the texture can turn loose instead of creamy.
Make-Ahead Storage
These bars are built for make-ahead dessert duty. Chill them overnight if you want the cleanest cuts and the most stable filling.
Storage and Reheating
- Refrigerator: Store covered for up to 4 days. The crust stays best on day one and two, but the bars still slice cleanly after chilling.
- Freezer: Freeze the uncut slab or individual bars tightly wrapped for up to 2 months. Thaw in the refrigerator overnight; freezing works well because the custard is set with eggs, but don’t freeze them with whipped cream on top.
- Reheating: These are best served chilled or cool, not heated. If you want them just slightly softer, let a bar sit at room temperature for 15 to 20 minutes before serving instead of microwaving it, which can make the filling weep.
Answers to the Questions Worth Asking
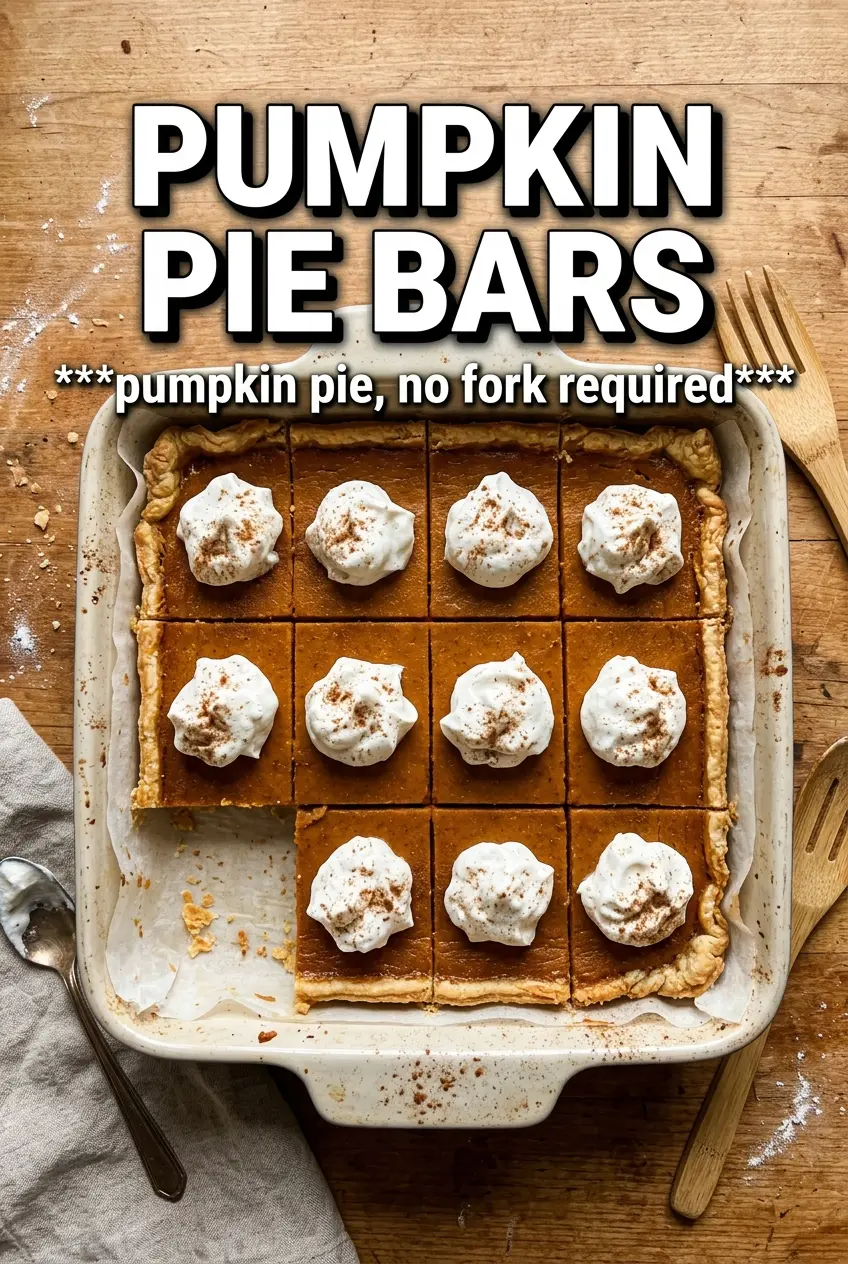
Pumpkin Pie Bars
Ingredients
Equipment
Method
- Preheat the oven to 425°F, then line a 9x13 pan with parchment paper so it overhangs for easy lifting. Set up the pan and keep it ready for baking.
- Combine all-purpose flour, powdered sugar, and salt, then cut in cold unsalted butter until the dough just holds together. Stop as soon as it comes together to keep the crust tender.
- Press the crust firmly and evenly into the lined pan. Bake at 425°F for 15 minutes until pale golden.
- Whisk pumpkin puree, evaporated milk, eggs, granulated sugar, pumpkin pie spice, cinnamon, ginger, cloves, salt, and vanilla until smooth. Whisking until fully blended helps the custard bake with a clean texture.
- Pour the filling over the hot crust. Make sure it spreads evenly to prevent thin or thick spots.
- Bake at 425°F for 15 minutes, then reduce the heat to 350°F and bake 25 to 30 minutes more until the filling is set with just a slight wobble in the center. The slight jiggle should remain when gently shaken.
- Cool the bars completely at room temperature before chilling. This helps the custard firm up without cracking or weeping.
- Refrigerate for 2 hours. Chill until firm enough to cut clean bars.
- Cut into bars and serve with whipped cream. Add the cream just before serving for best appearance.