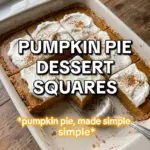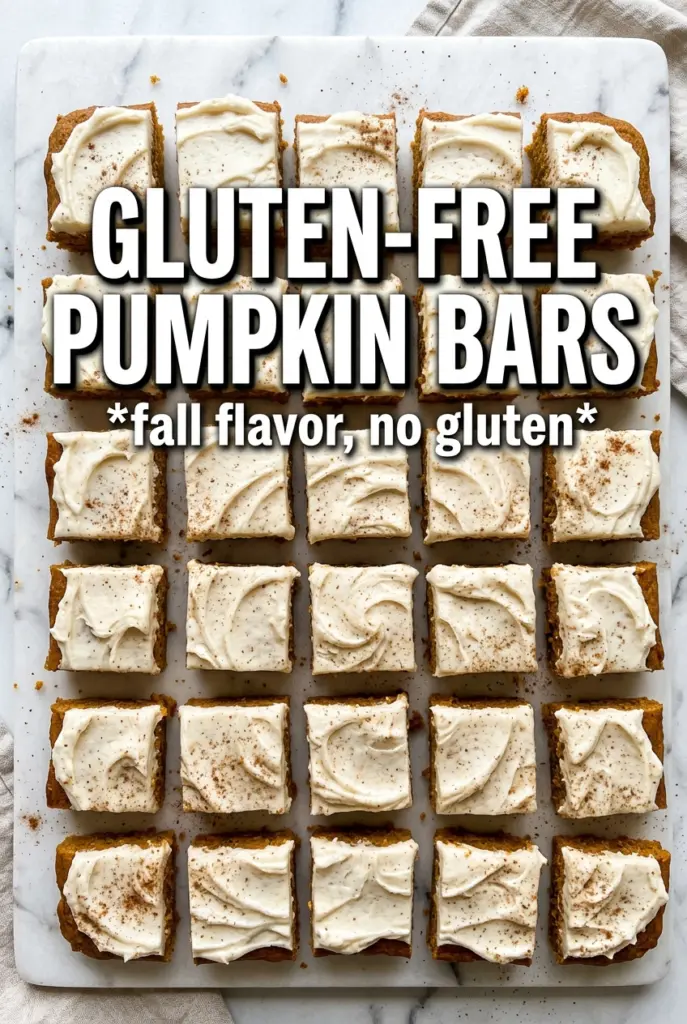
Gluten-free pumpkin bars should be soft, tall enough to hold a thick layer of frosting, and sturdy enough to cut into clean squares without crumbling apart. The best version tastes like classic pumpkin cake bars: warmly spiced, deeply pumpkiny, and finished with a cool cream cheese frosting that sets just enough to slice neatly. When they’re done right, nobody at the table is asking whether they’re gluten-free.
What makes these bars work is the balance between moisture and structure. Pumpkin puree, oil, and eggs keep the crumb tender, while a gluten-free all-purpose blend with xanthan gum gives the batter enough backbone to bake up like a real cake bar instead of a dense, gummy slab. The batter is mixed just until the flour disappears, because overworking gluten-free batter can still make the finished bars tight and heavy.
Below, I’ll walk through the small details that matter most: how to keep the bars from sinking in the center, why cooling before frosting matters, and the fastest way to get that cinnamon-flecked cream cheese layer smooth and spreadable.
The bars baked up fluffy and the center stayed tender instead of gummy. I chilled them before cutting and the frosting set perfectly for clean squares.
Save these gluten-free pumpkin bars for the kind of dessert that slices cleanly, stays soft, and tastes every bit as good as the traditional version.
The Secret to Bars That Stay Tender Instead of Gummy
Gluten-free pumpkin bars can go wrong in one of two ways: they bake up dry and cakey, or they turn dense and damp in the middle. The difference usually comes down to the flour blend and the mixing. A blend with xanthan gum gives the batter structure, but it still needs a gentle hand once the dry ingredients go in. Stir until the flour streaks disappear and stop there. If you beat it hard, the crumb tightens and the bars lose that soft, bakery-style texture.
The other trap is underbaking. Pumpkin batter stays moist, so a toothpick should come out clean or with only a few moist crumbs, not wet batter. Pull them from the oven when the center is set but still feels soft to the touch. They finish setting as they cool, and that’s what keeps them tender instead of gummy.
- Gluten-free all-purpose flour blend — Use a blend that already includes xanthan gum. That binder matters here because it keeps the bars sliceable after cooling. If your blend doesn’t include it, the bars can crumble when you cut them.
- Pumpkin puree — Use plain pumpkin puree, not pumpkin pie filling. Pie filling brings extra sugar and spices that throw off the balance and can make the bars too wet.
- Vegetable oil — Oil keeps the bars soft even after chilling. Melted butter tastes nice, but it firms up more in the fridge and gives a less plush crumb.
- Eggs — The eggs provide lift and structure. Don’t reduce them here; they help the bars hold together under the frosting.
What the Flour, Pumpkin, and Frosting Each Bring to the Pan
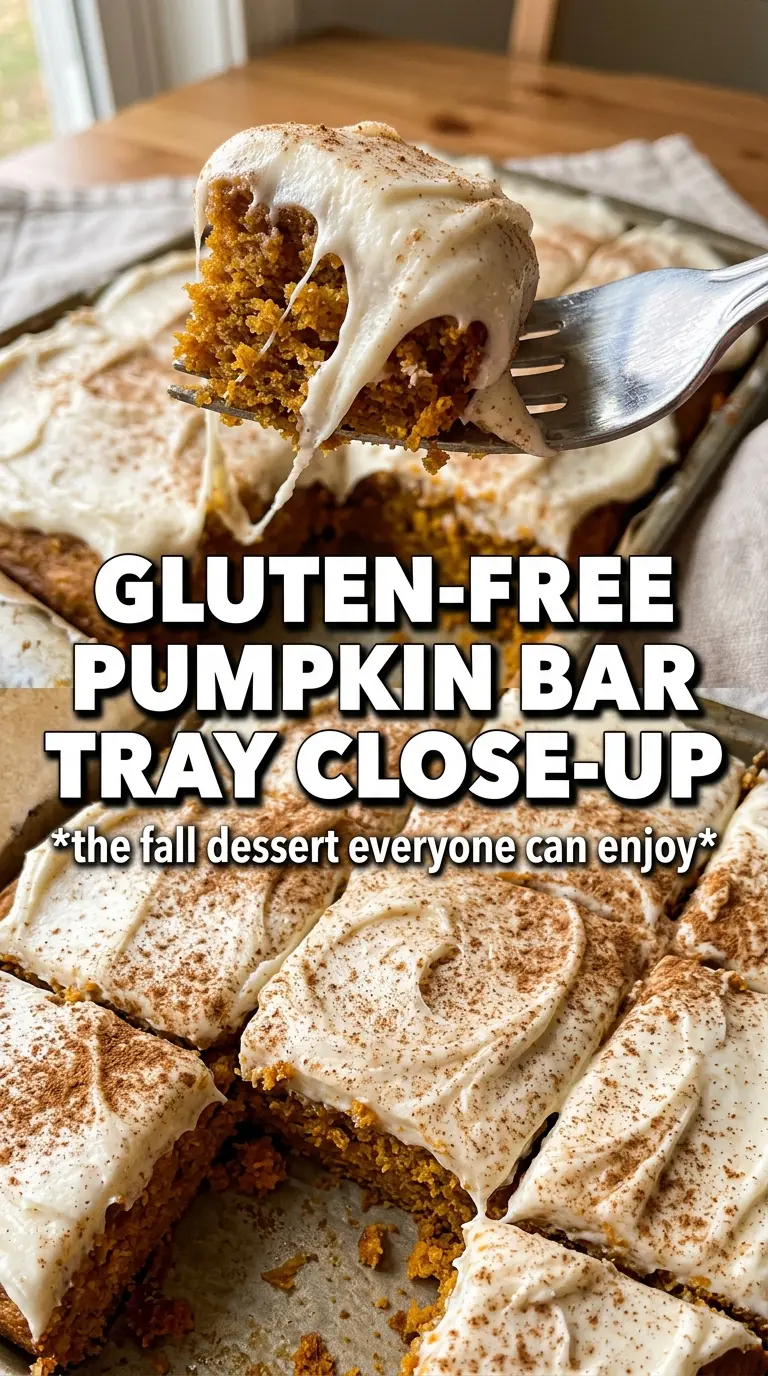
The flour blend is doing more than replacing wheat flour. It gives the bars a neutral base so the pumpkin and spice can come through without tasting gritty or heavy. If your blend is extra starchy, the bars may bake a little softer; that’s fine as long as you cool them completely before frosting and cutting.
The frosting is not just decoration. Cream cheese adds tang that keeps the bars from tasting flat, while butter gives the frosting body and powdered sugar makes it thick enough to spread without running. The cinnamon in the frosting ties everything back to the spice in the cake. If the frosting looks loose, the cream cheese or butter was too warm. Chill it for a few minutes and beat again until it holds soft peaks.
- Cream cheese — Use full-fat block cream cheese for the best texture. Tub cream cheese is usually too soft and can make the frosting slack.
- Butter — Let it soften, but don’t let it melt. Soft butter creams with the cream cheese into a smooth frosting; melted butter makes it greasy.
- Pumpkin pie spice and cinnamon — These spices work together, but cinnamon in both the batter and frosting keeps the flavor rounded instead of one-note. If you only have pumpkin pie spice, use it in the bars and add a little extra cinnamon to the frosting.
- Powdered sugar — Add it gradually so the frosting stays fluffy. Dumping it all in at once usually leaves a cloud of sugar and a lumpy finish.
Building the Batter and Frosting in the Right Order
Mix the Dry Ingredients First
Whisk the flour, baking powder, baking soda, spices, and salt until everything looks evenly speckled. This keeps the leavening and spice from clumping in one spot, which matters more in a big sheet-pan batter than it does in a small cake. If you see streaks of baking soda in the finished bars, the dry ingredients weren’t mixed well enough.
Beat the Wet Ingredients Until Smooth
Mix the eggs, sugar, oil, pumpkin, and vanilla until the batter looks glossy and uniform. The sugar should start dissolving into the wet ingredients, and the mixture should thicken slightly. If it still looks separated or curdled, keep mixing a little longer before adding the flour.
Fold, Don’t Whip, the Final Batter
Add the flour mixture and stir just until combined. A few tiny streaks are better than overmixing, because the bars finish blending as they bake. Spread the batter into the greased pan in an even layer so the center and edges bake at the same pace. Uneven batter is the fastest way to get overdone corners and an underbaked middle.
Cool Completely Before Frosting
The bars need to be fully cool before the frosting goes on. If they’re even a little warm, the cream cheese layer softens and slides around instead of sitting on top in a neat, spreadable layer. Chill the frosted pan for about 30 minutes before cutting so the squares hold their shape and the knife makes clean edges.
Make Them Dairy-Free
Swap in plant-based butter and dairy-free cream cheese. The bars themselves are already dairy-free, so the texture stays close to the original, but the frosting may be a little softer and less tangy. Chill it briefly before spreading so it firms up enough to cut cleanly.
Use a Different Frosting Finish
If you want a lighter finish, skip the cream cheese frosting and dust the cooled bars with powdered sugar. You’ll lose the tangy contrast, but the pumpkin spice flavor becomes more direct and the bars travel a little better for potlucks.
Make the Bars Slightly More Cake-Like
For a lighter crumb, beat the egg mixture an extra minute before folding in the dry ingredients. That adds a bit more air and gives the bars a softer, more cake-style bite, though they’ll still need the full cooling time before frosting.
Storage and Reheating
- Refrigerator: Store covered for up to 5 days. The bars stay moist, and the frosting firms up slightly for cleaner slices.
- Freezer: Freeze the unfrosted bars for up to 2 months, tightly wrapped. Frosting after thawing gives the best texture; frozen frosted bars can get a little tacky on top.
- Reheating: These are best served cold or at cool room temperature, not reheated. If you want the bars a little softer, let them sit on the counter for 20 to 30 minutes after refrigerating instead of microwaving them, which can melt the frosting and make the crumb greasy.
Answers to the Questions Worth Asking
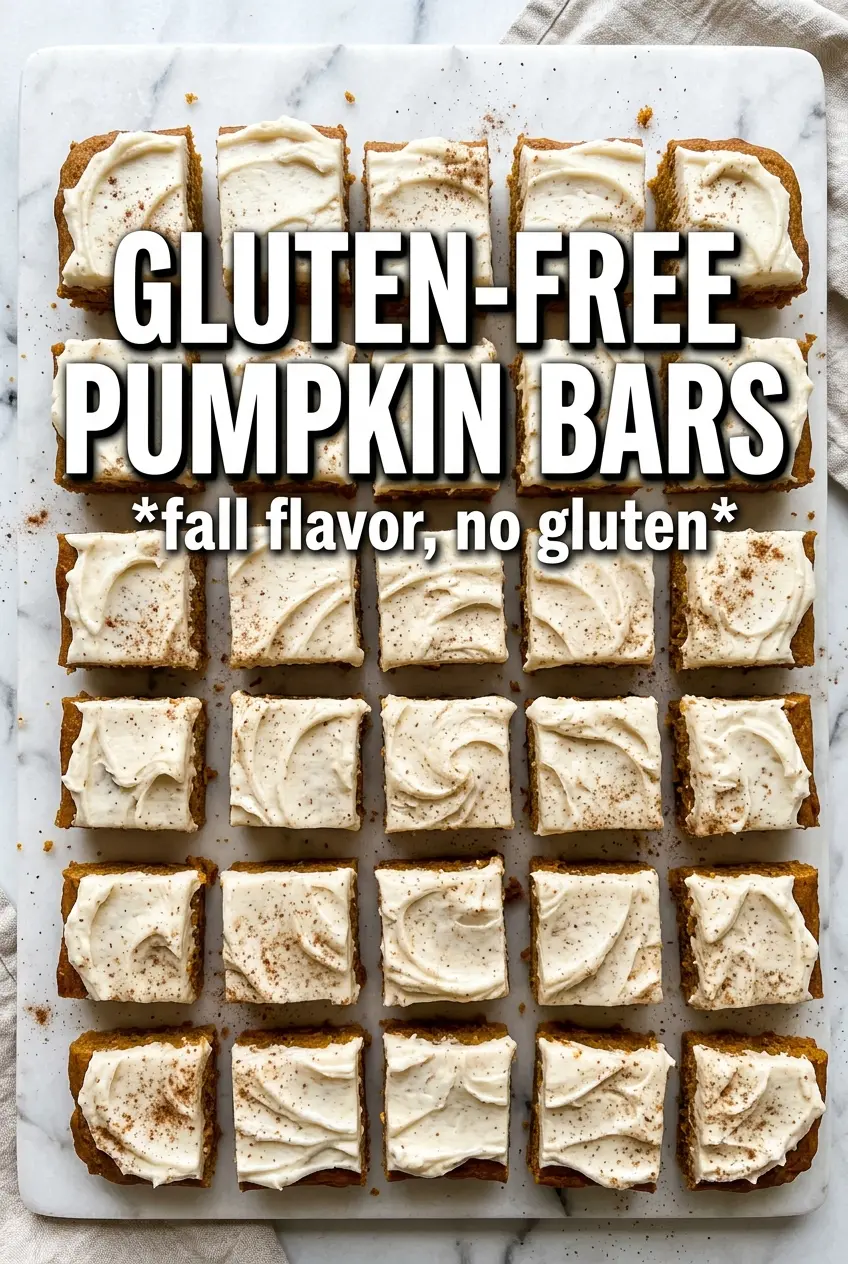
Gluten-Free Pumpkin Bars
Ingredients
Equipment
Method
- Preheat the oven to 350F and grease a 15x10 rimmed baking sheet.
- Whisk gluten-free all-purpose flour blend, baking powder, baking soda, pumpkin pie spice, cinnamon, and salt until evenly combined.
- Beat eggs, granulated sugar, vegetable oil, pumpkin puree, and vanilla until smooth.
- Fold in the dry flour mixture until just combined, then pour the batter into the prepared pan.
- Bake for 25-28 minutes, until a toothpick comes out clean, then cool completely.
- Beat cream cheese frosting ingredients until fluffy, then spread it over the cooled bars.
- Chill the frosted bars for 30 minutes before cutting.