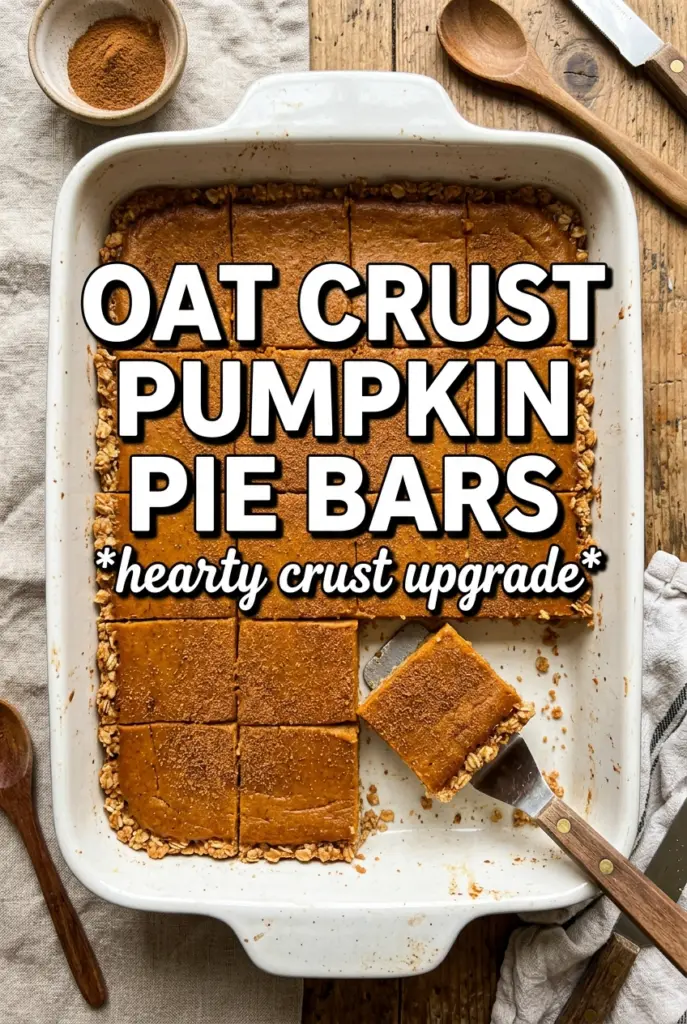
Pumpkin pie bars with oat crust give you everything people love about pumpkin pie, just in a form that slices cleanly and travels without drama. The filling sets up silky and custardy, the oat layer bakes into a sturdy base, and the crumble on top adds the kind of buttery crunch that keeps each bite from feeling one-note.
The trick is in the two-stage bake. Prebaking the crust keeps the bottom from turning soft under the pumpkin filling, and using cold butter in the oat mixture creates those sandy, craggy bits that turn crisp in the oven. The filling itself stays straightforward: pumpkin puree, evaporated milk, eggs, and spice whisked until smooth, then poured onto a hot crust so the layers bond instead of separating.
Below, I’ve included the small details that matter here — how to keep the crust from packing too tightly, why the bars need a full chill before cutting, and the easiest way to tweak the spice level if you want them a little bolder.
The oat crust held up beautifully and the filling set after chilling just like you said. I liked that the top stayed a little crumbly while the center cut into neat squares.
Like these pumpkin pie bars with oat crust? Save them for the first dessert you want to slice cleanly and serve with a crunchy, buttery topping.
Why the Bottom Crust Stays Crisp Instead of Turning Soggy
The bottom crust only works if it gets a head start. Pressing the oat mixture into the pan and baking it before the filling goes in gives the flour and butter time to set into an actual base instead of dissolving into pumpkin custard. That first bake also drives off some moisture from the oats, which helps the bars hold their shape once they cool.
The other thing that matters is how firmly you pack the crust. Press it down enough that it looks even and compact, but don’t smash it into a dense brick. A lightly packed crust bakes up tender and crisp at the edges, while an overpacked one turns tough and fights you when it’s time to cut clean squares.
What Each Ingredient Is Actually Doing in These Bars
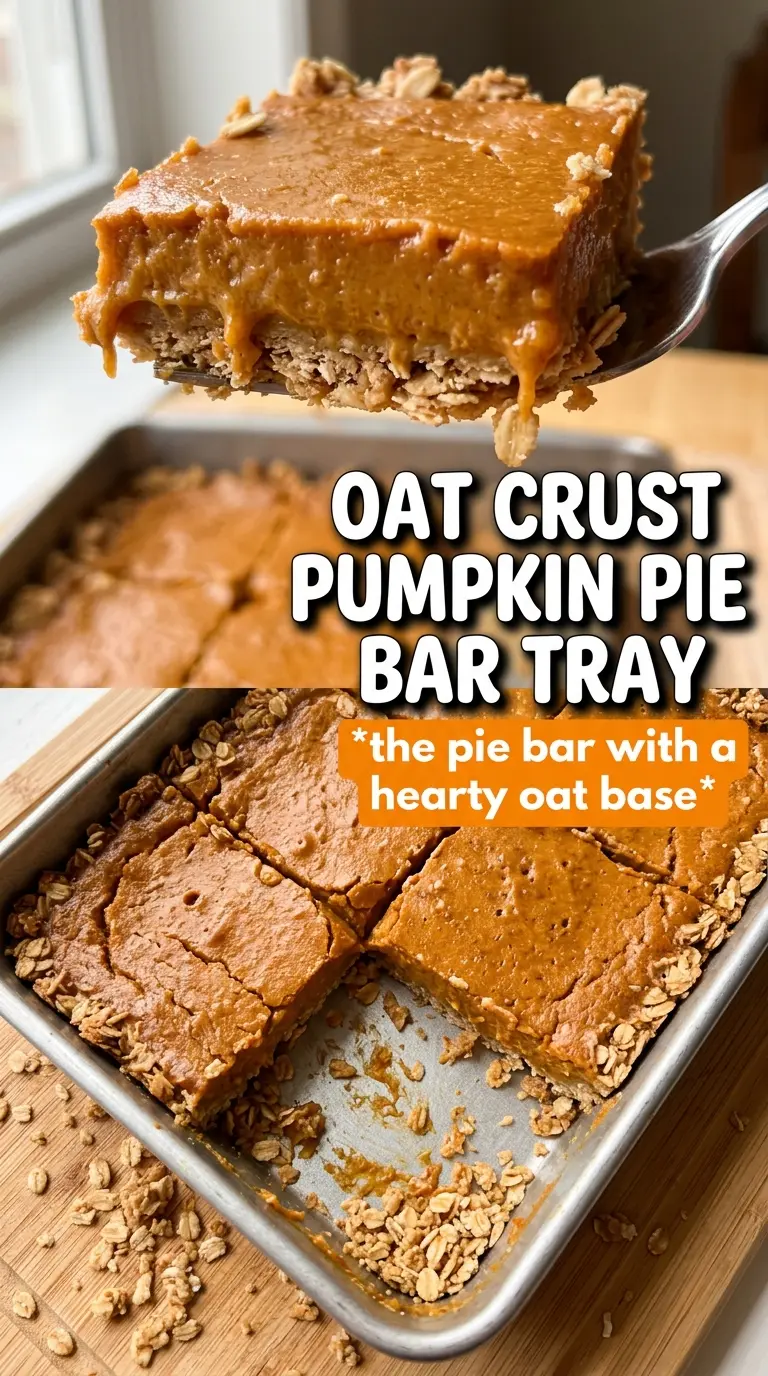
- Rolled oats — These give the crust and topping their nubby texture and nutty flavor. Quick oats turn softer and a little pasty, so rolled oats are the better choice if you want that crumbly, crisp finish.
- All-purpose flour — Flour helps the oat mixture clump into a crust instead of staying loose. There isn’t a good one-to-one substitute here if you want the same structure, but a 1:1 gluten-free baking blend usually works well if you need these bars gluten-free.
- Cold unsalted butter — Cold butter is what creates the crumbly pockets that bake into a golden crust and topping. Salted butter can work in a pinch, but the flavor is cleaner and easier to control with unsalted butter.
- Pumpkin puree — Use plain pumpkin puree, not pumpkin pie filling. The canned filling already has sugar and spice added, and it throws off the texture and sweetness here.
- Evaporated milk — This gives the filling its custardy body without making it heavy. Whole milk can work, but the bars won’t set with quite the same richness.
- Pumpkin pie spice plus cinnamon and ginger — The spice blend brings warmth, while the extra cinnamon and ginger keep the flavor from tasting flat. If you only have pumpkin pie spice, use it and add a little more cinnamon for a brighter finish.
Getting the Filling to Set Without Overbaking the Top
Build the crust first
Mix the oats, flour, brown sugar, cinnamon, and salt, then cut in the cold butter until the mixture looks sandy with some pea-size bits. Those little butter pieces matter; they melt in the oven and create the crisp texture. Reserve a cup for the topping, press the rest into the pan, and bake it just until the surface looks set and lightly toasted at the edges.
Whisk the filling until it’s completely smooth
Combine the pumpkin puree, evaporated milk, eggs, sugar, spices, salt, and vanilla until you don’t see streaks of egg or spice on the bottom of the bowl. If the mixture looks streaky, it bakes unevenly and can leave you with soft spots. Pour it over the hot crust right away so the crust stays distinct and doesn’t absorb too much liquid.
Bake until the center still has a slight wobble
Scatter the reserved crumble over the filling and bake until the topping is golden and the center jiggles just a little when you nudge the pan. If the middle sloshes, it needs more time; if it’s completely firm in the oven, it usually overbakes and turns grainy once cooled. The bars finish setting as they cool, so pull them when they still have a gentle wobble in the middle.
Chill before slicing
Let the pan cool completely, then refrigerate it for at least an hour before cutting. Warm pumpkin bars look fine until the knife hits them, then the filling smears and the crust crumbles apart. A cold bar slices into neat squares with clean edges and a better texture all around.
How to Adapt These Bars When You Need a Different Version
Gluten-Free Swap
Use a good 1:1 gluten-free flour blend in place of the all-purpose flour. The bars will still hold together, though the crust may be a little more delicate, so let them chill fully before lifting them from the pan.
Dairy-Free Version
Swap the butter for a firm plant-based butter that bakes well and use full-fat canned coconut milk in place of the evaporated milk. The filling will be a touch richer and slightly coconut-leaning, but it still sets nicely and tastes balanced with the spices.
Less-Sweet Dessert Bars
Cut the brown sugar in the crust to 1/2 cup and the granulated sugar in the filling to 1/2 cup. The bars will taste more pumpkin-forward and a little less like pie filling, which works well if you plan to serve them with whipped cream.
Storage and Reheating
- Refrigerator: Store covered for up to 4 days. The crust stays sturdy, and the filling actually slices better after a full chill.
- Freezer: These freeze well. Cut into bars, wrap individually, and freeze in a single layer before moving them to a container.
- Reheating: Serve them cold or let them sit at room temperature for 20 to 30 minutes. Warming them too much softens the crust and makes the filling loose, which works against the clean-bar texture.
Answers to the Questions Worth Asking
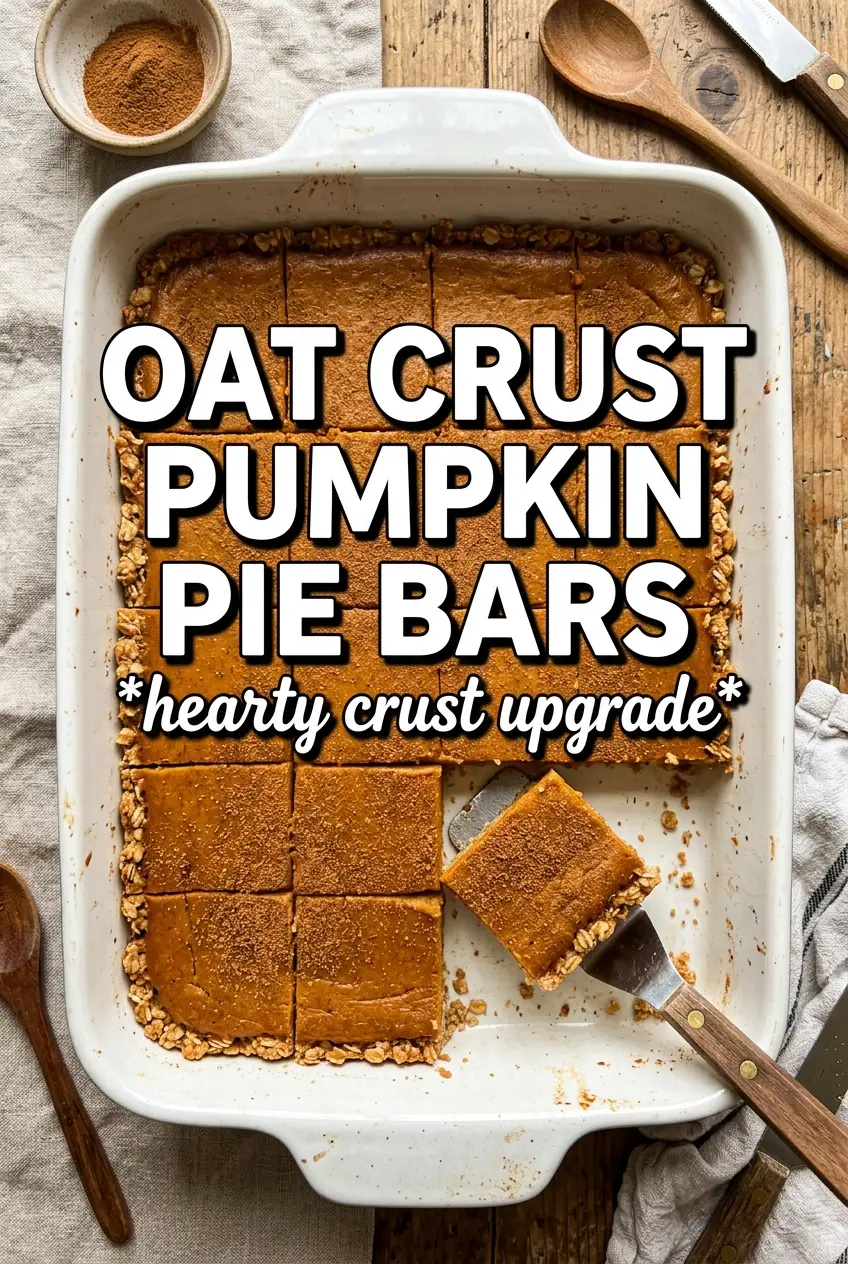
Pumpkin Pie Bars With Oat Crust
Ingredients
Equipment
Method
- Preheat the oven to 375°F and line a 9x13 pan with parchment paper.
- In a bowl, combine rolled oats, all-purpose flour, brown sugar, cinnamon, and salt.
- Cut in cold unsalted butter until the mixture looks like coarse crumbs.
- Reserve 1 cup of the oat mixture for topping, then press the remaining crumbs firmly into the lined pan.
- Bake for 12 minutes to set the base crust.
- Whisk pumpkin puree, evaporated milk, eggs, granulated sugar, pumpkin pie spice, cinnamon, ginger, salt, and vanilla until smooth.
- Pour the filling over the hot crust.
- Scatter the reserved oat crumble over the filling.
- Bake for 35 to 40 minutes, until the topping is golden and the filling is set.
- Cool the bars completely at room temperature.
- Refrigerate for 1 hour before cutting into 16 bars.