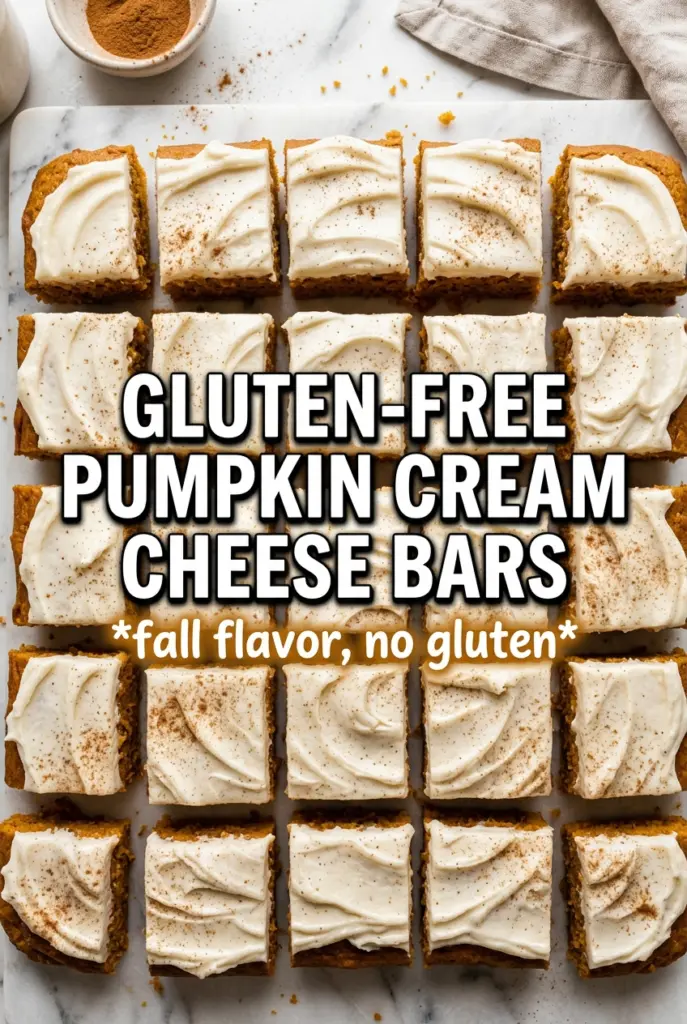
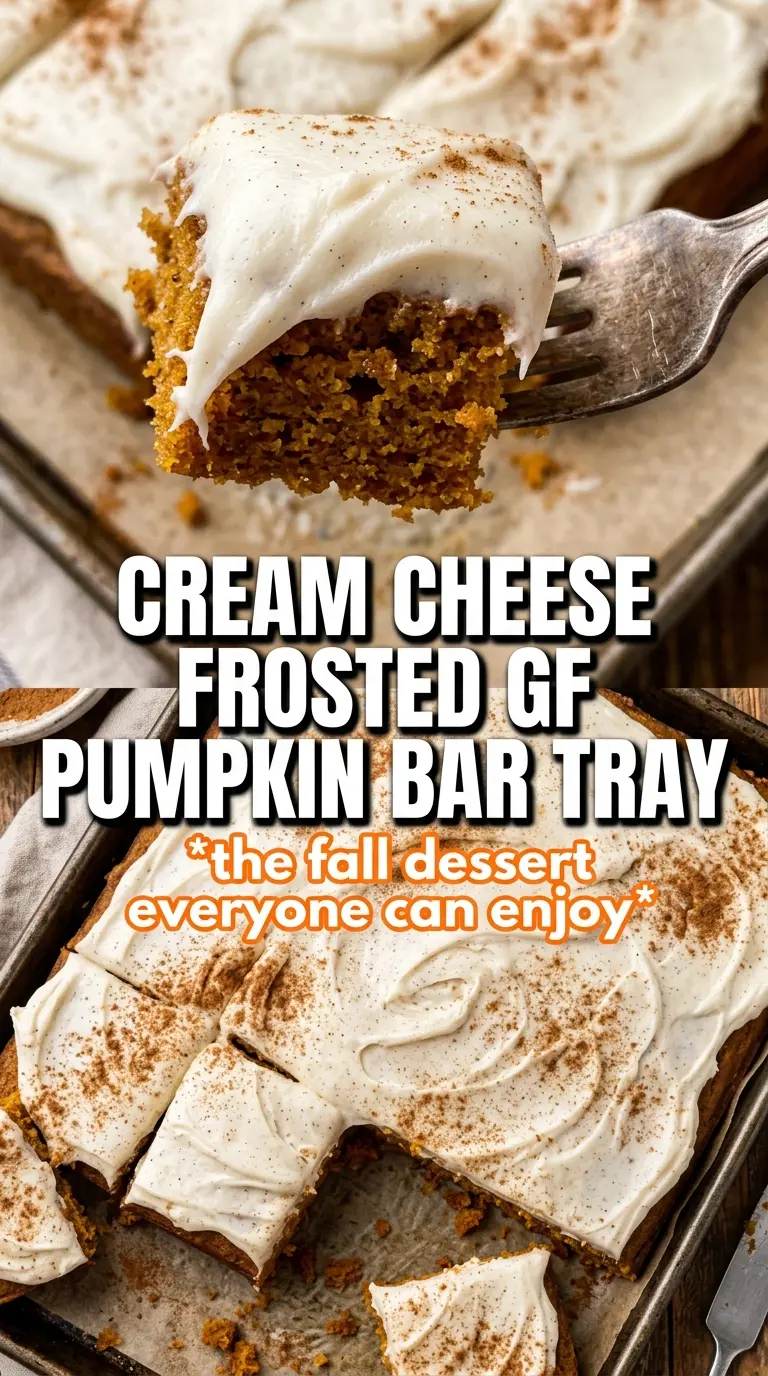
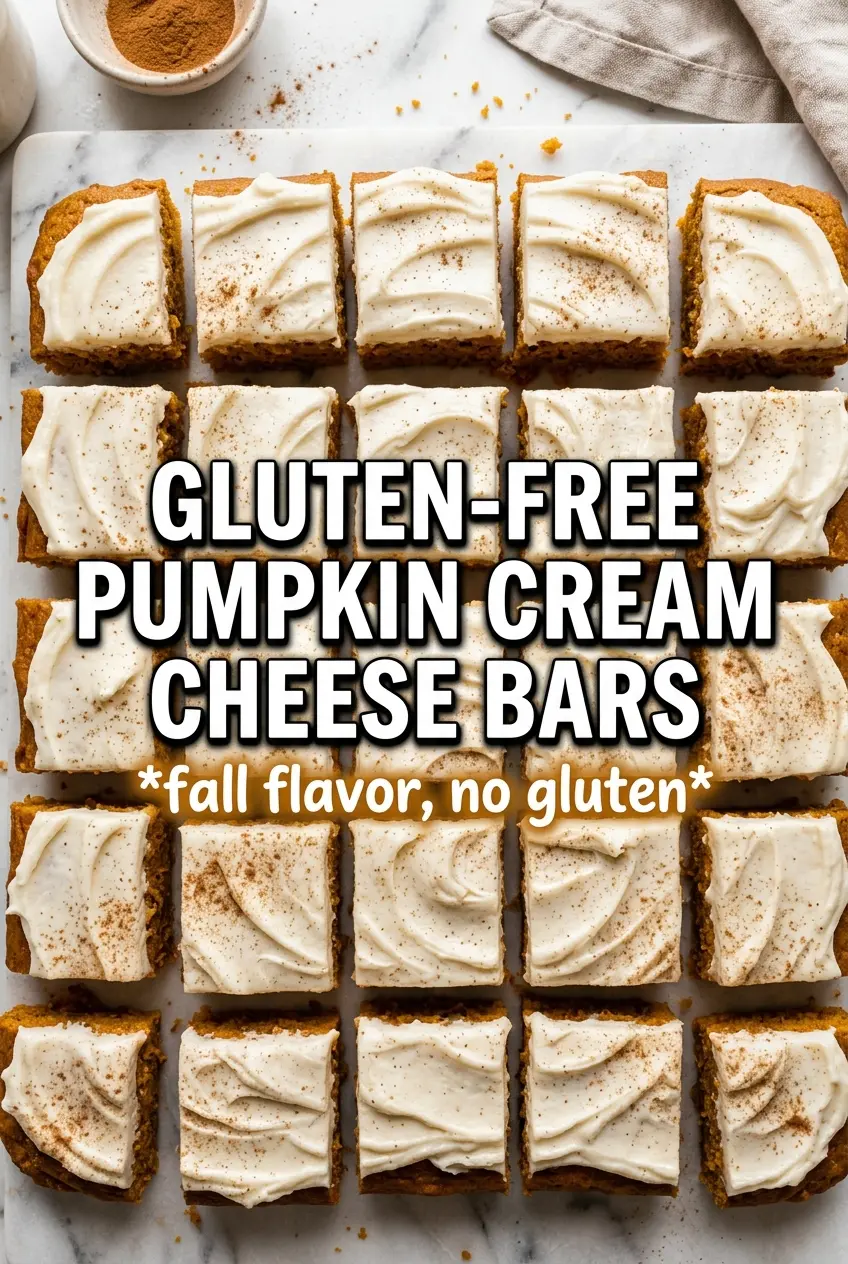
These gluten-free pumpkin bars bake up soft, thick, and tender with a moist crumb that holds together like the classic version everyone remembers. The frosting is cool, tangy, and fluffy enough to sit in a generous layer on top without sliding off the bars. When you cut them, they slice cleanly and the pumpkin spice comes through in every bite.
The part that makes these work is the balance between structure and moisture. Pumpkin puree and oil keep the bars soft, while eggs and a gluten-free flour blend with xanthan gum give them enough backbone to lift in the oven without turning sandy or fragile. The batter comes together quickly, but it pays to whisk the dry ingredients well so the baking powder and spices are evenly distributed.
Below, I’ll walk through the one detail that keeps the bars from getting gummy, what each ingredient is doing in the batter, and how to adjust the frosting if you want a thicker or softer finish.
The bars came out unbelievably soft, and the frosting set up just enough after chilling that I could cut clean squares without it smearing everywhere.
These gluten-free pumpkin bars stay soft, slice cleanly, and hold that thick cream cheese frosting beautifully after a short chill.
Why These Bars Don’t Turn Gummy or Grainy
Gluten-free pumpkin bars can go wrong in two opposite ways: too dense from overmixing, or too soft and damp in the middle because the batter was underbaked. The trick here is using enough structure from the eggs and flour blend to support the pumpkin, while keeping the mix just combined so the crumb stays tender instead of tight.
The other piece that matters is the pan. A rimmed 15×10 baking sheet gives the batter the right thickness for bars, not cake. If you use a deeper pan, the center can stay underdone while the edges dry out. Bake until the top springs back lightly and a toothpick comes out clean or with a few moist crumbs, not wet batter.
- Gluten-free all-purpose flour blend with xanthan gum — This gives the bars their shape and that familiar sliceable texture. A blend without xanthan gum can work, but the bars may be more fragile and crumbly.
- Pumpkin puree — Use plain pumpkin puree, not pumpkin pie filling. Pie filling is already sweetened and spiced, which throws off both texture and balance.
- Vegetable oil — Oil keeps the bars moist for days. Butter will work, but the crumb will be a little firmer and less plush.
- Cream cheese for the frosting — Full-fat cream cheese gives the frosting its tang and body. Low-fat cream cheese tends to be softer and can make the frosting loose.
What Each Ingredient Is Actually Doing in This Recipe
- Primary ingredient (the star) — Quality matters most. Choose the best you can find.
- Cooking medium (oil, butter, or broth) — This carries flavors and prevents dryness.
- Seasonings (salt, pepper, spices, herbs) — Layer flavors so nothing overpowers. Build depth gradually.
- Aromatics (garlic, onion, herbs) — Cook with fat to bloom flavors. Become the foundation.
- Supporting ingredients — Complement the main ingredient without overpowering it.
- Sauce or liquid (if applicable) — Brings flavors together. Balance richness with acid.
- Acid (lemon, vinegar, wine, or other) — Brightens and prevents flat-tasting results.
- Final finish (garnish, glaze, or sauce) — Prevents one-dimensional taste and adds visual appeal.
Building the Batter Before the Pumpkin Can Weigh It Down
Whisk the dry ingredients first
Start by whisking the flour blend, baking powder, baking soda, spices, and salt together until the mixture looks even in color. That matters more than it sounds, because pumpkin batter is thick and doesn’t give you much chance to correct a pocket of baking soda later. If the spices aren’t evenly distributed now, you’ll taste hot spots in the finished bars.
Mix the wet ingredients until smooth
Beat the eggs, sugar, oil, pumpkin puree, and vanilla until the mixture looks glossy and fully combined. You’re not trying to whip in a lot of air here; you just want the sugar to start dissolving and the pumpkin to loosen into the oil. If the mixture looks streaky, keep mixing a little longer before adding the flour.
Fold just until the flour disappears
Add the dry ingredients and fold them in until no dry patches remain. Stop as soon as the batter is uniform. With gluten-free baking, overmixing doesn’t develop gluten the way it does in wheat batters, but it can still make the bars heavier and push you toward a dense, gummy texture. Spread the batter evenly in the pan so it bakes at the same rate from edge to center.
Cool completely before frosting
The bars need to be fully cool before the frosting goes on. If they’re even slightly warm, the cream cheese frosting softens, sinks in, and loses that thick, swirled top. Chilling for about 30 minutes after frosting helps the squares cut cleanly and keeps the frosting from dragging.
How to Adjust the Frosting Without Losing That Thick Swirl
Thicker frosting for sharp, bakery-style squares
Use the full 3 cups of powdered sugar and beat until the frosting looks fluffy and holds soft peaks. If your kitchen is warm, chill it for 10 to 15 minutes before spreading. That keeps the frosting from sliding and gives you cleaner cuts.
Lighter frosting with a little more tang
Add the milk a teaspoon at a time and stop once the frosting is spreadable. A looser frosting tastes a little fresher and lets more of the pumpkin spice come through, but it won’t hold tall swirls as well.
Dairy-free version
Use a dairy-free cream cheese and plant-based butter in the frosting. The texture will be a little softer, so chill it before spreading if it seems loose. The bars themselves are already dairy-free, which makes this an easy swap.
Gluten-free note for the flour blend
Use a measured 1:1 gluten-free flour blend that includes xanthan gum. If your blend does not include it, the bars may crumble when sliced. This recipe depends on that binder to mimic the structure you’d normally get from wheat flour.
Storage and Reheating
- Refrigerator: Store covered for up to 5 days. The frosting stays best chilled, and the bars get even softer by day two.
- Freezer: Freeze unfrosted bars tightly wrapped for up to 2 months. Frosting doesn’t freeze as neatly, so add it after thawing for the best texture.
- Reheating: These are best served chilled or at cool room temperature, not warmed. If you want to take the chill off, let a slice sit on the counter for 15 to 20 minutes instead of microwaving it, which can make the frosting melt and the crumb turn sticky.
Questions I Get Asked About These Pumpkin Bars
Gluten-Free Pumpkin Bars With Cream Cheese Frosting
Ingredients
Equipment
Method
- Preheat oven to 350F and grease a 15x10 rimmed baking sheet, making sure the corners are coated for easy release.
- Whisk together the gluten-free all-purpose flour blend, baking powder, baking soda, pumpkin pie spice, cinnamon, and salt until evenly combined and no dry streaks remain.
- Beat the eggs, granulated sugar, vegetable oil, pumpkin puree, and vanilla until smooth, then fold in the flour mixture just until no dry pockets appear.
- Spread the batter evenly into the greased sheet pan so the surface is level.
- Bake at 350F for 25-28 minutes, until a toothpick comes out clean with no wet batter clinging to it.
- Cool the bars completely in the pan before frosting so the frosting stays thick and doesn’t melt.
- Beat cream cheese and unsalted butter until smooth, scraping the bowl as needed to remove lumps.
- Add powdered sugar, vanilla, cinnamon, nutmeg, and milk, then beat until fully incorporated.
- Beat the frosting until very fluffy for a thicker, spreadable texture.
- Spread frosting over the cooled bars and dust the top with cinnamon for a finished look.
- Refrigerate for 30 minutes before cutting so the bars slice cleanly through the frosting.