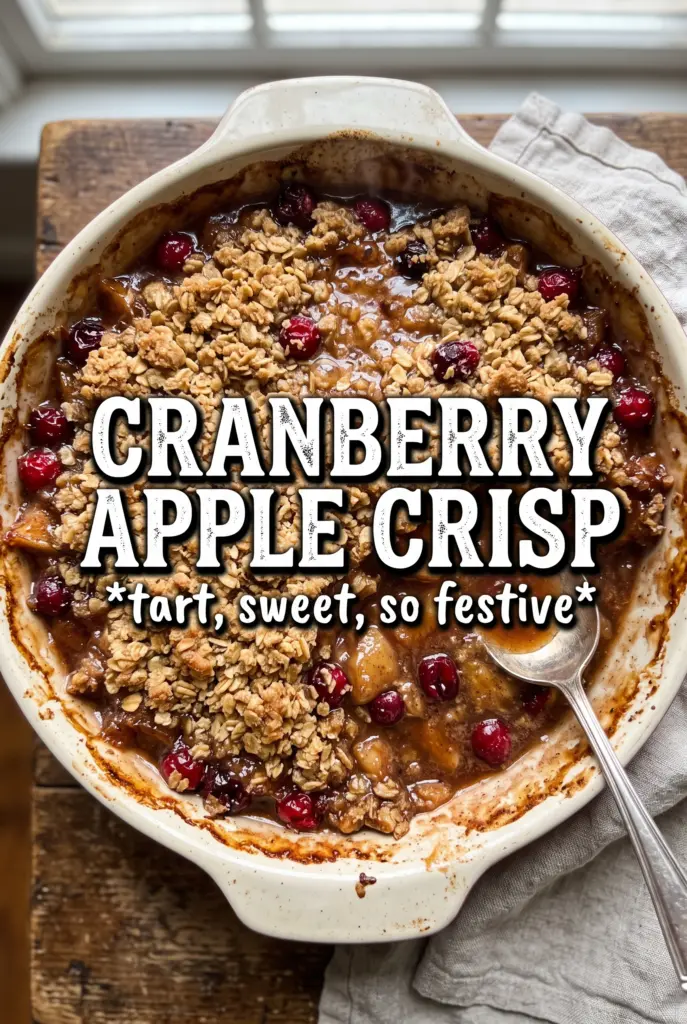
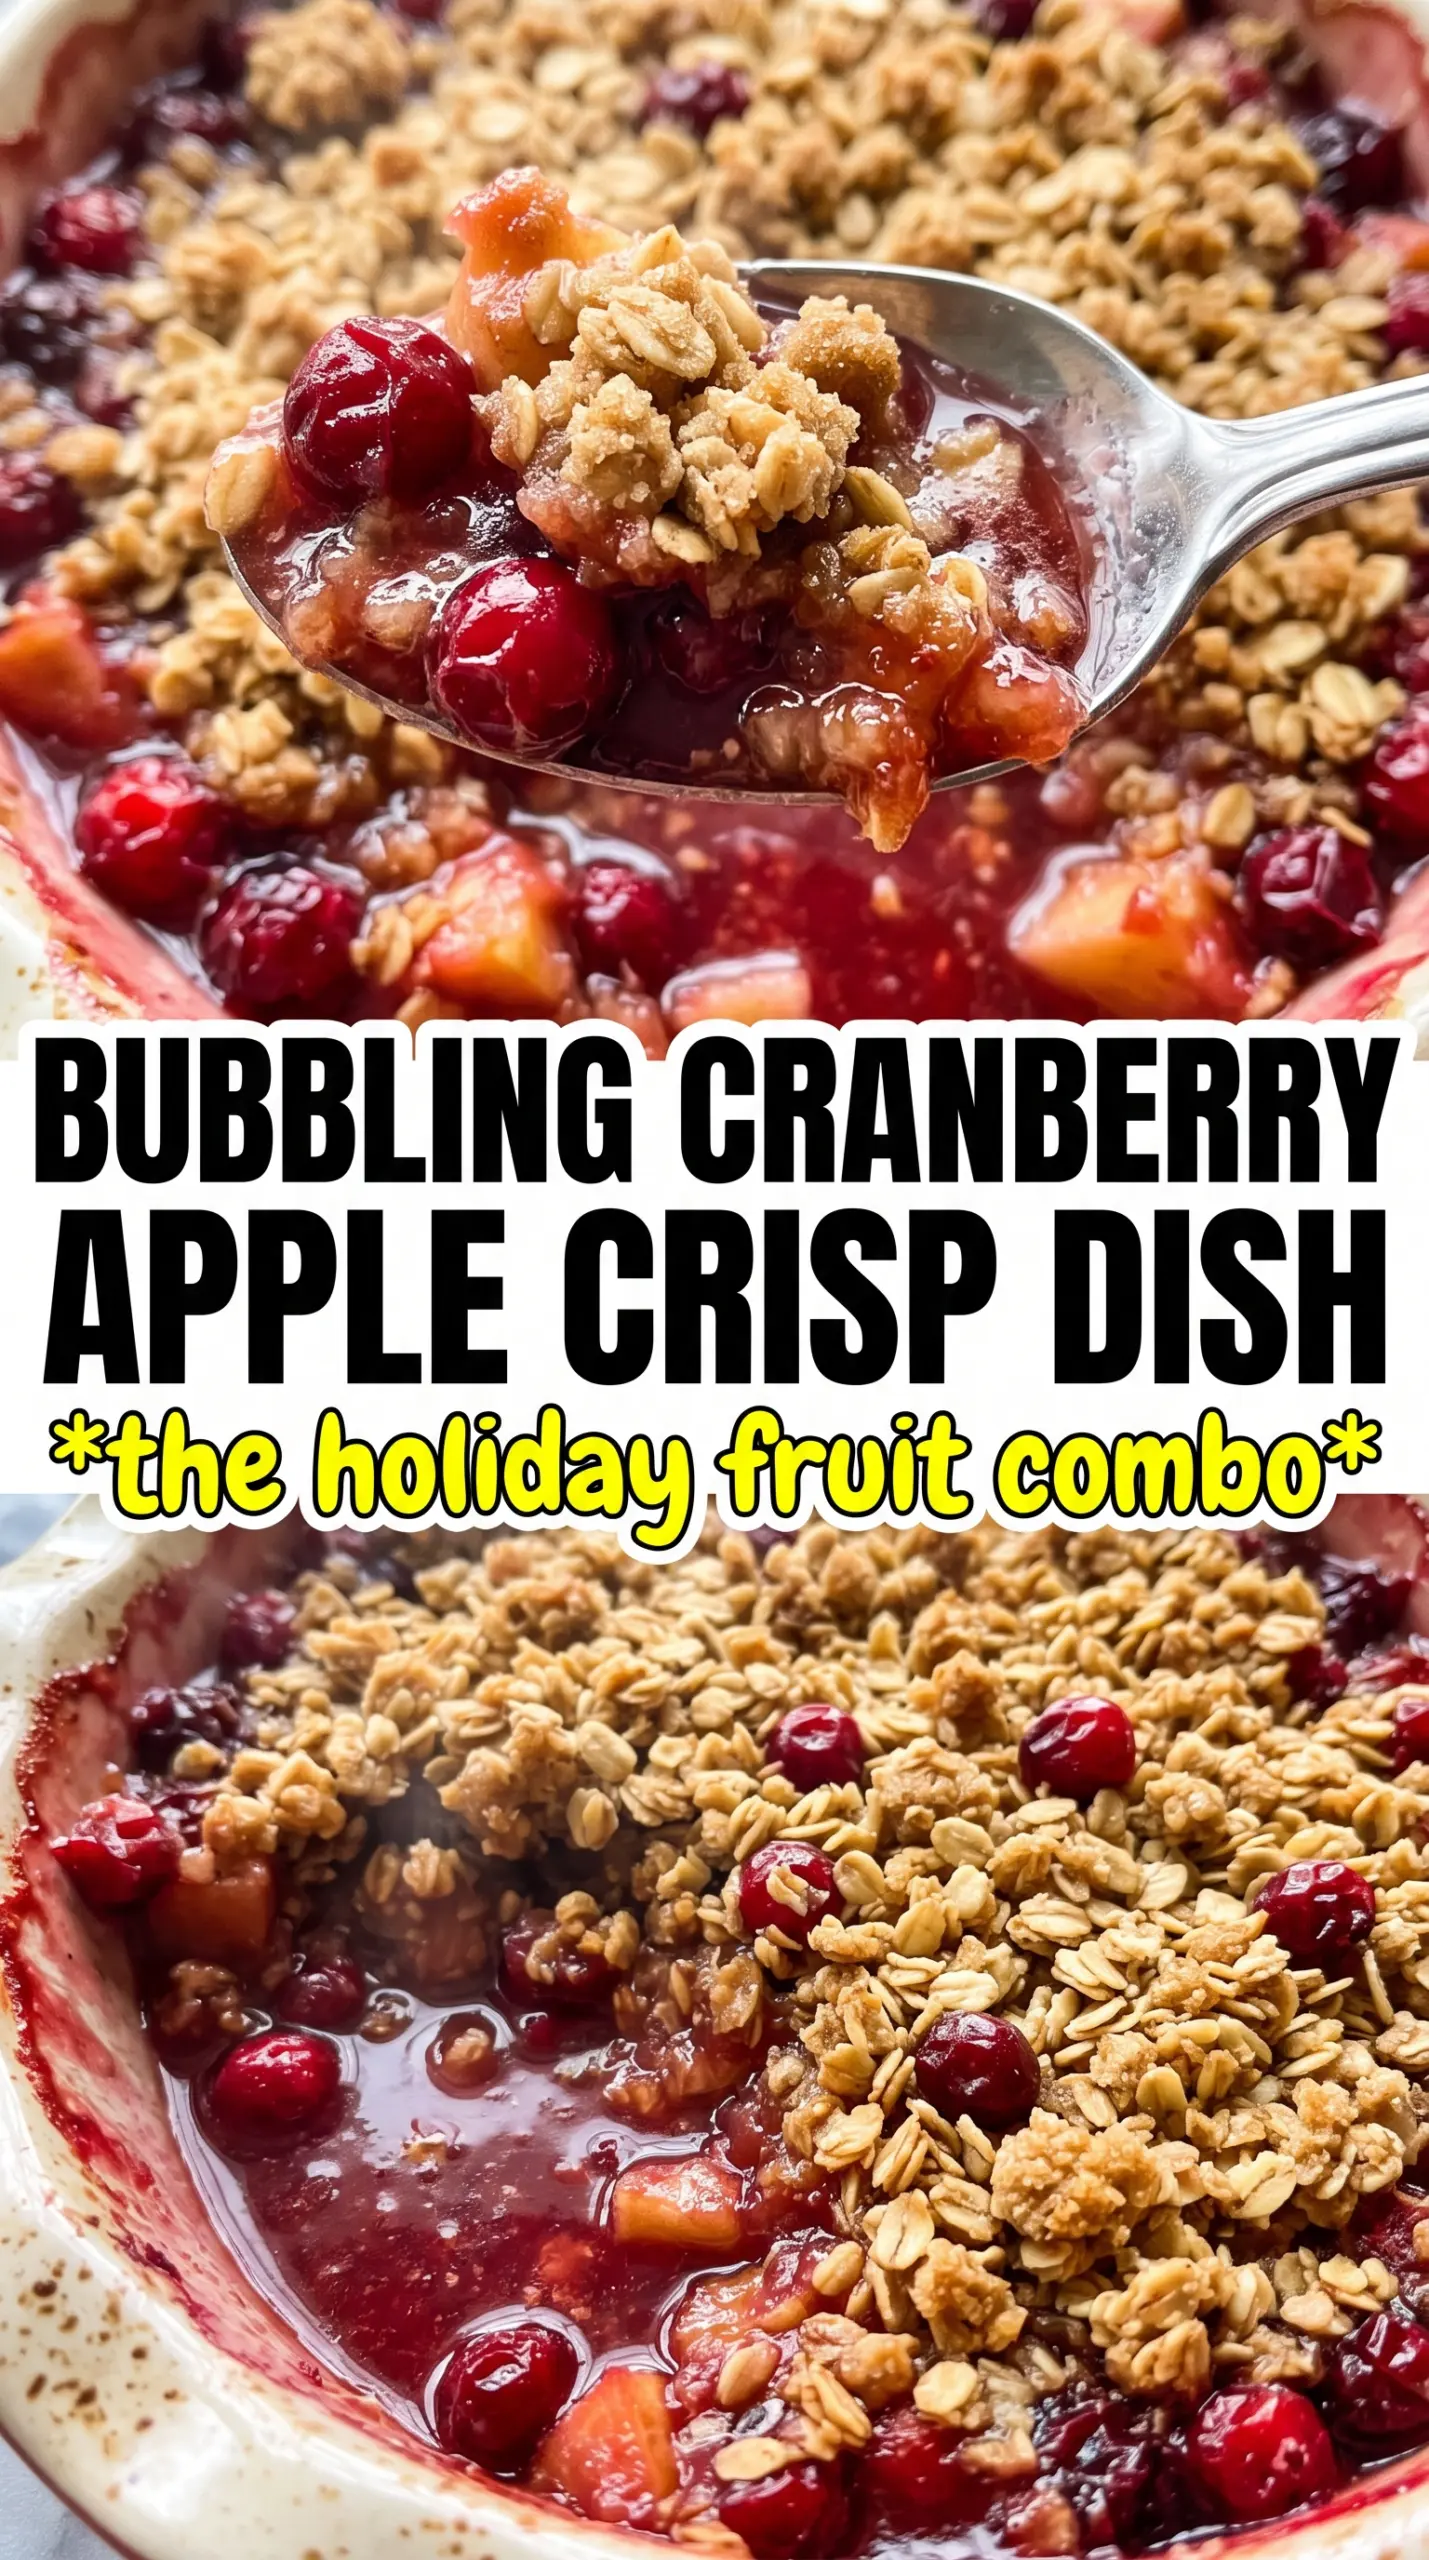
Cranberry apple crisp bakes into the kind of dessert people hover over before it even hits the table: tart, jammy fruit underneath, crisp golden oat topping on top, and just enough orange zest to make the whole pan taste brighter. The filling turns glossy and thick as it bubbles up around the edges, and the topping stays rugged and craggy instead of sinking into the fruit.
What makes this version work is the balance. Apples bring body, cranberries bring sharpness, and the orange juice and zest keep the filling from tasting flat or one-note. Cornstarch does the heavy lifting here, but it only works if the fruit gets enough heat to bubble all the way through, which is why that full bake matters. The topping also uses cold butter cut in until you get chunky clumps, not sandy crumbs, so it bakes into those crisp, browned bits everyone fights over.
Below, I’ve included the details that matter most: how to keep the fruit from turning watery, what kind of apples hold their shape best, and the simplest swaps if you need to work with what’s already in your kitchen.
The filling set up beautifully and didn’t run all over the plate. I used frozen cranberries and it still baked into that thick, bubbly center with a topping that stayed crisp even after resting.
Save this cranberry apple crisp for the nights when you want a bubbling fruit dessert with a thick oat crumble and bright citrus lift.
The Reason the Fruit Thickens Instead of Turning Soupy
The biggest mistake with fruit crisps is underestimating the filling. Apples release juice as they bake, cranberries burst, and if the pan comes out too early the cornstarch never fully activates. You end up with hot fruit and a puddle underneath it. The fix is simple: bake until the filling is actively bubbling in the center, not just around the edges. That boil is what turns the juices into a spoonable sauce.
Orange juice helps loosen the sugar so the fruit tosses evenly, but it also adds enough liquid to keep the filling from tasting dry once the cornstarch sets. The zest matters more than people think; it sits on the surface of the fruit and carries the cranberry flavor into the background instead of letting the filling taste sharp and separate. If your apples are very juicy, slice them a little thicker so they hold their shape through the bake.
What Each Ingredient Is Doing in the Pan
- Apples — Use a firm baking apple if you can. Honeycrisp, Pink Lady, Braeburn, or Granny Smith all hold their shape better than mealy apples, and that matters because you want visible slices in the finished crisp, not applesauce.
- Cranberries — Fresh or frozen both work. Frozen berries don’t need to thaw first; add them straight in and expect the filling to need the full bake time. They bring the tartness that keeps the dessert from leaning too sweet.
- Brown sugar and granulated sugar — The granulated sugar sweetens the fruit evenly, while the brown sugar adds a deeper caramel note. You need both here because cranberries are assertive, and one type of sugar alone can’t balance them as well.
- Cornstarch — This is what turns the fruit juices into a thick sauce. Tapioca starch can work in a pinch, but use a little less and expect a slightly silkier finish. Whatever you use, it needs a full bubble in the oven to thicken properly.
- Rolled oats — Old-fashioned oats give the topping its chewy-crisp texture. Quick oats turn softer and more compact, which makes the topping read more like streusel than crisp.
- Cold butter — Cold butter is what creates those chunky, browned crumbles. If it softens before baking, the topping turns pasty and dense. Cube it cold and cut it in until you still see pebbles of butter throughout the mixture.
Building the Filling and Topping So They Bake at the Same Pace
Coating the Fruit
Start by tossing the apples and cranberries with the sugars, spices, orange zest, orange juice, and cornstarch until every slice looks lightly coated. You want the cornstarch distributed before the fruit goes into the dish, because dry pockets of starch can leave chalky spots after baking. Spread the fruit in an even layer so the center and edges cook at the same rate. If the fruit mound is too thick in the middle, the top can brown before the filling catches up.
Making a Craggy Crumble
Mix the oats, flour, brown sugar, cinnamon, and salt first, then cut in the cold butter until the mixture forms uneven clumps about the size of peas and marbles. That uneven texture is what makes the topping crisp in places and tender in others. Stop as soon as the butter is worked in; if you keep going until it looks uniform, the topping bakes up dense instead of crunchy. Scatter it loosely over the fruit instead of pressing it down.
Knowing When the Crisp Is Done
Bake until the top is deep golden and you can see the filling bubbling through the edges and, ideally, a little in the center. If the topping is browning too fast before the fruit bubbles, lay a loose sheet of foil over the pan for the last stretch. Let it rest for at least 10 minutes after baking so the juices settle and thicken. Cutting into it immediately makes the filling run, even if it looked perfect in the oven.
Three Ways to Make This Crisp Fit What You’ve Got
Make It Dairy-Free
Swap the butter for a solid plant-based butter block, not a soft tub spread. You still want it cold and cubed so the topping forms clumps instead of melting into the dry ingredients. The flavor stays close to the original, though the crumble may brown a little faster, so watch the last 10 minutes closely.
Use All Frozen Fruit
If your apples are frozen in slices and your cranberries are frozen too, bake the fruit layer a little longer before topping if it looks very icy. Frozen fruit releases extra liquid, so the cornstarch has to work harder. The final texture stays excellent, but the filling may need the full 45 minutes to thicken.
Make It Gluten-Free
Replace the all-purpose flour with a good 1:1 gluten-free baking blend that includes xanthan gum. The oats are naturally gluten-free, but use certified gluten-free oats if cross-contact matters for your kitchen. The topping will still crisp nicely, though it may be a little more delicate when serving.
Lean the Filling More Tart
Cut the granulated sugar by 2 to 3 tablespoons if you like a sharper, fruit-forward dessert. The cranberries will stand out more, and the orange zest will taste brighter. Don’t reduce the cornstarch along with the sugar; the thickening is about the fruit juices, not the sweetness.
Storage and Reheating
- Refrigerator: Store covered for up to 4 days. The topping softens a bit in the fridge, but the flavor holds well.
- Freezer: Freeze baked crisp in airtight portions for up to 2 months. Thaw overnight in the refrigerator before reheating; the topping won’t be quite as crisp as fresh, but it still works.
- Reheating: Warm in a 325F oven until heated through and the edges start to sizzle again. The microwave makes the topping soggy, so use it only if you don’t mind losing the crisp texture.
Answers to the Questions Worth Asking
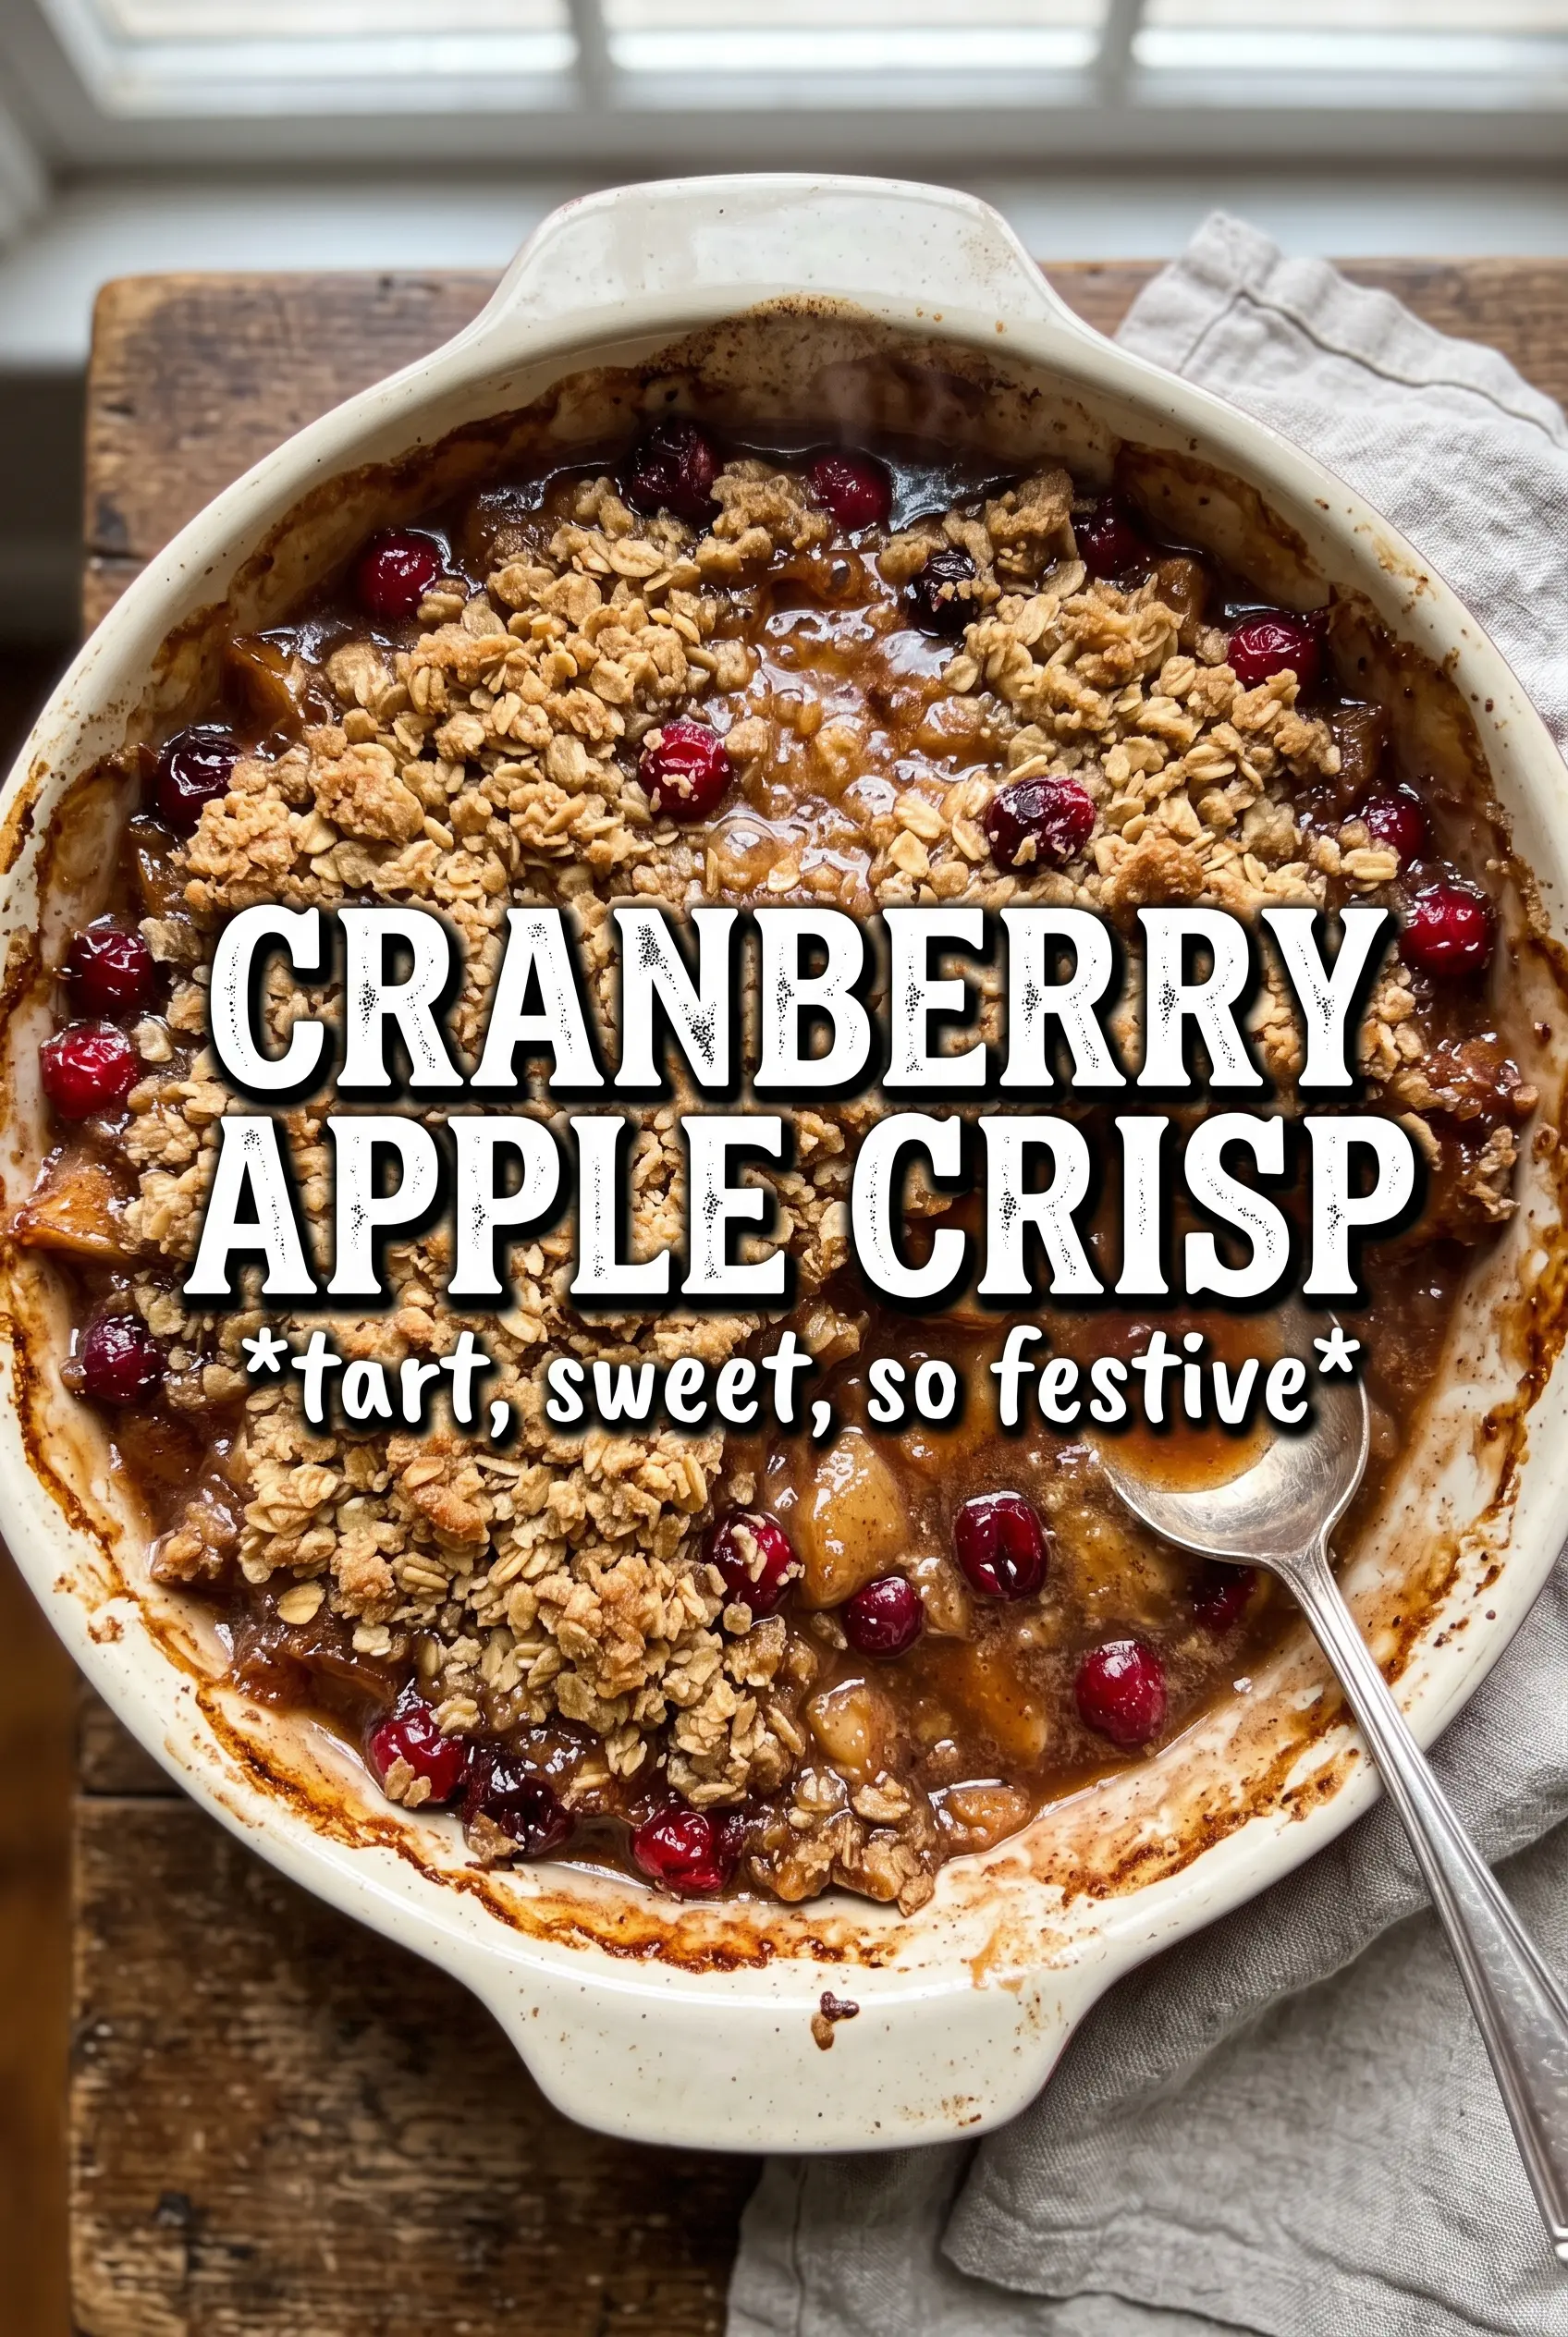
Cranberry Apple Crisp
Ingredients
Equipment
Method
- Preheat the oven to 375F and grease a 9x13 baking dish.
- Toss apples and cranberries with granulated sugar, brown sugar, cinnamon, nutmeg, orange zest, orange juice, and cornstarch, then spread the mixture in the dish.
- Combine rolled oats, all-purpose flour, packed brown sugar, cinnamon, and salt, then cut in cold butter until chunky clumps form.
- Scatter the crumble over the filling and bake for 40-45 minutes at 375F, until the topping is golden and the cranberry-apple filling is bubbling at the edges and thick.
- Rest the crisp for 10 minutes before serving so the filling thickens.