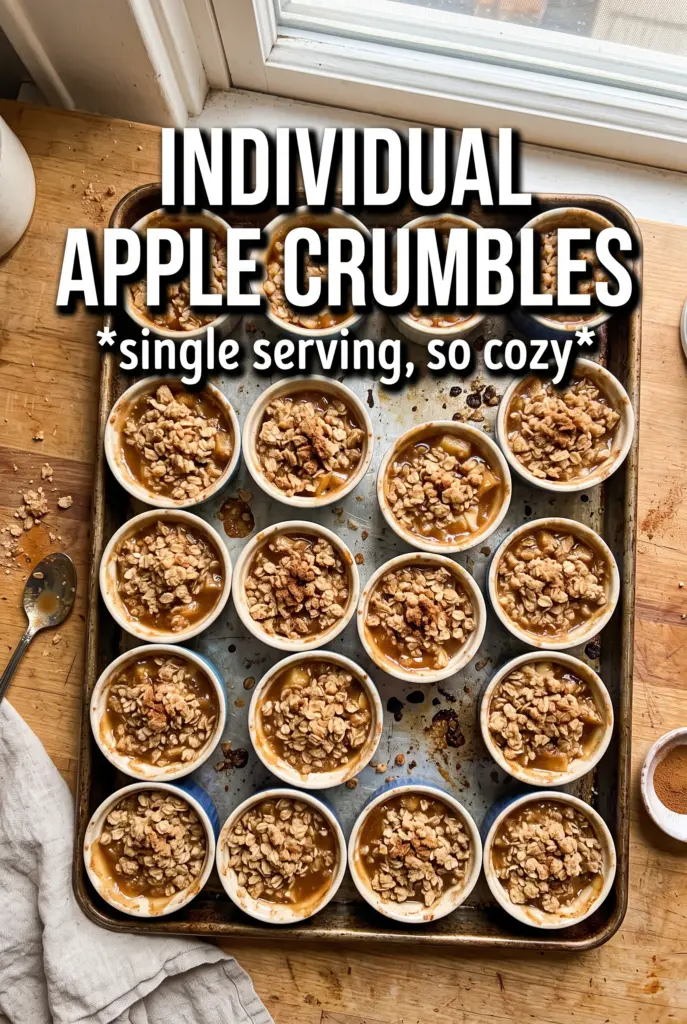
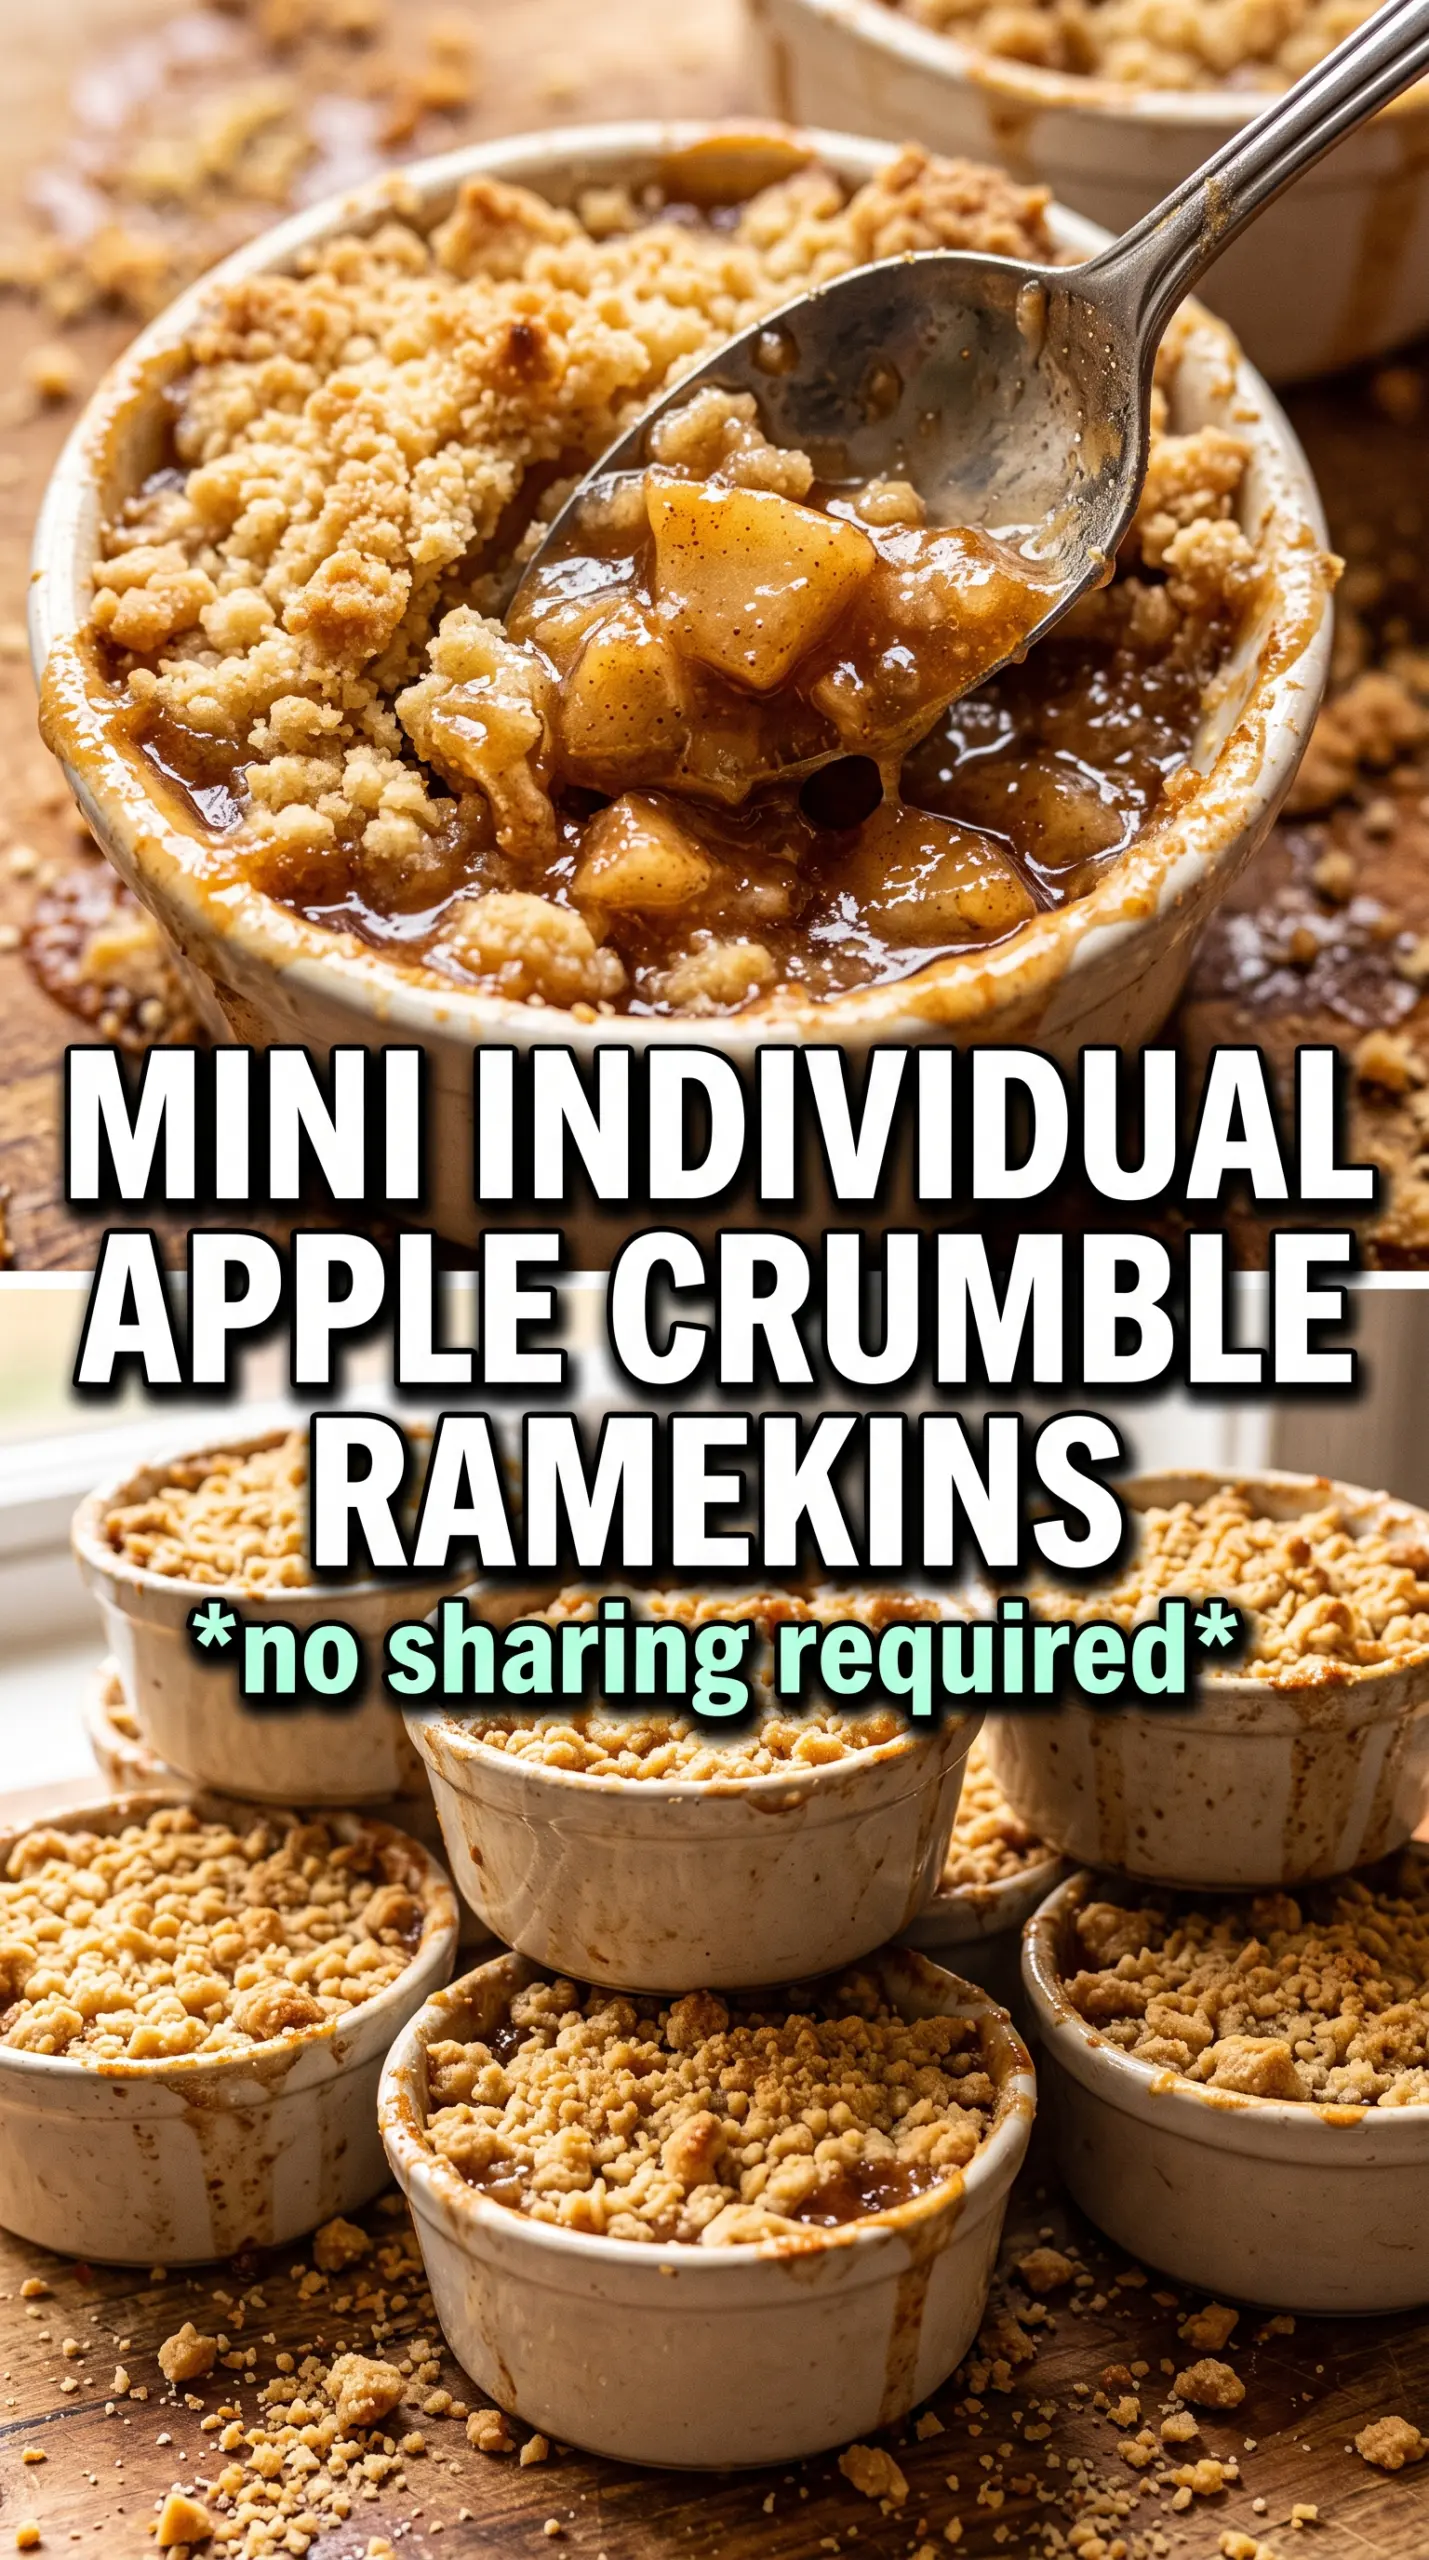
Individual apple crumbles bake up with tender spiced fruit underneath a crisp oat topping that turns golden at the edges and stays pleasantly chunky in the middle. The best part is the contrast in every spoonful: soft, jammy apples below, buttery crumble above, and a little vanilla ice cream melting into the cracks the second it hits the warm ramekin.
This version works because the apples get a head start on the stove. That quick pre-cook gives the fruit time to release juice, the cornstarch time to thicken it, and the spices time to bloom before everything goes into the oven. By the time the topping is done, the filling is already thick instead of watery. The crumble also uses cold butter cut into the dry ingredients, which keeps the texture nubby and crisp instead of sandy.
Below, I’ve included the small details that matter most here, like how finely to dice the apples, how to tell when the filling is thick enough, and what to do if you want to swap in different fruit without losing that cozy crumble texture.
The apples thickened up beautifully on the stove, and the topping stayed crisp even after baking in the ramekins. I loved that every serving came out with those caramelized edges.
Save these individual apple crumbles for the nights when you want warm cinnamon apples, a buttery oat topping, and an easy dessert that bakes beautifully in ramekins.
The Secret to Keeping the Apples Juicy, Not Soupy
The filling starts on the stove for a reason. Raw diced apples leak a lot of liquid in the oven, and in a small ramekin that can turn the bottom into a thin, runny layer before the topping is fully browned. Cooking the apples with sugar, spice, lemon juice, and cornstarch first lets you see the thickness before anything bakes, which takes the guesswork out of the final texture.
Dice the apples finely and keep the pieces close in size. Small pieces soften evenly and pack neatly into the ramekins, so every serving eats like a proper dessert instead of a pile of uneven chunks. If the mixture still looks glossy and loose in the skillet, give it another minute or two until it mounds on a spoon and the juices look more like a syrup than a puddle.
What Each Ingredient Is Actually Doing in the Crumble
- Apples — Use a firm baking apple if you can. It holds its shape better in the skillet and gives you tender pieces instead of applesauce. If all you have are softer apples, keep the dice a little larger so they don’t disappear completely.
- Cornstarch — This is what turns the apple juices into a spoonable filling. Flour won’t thicken as cleanly here, and it can look cloudy. Stir it in well before the pan heats so it doesn’t clump.
- Brown sugar in the topping — It adds a deeper, caramel note that white sugar can’t match. It also helps the crumble clump into those chunky bits that bake into crisp crags. Pack it lightly, but don’t skip the measure.
- Cold butter — Cold butter is what keeps the topping crisp and uneven in the best way. If it softens too much before baking, the crumble turns paste-like. Cube it straight from the fridge and work quickly.
- Rolled oats — They give the topping its hearty texture and keep it from baking up like a plain streusel. Quick oats will work in a pinch, but the topping won’t stay as toothsome.
Building the Ramekins So the Topping Stays Crisp
Cooking the Filling First
Put the diced apples, butter, sugar, cinnamon, nutmeg, cornstarch, and lemon juice in a skillet over medium heat and stir often until the fruit softens and the liquid thickens. You want the apples coated and glossy, not swimming. If the pan starts looking dry before the apples are tender, lower the heat and keep stirring; if it looks watery, give it another minute so the cornstarch can activate.
Making the Crumble by Feel
Mix the oats, flour, brown sugar, cinnamon, and salt, then cut in the cold butter until the mixture forms chunky clumps. The texture should look like rough pebbles with a few sandy bits, not a smooth dough. If you press a handful and it holds together, you’re in the right place. If it feels greasy or paste-like, the butter warmed up too much, so chill the mixture for a few minutes before topping the fruit.
Baking Until the Centers Bubble
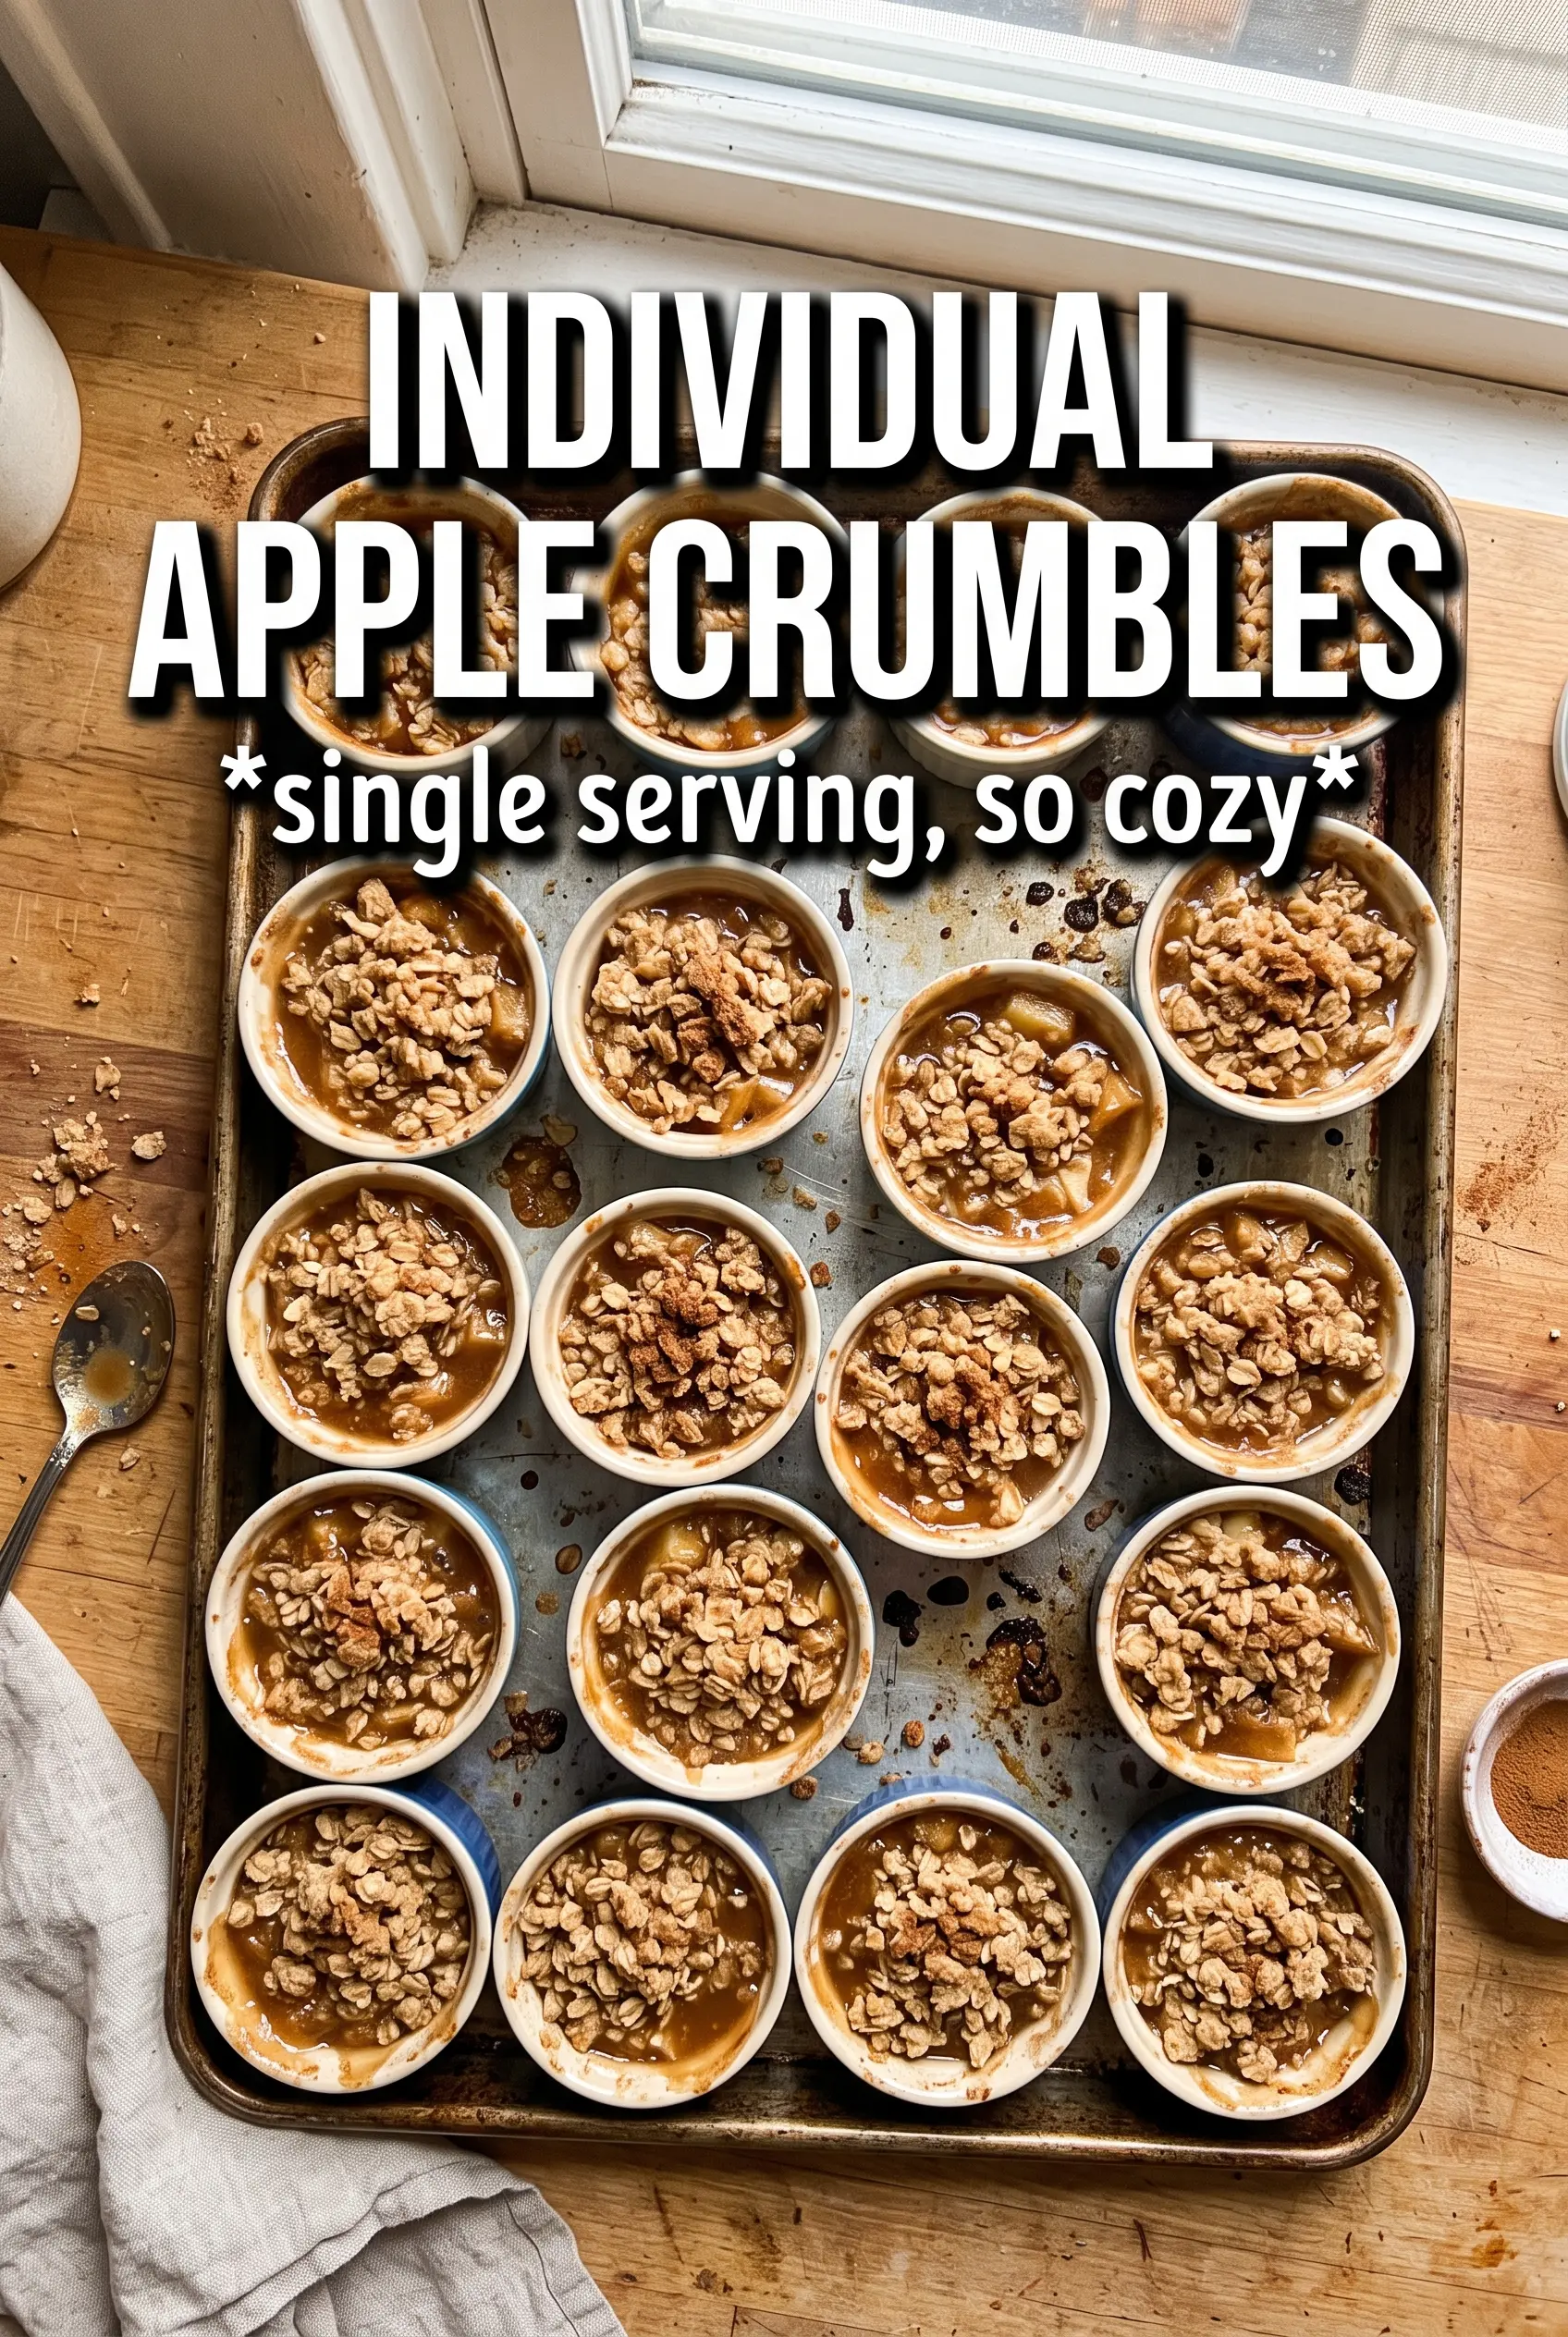
Divide the filling among the ramekins, pile on the crumble generously, and set them on a baking sheet so nothing spills in the oven. Bake at 375°F until the topping is deeply golden and you can see the filling bubbling around the edges and in the center. That bubbling matters. It tells you the cornstarch has fully thickened the fruit, which is what keeps the dessert from turning loose once it cools.
Serving While the Edges Are Still Hot
Let the ramekins sit for a few minutes after baking, then serve them warm with vanilla ice cream. The brief rest keeps the filling from running everywhere the moment you spoon in, but you still want enough heat to melt the ice cream into the crumble. That contrast is half the point of making them in individual portions.
How to Adapt This for Different Apples, Diets, and Dessert Cravings
Make it gluten-free
Swap the all-purpose flour for a 1:1 gluten-free baking blend. The topping will still brown nicely, though it may be a touch more delicate when you spoon through it. Keep the oats certified gluten-free if cross-contact matters.
Use pears instead of apples
Pears work well, especially firmer varieties, but they soften faster than apples. Cut them a little larger and shorten the stove time so they don’t turn mushy before baking. The flavor leans a little sweeter and softer, so the lemon juice matters even more.
Make it dairy-free
Use plant-based butter in both the filling and the topping, then serve with a dairy-free vanilla ice cream. The crumble will still hold together, but choose a stick-style substitute rather than a soft spread if you want the same chunky texture.
Assemble ahead for dessert later
You can cook the filling and make the crumble up to a day ahead, then keep them separate until baking time. If you top the ramekins too early, the crumble will absorb moisture and lose its crunch. Bake straight from the fridge, adding a few extra minutes if the filling is cold.
Storage and Reheating
- Refrigerator: Store covered for up to 4 days. The topping softens a bit as it sits, but the flavor stays good.
- Freezer: Freeze baked crumbles in the ramekins if they’re freezer-safe, wrapped well, for up to 2 months. Thaw in the fridge overnight before reheating.
- Reheating: Warm in a 325°F oven until the center is hot and the topping crisps back up, usually 10-15 minutes. The microwave will heat the filling, but it turns the crumble soft.
Answers to the Questions Worth Asking
Individual Apple Crumbles
Ingredients
Equipment
Method
- Preheat the oven to 375F. Grease 6 individual ramekins (6–8 oz each) so the crumble releases easily after baking.
- Cook the diced apples with unsalted butter, granulated sugar, cinnamon, nutmeg, cornstarch, and lemon juice in a skillet over medium heat for 5-7 minutes. Stir until the mixture is thickened and glossy, with no dry cornstarch visible.
- Divide the thickened apple filling among the prepared ramekins. Press it into an even layer so the filling reaches the edges.
- Combine rolled oats, all-purpose flour, brown sugar, cinnamon, and salt. Mix until the dry ingredients look evenly speckled.
- Cut in the cold unsalted butter until chunky clumps form. Stop when you see pea- to breadcrumb-sized clusters throughout.
- Top each ramekin generously with the oat crumble. Leave some areas slightly mounded so the topping turns golden.
- Place the ramekins on a sheet pan and bake at 375F for 25-30 minutes. Bake until the topping is golden and the filling is visibly bubbling around the edges.
- Serve the apple crumbles warm with vanilla ice cream. Let the ice cream melt slightly over the hot crumble for a creamy finish.