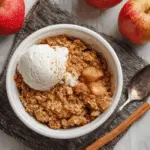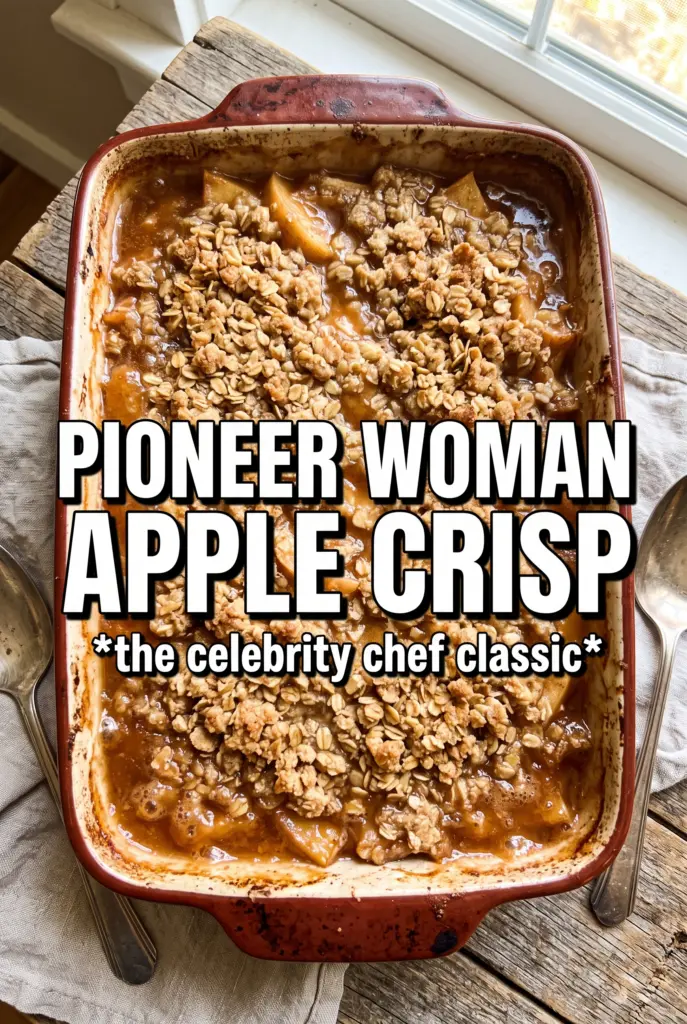
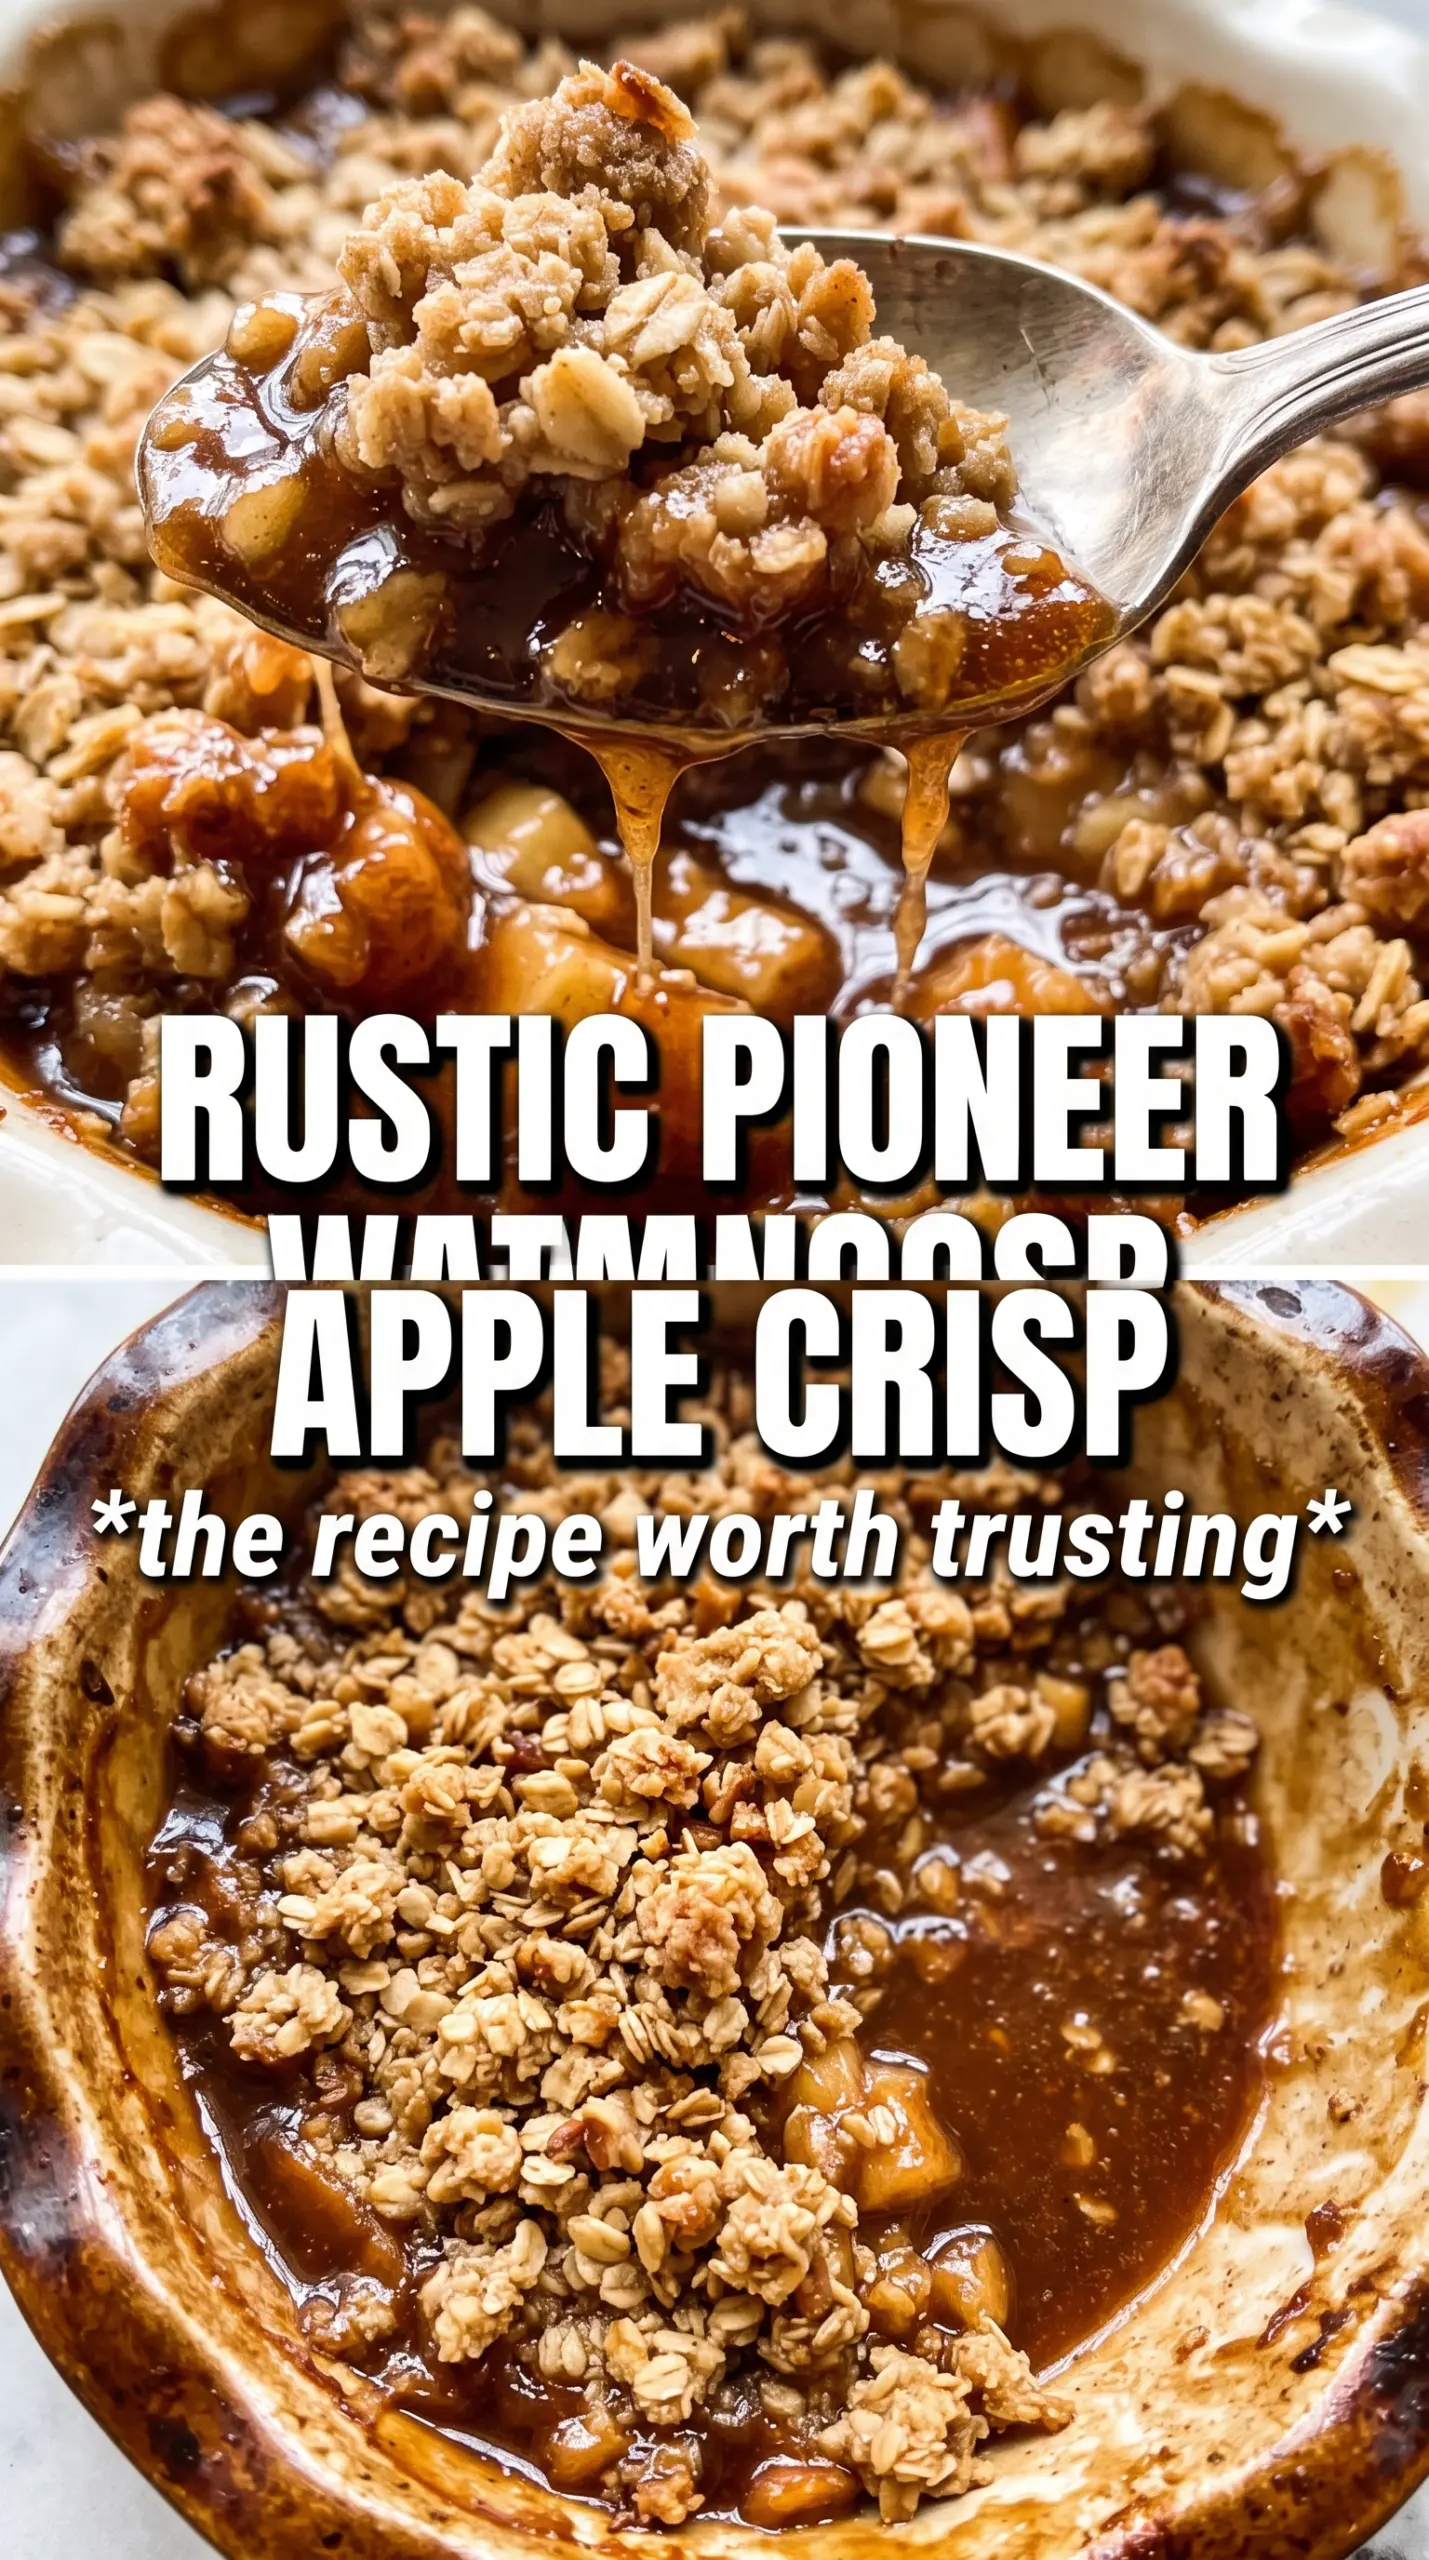
Buttery oat crumble and tender baked apples are the whole point of a good apple crisp, and this version gets both parts right. The topping bakes into big golden clusters with just enough bite from the oats, while the apples underneath soften into a bubbling filling that holds its shape instead of turning to mush. It’s the kind of dessert that disappears fast because every spoonful gives you crunch, warmth, and that sharp-sweet apple flavor at the same time.
What makes this one work is the balance in the filling and the topping. Granny Smith apples stay bright and structured after a long bake, so the crisp tastes lively instead of flat. The crumble also relies on cold butter cut into the dry ingredients by hand, which creates those sandy, butter-streaked clumps that brown beautifully in the oven. If the butter melts before baking, the topping goes dense instead of crisp, so that step matters more than it looks like it should.
Below, I’m breaking down the one detail that keeps the topping from turning soggy, plus the ingredient swaps that still give you a proper crisp. There’s also a practical note on storing leftovers, because this dessert reheats better than most people expect.
The topping baked up in big crunchy clusters and the apples were tender but not mushy. I used Granny Smiths like suggested and the filling had just enough tartness to keep it from tasting overly sweet.
Save this Pioneer Woman apple crisp for the nights when you want a bubbling fruit dessert with a thick brown sugar-oat crumble.
The Topping Stays Crisp Because the Butter Never Gets Warm
Most apple crisps go soft on top because the butter melts into the dry ingredients before the dish ever reaches the oven. This version avoids that by keeping the butter cold and working it into the flour, oats, and sugars just until you get clumps instead of a paste. Those clumps are what bake into the craggy, crunchy lid people want from an apple crisp.
The other thing that matters is the baking time. The filling needs long enough to bubble at the edges, which tells you the apples have softened and the flour in the filling has done its job. Pull it too early and the fruit tastes undercooked; leave it too long uncovered and the topping can go from crisp to dry. The sweet spot is a deep golden top with juices popping through the sides.
What Each Ingredient Is Actually Doing in This Apple Crisp
- Granny Smith apples — These hold their shape and bring the tart backbone this dessert needs. Softer apples will work, but the filling turns sweeter and mushier, so if you swap them, use a mix of firm apples and keep the slices thick.
- Brown sugar — This gives the topping its caramel depth and helps the crumble brown in a way plain white sugar can’t match. You can use all granulated sugar in a pinch, but the topping will taste flatter and less rich.
- Rolled oats — Oats are what make the topping taste like a true crisp instead of a plain streusel. Quick oats will work if that’s what you have, but the texture is finer and less nubby.
- Cold butter — This is the ingredient that controls the final texture. Cut it in while it’s cold, and it stays in little pockets that steam and crisp in the oven; if it softens too much, the topping bakes up heavy.
- Cinnamon — A little goes a long way here. It ties the apples and the crumble together without making the filling taste like pie spice in a hurry.
Building the Layers So the Apples Bubble and the Crumble Browns
Coating the Apples First
Toss the sliced apples with sugar, flour, and cinnamon before they go into the pan. The sugar draws out a little juice, the flour thickens that juice as it bakes, and the cinnamon gives the filling a warm base note. If the apples look dry at this stage, that’s fine — they’ll release plenty of liquid in the oven.
Making the Crumble Without Overworking It
Combine the dry topping ingredients, then work in the butter with your hands until you get large, uneven clumps. Don’t chase a uniform crumb; that’s how you lose the texture that makes the topping interesting. If the mixture starts to look like dough, the butter warmed up too much, and the result will bake up more like a cookie layer than a crisp.
Baking Until the Filling Is Active
Spread the topping evenly over the apples and bake until the top is a deep golden brown and the filling is bubbling around the edges. That bubbling is the visual cue that the fruit has broken down enough and the filling has thickened. If the top browns too quickly, lay a loose piece of foil over it for the last part of the bake while the center finishes.
Three Ways to Adjust This Crisp Without Losing What Makes It Good
Make It Gluten-Free
Use a good 1:1 gluten-free flour blend in both the filling and the topping, and keep the oats certified gluten-free if cross-contamination matters. The texture stays crisp and buttery, though the topping may brown a little faster, so start checking it near the end of the bake.
Make It Dairy-Free
Swap in a solid plant-based butter that behaves like regular butter when cold. Avoid soft tub spreads if you can, because they melt too fast and the topping won’t clump the same way. The flavor is slightly less rich, but the crisp texture still lands.
Use a Different Apple Blend
If Granny Smith apples aren’t available, use a mix of firm apples such as Honeycrisp, Braeburn, or Pink Lady with at least one tart variety in the mix. Sweet apples alone make the filling taste heavy, while a tart apple keeps the dessert bright and balances the brown sugar.
Storage and Reheating
- Refrigerator: Store covered for up to 4 days. The topping softens a little in the fridge, but the flavor holds up well.
- Freezer: It freezes well baked. Cool completely, wrap tightly, and freeze for up to 2 months. Thaw overnight in the fridge before reheating.
- Reheating: Warm it in a 300F oven until the edges are hot and the topping perks back up. The mistake most people make is microwaving it until the topping turns limp, which steals the best part of the dessert.
Answers to the Questions Worth Asking
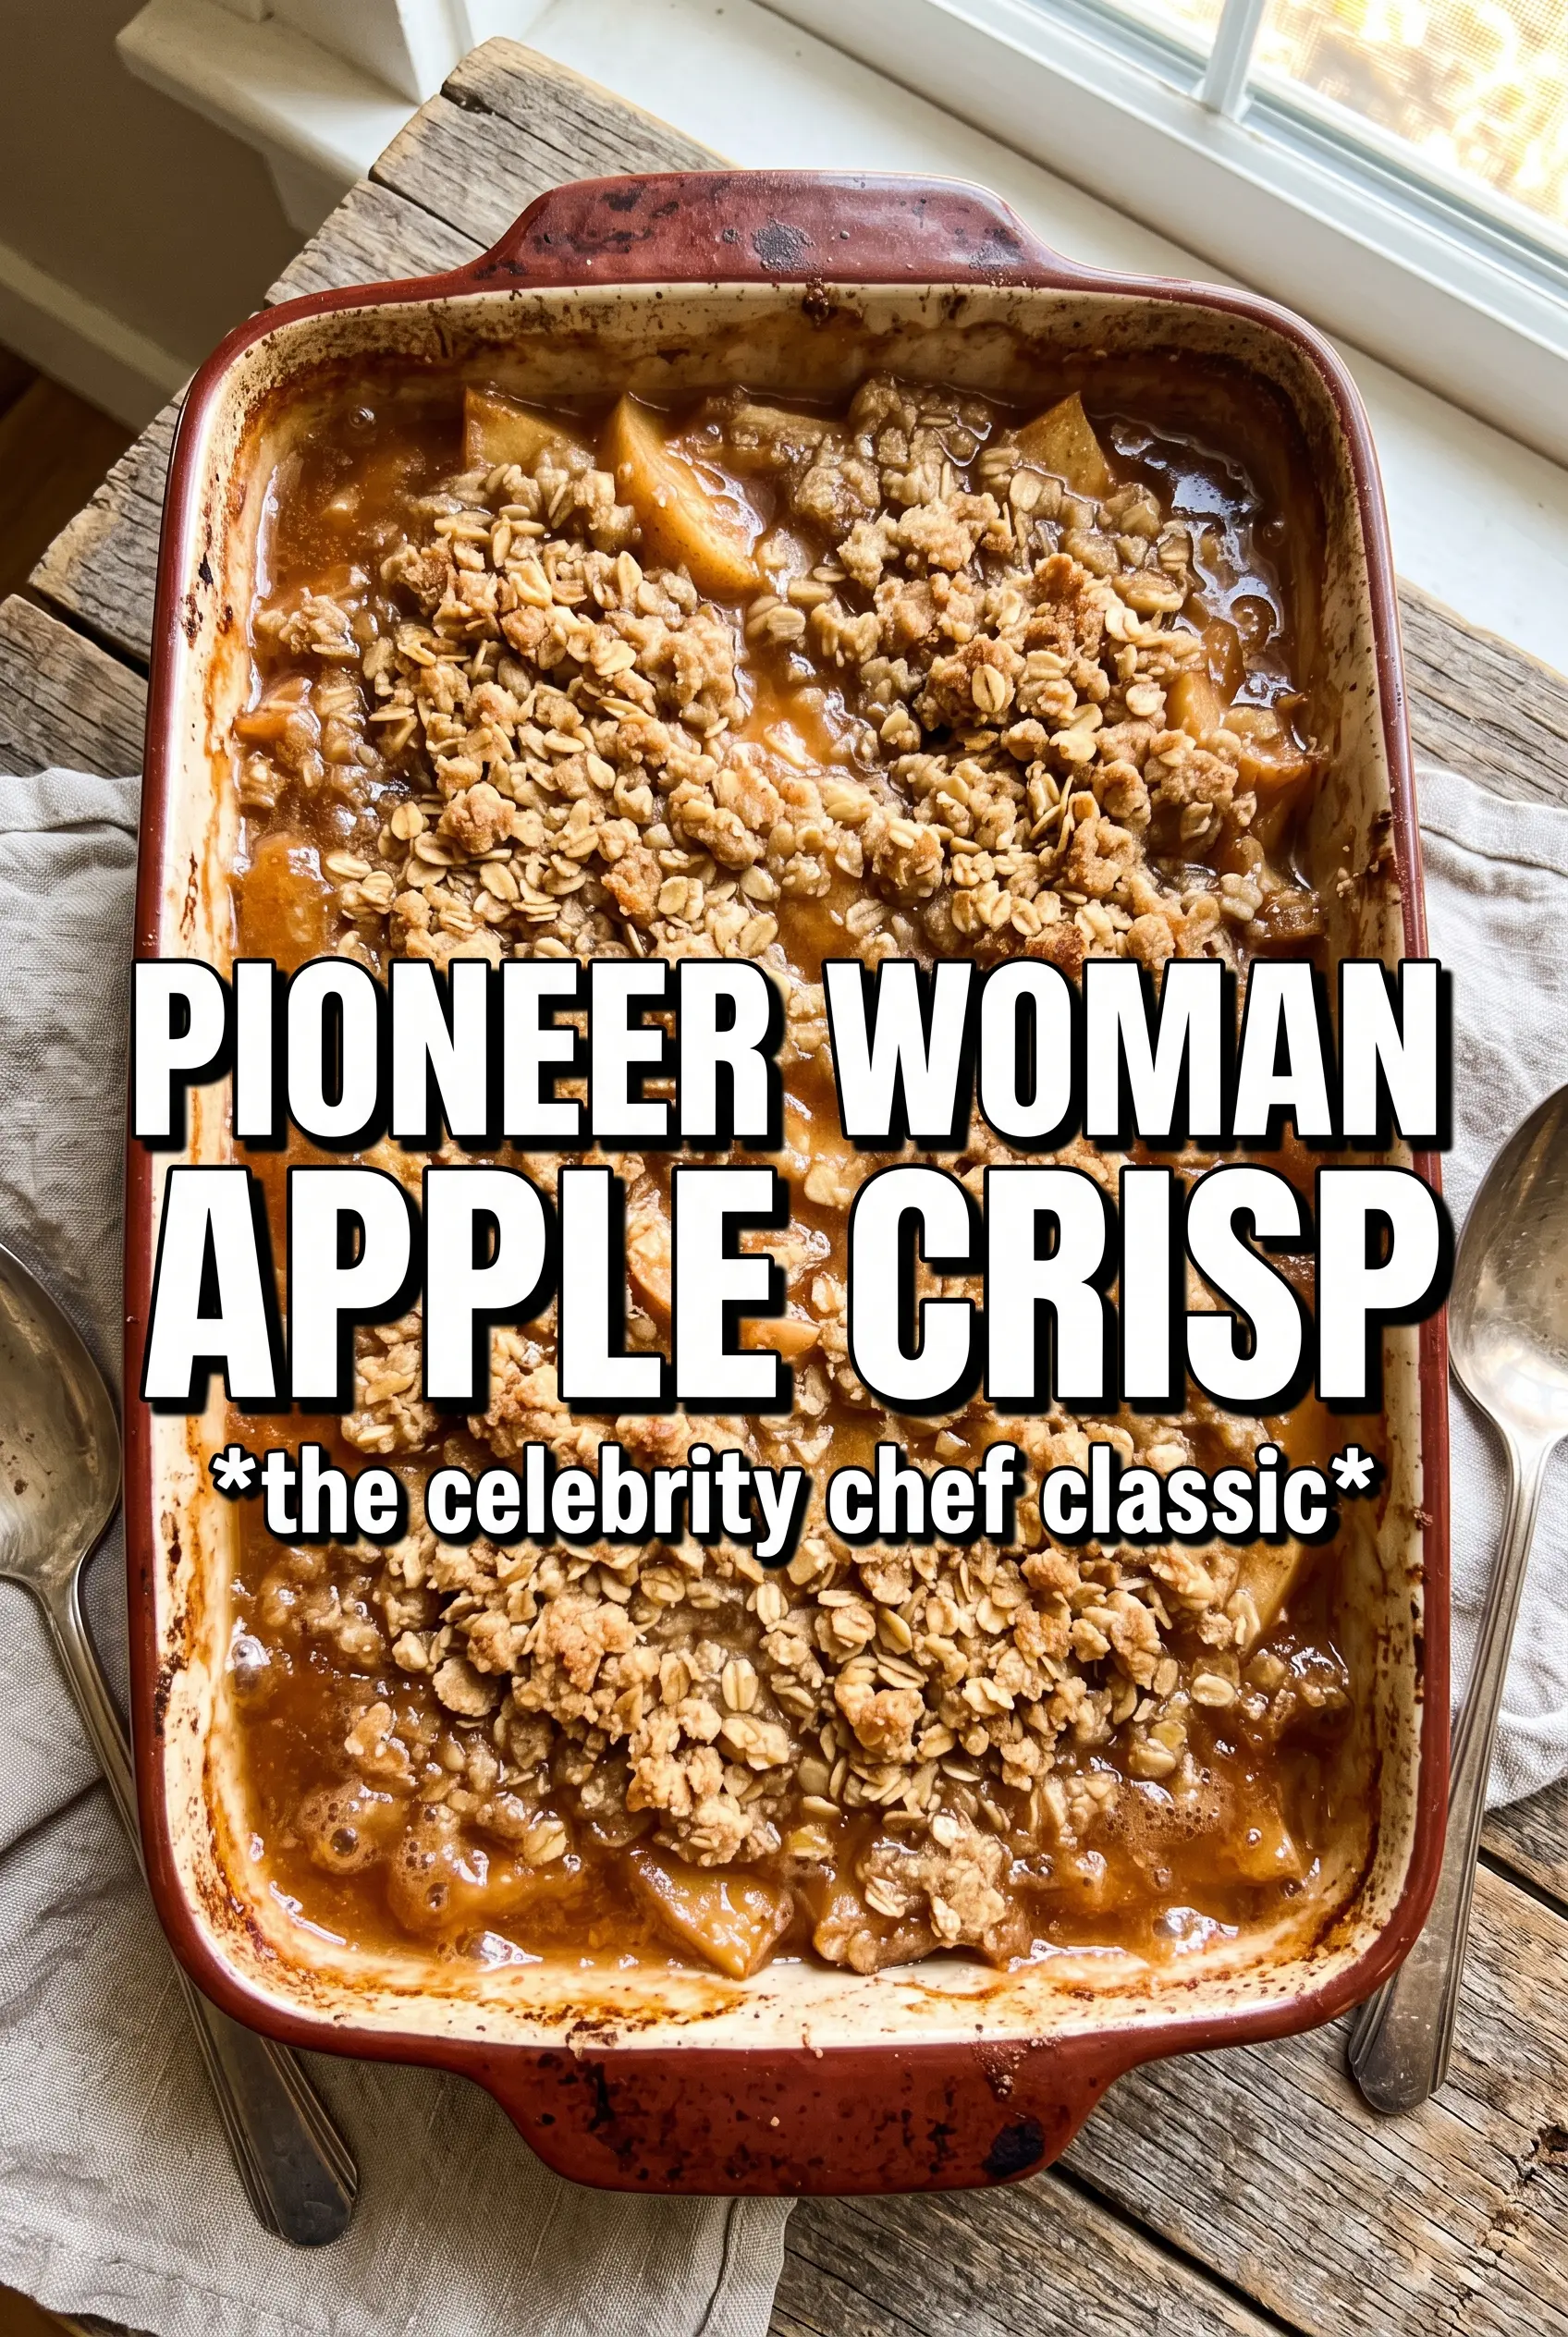
Pioneer Woman Apple Crisp
Ingredients
Equipment
Method
- Preheat the oven to 350F. Butter a 9x13 baking dish generously so the crisp releases easily.
- Toss the apple slices with granulated sugar, all-purpose flour, and cinnamon, then pour them into the baking dish. Spread the apples into an even layer.
- Combine all-purpose flour, rolled oats, both sugars, cinnamon, baking powder, and salt in a bowl. Mix until the dry ingredients are evenly distributed.
- Cut in the cold cubed butter with your hands until the mixture forms large, butter-streaked clumps. Stop when you still see chunky clumps rather than a fine powder.
- Pour and spread the topping over the apples, covering evenly to the edges of the dish. Aim for an even crumble layer so it crisps throughout.
- Bake for 55-60 minutes at 350F until the topping is golden brown and the apple filling bubbles. Look for bubbling at the edges as the visual cue of doneness.
- Serve warm with whipped cream or ice cream. Spoon the crisp so you get tender apples and the thick, crisp crumble on top.