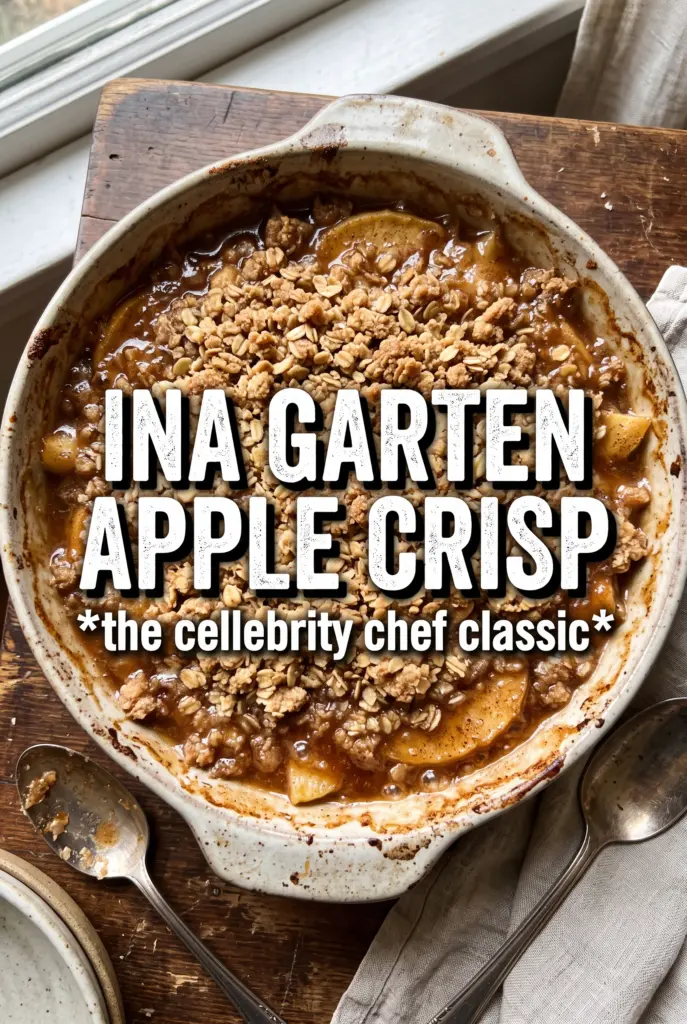
Warm apple crisp lands in that perfect middle ground between rustic and special. The apples soften into a spoonable, cinnamon-scented filling while the oat-and-nut crumble turns deeply golden on top with little buttery pockets that catch the heat and crisp at the edges. When it comes out of the oven bubbling around the sides, it feels like the kind of dessert people drift back to for just one more spoonful.
What makes this version work is the balance. Macintosh or Braeburn apples break down just enough without turning mushy, and the mix of orange and lemon zest keeps the filling bright instead of flat and sugary. The topping stays generous and substantial because the butter goes in cold and gets worked only until clumps form, which is what gives you those crunchy craggy bits instead of a sandy layer.
Below, I’ll walk through the small details that matter here: how to keep the topping crisp, why the citrus matters more than it looks like it should, and what to change if you need to swap apples or make the dessert ahead.
The topping baked up crisp all over, not just in spots, and the orange zest made the apples taste brighter without overpowering the cinnamon. I served it with vanilla ice cream and the dish was gone before it even cooled completely.
Save this Ina Garten apple crisp for the nights when you want tender spiced apples under a thick, buttery oat crumble.
The Mistake That Makes Apple Crisp Turn Watery
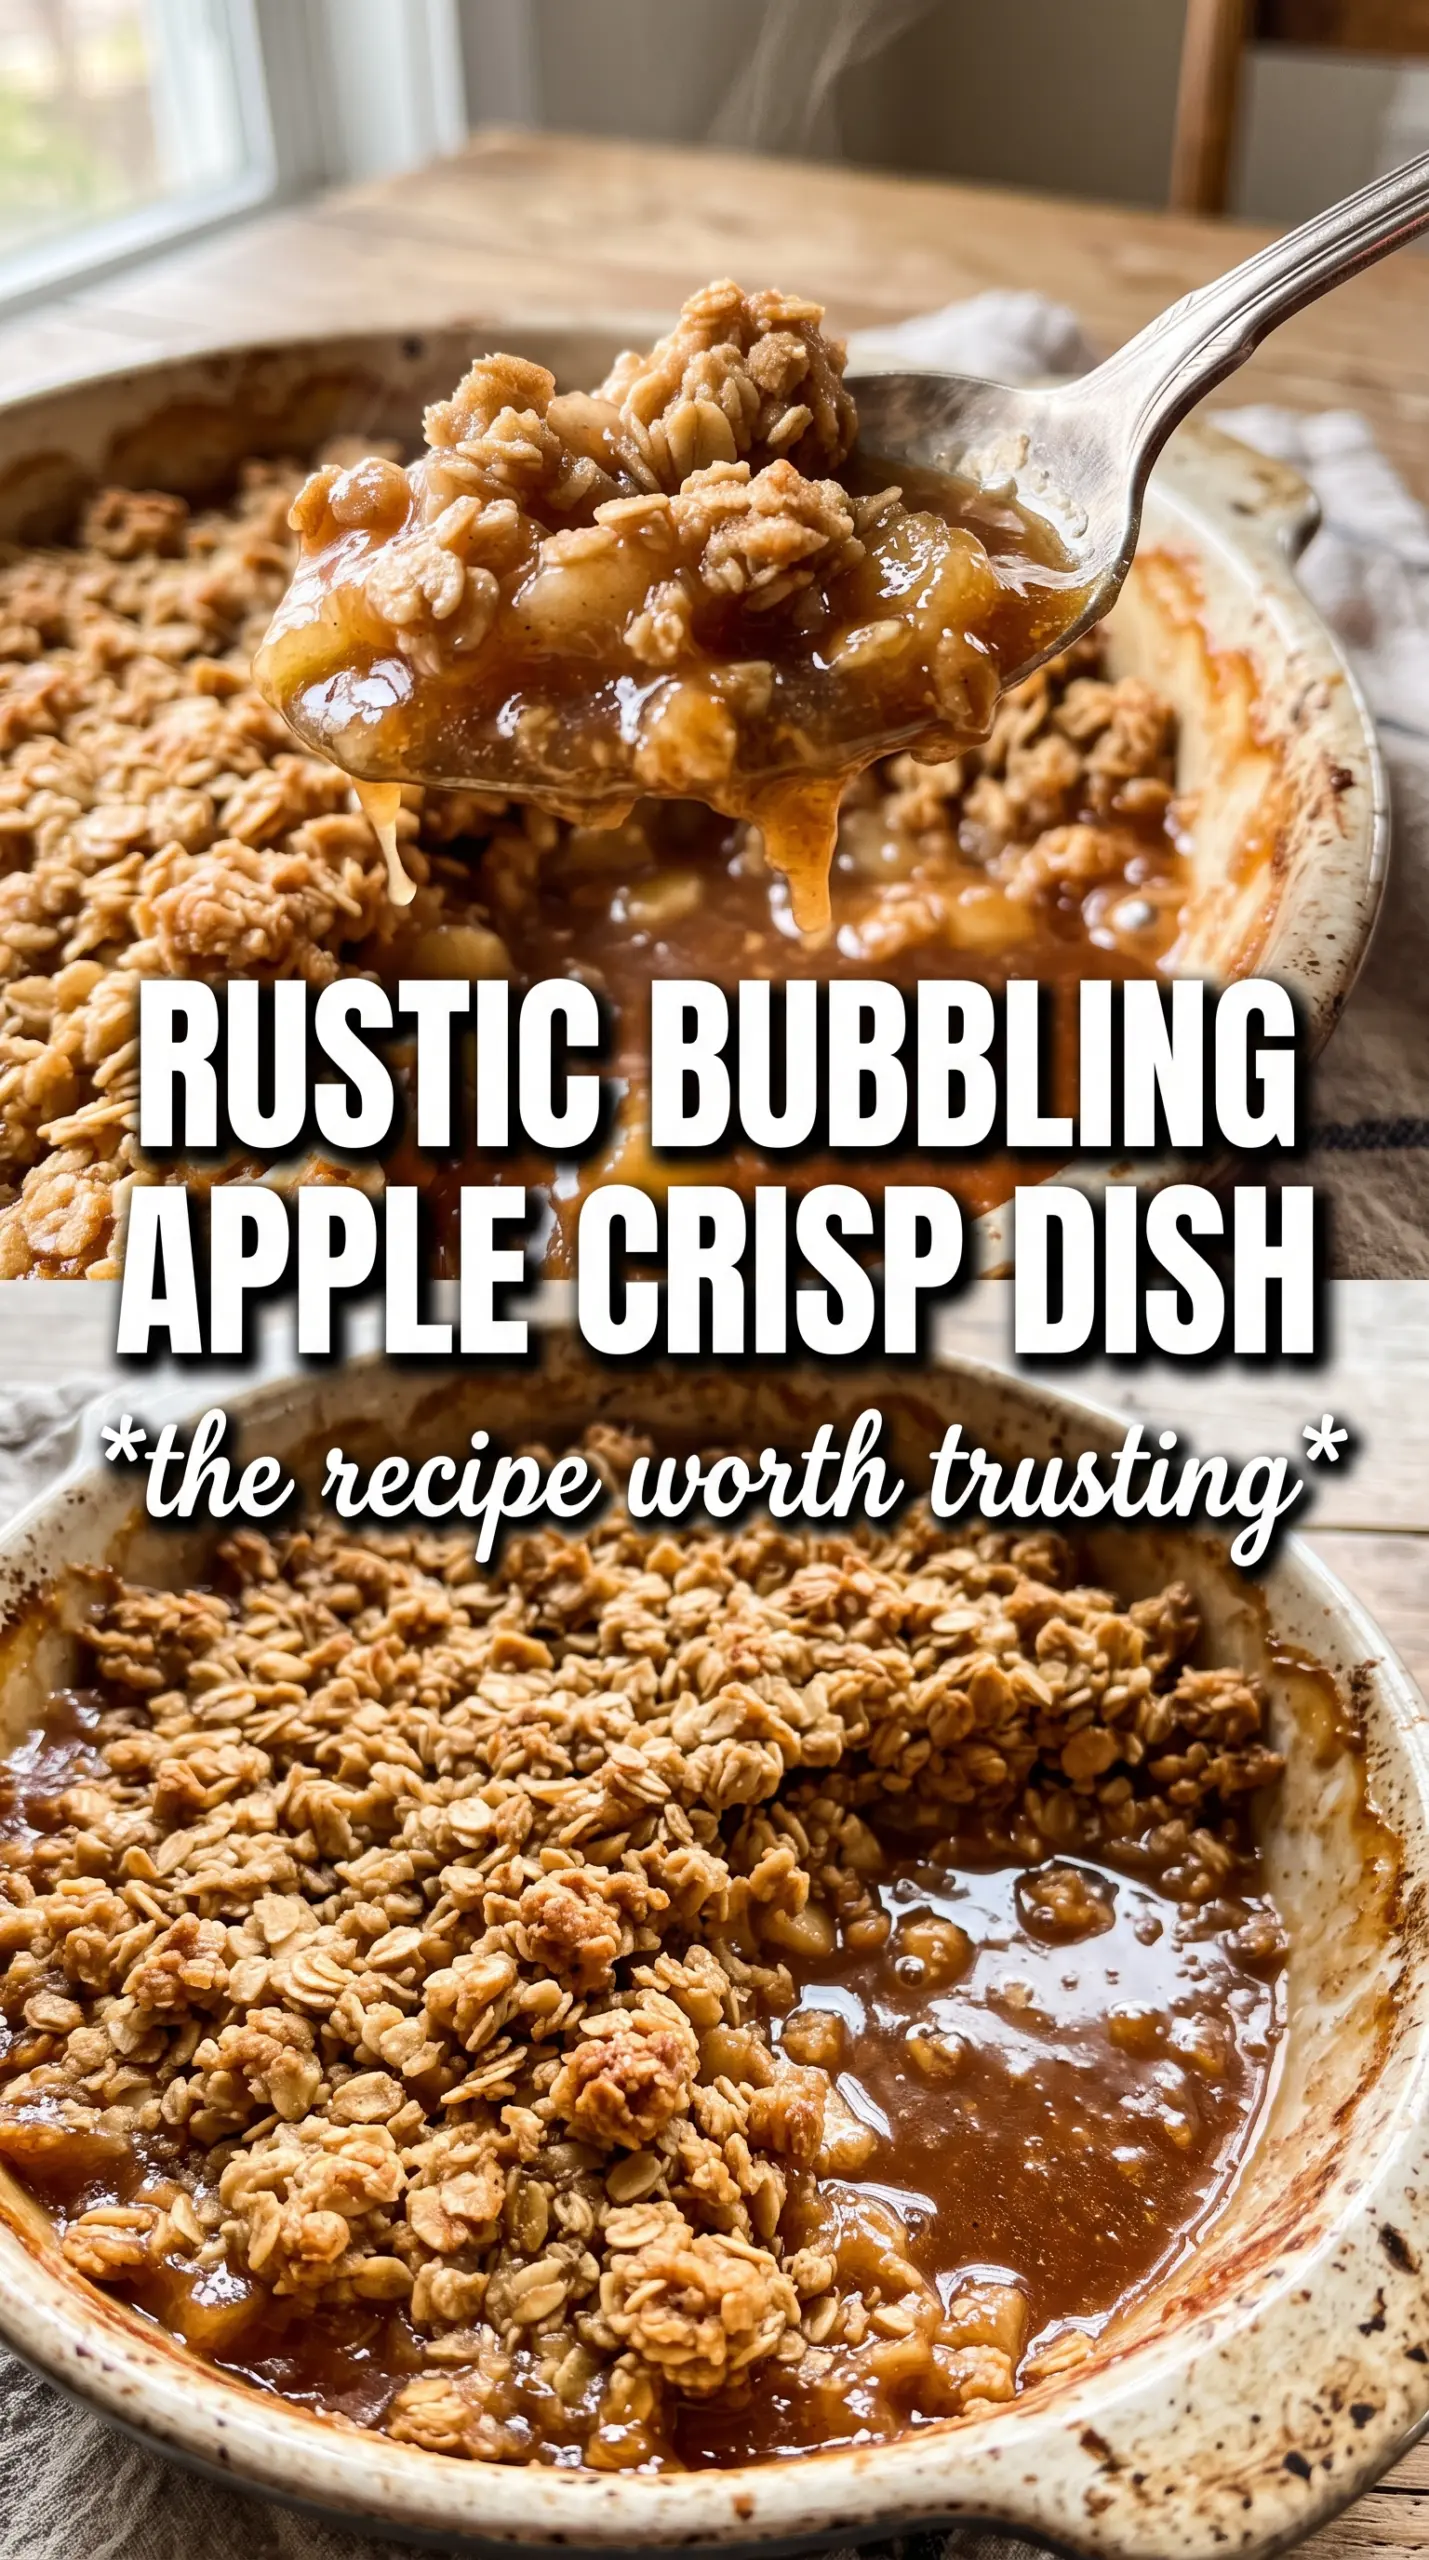
The filling should bubble up thick and syrupy, not pool into a thin layer at the bottom of the dish. The most common problem is apples that release too much juice before the topping has a chance to brown. This recipe handles that by using apples that soften at a steady pace and by baking the crisp long enough for the filling to thicken around the fruit instead of staying loose.
The other thing that matters is the size of the apple slices. Thick slices hold their shape and bake into distinct bites, while thin slices collapse fast and can turn the dessert soft in the wrong way. The citrus juice and zest also do more than brighten the flavor; they keep the apples from tasting one-note and help the filling taste rounded instead of sugary.
- Macintosh apples break down beautifully and give you a softer, jammy filling. If you want a crisper bite, Braeburn is the better choice because it keeps more structure through baking.
- Orange and lemon zest wake up the fruit and keep the flavor from leaning only on cinnamon and sugar. Fresh zest matters here; bottled juice alone won’t give the same lift.
- Cold butter in the topping is what creates those crumbly clumps that bake into crunch. If the butter starts to soften too much before it goes in the oven, the topping turns pasty instead of crisp.
- Old-fashioned oats give the crumble its nubby texture. Quick oats can work in a pinch, but the topping will be finer and less rugged.
What Each Ingredient Is Actually Doing in This Recipe
- Primary ingredient (the star) — Quality matters most. Choose the best you can find.
- Cooking medium (oil, butter, or broth) — This carries flavors and prevents dryness.
- Seasonings (salt, pepper, spices, herbs) — Layer flavors so nothing overpowers. Build depth gradually.
- Aromatics (garlic, onion, herbs) — Cook with fat to bloom flavors. Become the foundation.
- Supporting ingredients — Complement the main ingredient without overpowering it.
- Sauce or liquid (if applicable) — Brings flavors together. Balance richness with acid.
- Acid (lemon, vinegar, wine, or other) — Brightens and prevents flat-tasting results.
- Final finish (garnish, glaze, or sauce) — Prevents one-dimensional taste and adds visual appeal.
Building the Crumble So It Stays Crisp
Seasoning the Apples First
Toss the sliced apples with the sugar, spices, citrus juice, and zest until every piece looks coated. You want the sugar to start drawing out a little moisture before the fruit goes into the oven, but not enough time for the apples to sit and get soggy. Spread the fruit evenly in the baking dish so the heat can move through it at the same rate; if you mound it high in the center, the middle takes longer to soften and the edges can overbake.
Making the Topping by Hand
Combine the flour, sugars, salt, and oats first, then work in the cold butter with your fingers until the mixture forms pea-sized clumps. Those clumps are the whole point. If you rub the butter too finely, the topping bakes up dense and sandy instead of craggy and crisp. Stop as soon as you can squeeze some mixture together and it holds; you don’t want a smooth dough.
Baking Until the Center Bubbles
Scatter the topping over the apples in a thick layer and cover every bit of fruit. Bake until the top is deep golden and the juices are actively bubbling around the edges and through the topping, which usually takes a full 55 to 60 minutes. If the top browns before the filling bubbles, lay a piece of foil loosely over the dish for the last stretch so the apples finish cooking without scorching the crumble.
What to Change When You Need a Different Version
Use all Braeburn for a firmer slice
Braeburn apples keep more structure, so the filling comes out a little less jammy and a little more defined. That’s the right swap if you want distinct apple pieces instead of a softer spoonful.
Make it gluten-free with a flour blend
Use a 1:1 gluten-free flour blend in place of the all-purpose flour. The topping will still brown and crisp, though it may be a touch more delicate when you scoop it.
Add chopped pecans for extra crunch
A handful of chopped pecans folded into the topping gives the crisp a deeper nutty flavor and more texture. Keep the pieces small so they toast through instead of tasting raw at the edges.
Storage and Reheating
- Refrigerator: Store covered for up to 4 days. The topping softens a bit in the fridge, but the flavor holds well.
- Freezer: It freezes well after baking. Cool completely, wrap tightly, and freeze for up to 2 months. Thaw overnight in the refrigerator before reheating.
- Reheating: Reheat in a 325F oven until warmed through and the topping crisps back up. The microwave will heat the filling, but it will leave the crumble soft.
Questions I Get Asked About This Recipe
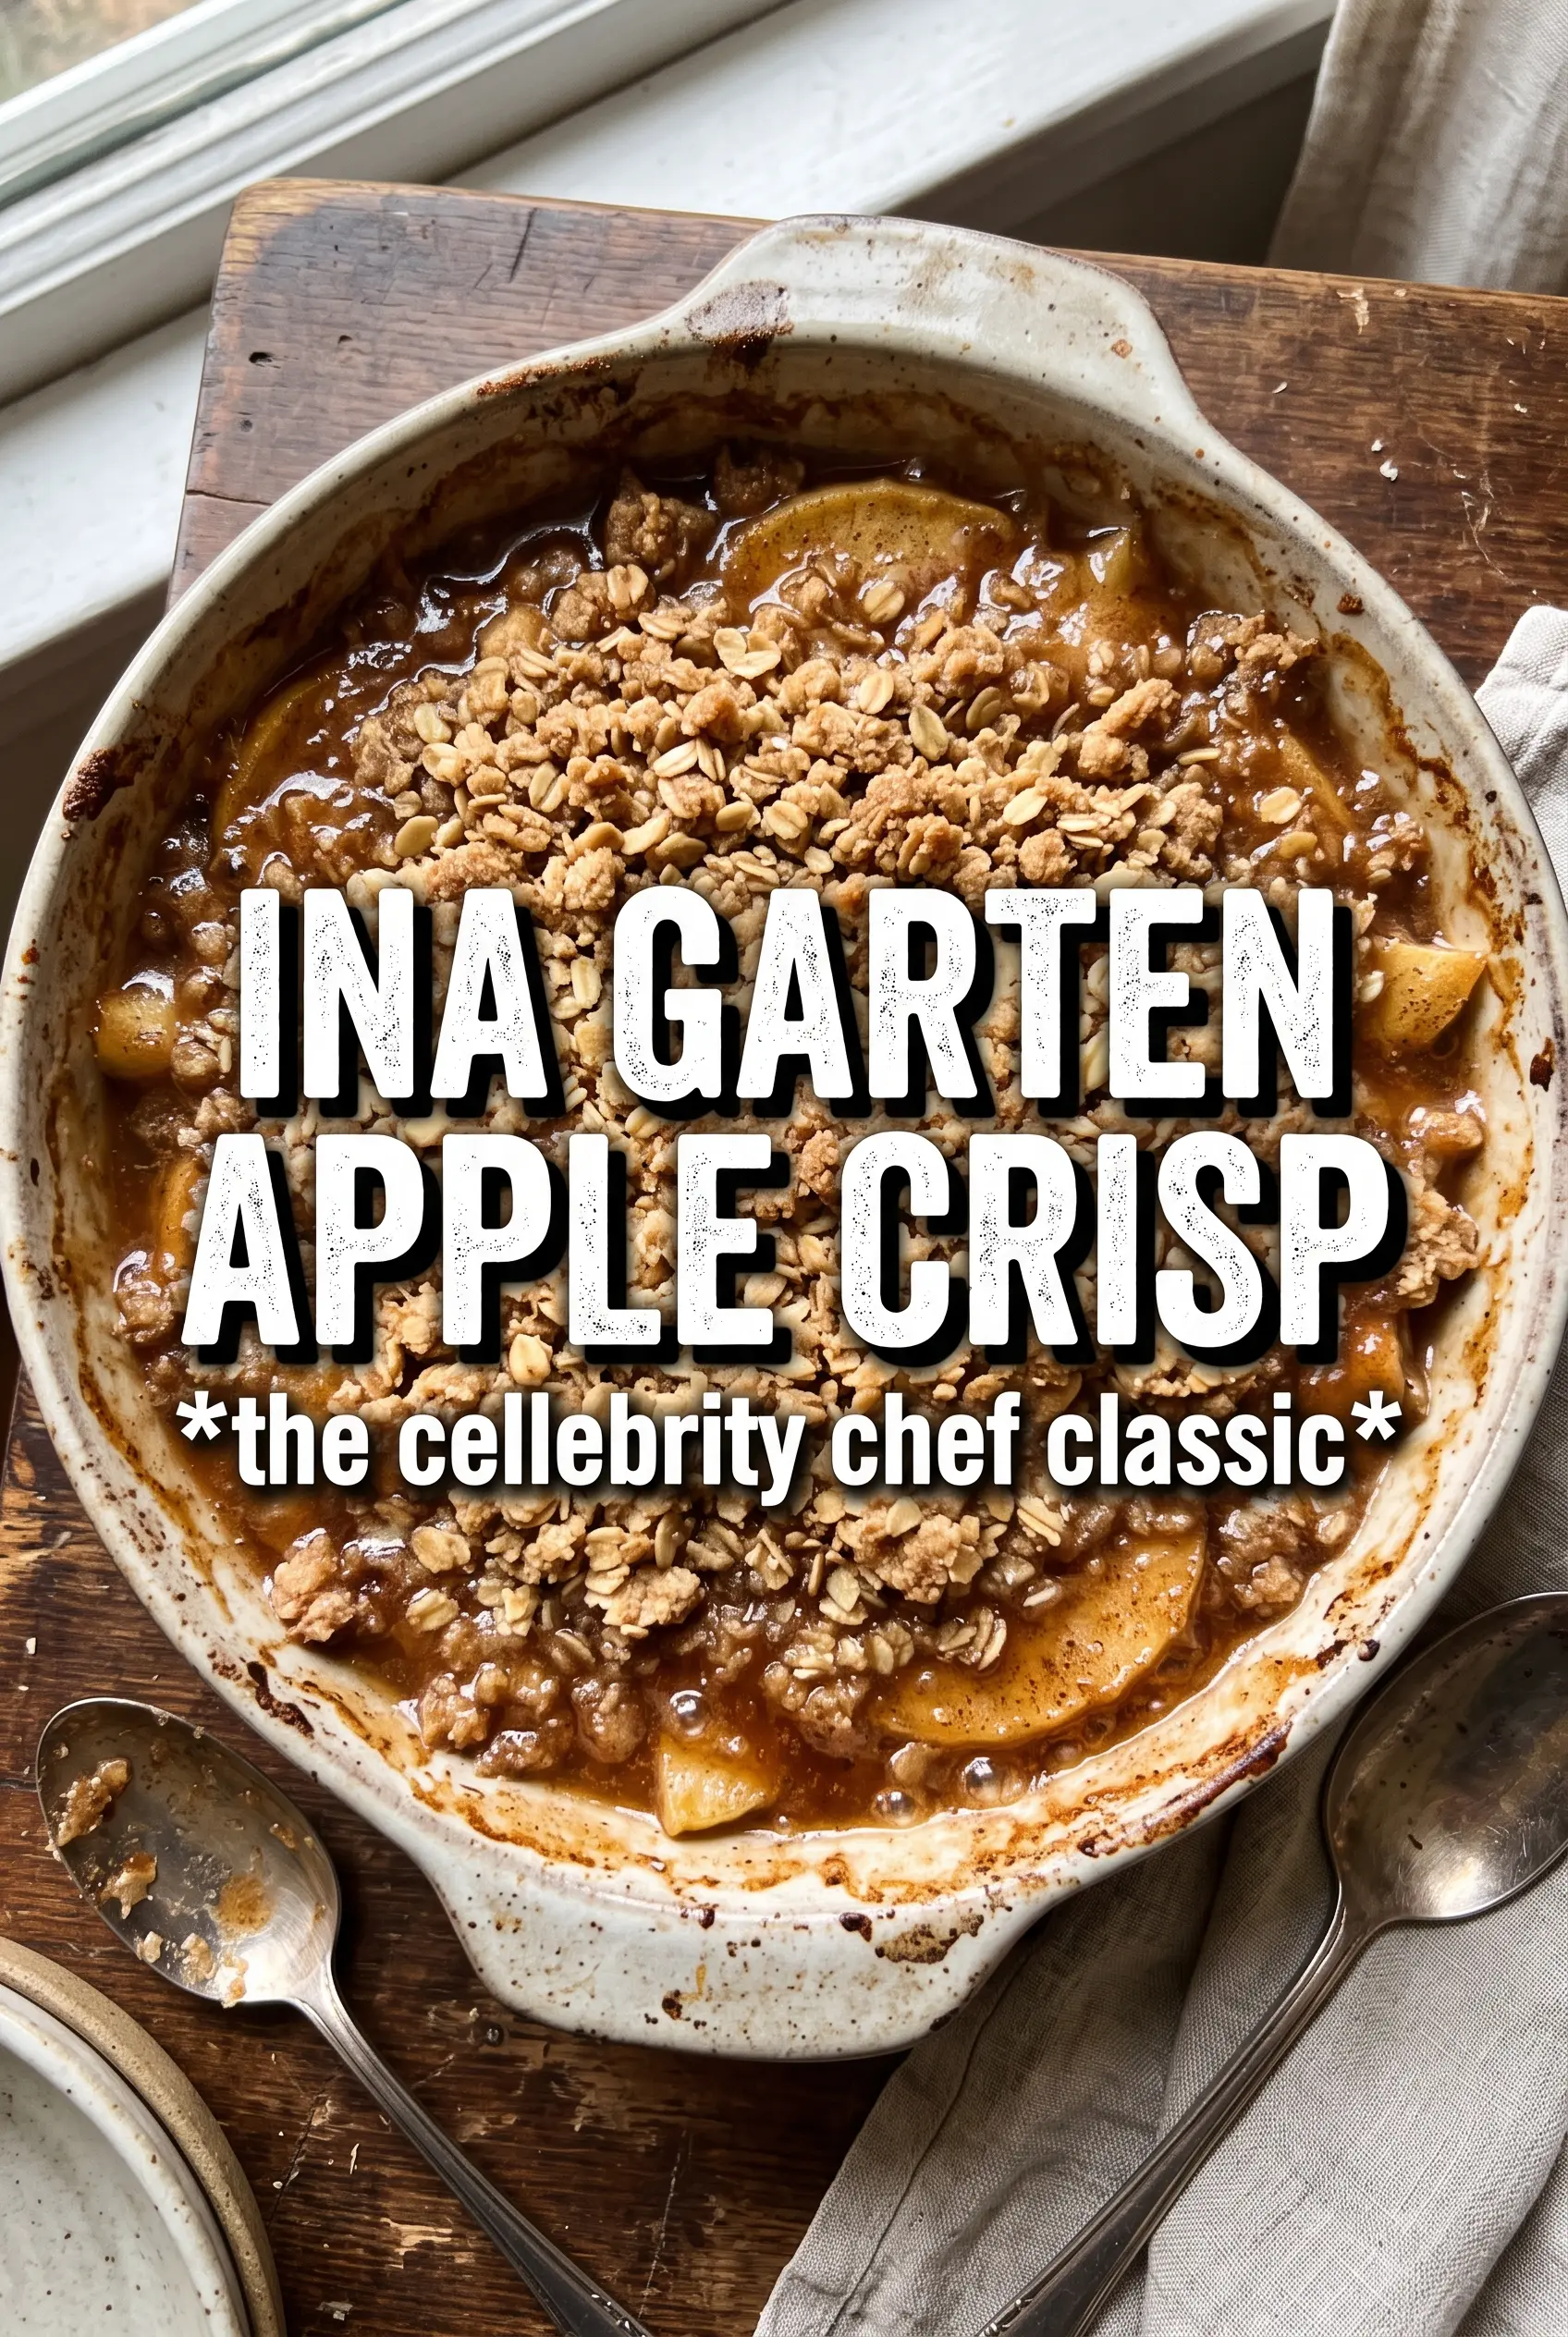
Ina Garten Apple Crisp
Ingredients
Equipment
Method
- Preheat the oven to 350F. Set out a 14x9x2 inch baking dish for assembling the crisp.
- Toss the sliced apples with orange zest, lemon zest, orange juice, lemon juice, granulated sugar, cinnamon, and nutmeg, then spread them evenly in the baking dish. Make sure the spices coat every slice for even bubbling.
- Combine all-purpose flour, granulated sugar, light brown sugar, kosher salt, and old-fashioned oats. Add the cold diced butter and work with your fingers until the mixture forms pea-sized clumps.
- Scatter the crumble topping over the apples, covering every inch generously. Press lightly so some clumps adhere, but keep the topping crumbly.
- Bake for 55-60 minutes until the top is golden brown and the apples are tender and bubbling. If needed, rotate the pan once for an even color.
- Serve the apple crisp warm with vanilla ice cream or whipped cream. Let it rest for 5 minutes so the juices thicken slightly before scooping.