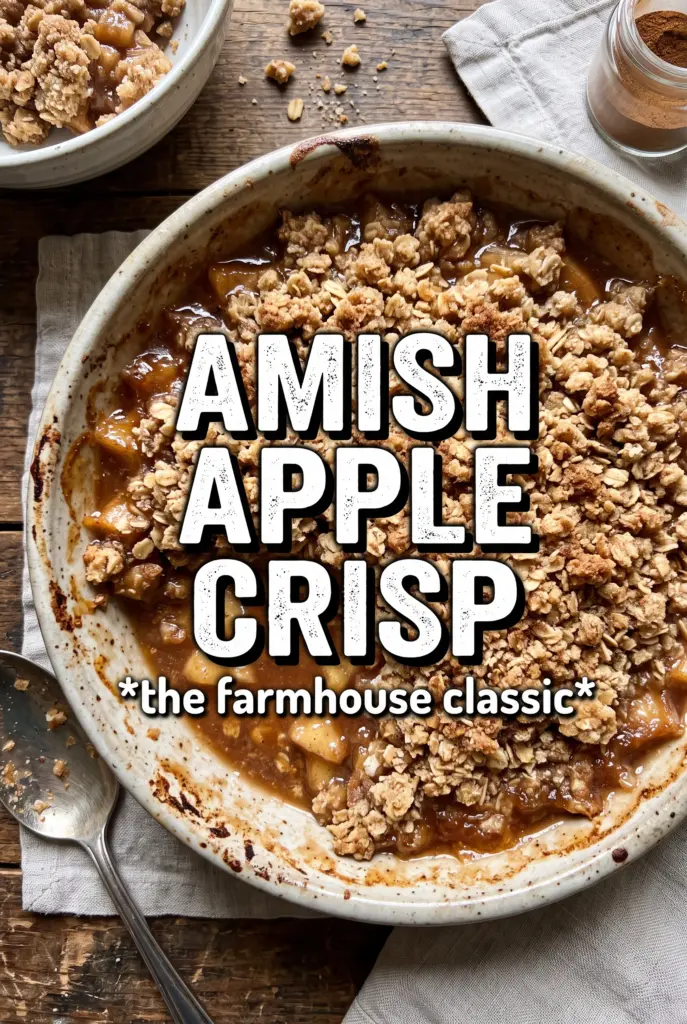
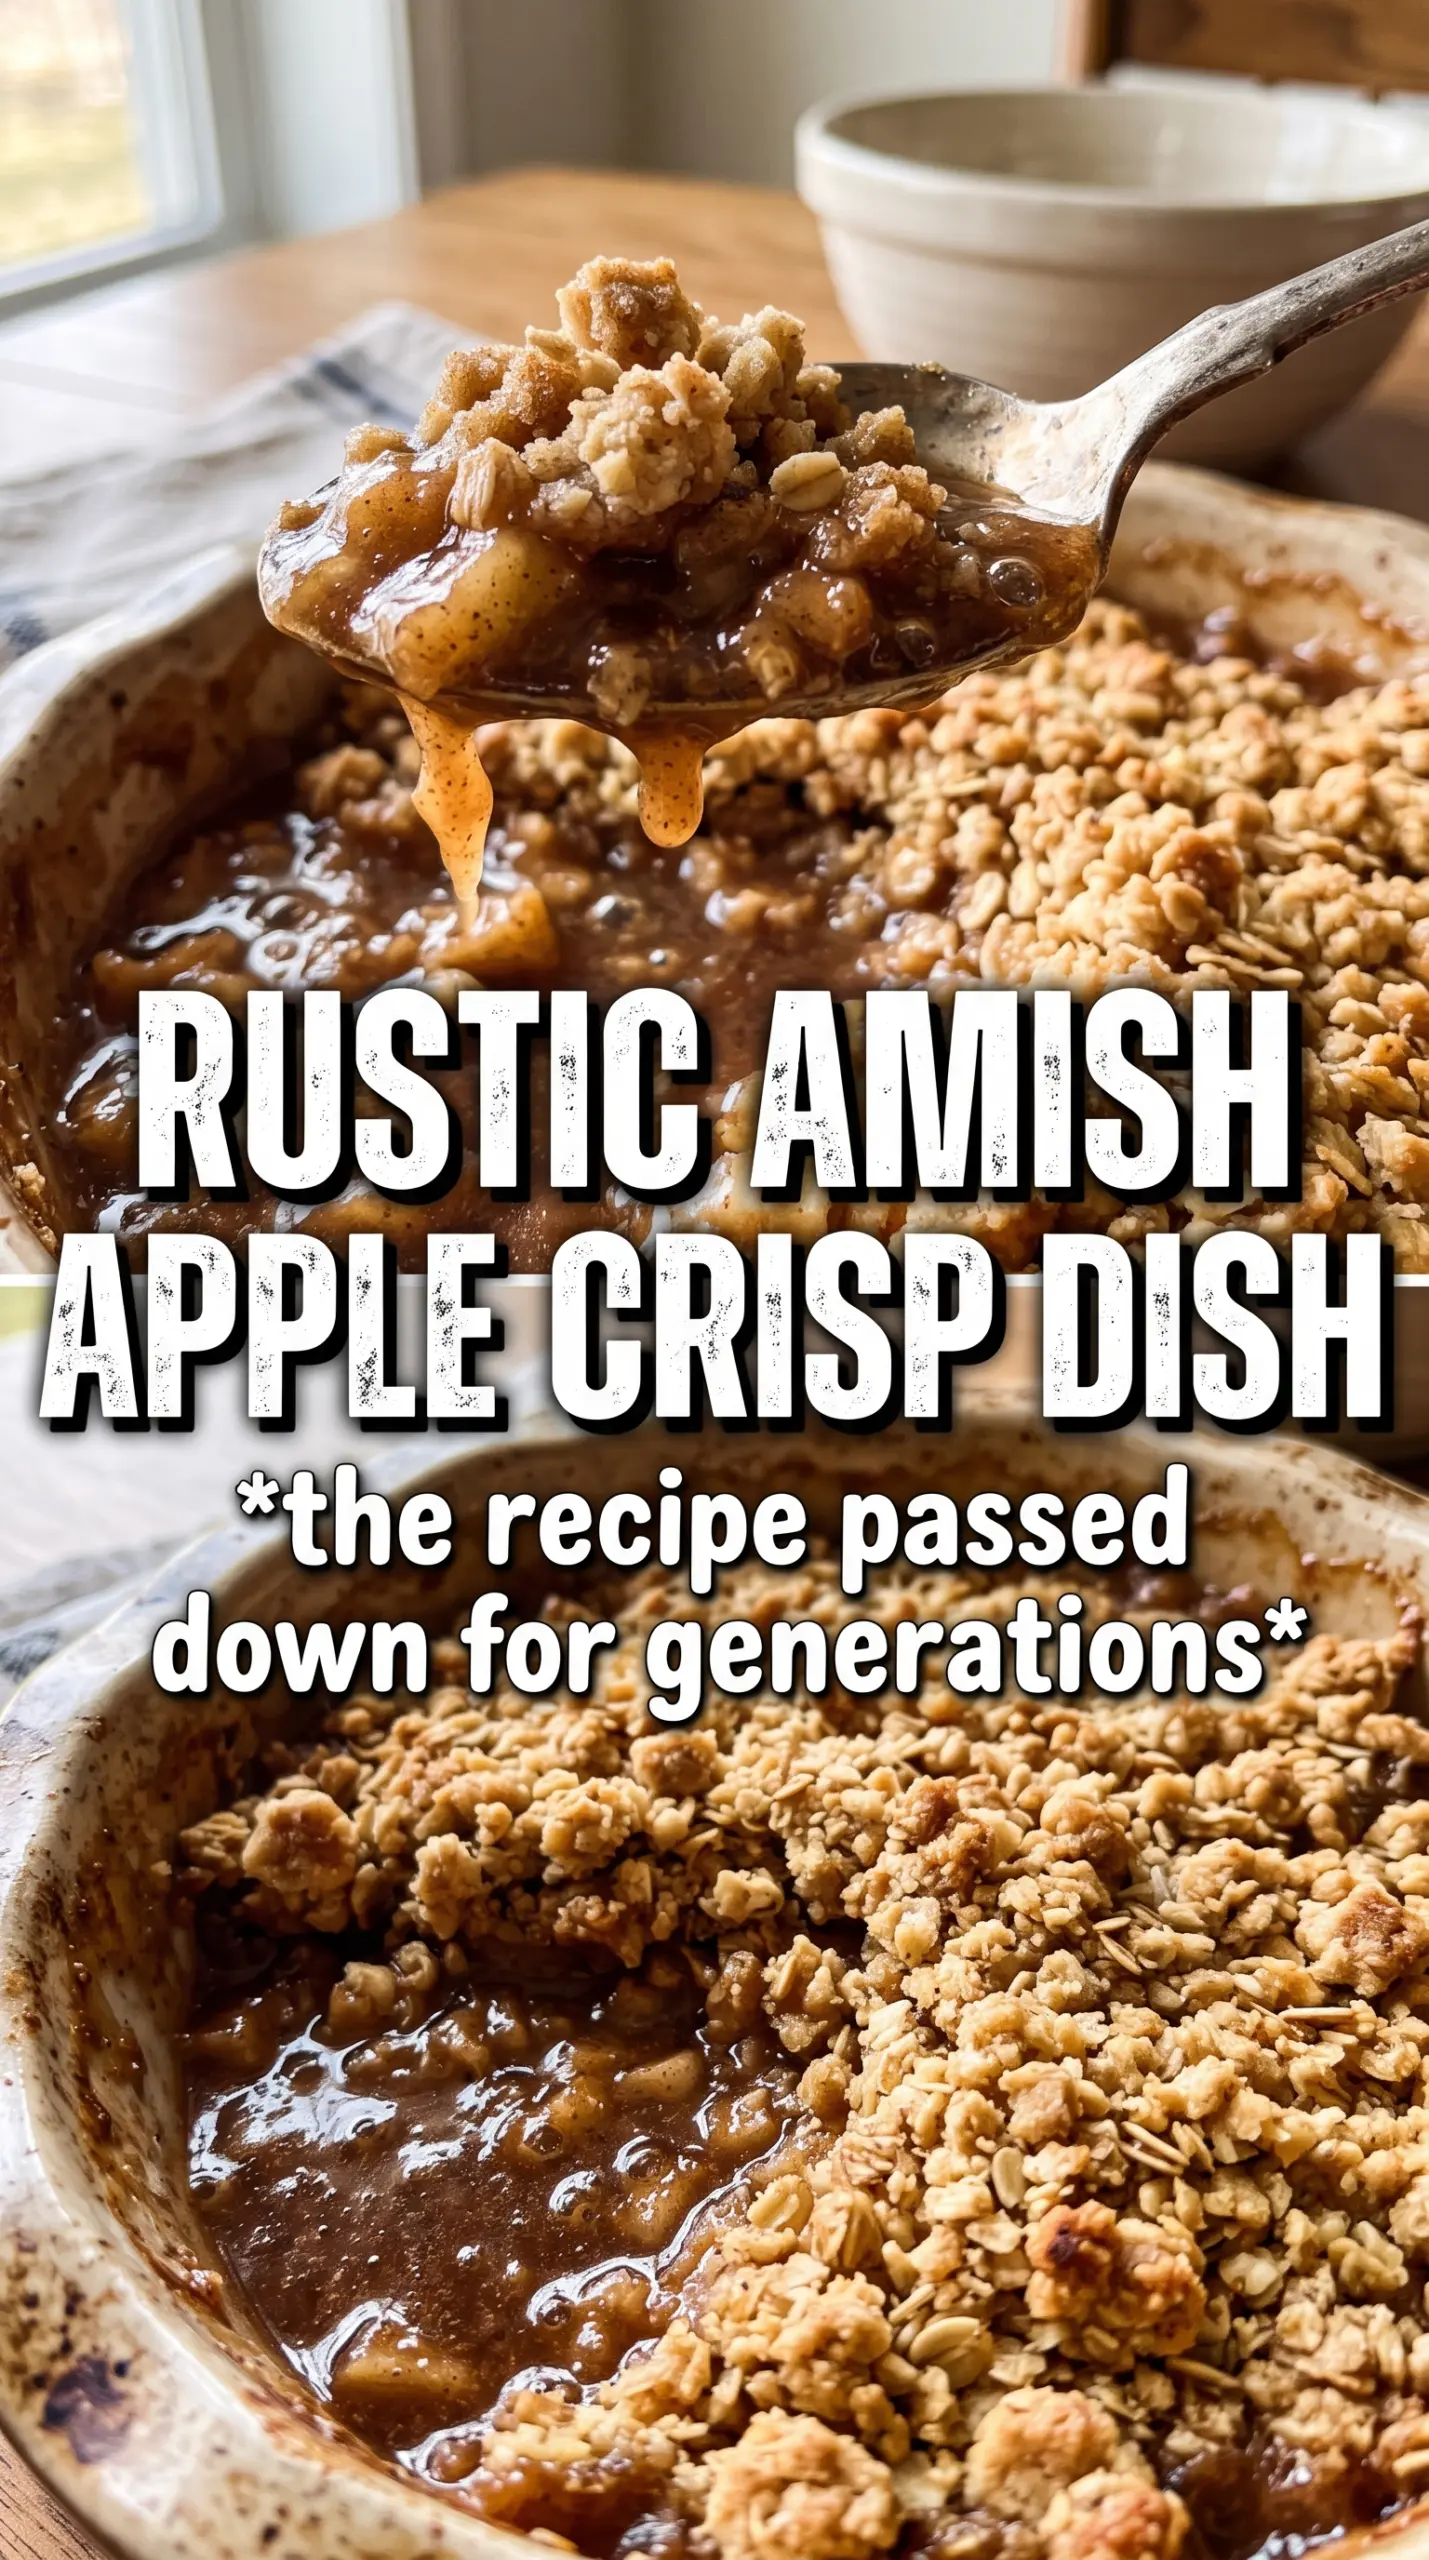
Amish apple crisp lands with the kind of old-fashioned comfort that makes people pause at the table. The topping bakes up thick and craggy, with buttery oat clusters that go deep golden at the edges while the apples underneath turn soft and spoonable without collapsing into mush. It’s the contrast that keeps this dessert on repeat: crunchy, tender, juicy, and warmly spiced in every bite.
What makes this version work is the balance in the filling and the way the crumble is mixed. The apples get enough sugar and flour to turn glossy and lightly thickened instead of watery, and the lemon juice keeps the flavor bright so the whole dish doesn’t taste flat. For the topping, cold butter matters. If it melts before the pan goes into the oven, you lose those big crumbly pockets that make crisp worth baking in the first place.
Below, I’ve included the small details that keep the apples from going soupy, plus a few ways to adapt the topping if you want to skip the lard or make it fully dairy-free.
The topping stayed crisp all the way to the corners, and the filling bubbled up thick instead of running all over the dish. I used Granny Smith and Honeycrisp, and it baked exactly in the time listed.
Save this Amish apple crisp for when you want a deep, caramelized topping and a thick apple filling that holds together on the spoon.
The Topping Stays Crisp Because the Butter Never Fully Melts Before Baking
A lot of apple crisps lose their edge because the topping turns sandy and tight instead of clumping. The goal here is large, uneven crumbs with some floury bits and some buttery chunks. That mix bakes into a crust that stays crisp on top and a little chewy in the middle, which is exactly what you want when the filling underneath is soft and juicy.
The other thing that matters is pan depth. A 10×15 roasting pan gives the apples enough room to cook through while keeping the topping from sinking into a thick mound. If you use a smaller, deeper dish, the fruit steams more than it bakes and the crumble can stay pale underneath. You want bubbles coming up around the edges before you pull it out of the oven.
What Each Ingredient Is Actually Doing in This Crisp
- Apples — Use firm baking apples that can hold their shape, like Granny Smith, Honeycrisp, or a mix of the two. Soft apples turn to applesauce before the topping is browned.
- Flour in the filling — This thickens the juices as the apples bake, which keeps the bottom from turning watery. Cornstarch can work in a pinch, but flour gives this style of crisp a more old-fashioned, gently thickened texture.
- Rolled oats — They bring that rustic crumble and help the topping bake into big nubbly clusters. Quick oats will work, but the texture will be finer and less hearty.
- Cold butter and lard — Cold fat is what creates the craggy topping. Lard gives a more traditional, delicate crunch, while all-butter makes the flavor richer and a little more familiar. If you skip the lard, replace it with more butter and keep everything cold.
- Lemon juice — It keeps the apple flavor bright and stops the filling from tasting too sweet. You won’t taste lemon; you’ll taste apples that still have some lift.
Building the Apple Layer and Topping So the Crisp Bakes Evenly
Seasoning the Apples
Toss the sliced apples with the sugars, spices, flour, and lemon juice until every piece looks lightly coated. The flour should disappear into the juices as you mix, not sit in dusty streaks at the bottom of the bowl. Spread the fruit in an even layer in the pan; if one corner is piled higher than the rest, that section will stay firmer longer and throw off the bake.
Mixing the Crumble by Hand
Combine the flour, oats, sugars, cinnamon, and salt first, then work in the cold butter and lard with your fingertips until the mixture forms chunky clumps. Stop before it becomes paste. You want pieces the size of peas and walnuts, because those bigger bits toast into the best topping. If the butter starts softening while you work, chill the bowl for a few minutes before moving on.
Baking Until the Filling Bubbles
Spread the crumble thickly over the apples and press very gently so it settles without packing down. Bake until the top is deeply golden and you can see the filling bubbling all around the edges and in a few spots near the center. That bubbling is the sign the flour has thickened the juices. If the top browns too quickly before the fruit is tender, lay a sheet of foil loosely over the pan for the last 15 minutes.
Letting It Rest Before Serving
Give the crisp at least 15 minutes on the counter before scooping. The filling thickens as it cools, and if you cut in too soon it will spill out in a loose puddle. A short rest also gives the topping time to firm back up so you get clean spoonfuls instead of a broken crust.
How to Adjust the Crisp for Different Kitchens and Different Eaters
Dairy-Free Version
Use all butter substitutes or a good plant-based baking stick in place of the butter and skip the lard unless you have a dairy-free fat you trust for baking. The topping will still clump and brown, though the flavor reads a little less rich than the traditional version.
All-Butter Shortcut
If you don’t want to use lard, replace it with another 1/2 cup of cold butter. The crisp gets a little richer and slightly less delicate, but the texture still works as long as the butter stays cold and the crumbs stay chunky.
Make It Gluten-Free
Swap in a 1:1 gluten-free baking flour for the all-purpose flour in both the filling and topping, then use certified gluten-free oats. The topping won’t be quite as sturdy, but it still bakes into good crunchy clusters.
Storage and Reheating
- Refrigerator: Store covered for up to 4 days. The topping softens a little, but the flavor holds.
- Freezer: Freeze baked crisp tightly wrapped for up to 2 months, or freeze the unbaked assembled dessert and bake from thawed. The topping is best when frozen before baking, not after.
- Reheating: Warm uncovered in a 325F oven until the edges are bubbling again and the top re-crisps. The microwave makes the crumble soft, so use it only if you don’t mind losing the texture.
Questions I Get Asked About This Amish Apple Crisp
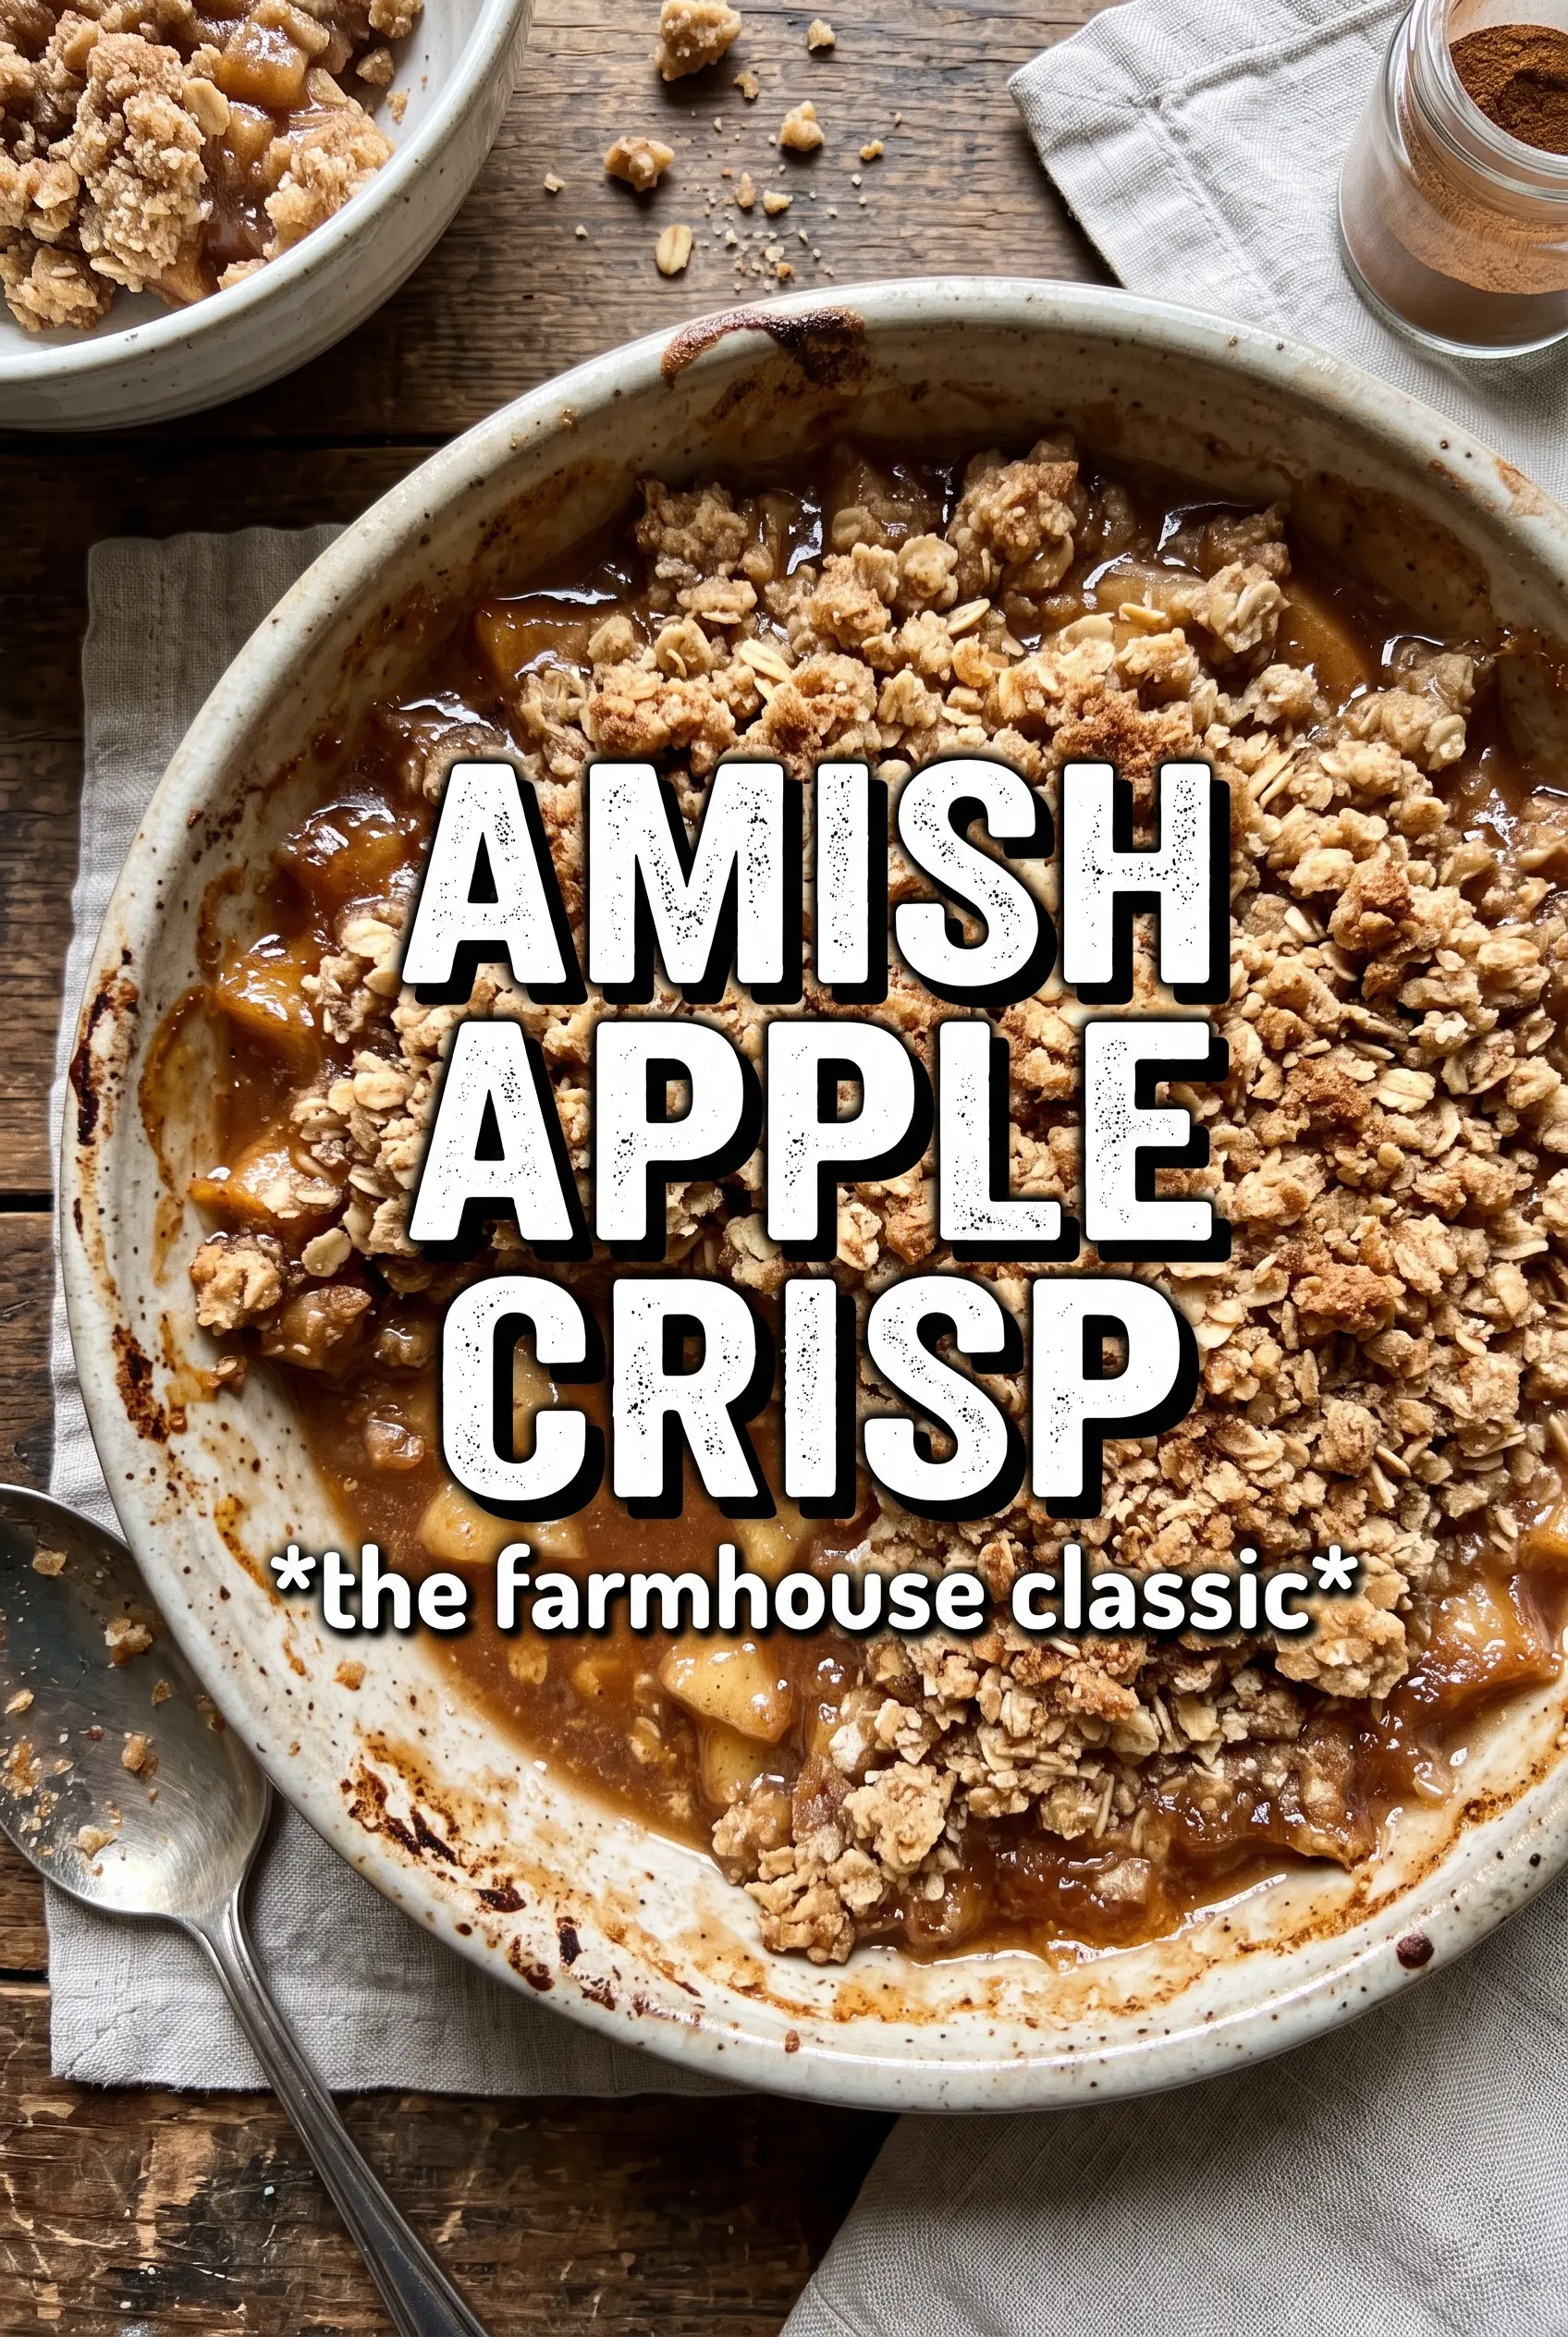
Amish Apple Crisp
Ingredients
Equipment
Method
- Preheat the oven to 350°F, then grease a large 10x15 roasting pan or a 9x13 baking dish.
- Toss the apple slices with granulated sugar, brown sugar, cinnamon, nutmeg, allspice, all-purpose flour, and lemon juice until evenly coated, then spread them in the prepared pan in a deep layer.
- Combine the all-purpose flour, rolled oats, both sugars, cinnamon, and salt, then cut in the cold butter (and lard if using) with your hands until large, crumbly clumps form.
- Spread the crumble thickly over the apples and press very gently so the topping sets in place.
- Bake for 50–55 minutes at 350°F until the topping is deeply golden brown and the apple filling bubbles all around.
- Rest the crisp for 15 minutes before serving warm with vanilla ice cream and a pour of cold heavy cream.