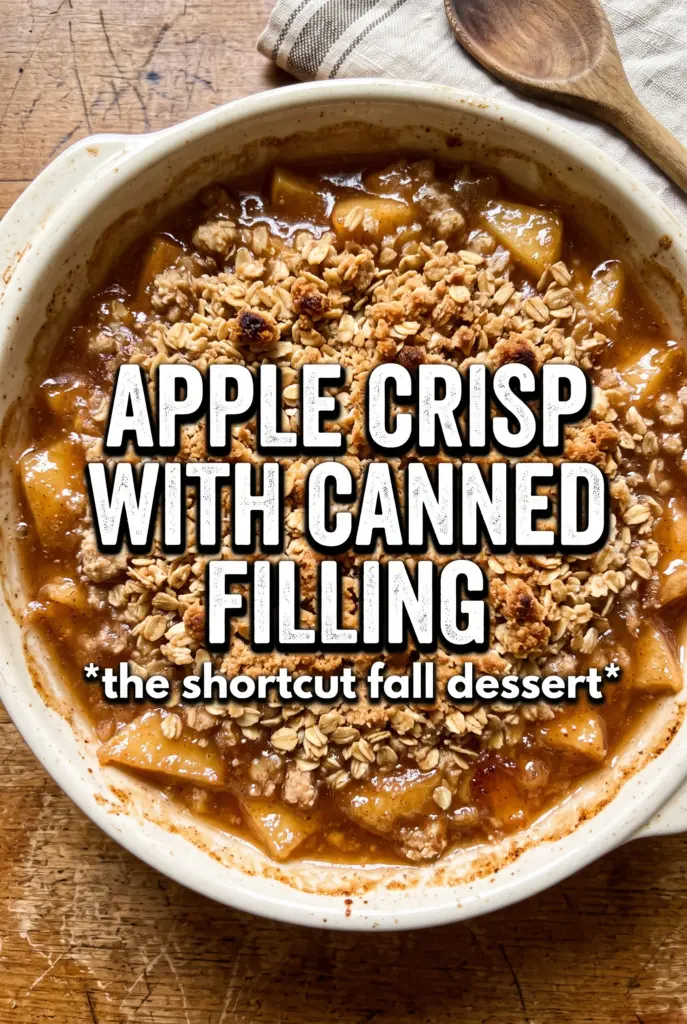
Golden oat crumble over bubbling apple filling is the kind of dessert that disappears fast, especially when the topping turns crisp at the edges and the fruit underneath stays glossy and spoonable. Using canned apple pie filling keeps this version moving on a weeknight, but it still tastes like something that had a little thought behind it.
The trick is to wake up the canned filling before it goes into the dish. A little cinnamon, nutmeg, allspice, and lemon juice cut the flat sweetness and give the apples a fresher, more baked-from-scratch finish. The topping matters just as much: cold butter cut into the oat mixture gives you those big craggy crumbs that bake into a real crisp layer instead of a sandy blanket.
Below, I’ll show you how to keep the topping crunchy, how to season the filling so it doesn’t taste canned, and what to change if you need a gluten-free version or want to bake it ahead.
The crumble stayed crisp even after sitting on the counter for a bit, and the lemon juice made the apple filling taste brighter instead of just sweet. I served it with vanilla ice cream and there wasn’t a spoonful left.
Love the crisp oat topping and warm spiced apple filling? Save this canned apple crisp for an easy dessert that still tastes homemade.
Why Canned Filling Needs a Little Help Before Baking
Canned apple pie filling is already cooked, which is exactly why it can taste one-note if you pour it straight into the pan. The cinnamon, nutmeg, allspice, and lemon juice give it back the balance it lost in the can. That tiny bit of acid matters most. It keeps the filling from reading as syrupy-sweet and makes the apples taste a little brighter once they heat through.
The other thing that makes this crisp work is the separation between the filling and the topping. If you overload the dish with fruit or press the crumble down too tightly, the topping steams instead of browning. Spread the apples in an even layer and leave the crumble loose so hot air can move through it and turn the oats and butter into a crisp, craggy top.
What Each Ingredient Is Actually Doing In This Dessert
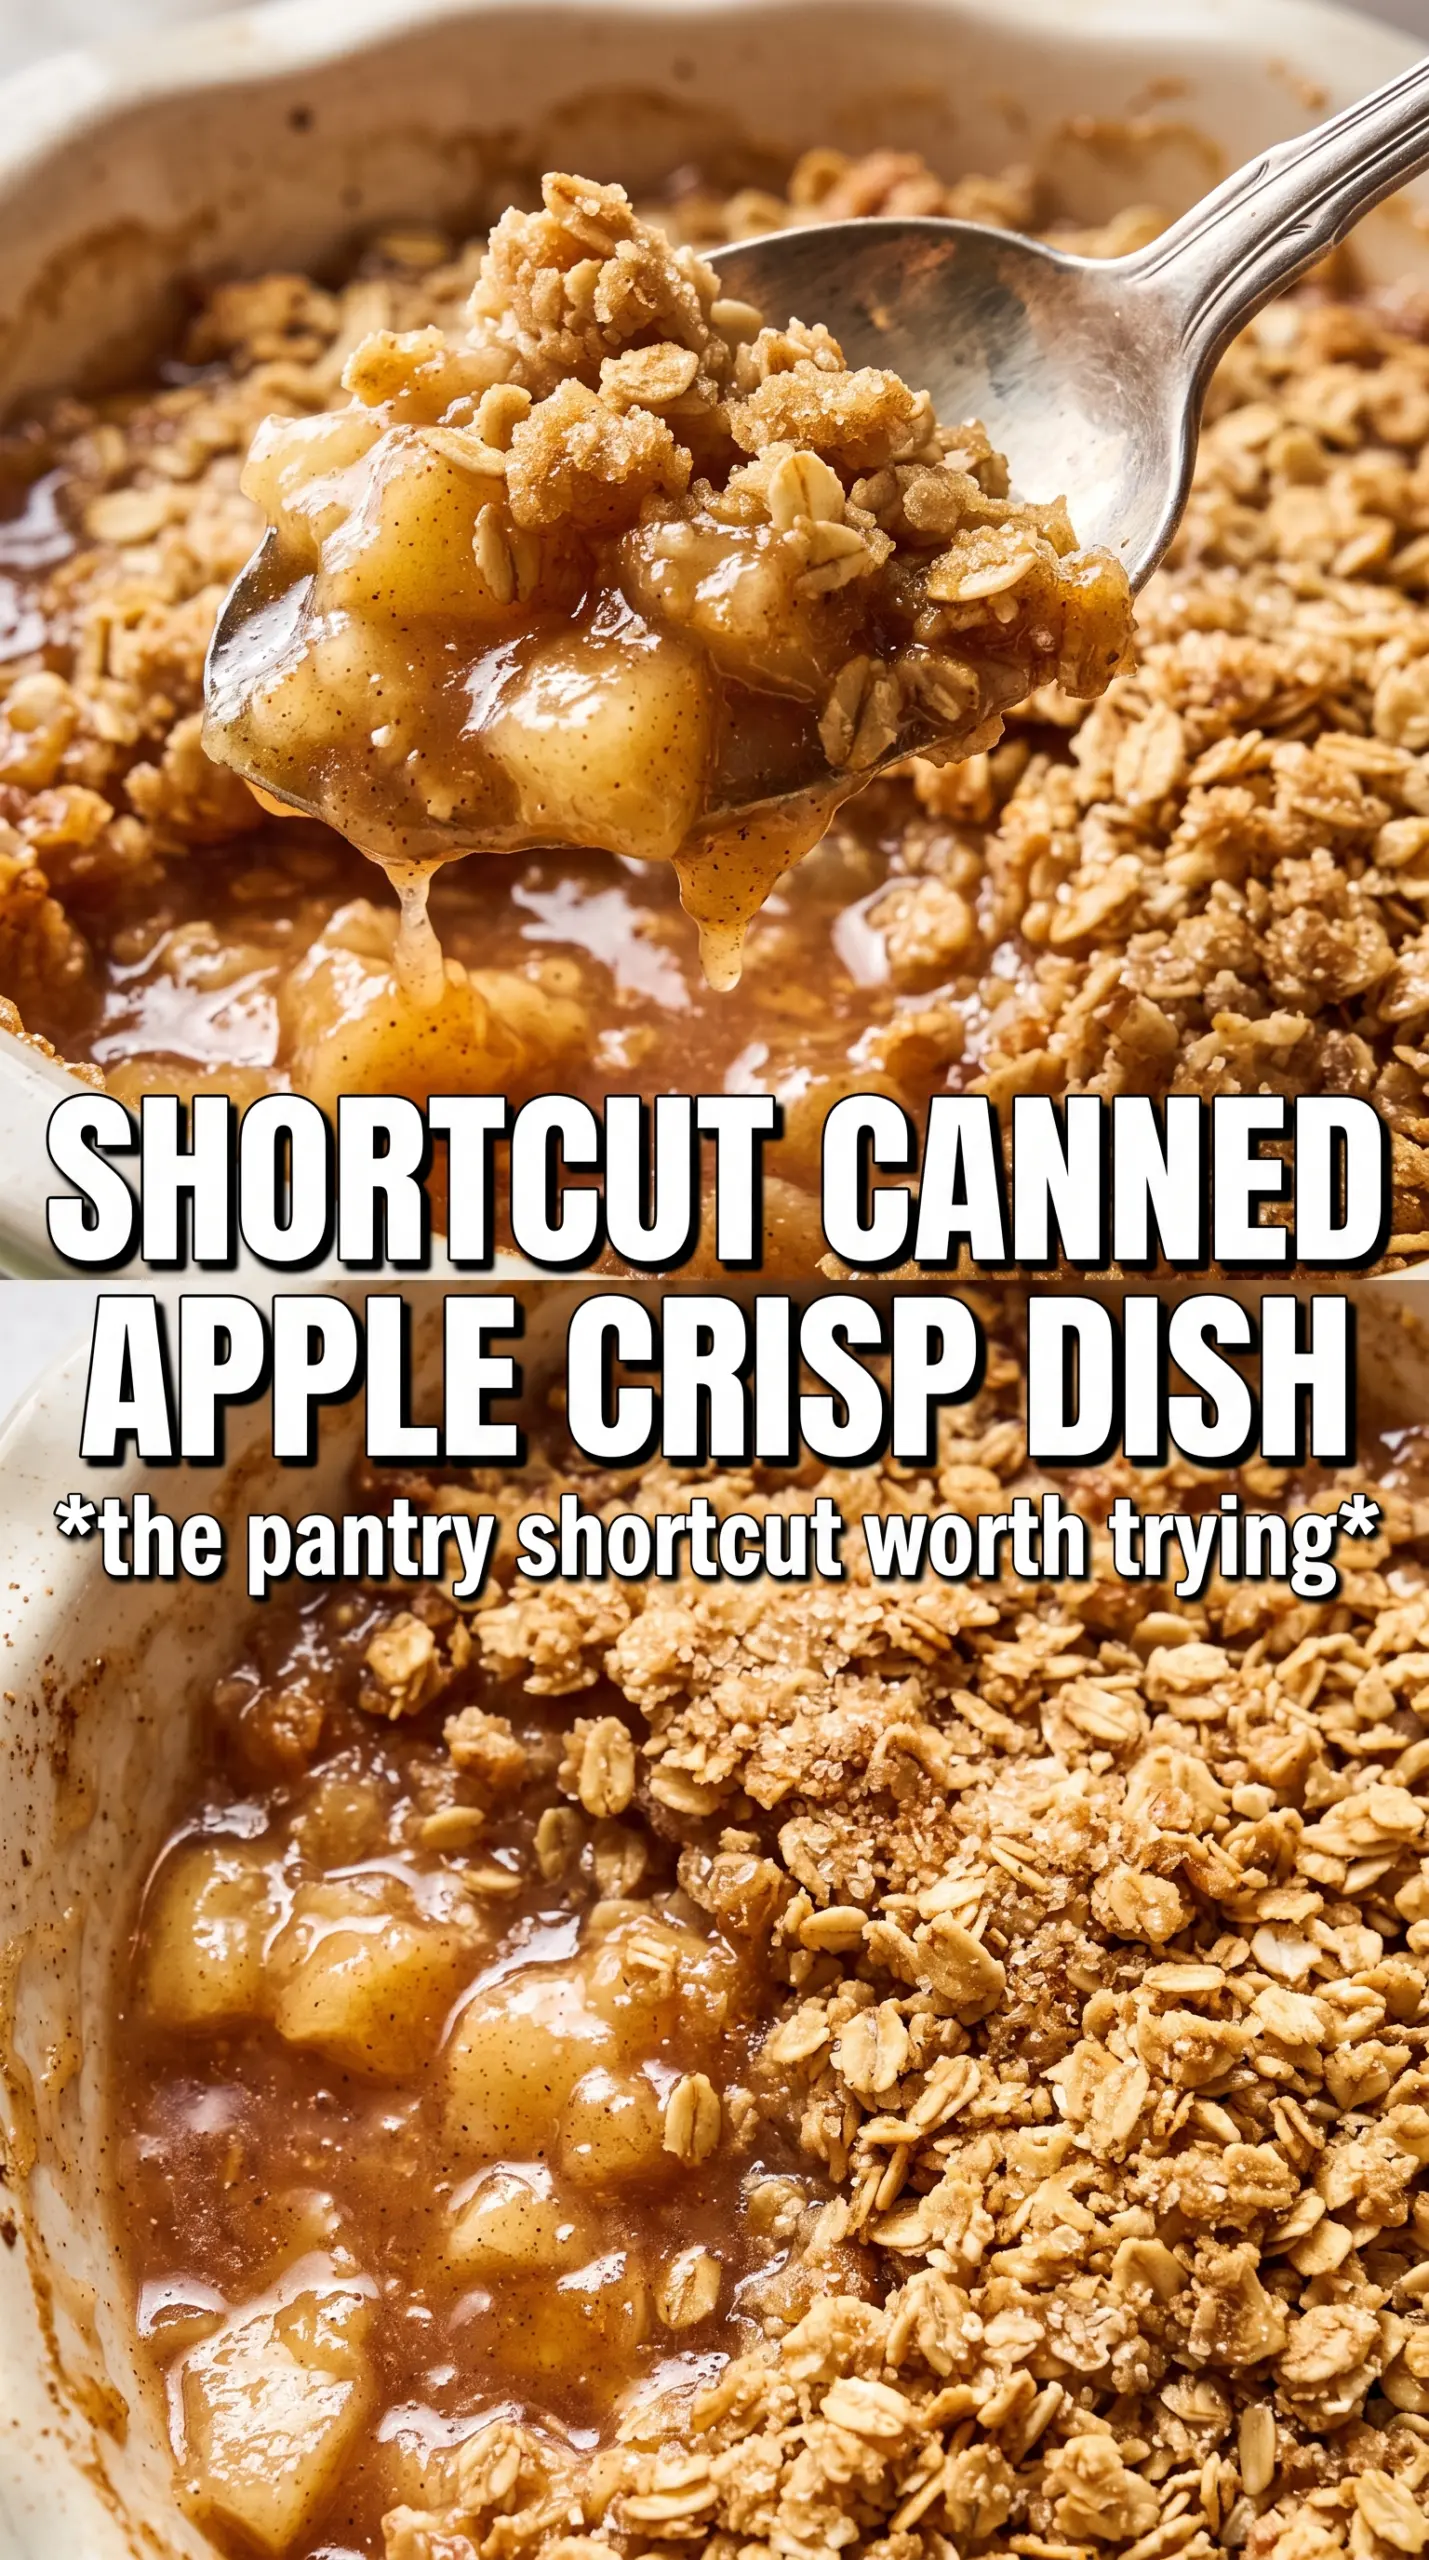
- Apple pie filling — This is the shortcut that makes the dessert fast, but the brand matters less than the texture in the can. Look for filling with noticeable apple slices, not a thin sauce with a few floating pieces. If the filling looks especially syrupy, stir it well before measuring it into the dish so the apples and glaze go in evenly.
- Lemon juice — This sharpens the sweetness and keeps the filling from tasting canned. Fresh lemon is best here, but bottled works if that’s what you have. Don’t skip it unless the filling is already quite tart.
- Rolled oats — These give the topping its chew and rustic crunch. Quick oats soften faster and make the crumble a little denser, so use rolled oats if you can. They hold their shape better and bake into better texture.
- Cold butter — Cold butter is what creates those chunky crumbs. If it softens too much before baking, the topping turns pasty and spreads into a flat layer. Cube it and work quickly, stopping when you still have pieces the size of peas and small walnuts.
- Brown sugar — This adds caramel depth and helps the topping brown. Packed brown sugar gives you enough moisture for clumps without making the crumble wet. Light or dark both work; dark will taste a little richer.
How To Bake It So The Topping Stays Crisp
Season The Filling First
Stir the spices and lemon juice directly into the canned filling before it goes into the baking dish. You want every bite to taste seasoned, not like spice sitting on top of the fruit. Spread the mixture into a greased 9×13 dish in an even layer so it heats consistently. If the apples mound too high in the center, the middle will stay loose while the edges overcook.
Work The Butter Into Clumps, Not Sand
Mix the oats, flour, brown sugar, cinnamon, and salt first, then cut in the cold butter until you have chunky pieces throughout. The dough should look uneven, with some pea-size bits and some larger clumps. That mix is what bakes into a topping with crisp edges and soft pockets. If it starts looking smooth or paste-like, the butter got too warm and the finish won’t be as crunchy.
Bake Until The Edges Bubble
Scatter the crumble over the filling without packing it down, then bake at 375°F until the top is deeply golden and the fruit bubbles around the sides, about 30 to 35 minutes. That bubbling matters more than the clock. It tells you the filling is hot enough through the center and the sugars have thickened. Pull it too early and the base stays loose; pull it too late and the edges of the crumble dry out.
Let It Sit Before Serving
Give the crisp about 5 minutes to settle before you scoop it. That short rest lets the filling thicken just enough so it doesn’t run all over the plate. It also keeps the ice cream from melting instantly into the dish. Serve it warm, not piping hot, so you get the contrast between the cool scoop and the crunchy topping.
How To Adapt This When You Need A Different Version
Gluten-Free Crisp With The Same Crunch
Swap the all-purpose flour for a 1:1 gluten-free baking blend that includes xanthan gum. The topping still browns well because the oats and butter do most of the textural work, but the clumps may be a little more delicate. If your blend is very starchy, add an extra tablespoon or two of oats to keep the crumble from feeling dusty.
Dairy-Free Version With Coconut Oil
Use cold refined coconut oil in place of the butter, measuring it by spoonfuls so it stays firm. The topping won’t taste quite as buttery, but it will still brown and crisp nicely. Refined coconut oil gives the cleanest flavor here; unrefined adds a coconut note that can compete with the apples.
Using Fresh Apples Instead Of Canned Filling
If you want to start from fresh apples, cook sliced apples with a little sugar, cinnamon, and lemon juice until they just begin to soften, then use them in place of the canned filling. That version tastes more structured and less syrupy, but it takes longer and won’t be quite as soft under the spoon. A mix of tart and sweet apples gives the best balance.
Storage and Reheating
- Refrigerator: Store covered for up to 4 days. The topping softens a little as it sits, but the flavor stays good.
- Freezer: It freezes well after baking. Cool completely, wrap tightly, and freeze for up to 2 months. Thaw overnight in the refrigerator before reheating.
- Reheating: Warm in a 325°F oven until heated through so the topping can dry out and re-crisp. The microwave will warm the filling, but it turns the crumble soft fast.
Answers to The Questions Worth Asking
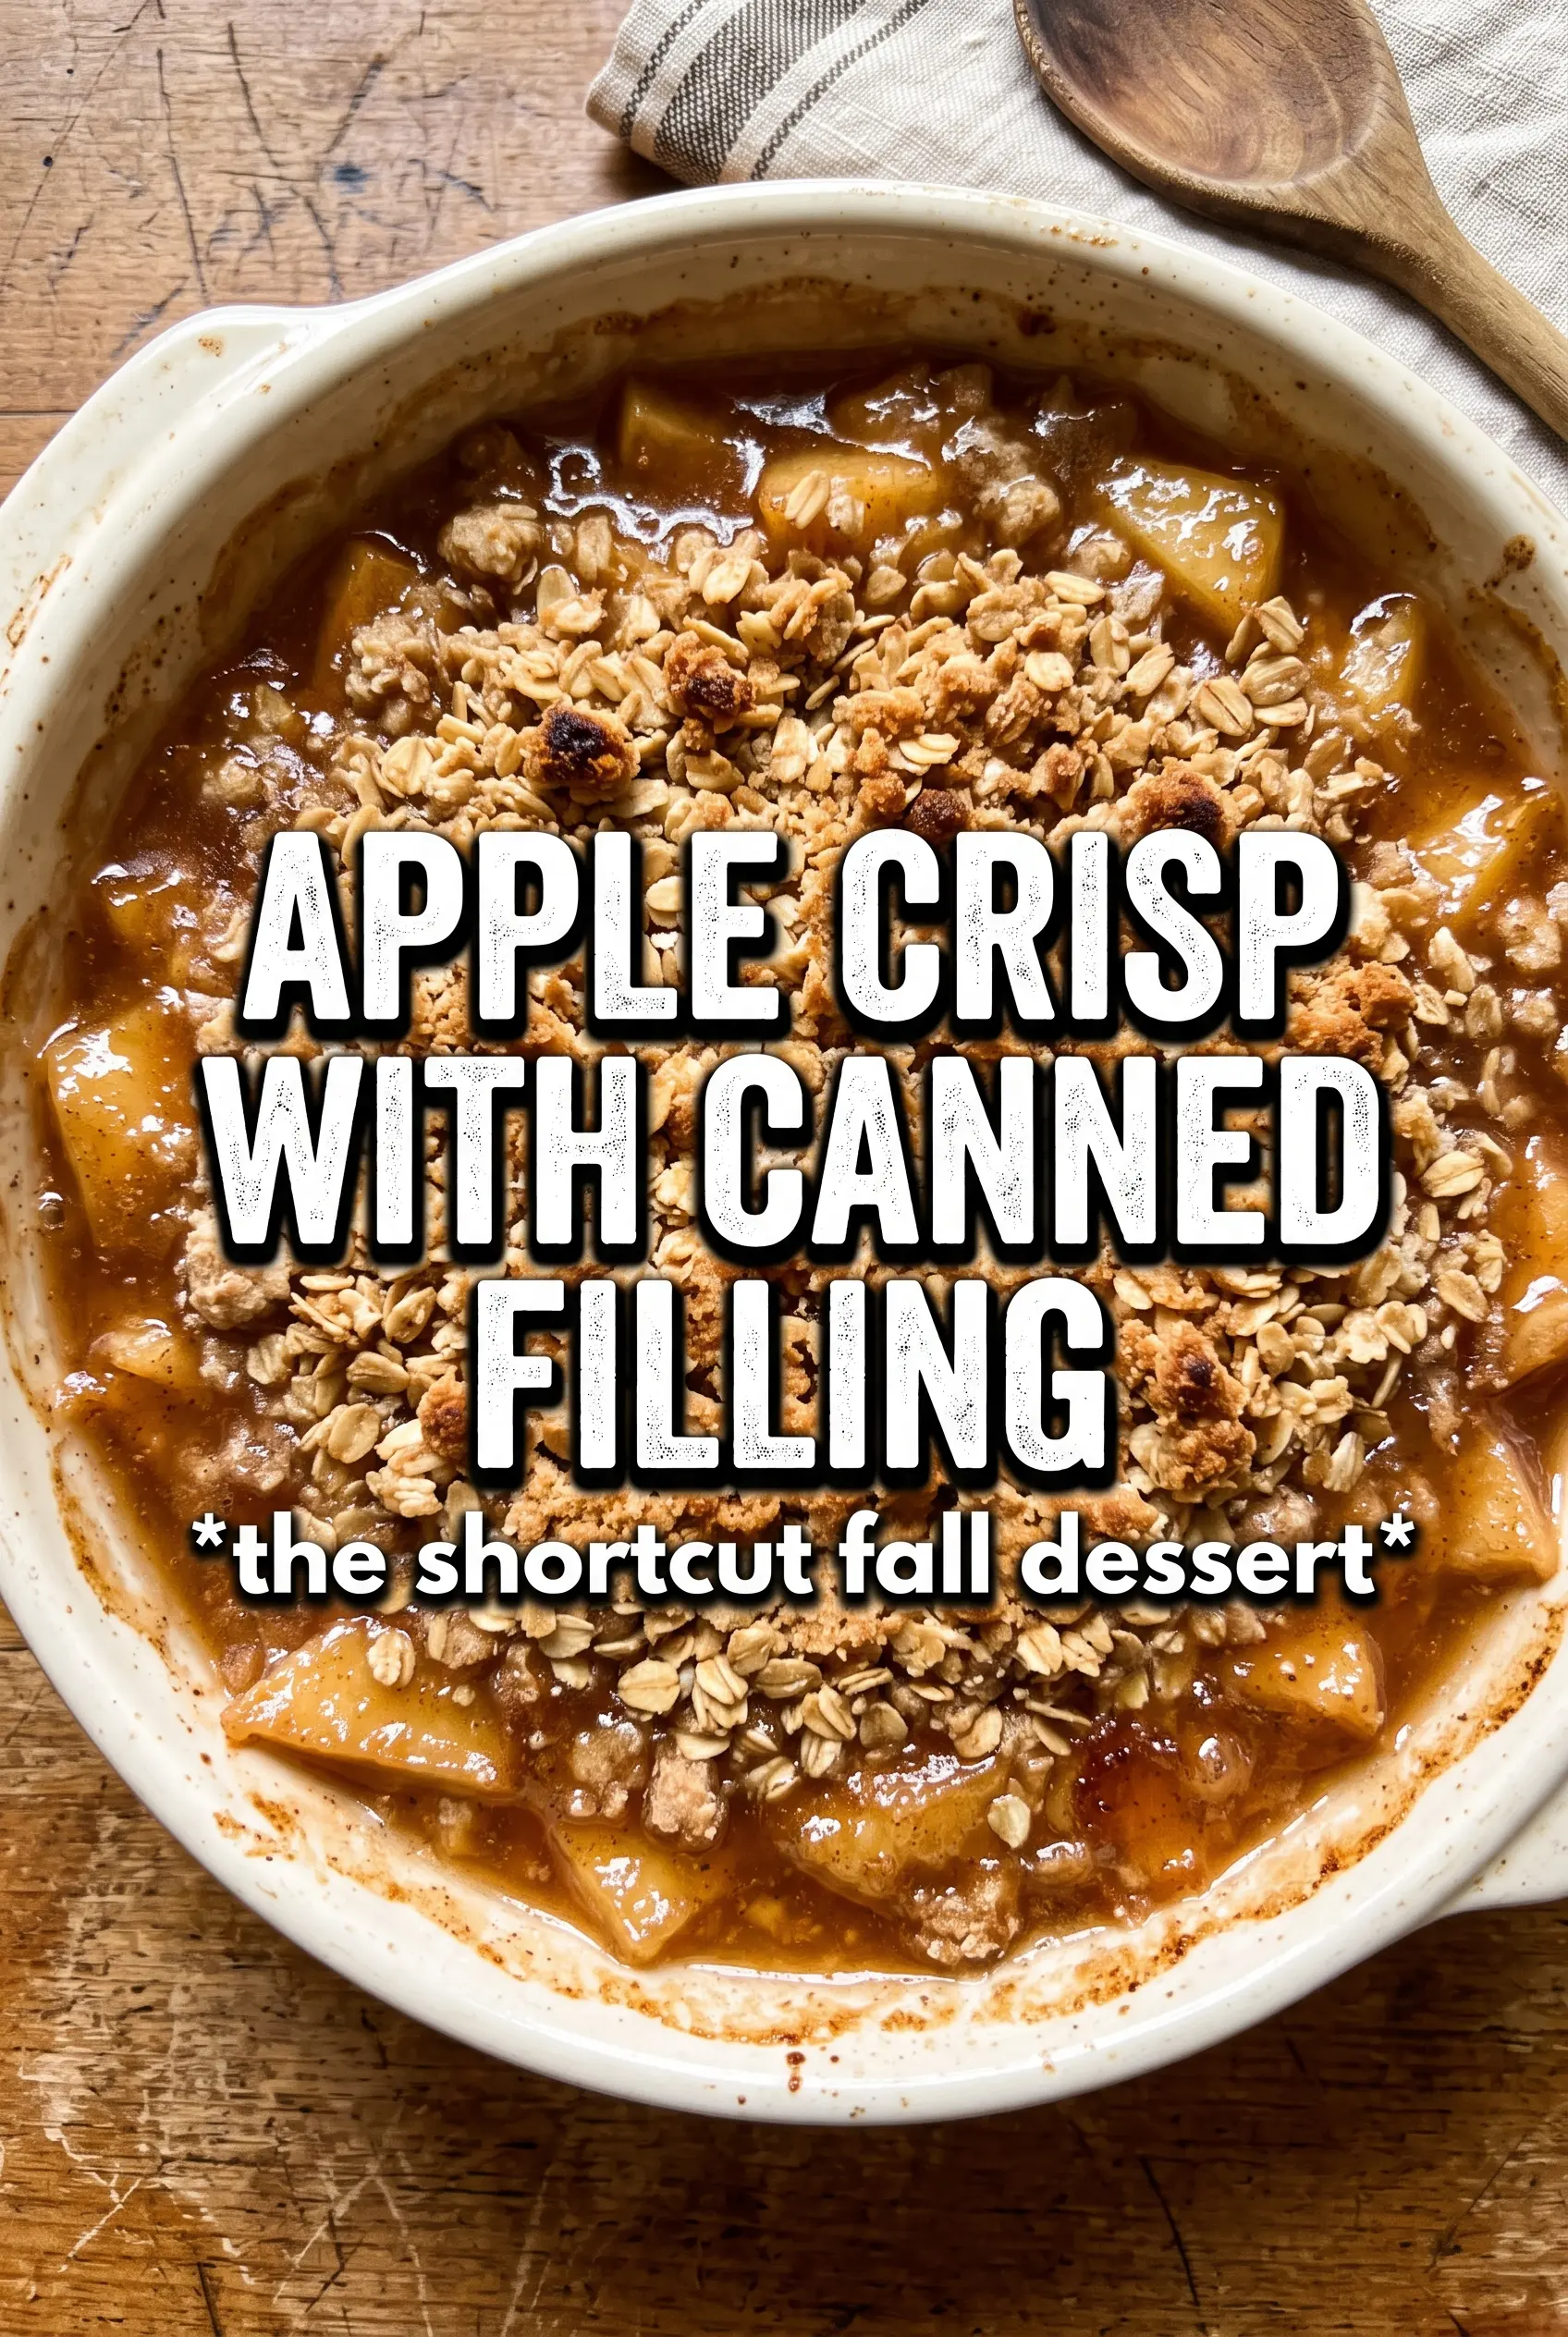
Apple Crisp With Canned Apple Filling
Ingredients
Equipment
Method
- Preheat the oven to 375F and grease a 9x13 baking dish. This prevents sticking and helps the apple layer bubble evenly.
- Stir cinnamon, nutmeg, allspice, and lemon juice into the canned apple pie filling until evenly distributed. Spread the seasoned filling in the prepared dish to form an even layer.
- Combine rolled oats, all-purpose flour, brown sugar, cinnamon, and salt in a bowl. Whisk together so the spices and salt are distributed.
- Add cold unsalted butter, then cut it in until chunky clumps form. The crumble should look uneven and bumpy, not smooth.
- Scatter the oat crumble generously over the apple filling. Cover the surface so the topping turns golden as it bakes.
- Bake at 375F for 30-35 minutes until the topping is golden and the filling is bubbling around the edges. Look for browned crumble and active bubbling at the sides.
- Rest for 5 minutes before serving. Serve warm with vanilla ice cream alongside.