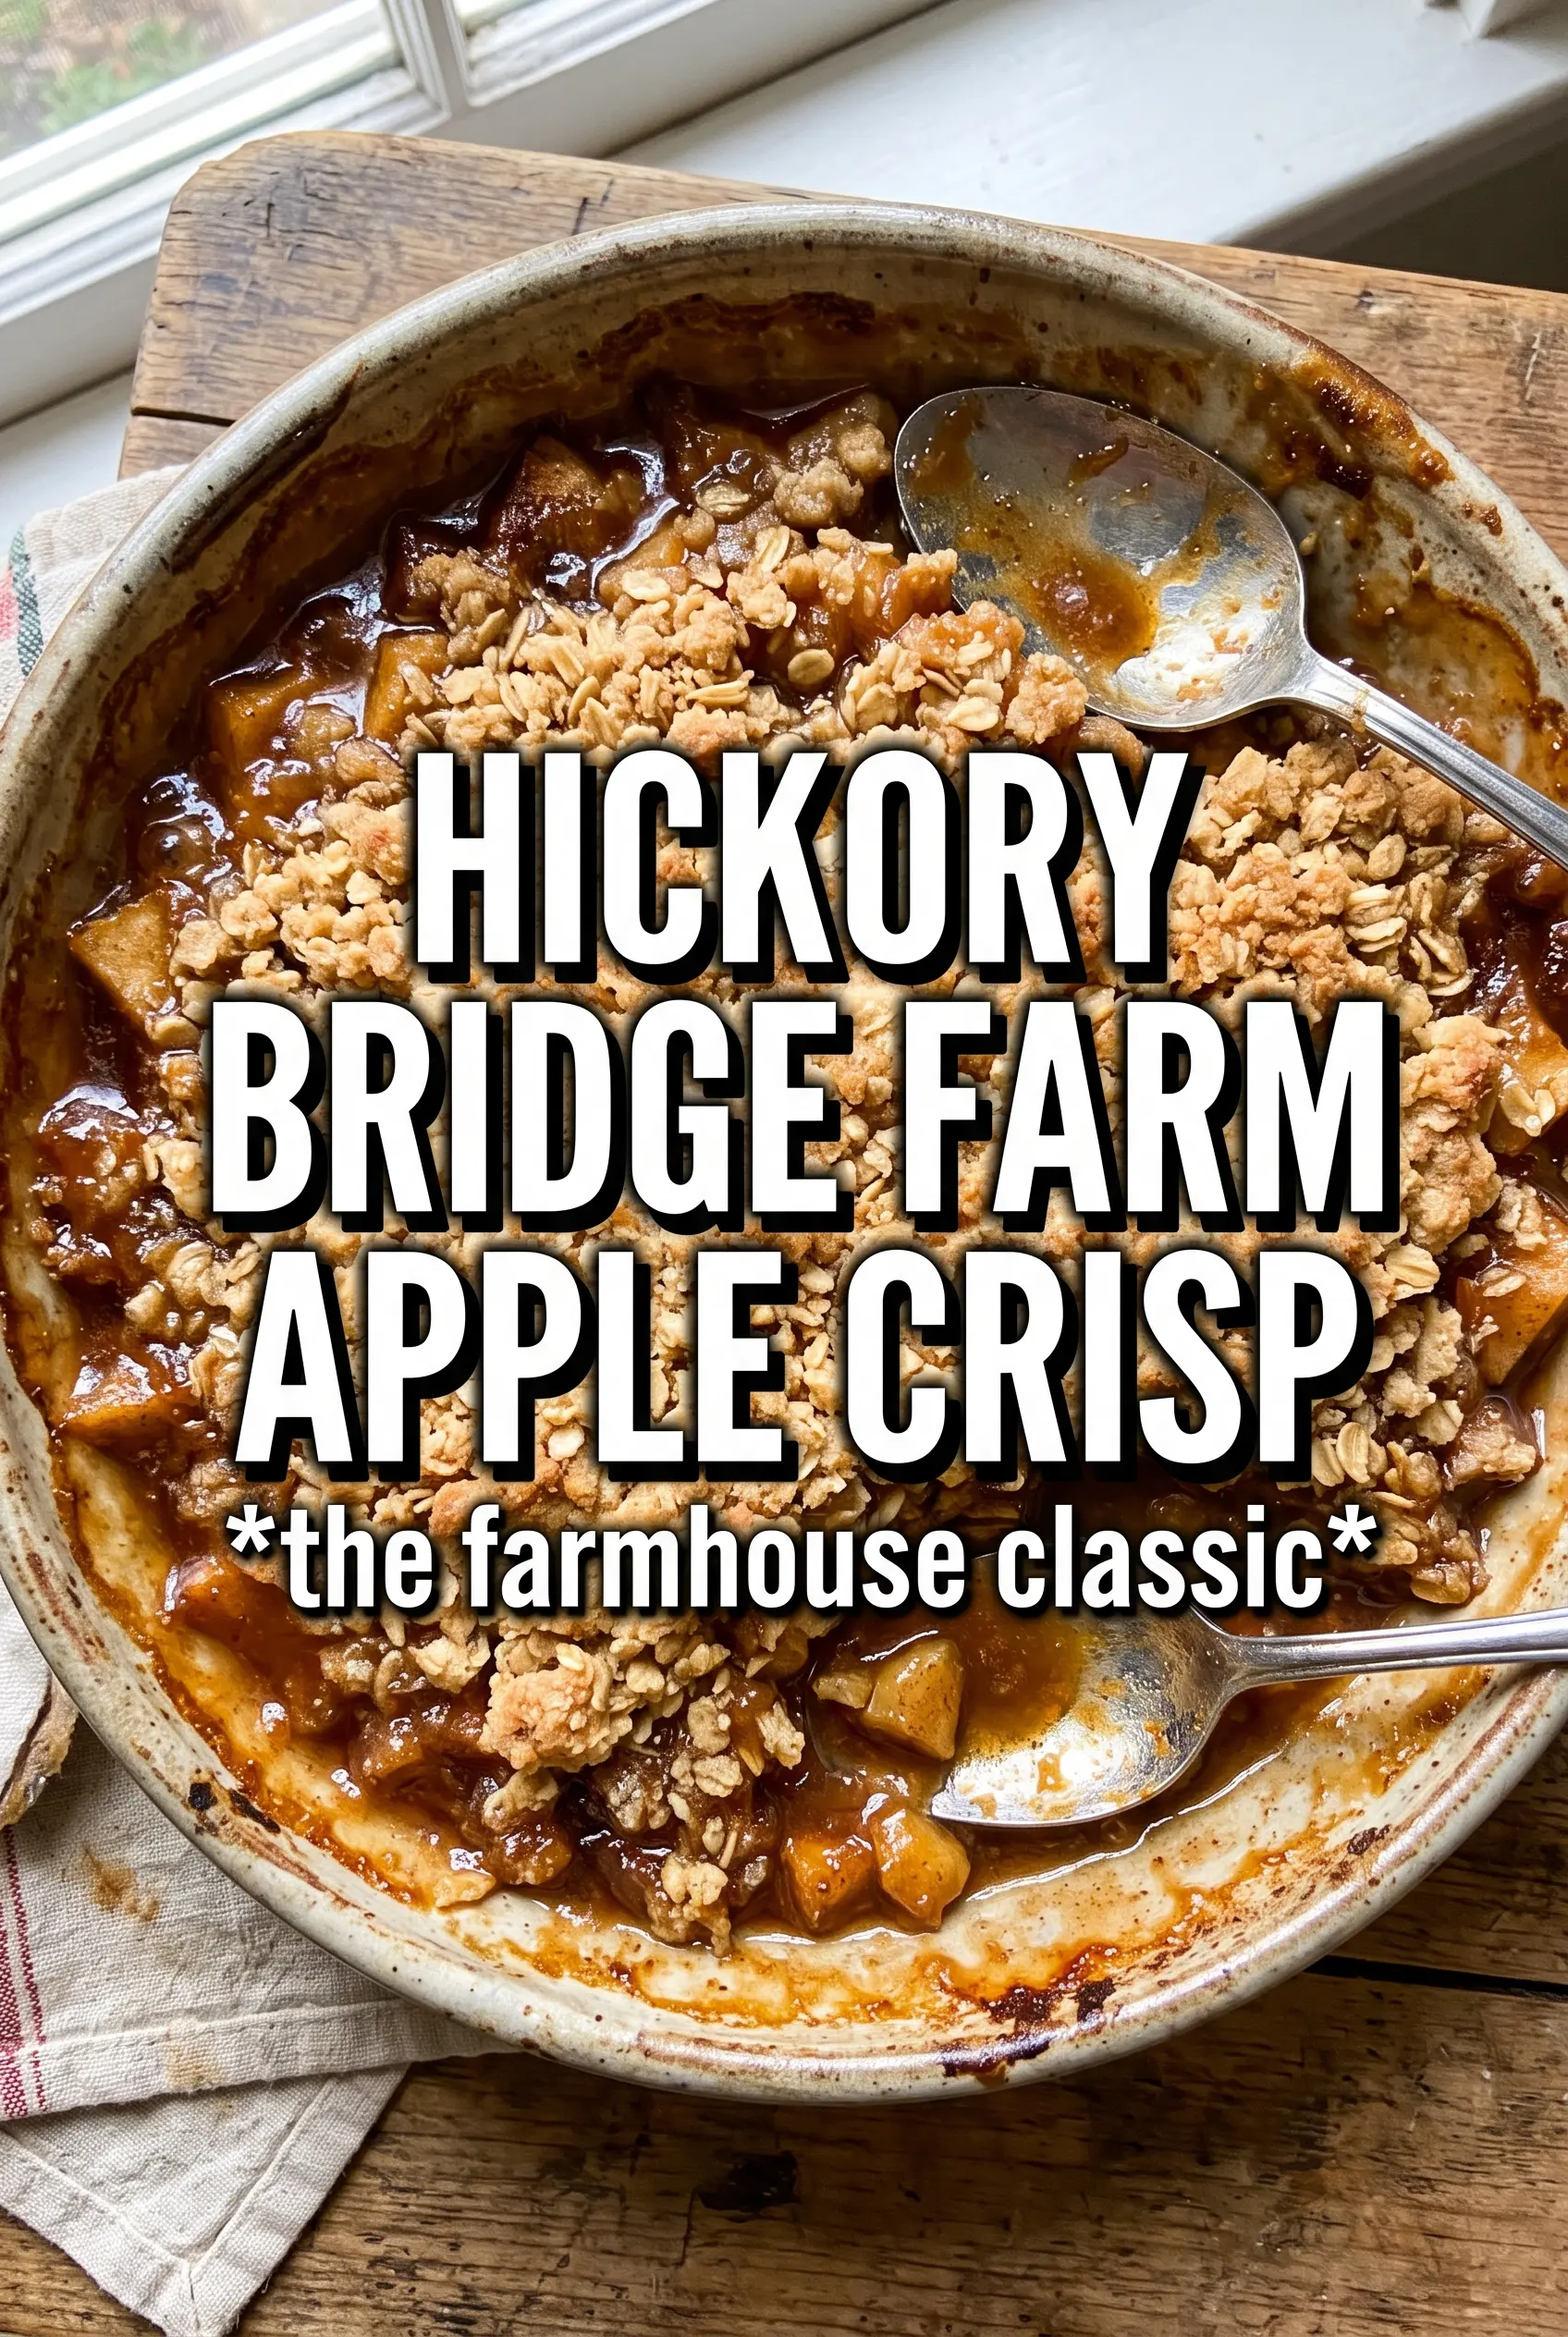
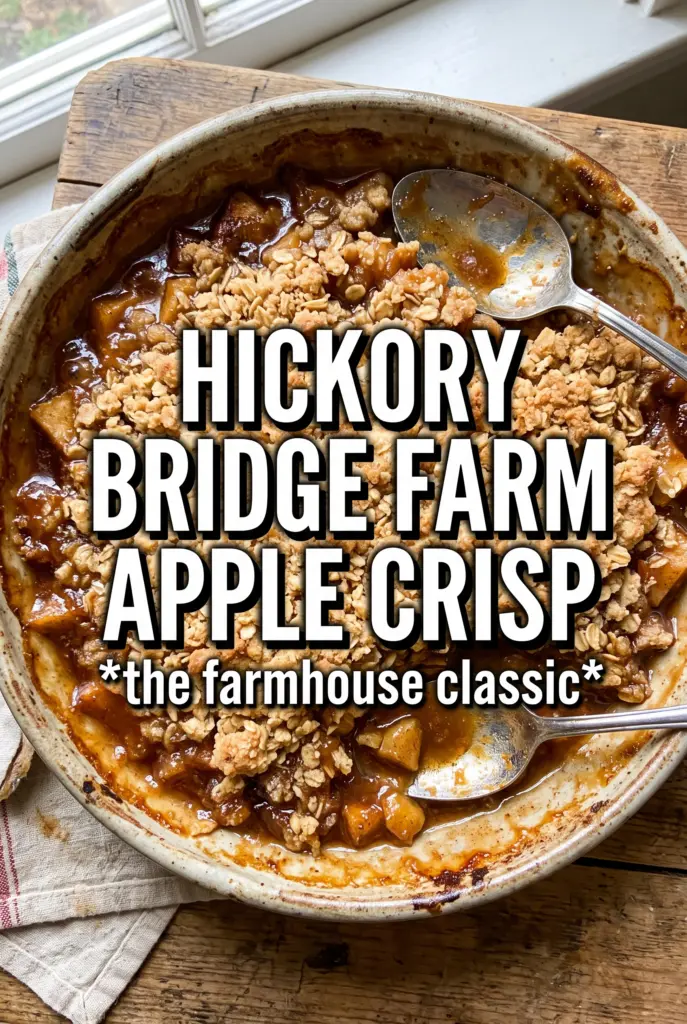
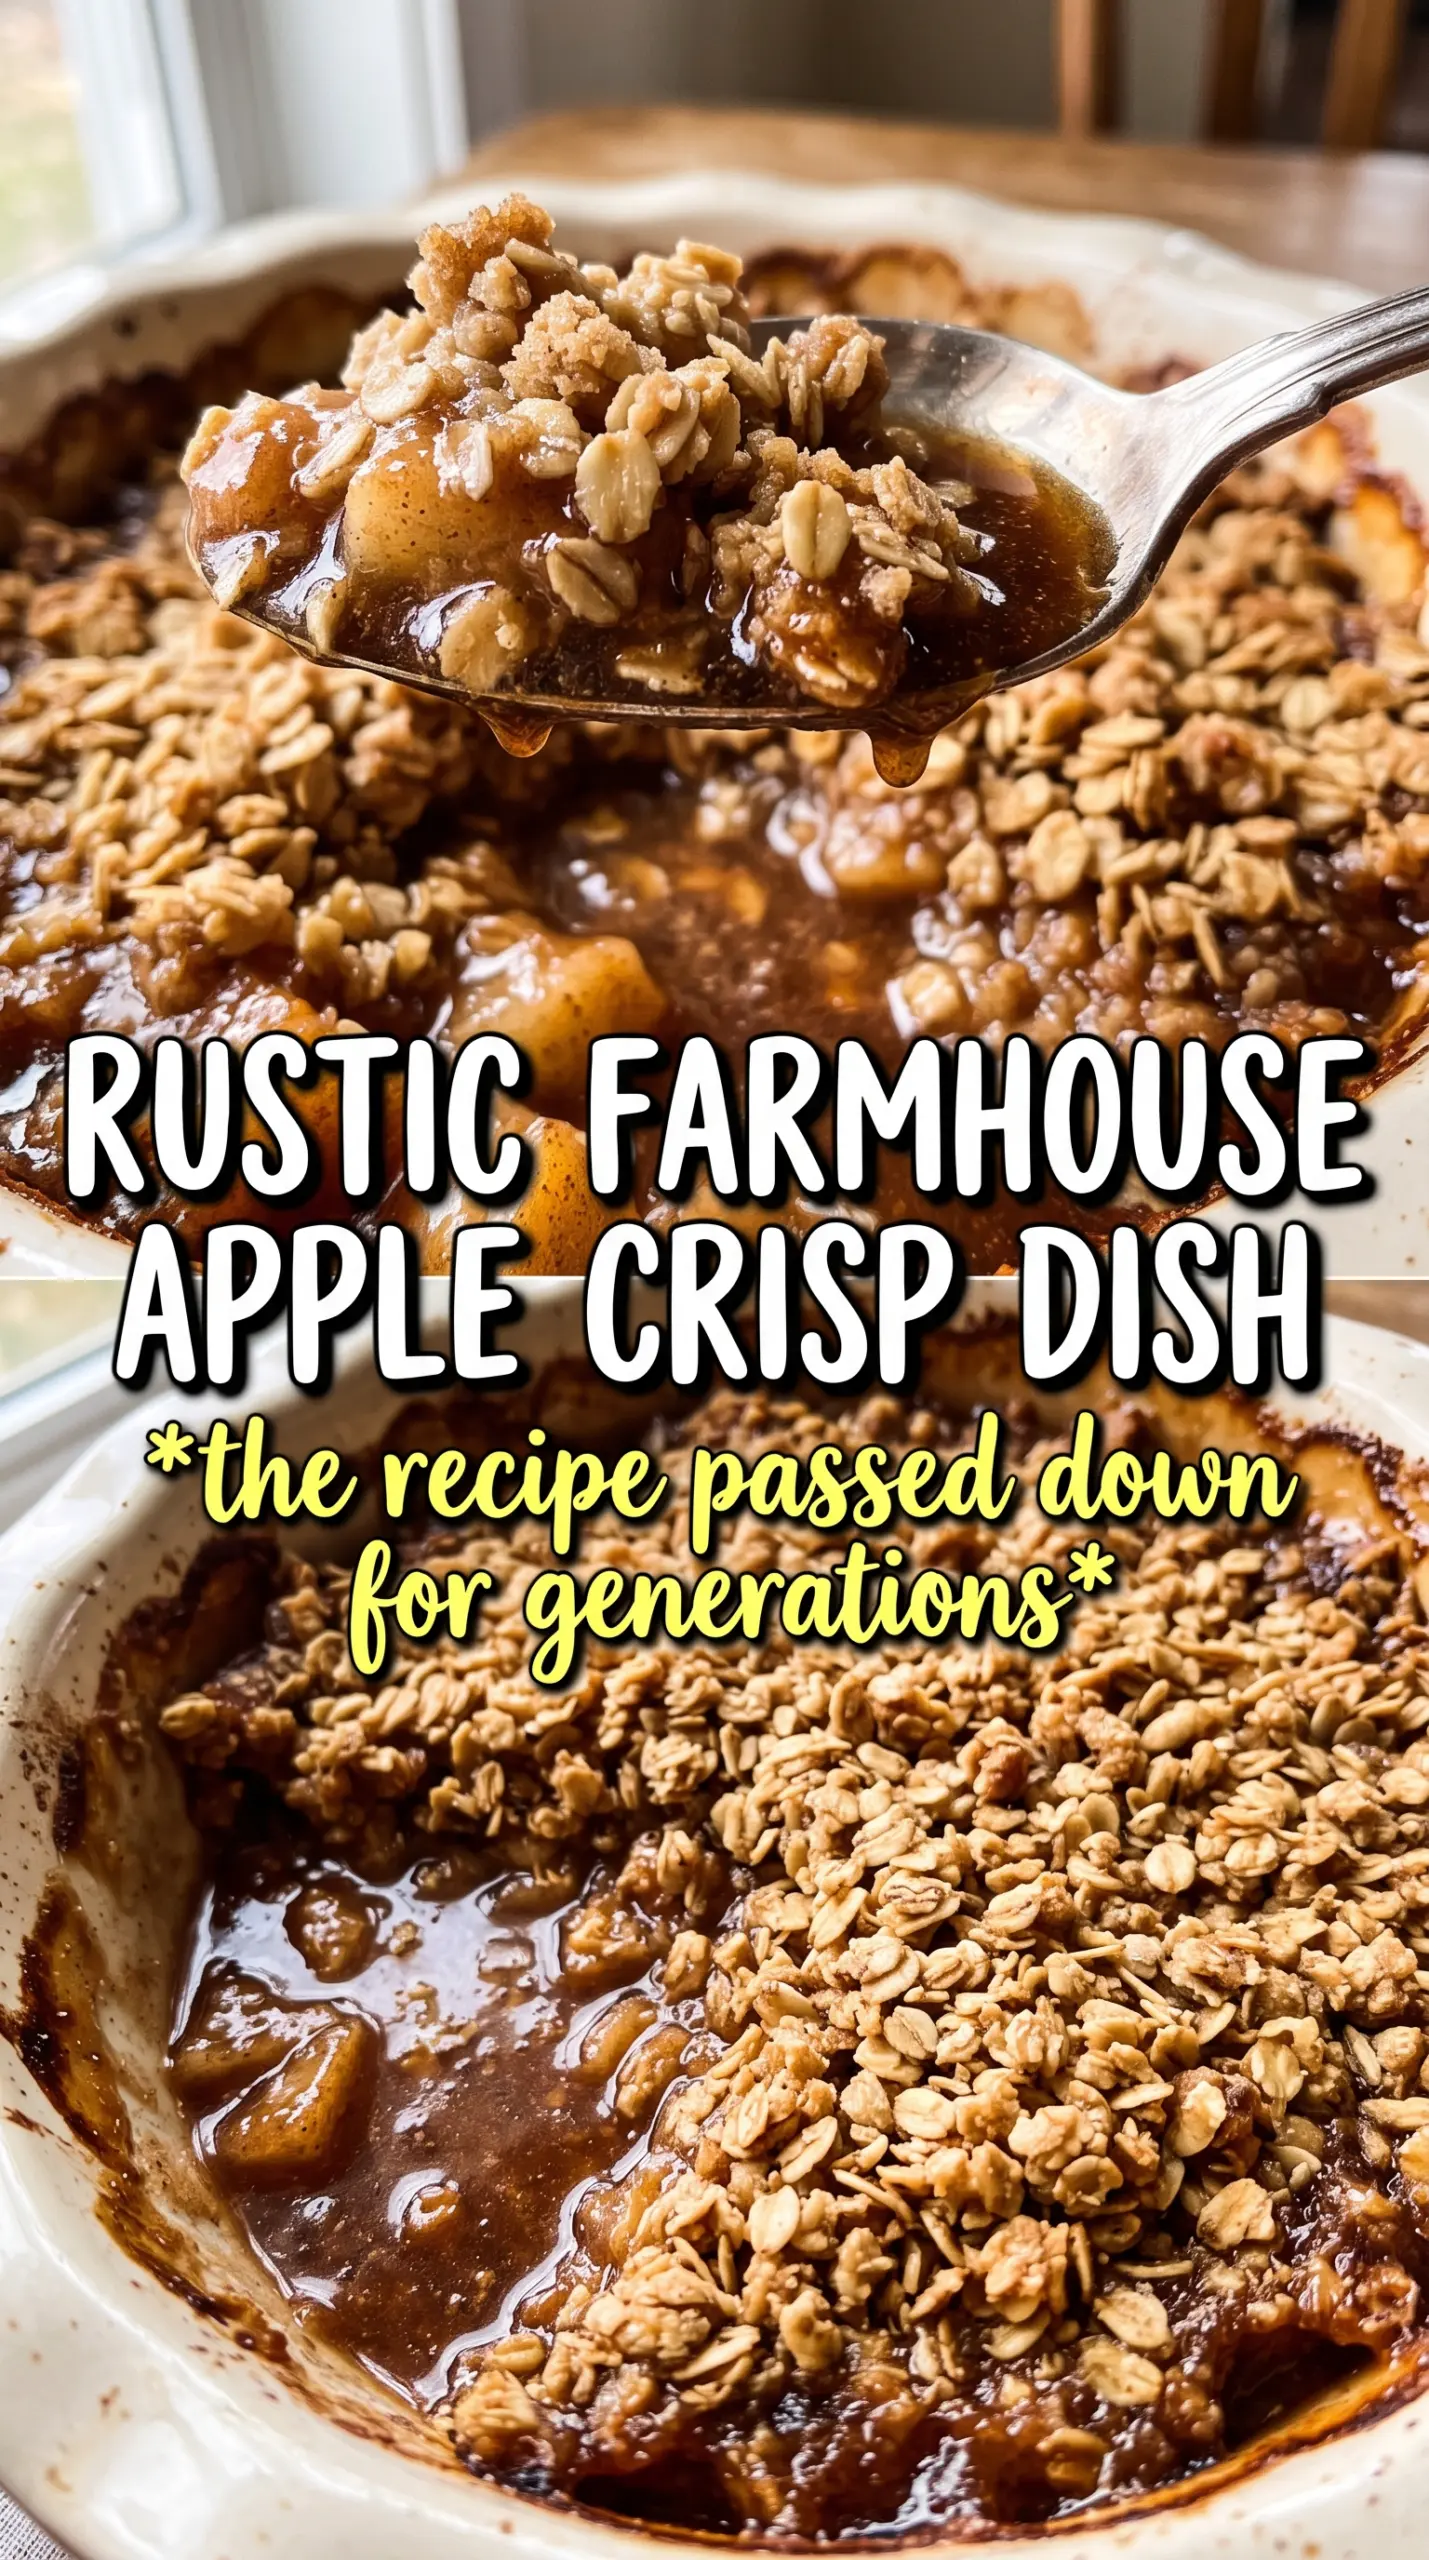
Hickory Bridge Farm Apple Crisp bakes up with a thick, buttery oat topping that shatters at the spoon and a spiced apple filling that turns glossy and bubbling underneath. The best part is the contrast: the crumble stays rustic and craggy on top while the apples soften into a saucy layer that holds together instead of running all over the pan.
This version leans on a generous amount of apples and a heavy crumble, which is exactly what keeps it from feeling skimpy. Cornstarch thickens the juices as the fruit bakes, so the filling sets up after a short rest instead of staying watery. Cold butter is worked into the topping by hand until you get big clumps, not fine crumbs, which gives the crisp its farmhouse look and that deep, baked butter flavor.
Below you’ll find the small details that matter most here: how to keep the topping from turning sandy, what kind of apples bake best, and how long to let it sit before serving so the filling settles into perfect spoonable layers.
The topping baked into big buttery clumps instead of a sandy layer, and the apples held their shape while the juices thickened up after the 15-minute rest. I served it warm with ice cream and the pan was empty fast.
Like this Hickory Bridge Farm Apple Crisp? Save it to Pinterest for the nights when you want a deep-dish apple dessert with a thick oat crumble and a bubbling cinnamon filling.
The Part That Keeps the Filling Thick Instead of Soupy
Apple crisp turns watery when the fruit gives off more juice than the topping can handle, and that usually happens when the pan is underfilled or the thickener is too light. Here the apples are tossed with both granulated and brown sugar, then coated with cornstarch before baking. That cornstarch matters. It catches the juices as the apples soften and turns them into a glossy filling instead of a loose puddle.
The other thing that helps is the rest time after baking. The crisp needs those 15 minutes so the bubbling juices can settle and thicken. If you dig in the second it comes out of the oven, the filling will look loose even though it isn’t broken. A short pause gives you clean scoops and keeps the topping from sliding apart.
What Each Ingredient Is Actually Doing in This Crisp
- Apples — Use a mix if you can. Tart apples bring structure and flavor, while sweeter ones soften into the filling and round out the spice. If you use only soft apples, the filling can go mushy before the topping is fully baked.
- Cornstarch — This is the thickener that keeps the apple juices from running. Flour won’t give the same clear, glossy finish here. Stir it in evenly so you don’t get pockets of dry starch in the baked fruit.
- Rolled oats — These give the topping its craggy farmhouse texture. Quick oats can work in a pinch, but the topping will be finer and less nubby. Old-fashioned oats hold their shape best.
- Cold butter — Cold butter is what creates those big, buttery clumps. Warm butter blends in too smoothly and turns the topping sandy. Cube it first and work it in with your hands until the mixture looks like chunky wet sand with visible streaks of butter.
- Brown sugar — Brown sugar deepens the topping and helps it caramelize into that dark golden crust. You can swap light or dark brown sugar depending on what you have; dark brown will give you a deeper molasses note.
Building the Crisp So the Topping Stays Craggy
Tossing the Apples Evenly
Start by coating the sliced apples with the sugars, spices, cornstarch, and lemon juice until every slice looks lightly glossy. That even coating matters because the cornstarch needs to touch the fruit juices to work, and the spices need to be spread through the pan instead of clumping in one bite. Spread the apples in a thick, even layer in the dish so they bake at the same pace. If the layer looks mounded, that’s fine; it should be generous.
Working the Butter Into Clumps
Mix the oats, flour, brown sugar, cinnamon, and salt first, then rub in the cold butter with your fingers until the mixture forms uneven chunks. Stop before it turns uniform. Those butter-streaked clumps bake into a crisp top with texture, while a fully blended mixture comes out dry and sandy. If your kitchen is warm, chill the bowl for a few minutes before baking so the butter stays cold long enough to hold those clumps.
Baking Until the Edges Bubble
Pile the topping over the apples without pressing it down. It should sit loosely and cover the fruit in a thick layer. Bake until the surface is deeply golden and you can see the filling bubbling all around the edges, not just in the center. That bubbling is your signal that the cornstarch has activated and the fruit juices have thickened enough to set up after resting.
Letting It Set Before Scooping
Pull the dish from the oven and leave it alone for 15 minutes. That waiting time is part of the recipe, not an afterthought. The filling firms up as it cools slightly, and the topping keeps its structure instead of collapsing into the fruit. Serve it warm with vanilla ice cream or whipped cream once the bubbling has calmed down a bit.
How to Adapt This for Different Apples, Diets, and Serving Styles
Gluten-Free Crisp
Swap the all-purpose flour for a 1:1 gluten-free baking blend. The topping will still bake up crumbly and rich, though the texture may be a little more delicate. Keep the oats certified gluten-free if you need the dish fully gluten-free.
Dairy-Free Version
Use a good plant-based butter that comes in sticks, not a soft tub spread. You need enough fat to form the same clumps and brown properly in the oven. The flavor will be a little less rich than the original, but the texture still works well.
Using Sweeter Apples
If your apples are very sweet, lean toward tart fruit next time or reduce the granulated sugar slightly. The crisp should taste balanced, not candy-sweet. A splash more lemon juice can help sharpen the filling without changing the texture.
Storage and Reheating
- Refrigerator: Store covered for up to 4 days. The topping softens a little in the fridge, but the flavor stays good.
- Freezer: Freeze baked crisp for up to 2 months. Cool it completely, wrap tightly, and thaw overnight in the refrigerator before reheating.
- Reheating: Warm individual portions in the oven at 325F until the center is hot and the topping crisps back up. The microwave will heat it fast, but it turns the crumble soft instead of crisp.