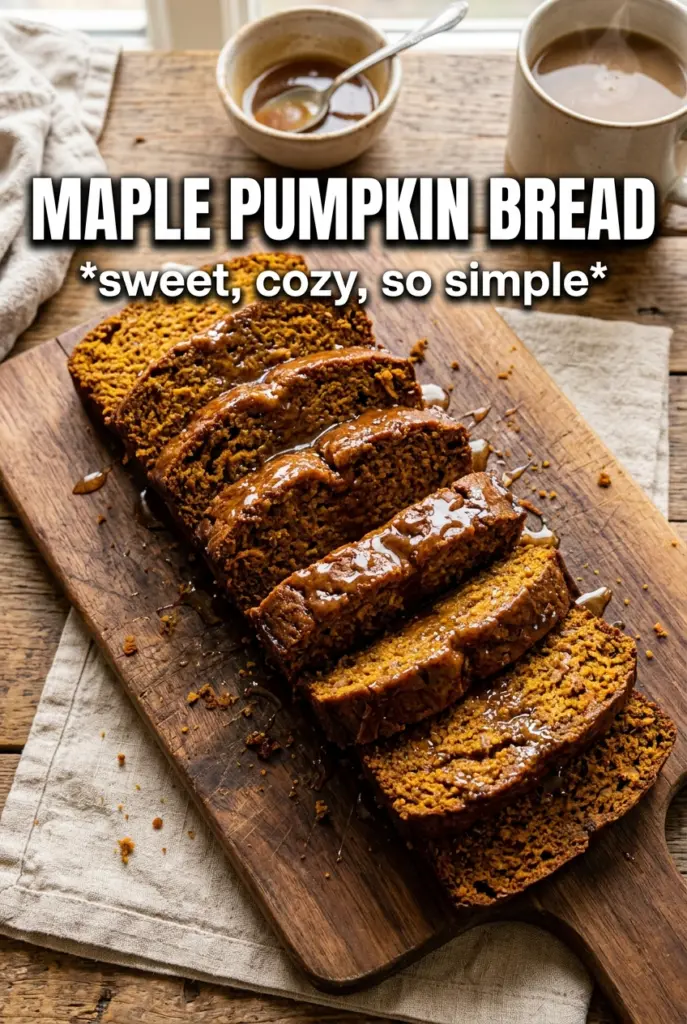
Maple pumpkin bread bakes up tender and fragrant with a deep amber crumb, warm spice, and just enough maple sweetness to taste cozy without becoming heavy. The glaze on top adds a glossy finish that settles into the cracks of the loaf, and the pepitas give each slice a little crunch that keeps every bite interesting.
What makes this version work is the balance of moisture and structure. Pumpkin puree, sour cream, and oil keep the crumb soft for days, while the eggs and flour hold everything together so the loaf slices cleanly instead of collapsing under all that richness. Maple syrup and maple extract do different jobs here too: the syrup brings flavor and moisture, while the extract makes sure the maple comes through even after baking.
If you’ve ever had pumpkin bread turn out bland, gummy, or overly dense, the notes below will help you avoid all three. I’ve included the detail that matters most with quick breads, plus the few ingredient swaps that still keep the loaf worth making.
The loaf came out moist but not heavy, and the maple glaze set up beautifully without running off the sides. I also loved that the pepitas stayed crunchy on top after baking.
Like this maple pumpkin bread? Save it for the days when you want a soft, spiced loaf with a glossy maple glaze and crunchy pepitas.
The Reason This Loaf Stays Tender Instead of Turning Dense
Quick breads usually go wrong when the batter gets overmixed or the balance of wet to dry leans too far in one direction. Here, pumpkin puree, sour cream, and oil work together to keep the loaf plush, but that same moisture means the batter needs to be mixed only until the flour disappears. Once the dry ingredients hit the bowl, every extra stroke starts building gluten, and gluten is what turns a soft breakfast loaf into something tight and bready.
The other trap is underbaking. Pumpkin bread can look done at the top long before the center is set, especially in a deep loaf pan. Bake until a tester comes out with just a few moist crumbs, not wet batter, and let the loaf cool all the way before glazing. If you cut it early, the middle can collapse under its own steam.
What Each Ingredient Is Actually Doing in This Maple Pumpkin Bread
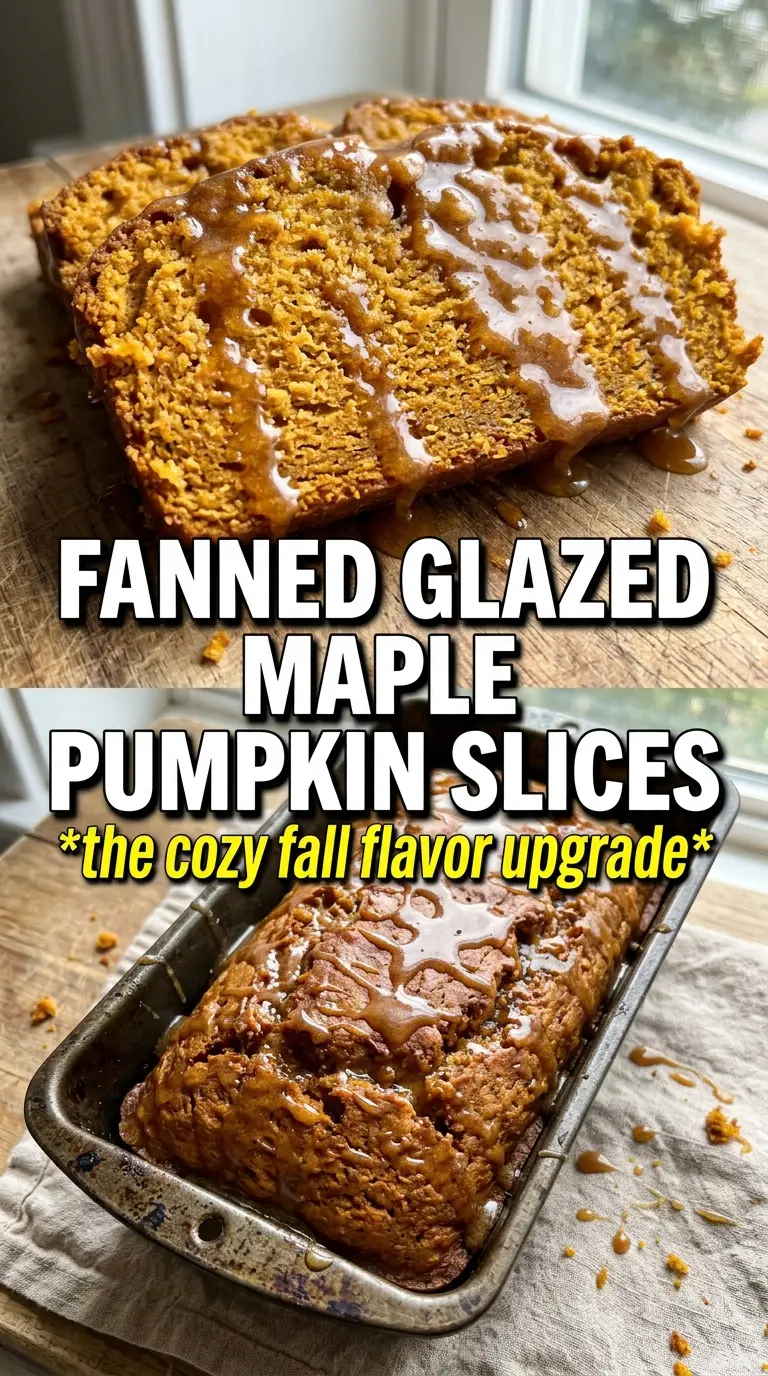
- Pumpkin puree — This is the backbone of the loaf’s texture and color. Use plain pumpkin puree, not pumpkin pie filling, or the spices and sugar will throw the balance off.
- Pure maple syrup — The syrup adds sweetness and that unmistakable maple flavor, but it also brings moisture, so it can’t be swapped one-for-one with granulated sugar without changing the crumb.
- Maple extract — This is what makes the maple flavor hold up after baking. If you leave it out, the loaf still tastes good, but the maple note gets softer and more background.
- Sour cream — It adds fat and tang, which keeps the loaf tender and balances the sweetness. Plain full-fat Greek yogurt works in a pinch, but the crumb will be a touch less rich.
- Pepitas — These are more than decoration. They give the top a toasty crunch that contrasts with the soft loaf, and they stay pleasantly crisp even after the glaze goes on.
Building the Batter So the Middle Bakes Through Cleanly
Mix the dry ingredients first
Whisk the flour, baking soda, pumpkin pie spice, cinnamon, and salt until the color looks even and there are no streaks of spice left. This keeps the leavening and seasoning distributed so you don’t end up with one bite that tastes flat and another that tastes dusty. If your baking soda isn’t mixed in well, the loaf can rise unevenly and leave a tunnel down the center.
Whisk the wet ingredients until glossy
Combine the pumpkin puree, maple syrup, brown sugar, oil, eggs, vanilla, maple extract, and sour cream until the mixture looks smooth and glossy. The sugar won’t fully dissolve, and that’s fine, but you do want the eggs broken up completely so the loaf bakes with an even crumb. If the mixture looks separated at first, keep whisking for another few seconds before adding the flour.
Stop the moment the flour disappears
Fold the dry ingredients into the wet just until no dry pockets remain. The batter should look thick and slightly lumpy, not whipped. Overmixing is the fastest way to make this bread tough, and it’s the main reason quick breads come out with a rubbery line near the bottom.
Bake until the center is set, not dry
Pour the batter into a greased 9×5 loaf pan, scatter the pepitas over the top, and bake at 350°F for 60 to 65 minutes. Start checking at the 60-minute mark; the top should be deeply golden and the center should spring back lightly when touched. A toothpick should come out with a few moist crumbs. If it comes out wet, give it more time and tent loosely with foil if the top is browning too fast.
Make It Dairy-Free
Swap the sour cream for a thick unsweetened dairy-free yogurt. The loaf will still stay tender, though the crumb may be a little less rich and the tang will be milder. Choose a plain version so you don’t add extra sweetness.
Turn It Into Muffins
Divide the batter between lined muffin cups and start checking around 18 to 22 minutes. Muffins bake faster because the batter is spread out, so they set before the center has time to sink. You’ll get more of the crusty edge and less of the soft loaf-style slice.
Skip the Glaze for a Less Sweet Breakfast Loaf
Leave off the glaze and dust the top with a little cinnamon sugar before baking if you want a simpler finish. The bread still tastes full and spiced on its own, and the pepitas give enough texture that it doesn’t need frosting-like sweetness.
Storage and Reheating
- Refrigerator: Store tightly wrapped for up to 5 days. The crumb stays moist, though the glaze softens a little over time.
- Freezer: Freezes well for up to 3 months. Wrap the unglazed loaf or individual slices tightly in plastic and foil, then thaw at room temperature.
- Reheating: Warm slices briefly in the microwave or toaster oven. Don’t overheat it or the bread will dry out at the edges before the center warms through.
Answers to the Questions Worth Asking
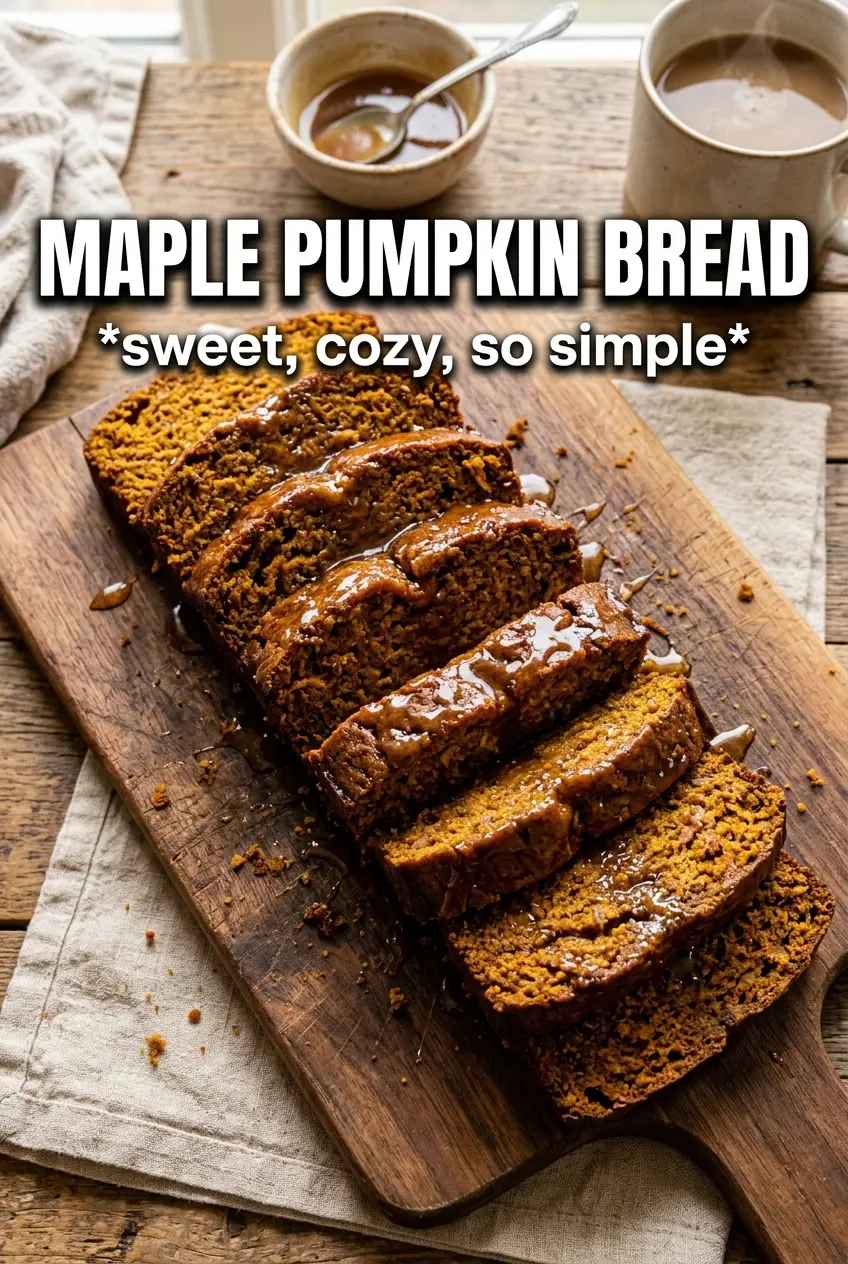
Maple Pumpkin Bread
Ingredients
Equipment
Method
- Preheat oven to 350F and grease a 9x5 loaf pan so the loaf releases cleanly.
- Whisk flour, baking soda, pumpkin pie spice, cinnamon, and salt until the dry spices look evenly distributed.
- Whisk pumpkin puree, pure maple syrup, brown sugar, vegetable oil, eggs, vanilla extract, maple extract, and sour cream until smooth and glossy.
- Fold the dry mixture into the wet mixture until just combined, then pour the batter into the greased loaf pan.
- Scatter raw pepitas over the top and bake for 60–65 minutes at 350F until the center is set and a tester comes out clean.
- Cool the loaf completely so the glaze doesn’t melt or run off the surface.
- Whisk powdered sugar, pure maple syrup, milk, and cinnamon, then drizzle the maple glaze over the cooled loaf for a thick, sweet finish.