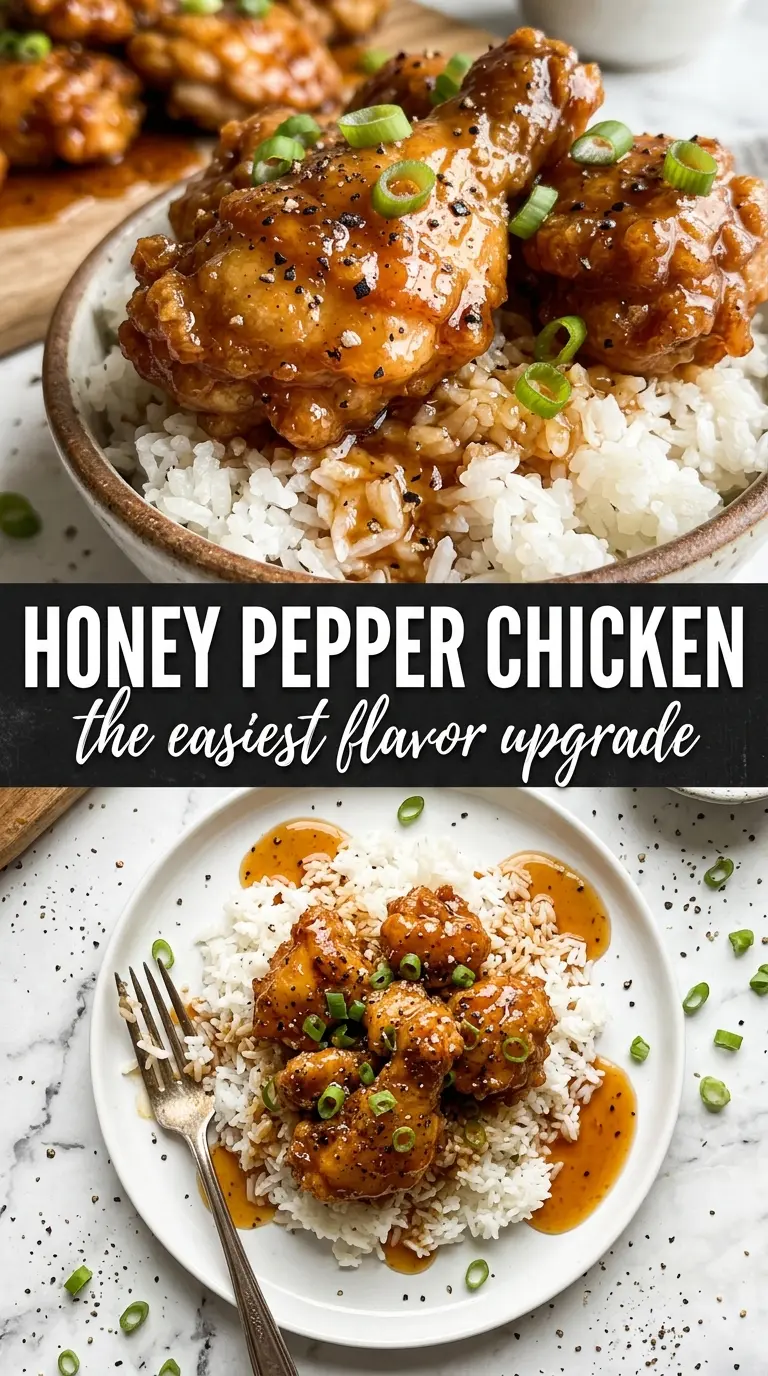
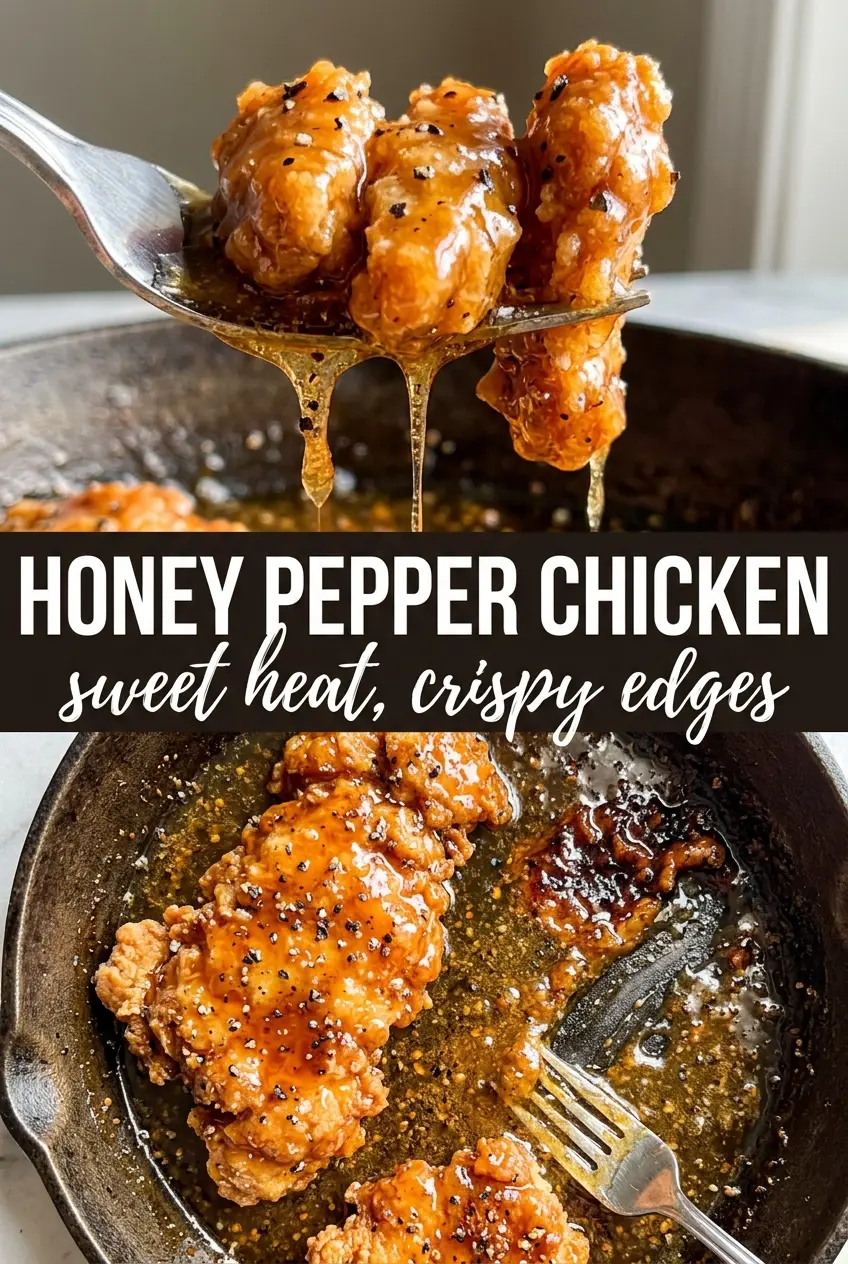
Glossy honey pepper chicken earns its spot in the dinner rotation because the sauce clings in a thick, shiny layer instead of sliding off the skillet chicken. The sweet heat hits first, then the cracked black pepper shows up at the end and keeps each bite from tasting flat. When the chicken is pounded to an even thickness and seared properly, you get juicy meat under a caramelized glaze that tastes like it took far more effort than it did.
The trick here is building the sauce in the same pan you used for the chicken. Those browned bits carry a lot of the savory flavor, and the vinegar keeps the honey from turning cloying. The cornstarch slurry goes in at a simmer, not a boil, which is what gives the sauce that lacquered finish without turning it gummy.
Below, I’m walking through the part that matters most: getting the chicken cooked through without drying it out, then thickening the sauce so it coats every slice. I’ve also included a few smart swaps and the fixes for the questions that usually come up the first time people make honey pepper chicken.
The sauce thickened up into that perfect sticky glaze, and the cracked pepper kept it from tasting too sweet. I served it over rice and my husband asked if we could have it again the next night.
Save this honey pepper chicken recipe for a glossy, sweet-spicy skillet dinner with that sticky cracked-pepper glaze.
The Part That Keeps the Glaze Sticky Instead of Runny
Honey-based sauces can go two ways: glossy and clingy, or thin and syrupy in the worst way. The difference comes from heat control and when you add the slurry. If the sauce boils hard after the cornstarch goes in, it can turn loose again or pick up a dull, gluey texture. A gentle simmer is enough. You want the sauce to go from watery to visibly thick in about two minutes, just enough to coat the back of a spoon and leave a trail when you drag a spatula through it.
Pounding the chicken to even thickness matters just as much. Thick ends finish late, thin ends dry out early, and that’s how you end up with one piece that’s juicy and another that tastes overcooked. Even thickness lets you sear until the outside is deeply golden without chasing the center for doneness.
What Each Ingredient Is Actually Doing in This Dish
- Chicken breasts — Lean chicken breasts give you a clean base for the sauce, but they dry out if they’re uneven or overcooked. Pound them to an even thickness so they sear quickly and finish at the same time.
- Honey — This is the backbone of the glaze. It brings the shine and the sweetness, and there isn’t a substitute that gives quite the same sticky finish, though maple syrup can work in a pinch with a darker, less floral result.
- Soy sauce — This keeps the sauce from tasting one-note sweet and adds the salty depth that makes the glaze taste finished. Use low-sodium if that’s what you keep, since the sauce reduces and the salt concentrates.
- Apple cider vinegar — The acid sharpens the honey and keeps the sauce bright. Lemon juice works if that’s what you have, but it tastes cleaner and a little less round.
- Cracked black pepper and cayenne — The pepper is the point here, not just garnish. Use fresh cracked pepper for the best bite, and keep the cayenne light if you want the sauce warm instead of outright hot.
- Cornstarch slurry — This is what turns the sauce into a true glaze. Mix it with cold water first so it disperses cleanly, then add it to the simmering sauce; dry cornstarch dumped straight in will clump.
Getting the Sear, the Sauce, and the Finish in the Right Order
Pound and season the chicken first
Lay the chicken breasts between two sheets of plastic or parchment and pound them to an even thickness, then season both sides generously with salt and cracked black pepper. This is what keeps the chicken from cooking unevenly and gives the finished dish a better surface flavor before the sauce even goes on. If you skip the pounding, the thinner sections overcook while the thick center still catches up.
Build a deep golden crust
Heat the olive oil in a skillet over medium-high heat until it shimmers, then add the chicken without crowding the pan. Let it sear undisturbed for 5 to 6 minutes per side, until the surface turns a deep golden brown and the chicken releases easily from the pan. If it sticks, it needs another minute; forcing it early tears the crust and leaves the skillet drippings behind.
Turn the drippings into glaze
Take the chicken out and add the honey, soy sauce, apple cider vinegar, brown sugar, cracked pepper, garlic powder, and cayenne to the same pan. Scrape the bottom as the mixture warms so the browned bits dissolve into the sauce. Once it starts to simmer, stir in the cornstarch slurry and keep stirring until the sauce turns glossy and thick enough to coat a spoon.
Coat the chicken without boiling it dry
Return the chicken to the pan and turn each piece in the sauce until every surface is lacquered. Let it warm through in the glaze for a minute or two, just long enough to pick up the sauce without cooking the chicken past juicy. Spoon extra sauce over the top right before serving, because this glaze sets up fast as it cools.
How to Adjust the Sweet Heat Without Losing the Glaze
Make it milder for kids or heat-shy eaters
Cut the cayenne in half or leave it out completely, then lean on the black pepper for gentle heat. The sauce will still taste balanced because the vinegar keeps the honey from becoming flat.
Swap in chicken thighs for extra juiciness
Boneless skinless thighs stay tender even if they cook a minute longer, and they pick up the sauce beautifully. They’ll give you a richer, slightly less lean result, which works well if you want a more forgiving skillet dinner.
Use cornstarch-free thickening for gluten-free needs
The sauce is already gluten-free if your soy sauce is certified gluten-free or you use tamari. If you don’t want to use cornstarch, simmer the sauce a little longer, but expect a lighter glaze and more reduced flavor rather than the same glossy finish.
Make it dairy-free and pantry-friendly
This recipe is naturally dairy-free, which makes it easy to serve without adjustments. If you’re short on brown sugar, you can use a little extra honey, but the sauce will taste sweeter and lose a touch of the deeper caramel note.
Storage and Reheating
- Refrigerator: Store in an airtight container for up to 4 days. The sauce will thicken as it chills, and the pepper flavor will settle in even more.
- Freezer: It freezes well for up to 2 months, though the sauce may loosen a little after thawing. Freeze the chicken and sauce together in a flat container for the best texture.
- Reheating: Warm it gently in a skillet over low heat with a splash of water to loosen the glaze. High heat can push the honey from glossy to burnt in a hurry, especially once the sauce has reduced.
Questions I Get Asked About This Recipe
Honey Pepper Chicken
Ingredients
Equipment
Method
- Pound the boneless skinless chicken breasts to even thickness, then season generously with salt and cracked black pepper so every bite is balanced.
- Heat olive oil in a skillet over medium-high heat and sear the chicken for 5–6 minutes per side until golden and cooked through, then set aside.
- In the same pan, whisk together honey, soy sauce, apple cider vinegar, brown sugar, cracked black pepper, garlic powder, and cayenne until smooth.
- Bring the sauce to a simmer, add the cornstarch slurry (cornstarch mixed with water), and stir until thickened for about 2 minutes, until it coats the spoon.
- Return the chicken to the pan and coat it in the honey pepper sauce on all sides, letting the glaze cling and caramelize at the edges.
- Serve the glossy honey-pepper glazed chicken over mashed potatoes or rice with extra sauce drizzled on top.