Golden tortillas, melted mozzarella, and garlic butter chicken make these wraps the kind of lunch-or-dinner meal that disappears fast. The outside gets crisp in the pan while the inside stays soft and cheesy, and that contrast is what keeps every bite interesting. When the wrap is cut in half, the cheese pulls with the chicken and the fresh lettuce and tomato keep it from feeling heavy.
What makes this version work is the two-stage use of butter. First, it helps the chicken brown and stay juicy. Then the garlic goes in at the end, just long enough to perfume the butter without turning bitter. That garlic butter gets tossed right back onto the chicken, so the flavor coats every strip instead of sitting in the pan.
Below, I’ve added the one step that keeps the wrap from tearing when you roll it, plus a few swaps if you want to change the cheese, dressing, or make it lighter without losing the best part.
The garlic butter on the chicken made these taste like something from a sandwich shop, and the tortillas crisped up without getting greasy. I also loved that the mozzarella melted just enough to hold everything together.
Love the crispy edges and cheesy garlic filling? Save these Cheesy Garlic Chicken Wraps for a fast skillet dinner that feels a little more special than a plain chicken wrap.
The Trick to Keeping the Tortilla Crisp Without Soggy Fillings
The biggest mistake with wraps like this is loading them too heavily while the filling is still wet. Warm chicken and garlicky butter can steam the tortilla from the inside if you roll too soon, which is why the chicken needs to be cooked through and the garlic butter should cling to the strips instead of pooling in the pan. Once the wrap hits the skillet, the goal is a dry, hot surface that can toast the outside fast before the cheese has a chance to leak out.
Another thing that matters here is order. Cheese goes against the chicken and right over the dressing, so it acts like a barrier and a glue at the same time. The lettuce and tomatoes go in after that, but keep them centered so the seam can close cleanly. If the wrap is overfilled, it won’t seal and the toasted seam will split open when you flip it.
What Each Ingredient Is Doing in the Wrap
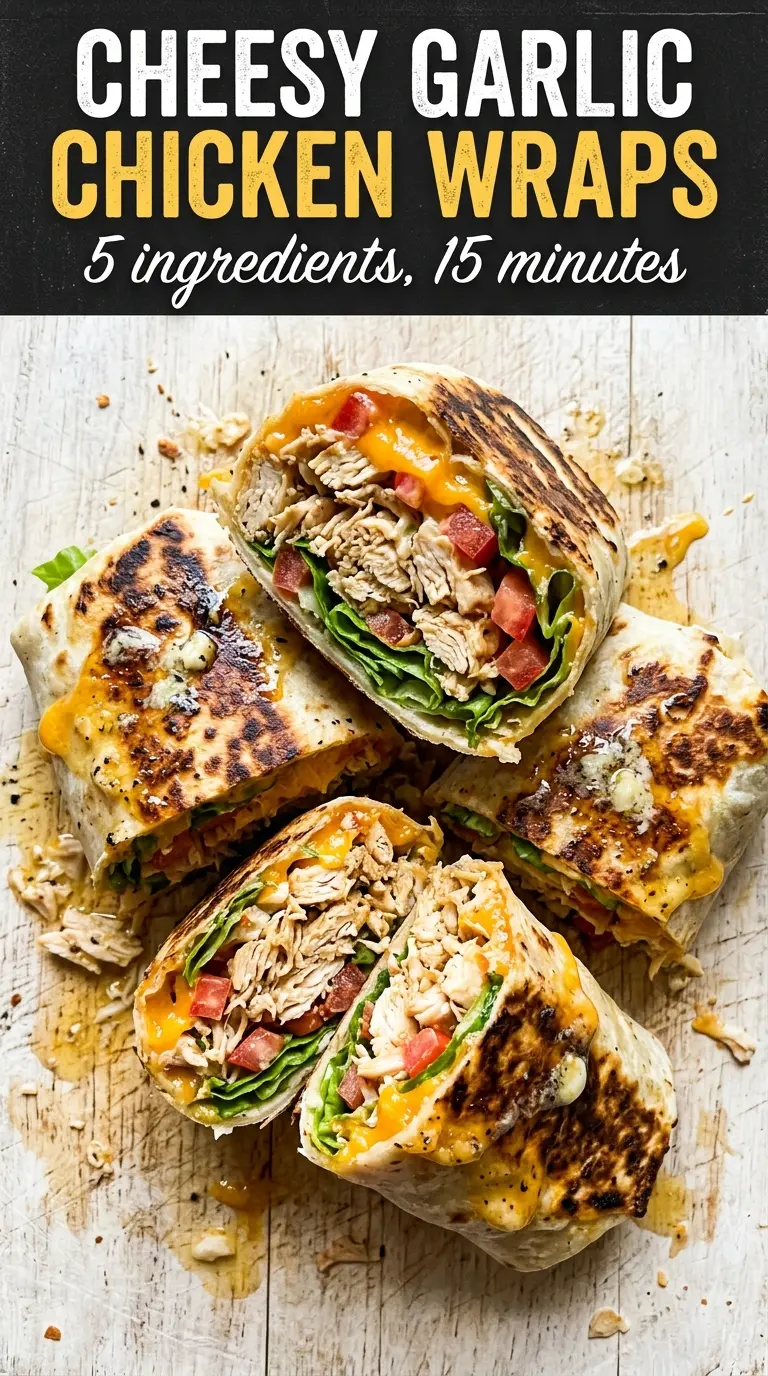
- Flour tortillas — Large 10-inch tortillas give you enough surface area to roll tightly without bursting. If yours are stiff, warm them first in a dry skillet or microwave for a few seconds so they bend instead of crack.
- Chicken breasts — Thin strips cook fast and stay tender, which matters because thick chunks take longer and can dry out before the outside gets color. Chicken thighs also work if you want a richer bite and don’t mind a little extra richness.
- Butter and garlic — Butter carries the garlic flavor and gives the chicken its glossy coating. The garlic only needs a minute; anything longer and it can turn sharp and bitter.
- Mozzarella — Shredded mozzarella melts into long, stretchy threads and helps bind the wrap when it’s toasted. Pre-shredded is fine here, but a freshly shredded block melts a little smoother if you have the time.
- Romaine and cherry tomatoes — These add crunch and freshness so the wrap doesn’t eat like pure cheese and chicken. Pat the tomatoes dry after halving them if they’re especially juicy, or the center will loosen up.
- Ranch or Caesar dressing — This adds moisture and seasoning without needing a separate sauce. Caesar gives a saltier, brinier finish, while ranch keeps the wrap milder and more familiar.
Building the Filling So It Rolls Cleanly
Getting the Chicken Cooked and Golden
Season the chicken strips first, then cook them in butter over medium-high heat until they pick up color and reach 165°F. You want the pieces to look lightly browned on the edges and opaque all the way through, not pale or rubbery. If the pan looks crowded, cook in batches; crowded chicken steams, and steamed chicken won’t pick up the flavor you want from the butter.
Finishing With Garlic Butter
After the chicken comes out, cook the garlic in the remaining butter for about a minute, just until fragrant. The pan should smell nutty and garlicky, not sharp. Toss the chicken back in right away, then add the parsley so it sticks to the hot butter and the whole filling gets a glossy finish instead of a greasy one.
Rolling and Toasting the Wrap
Warm the tortillas first so they fold without tearing, then spread the dressing in a thin layer. Add the cheese before the chicken, then the lettuce and tomatoes, and roll tightly enough that the seam sits flat under the wrap. Toast seam-side down in a skillet over medium heat until the outside is deep golden and the cheese starts to melt; if the heat is too high, the tortilla browns before the center warms through.
Three Ways to Adjust the Wrap Without Losing the Good Parts
Make It Lighter
Use less dressing and add extra romaine so the wrap still feels fresh and full. You’ll lose a little richness, but the toasted tortilla and garlic chicken still carry the flavor.
Swap the Cheese
Mozzarella melts the smoothest, but provolone or Monterey Jack will also work if that’s what you have. Cheddar adds more bite, though it won’t stretch the same way when you cut the wrap in half.
Make It Gluten-Free
Use certified gluten-free tortillas and keep the filling the same. The only thing to watch is tortilla flexibility; some gluten-free wraps crack more easily, so warm them gently before rolling.
Turn It Into a Low-Carb Bowl
Skip the tortillas and serve the garlic chicken over romaine with tomatoes, cheese, and a drizzle of dressing. You keep the same core flavors and lose the wrap step entirely, which also makes leftovers easier to store.
Storage and Reheating
- Refrigerator: Store the cooked chicken filling for up to 4 days. Keep the lettuce and tomatoes separate so the wraps don’t turn soft.
- Freezer: The chicken filling freezes well for up to 2 months, but don’t freeze assembled wraps with lettuce and tomato. Those fresh ingredients turn watery after thawing.
- Reheating: Reheat the chicken in a skillet over medium-low heat or in the microwave until hot, then assemble fresh. If you re-toast an already assembled wrap, the tortillas can brown before the inside warms through.
Questions I Get Asked About This Recipe
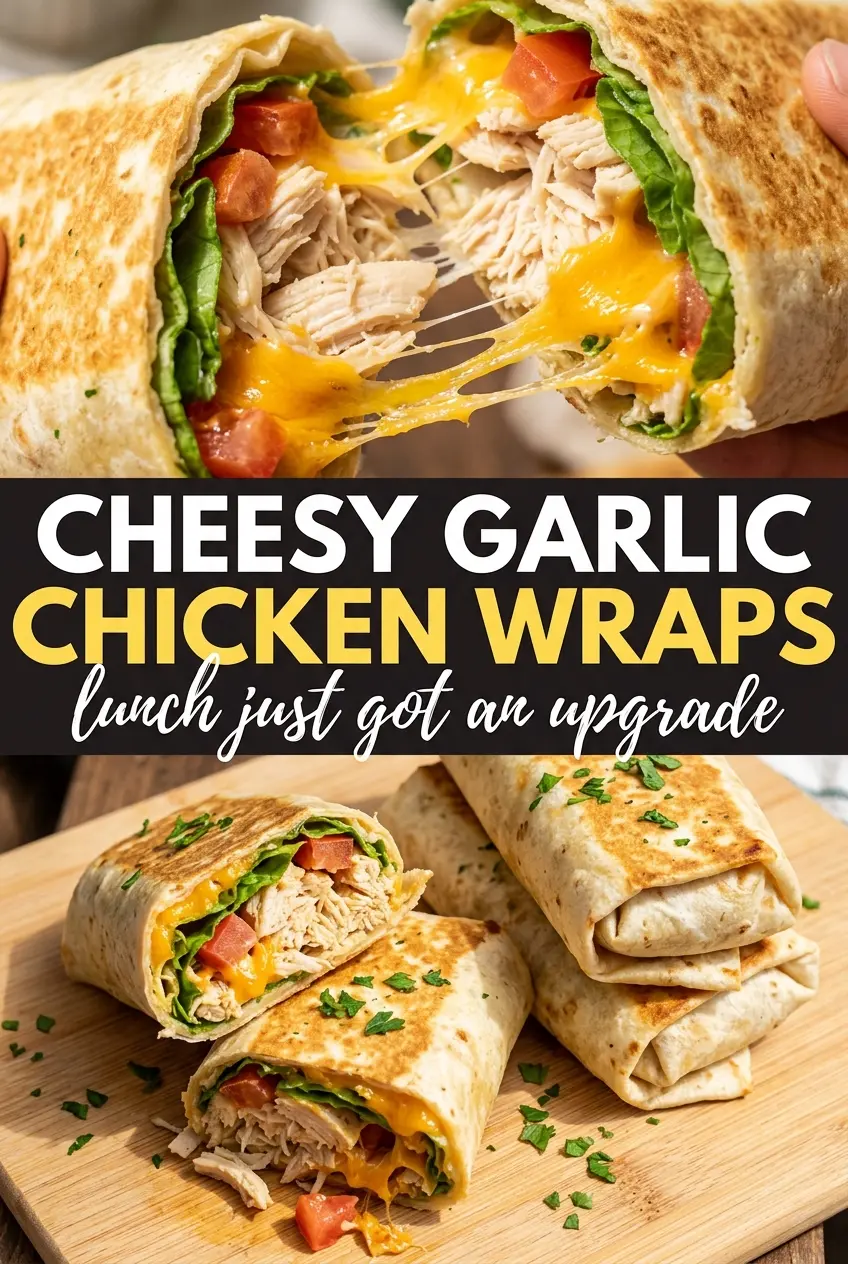
Cheesy Garlic Chicken Wraps
Ingredients
Equipment
Method
- Season the chicken strips with salt and pepper; cook them in 2 tablespoons butter in a skillet over medium-high heat for 5-6 minutes until golden and cooked through to 165°F.
- In the remaining 2 tablespoons butter, cook the garlic for 1 minute until fragrant.
- Toss the cooked chicken strips in the garlic butter and stir in the fresh parsley.
- Warm the tortillas until pliable.
- Spread ranch dressing over each tortilla.
- Layer shredded mozzarella, garlic chicken strips, romaine, and cherry tomatoes on each tortilla.
- Roll tightly and toast seam-side down in a skillet over medium heat for 2 minutes per side until golden and the cheese is melted.
- Slice the wraps diagonally and serve immediately, showing the melty cheese at the cut edge.