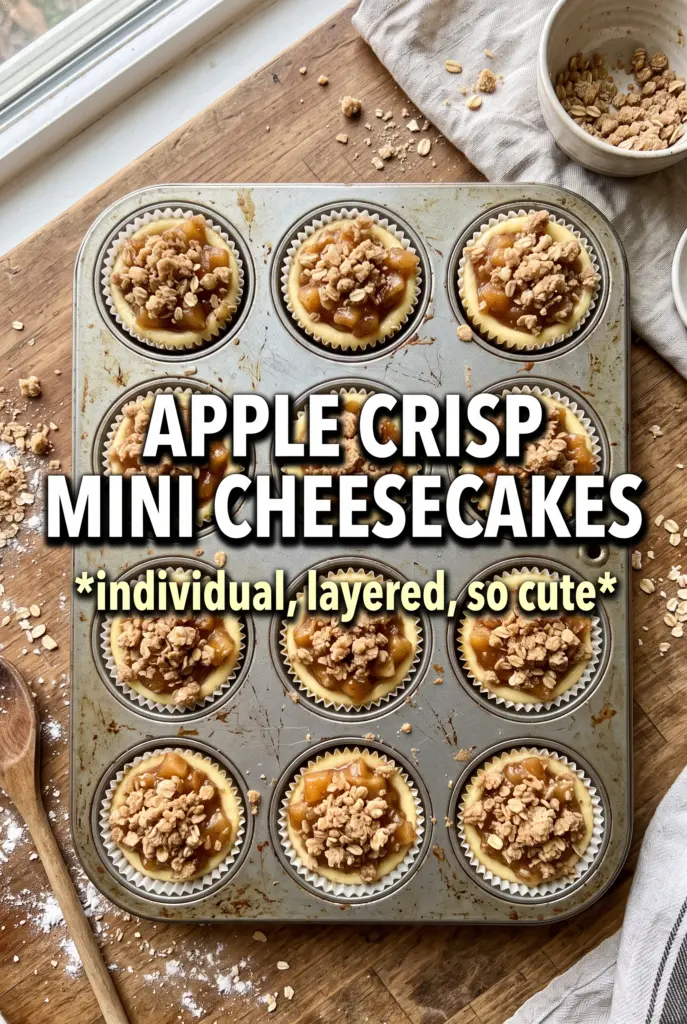
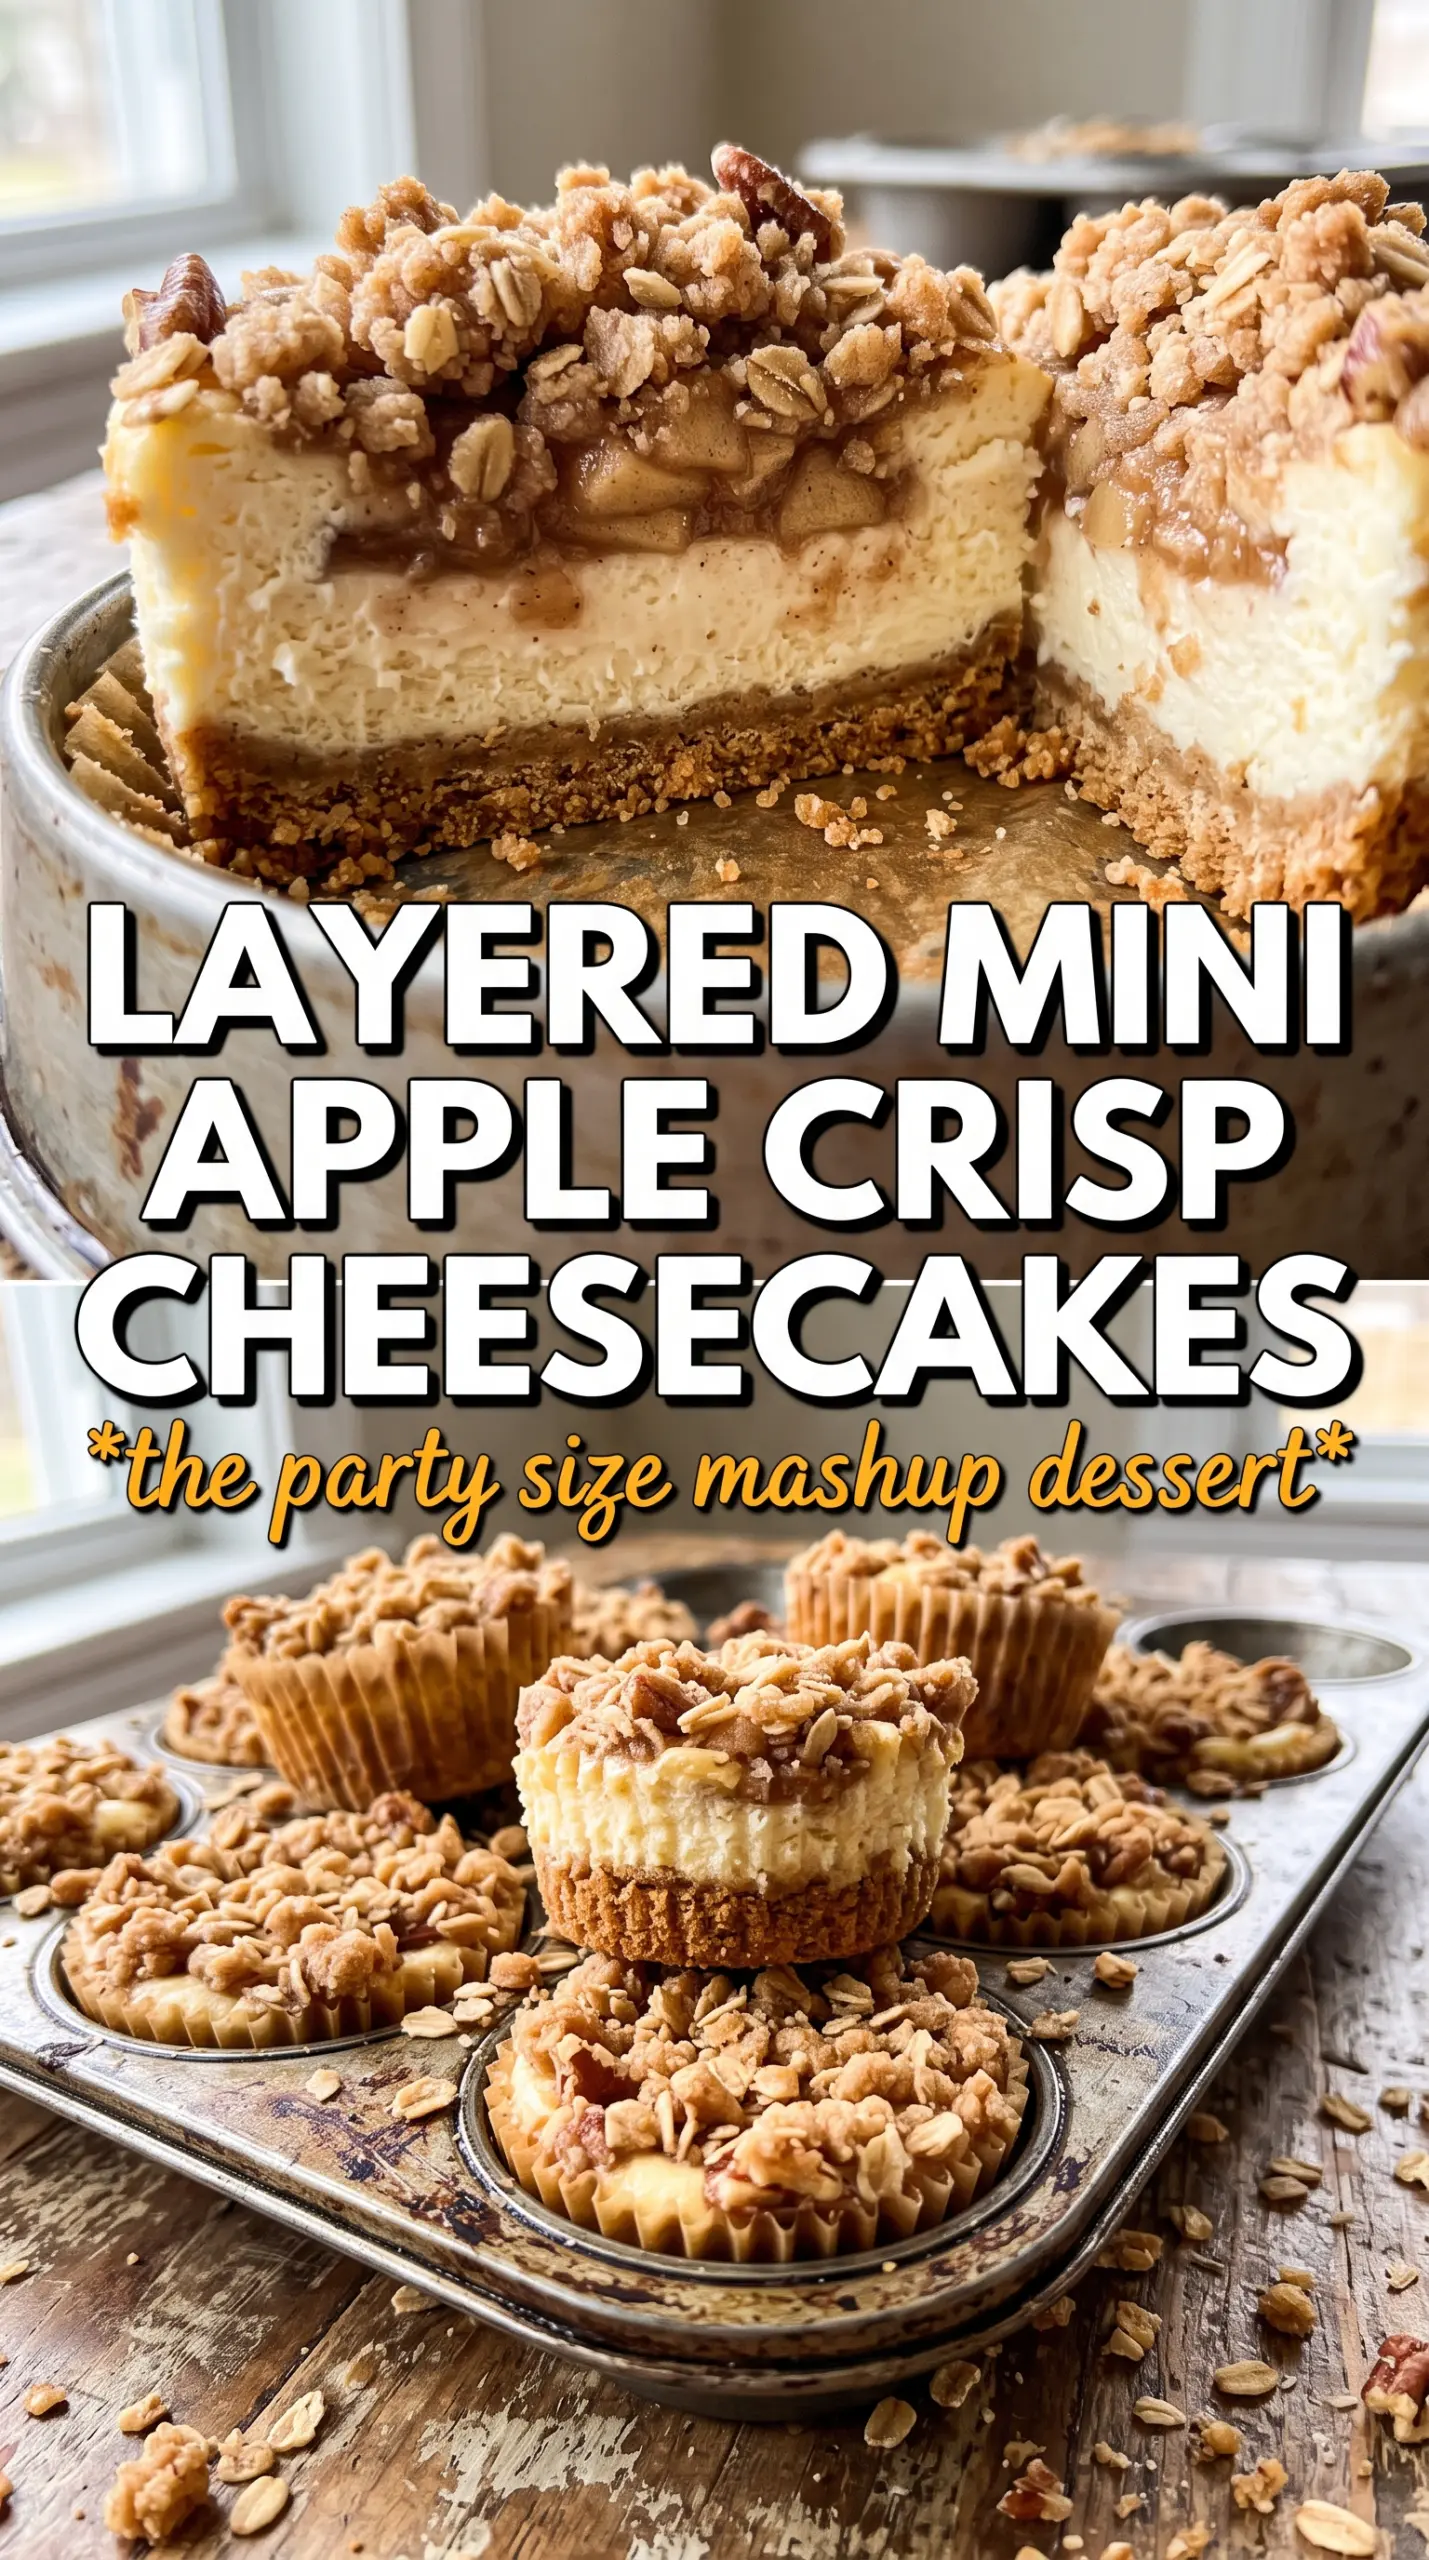
Apple Crisp Mini Cheesecakes bring three desserts into one neat little bite: a buttery graham crust, silky cinnamon cheesecake, and a tender apple crisp topping that bakes into a golden finish. The contrast is what makes them hard to stop eating. You get the cool tang of cheesecake, the soft warmth of spiced apples, and that oat crumble on top that stays crisp enough to give each bite some texture.
The trick here is keeping each layer distinct. The crust gets a quick bake so it sets before the filling goes in. The apples are cooked first, which keeps them from turning watery in the oven, and the cheesecake batter stays simple so it bakes up smooth instead of dense. These minis also chill faster than a full cheesecake, which means you get clean slices in muffin-tin form without waiting half the day.
Below, I’m walking through the little details that keep the crust from crumbling, the filling from cracking, and the topping from sinking. If you’ve ever wanted all the best parts of apple crisp and cheesecake in one dessert, this version keeps the process calm and the results dependable.
The crust held together perfectly and the apples stayed tucked on top instead of sinking into the cheesecake. I chilled them overnight, and the tops came out clean and creamy with that crisp oat layer still giving a little crunch.
Save these apple crisp mini cheesecakes for the dessert nights when you want creamy cheesecake, spiced apples, and a crunchy oat topping in one tidy muffin-tin treat.
The Reason the Cheesecake Stays Creamy Instead of Dense
The filling for mini cheesecakes can turn heavy fast if the batter gets overmixed or the eggs go in too cold. This version stays smooth because the cream cheese is softened first, then beaten with the sugar until it loses every last lump before anything else is added. Once the eggs go in, stop as soon as the batter looks even. Overbeating adds too much air, and that air can puff the centers, then collapse them as they cool.
The other thing that matters here is the oven time. Mini cheesecakes should look set at the edges and still have a small wobble in the center when they come out. If you wait until the tops look fully firm, they’ll bake past creamy and head straight for dry. The chill time finishes the texture, so don’t rush that part.
What the Crust, Apples, and Crumble Are Each Doing
- Graham cracker crumbs — These give you a sturdy base with enough sweetness to stand up to the tangy filling. Fine crumbs pack best, so pulse them if yours are chunky. A store-bought crust mix won’t press as neatly into the muffin liners.
- Cream cheese — This is the backbone of the recipe, and brand matters more here than in a lot of baked desserts. Use full-fat cream cheese for the smoothest texture and the cleanest set. Low-fat versions can bake up looser and a little grainy.
- Sour cream — It keeps the filling soft and adds a gentle tang that balances the sugar. Greek yogurt works in a pinch, but it brings a slightly firmer finish and a more noticeable tang.
- Apples — Dice them small so they soften in the pan and sit neatly on top of the cheesecake. A firm baking apple like Honeycrisp, Granny Smith, or a mix of both gives the best balance of sweet and tart. Skip soft apples that collapse into mush.
- Oats and cold butter — Cold butter is what gives the crumble those little clumps instead of a sandy topping. If the butter softens too much, the mixture turns pasty and melts flat in the oven. Keep it cold until the last second.
Building the Layers Without Letting Them Blur Together
Pressing and Pre-Baking the Crust
Mix the graham crumbs, melted butter, and sugar until every crumb looks damp, then press the mixture firmly into the liners. A flat-bottomed cup works well for packing it down evenly. Bake the crusts for five minutes so they set before the filling goes in. If you skip this, the base can turn sandy and separate when you peel off the liners.
Cooking the Apples First
Warm the diced apples with butter, brown sugar, and cinnamon just until they begin to soften and the pan smells like pie filling. You’re not trying to fully cook them into applesauce. That short stovetop step drives off extra moisture, which keeps the tops from sliding around and keeps the cheesecake from turning watery around the edges.
Filling, Topping, and Baking to the Right Set
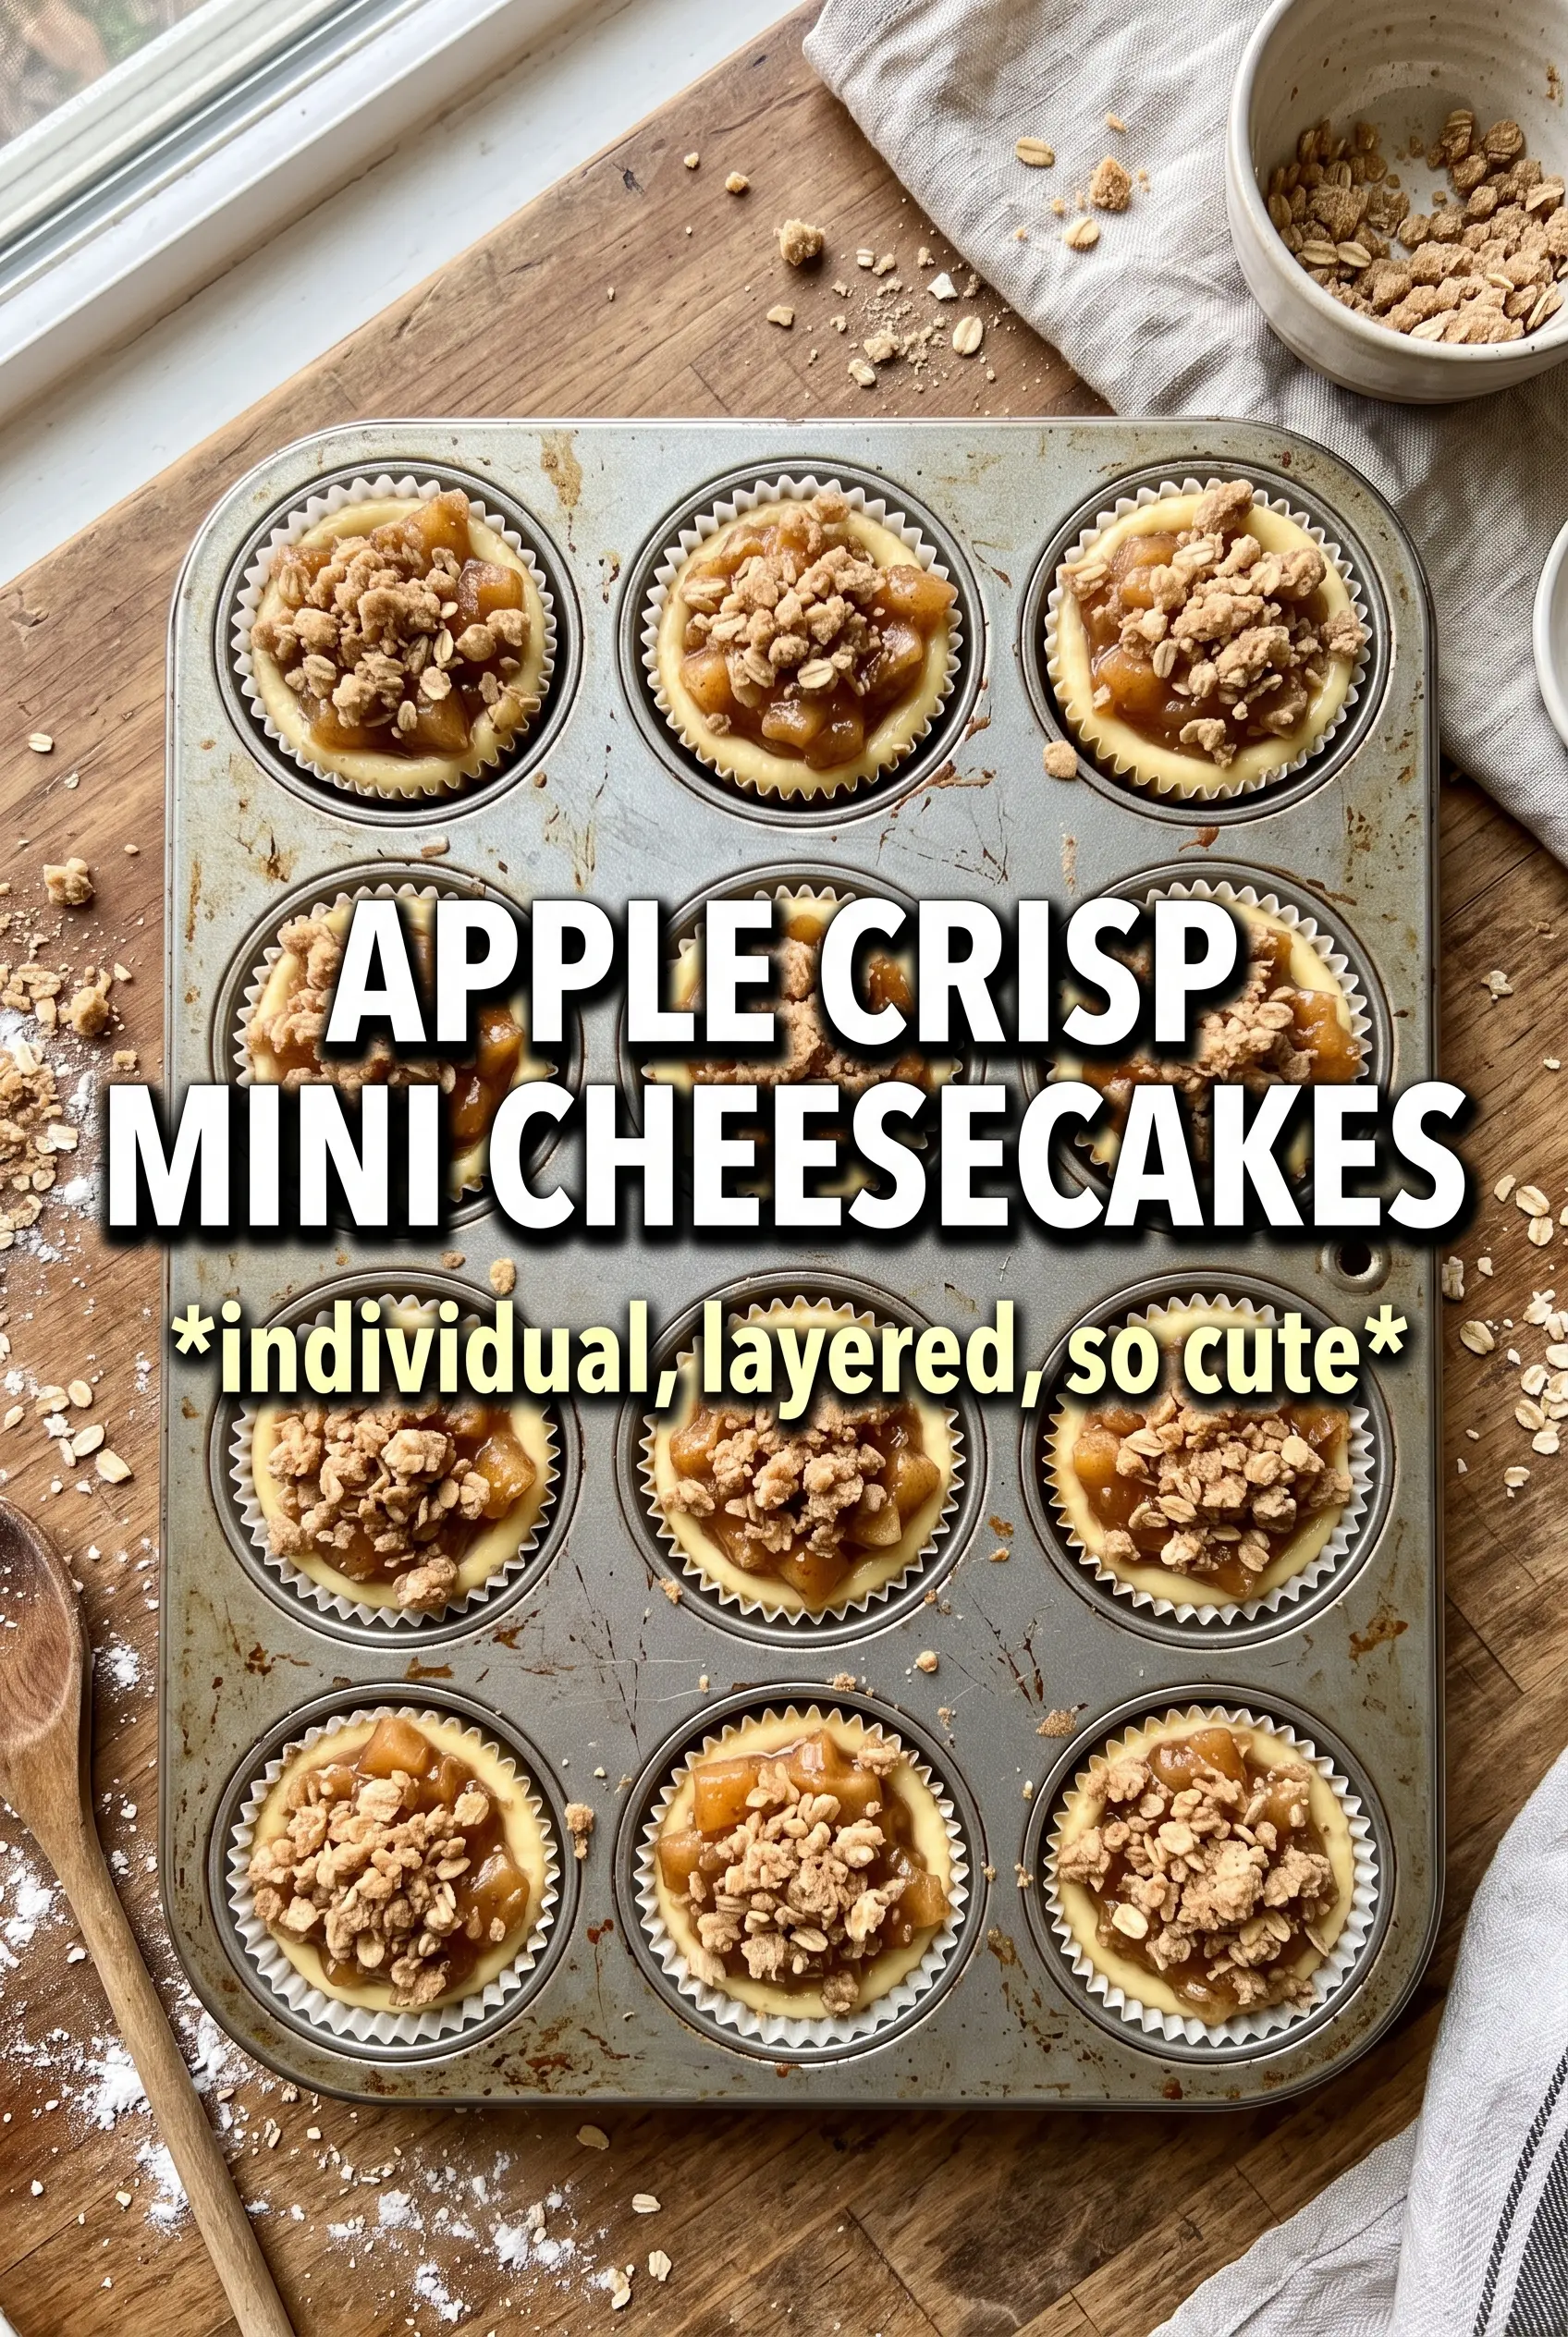
Spoon the cheesecake batter into each crust, then add the cooked apples before the oat crumble. The order matters because the filling needs a smooth surface under the fruit, and the crumble needs to sit on top where it can brown. Bake until the centers are just set with a slight wobble. If you bake until the tops are fully stiff, the texture will dry out by the time they chill.
How to Adapt These Mini Cheesecakes for Different Pans and Diets
Gluten-Free Version
Use gluten-free graham crackers for the crust and swap the flour in the crumble for a 1:1 gluten-free flour blend. The texture stays close to the original, though the crumble may brown a little faster, so keep an eye on the last few minutes of baking.
Dairy-Free Swap
Use dairy-free cream cheese and a plant-based butter substitute in both the crust and the topping. The filling will still set, but it may bake a touch softer, so chill it fully before serving. The flavor leans a little less tangy, so a small splash of lemon juice helps wake it up.
Making Them Ahead for a Party
Bake the cheesecakes the day before, chill them overnight, and add the final crumble topping just before serving if you want the crispest texture. The apples and filling hold up well, but the oat topping stays best when it’s not sitting under plastic wrap for too long.
Storage and Reheating
- Refrigerator: Store covered for up to 4 days. The crust softens slightly over time, but the flavor stays great.
- Freezer: Freeze without the crumble for the best texture. Wrap each chilled mini cheesecake tightly and freeze for up to 2 months, then thaw in the refrigerator overnight.
- Reheating: These are best served cold or at cool room temperature, not reheated. Warmth softens the filling too much and makes the crumble lose its crunch.
Answers to the Questions Worth Asking
Apple Crisp Mini Cheesecakes
Ingredients
Equipment
Method
- Preheat oven to 325F and line a 12-cup muffin tin with cupcake liners.
- Combine graham crumbs, melted unsalted butter, and sugar, then press firmly into the bottom of each liner.
- Bake the crusts for 5 minutes, until they look set and lightly fragrant.
- Cook diced apples with 1 tablespoon butter, brown sugar, and cinnamon for 5 minutes until softened.
- Cool the cooked apples completely before assembling to prevent the filling from loosening.
- Beat cream cheese and granulated sugar until smooth, then add eggs, sour cream, vanilla, and cinnamon and mix until fully combined.
- Fill each baked crust with cheesecake mixture, leaving a small gap at the top.
- Spoon the cooled cooked apples over the cheesecake filling in each cup.
- Make oat crumble by mixing oats, flour, brown sugar, and cinnamon, then work in cold butter until the mixture resembles coarse crumbs.
- Scatter the oat crumble over each mini cheesecake so the tops are evenly covered.
- Bake at 325F for 20-22 minutes, until the centers are just set and still slightly soft in the middle.
- Refrigerate the mini cheesecakes for 3 hours to fully firm up before serving.