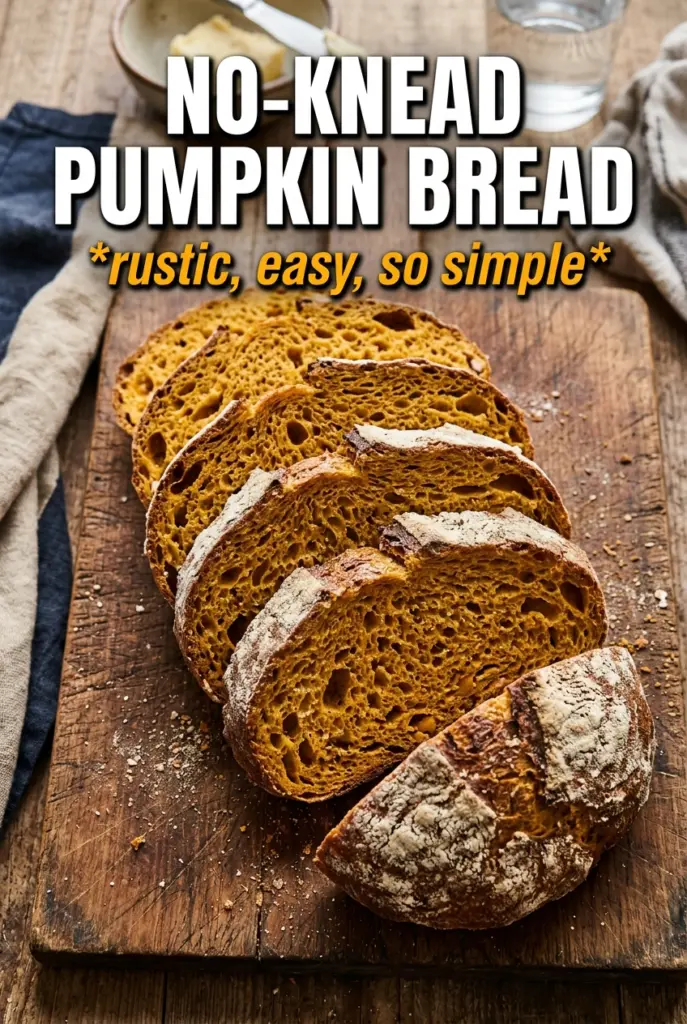
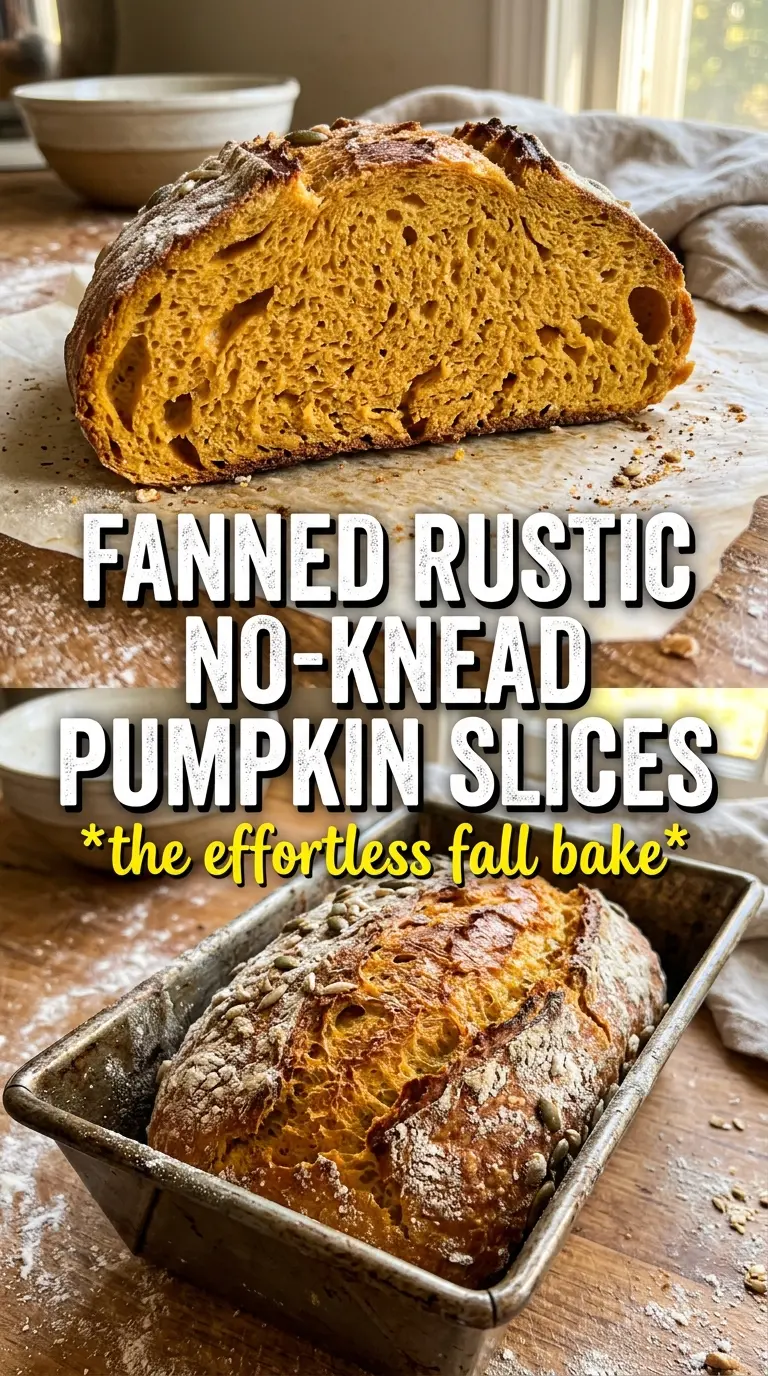
Crackled on the outside and tender in the middle, this no-knead pumpkin bread bakes up with that bakery-style look people usually assume takes a lot more work. The crust turns deep golden in a hot Dutch oven, while the inside stays open and light with just enough pumpkin to give it warmth, color, and a faint sweetness that makes it hard to stop at one slice.
The method is as simple as the ingredient list, but the details matter. A tiny amount of yeast and a long rest do the heavy lifting, which is why the dough develops flavor and structure without kneading. Pumpkin puree adds moisture and a soft amber crumb, while the maple syrup or honey rounds out the spice and helps the crust color without making the loaf taste sweet like dessert bread.
Below, I’ve laid out the part that matters most: how to handle the sticky dough, why the hot Dutch oven changes the crust, and what to do if you want to make it ahead or switch up the spices without losing that rustic texture.
The crust cracked beautifully and the crumb stayed soft for days. I was nervous about the long rise, but the dough was bubbly and easy to shape the next morning.
Love the crackled crust and tender crumb of this no-knead pumpkin bread? Save it to Pinterest for your next overnight bake.
The Long Rise Is What Gives This Loaf Its Real Texture
This bread doesn’t get its structure from kneading. It gets it from time. That overnight rest lets the tiny amount of yeast work slowly, which builds flavor and creates a dough that’s loose, bubbly, and easy to shape without turning tough.
The biggest mistake with no-knead dough is rushing the fermentation or adding too much flour during shaping. A sticky dough is normal here. If you dust it heavily, you end up with a dry loaf and a tighter crumb. A well-floured counter is enough. You’re looking for a dough that holds together but still feels soft and a little slack.
What Each Ingredient Is Doing in This Pumpkin Loaf
- Bread flour — This gives the loaf enough strength to hold onto the gas from the long rise, which is what helps the crumb stay open instead of cakey. All-purpose flour will work in a pinch, but the loaf will be a little less chewy and a little less structured.
- Instant yeast — You only need a quarter teaspoon because the fermentation time does the rest. Don’t swap in active dry yeast without adjusting the method, because it usually needs a little more time to wake up.
- Pumpkin puree — This adds moisture, color, and that mellow pumpkin flavor without making the bread heavy. Use plain puree, not pumpkin pie filling, or the loaf will bake up overly sweet and spiced in a way that throws off the balance.
- Maple syrup or honey — Either one gives the yeast a little food and helps the crust brown. Honey tastes a touch warmer; maple reads more autumnal, but both work well.
- Warm water and warm milk — These bring the dough together and help it ferment evenly. They should feel warm, not hot; if they’re too hot, they can slow or kill the yeast before the overnight rise even starts.
Shaping and Baking the Dough Without Flattening It
Mixing to a Shaggy Dough
Start by whisking the dry ingredients well so the yeast and spice are evenly distributed. When you stir in the pumpkin mixture, stop as soon as you have a shaggy dough with no dry flour hiding at the bottom of the bowl. It will look rough and sticky, and that’s exactly what you want. If you overmix at this point, the loaf can turn dense instead of airy.
The Overnight Rest
Cover the bowl and let it sit at room temperature for 12 to 18 hours. By the end, the surface should be bubbly and the dough should look expanded and loose, almost like a risen sponge. If your kitchen is cold, it may take closer to the full 18 hours. If it hasn’t become bubbly, don’t bake it yet; the yeast hasn’t done enough work to give you the right texture.
Hot Dutch Oven, Fast Transfer
Preheat the Dutch oven in the oven for a full 30 minutes so the pot is blazing hot before the dough goes in. That blast of heat is what gives you the crackled crust and the lift. Turn the dough out onto a well-floured surface, shape it gently into a ball, and let it rest for 15 minutes before baking. When you lower it into the pot, work quickly and carefully so the dough doesn’t deflate.
Covered Bake, Then Finish the Crust
Bake the loaf covered first, then uncover it for the final stretch. The covered time lets the bread rise and set before the crust hardens, and the uncovered finish deepens the color and makes the exterior crisp. Pull it when the crust is deeply golden and the loaf sounds hollow when tapped. If you slice too soon, the crumb can seem gummy even when the bread is baked through.
How to Adapt This Loaf for Different Pans, Spices, and Diets
Make It Dairy-Free
Swap the warm milk for more warm water or an unsweetened non-dairy milk. The loaf will still rise and bake well; you’ll just lose a little of the soft richness that dairy adds, so the crumb may taste slightly leaner.
Use Pumpkin Pie Spice More Flexibly
If your pumpkin pie spice is strong, keep the cinnamon where it is and reduce the spice blend a touch. The goal is warmth, not a perfume-heavy loaf. If you like a sharper spice note, a pinch of ginger fits in well without changing the texture.
Turn It Into a More Savory Breakfast Bread
Cut the maple syrup back to half a tablespoon and lean harder on the cinnamon and salt. You’ll lose a little browning, but the loaf shifts away from sweet breakfast bread and works better with butter, cream cheese, or even a fried egg.
Storage and Reheating
- Refrigerator: Store sliced or unsliced bread in an airtight container for up to 4 days. The crumb firms up a bit in the fridge, so it tastes best after warming.
- Freezer: This loaf freezes well. Wrap it tightly, then freeze whole or in slices for up to 3 months. Slices are the easiest option if you want to pull out just what you need.
- Reheating: Toast slices straight from the fridge or thawed freezer state. For a whole loaf, warm it in a 300°F oven wrapped loosely in foil until the center is heated through. Don’t microwave it too long or the crumb turns rubbery.
Answers to the Questions Worth Asking
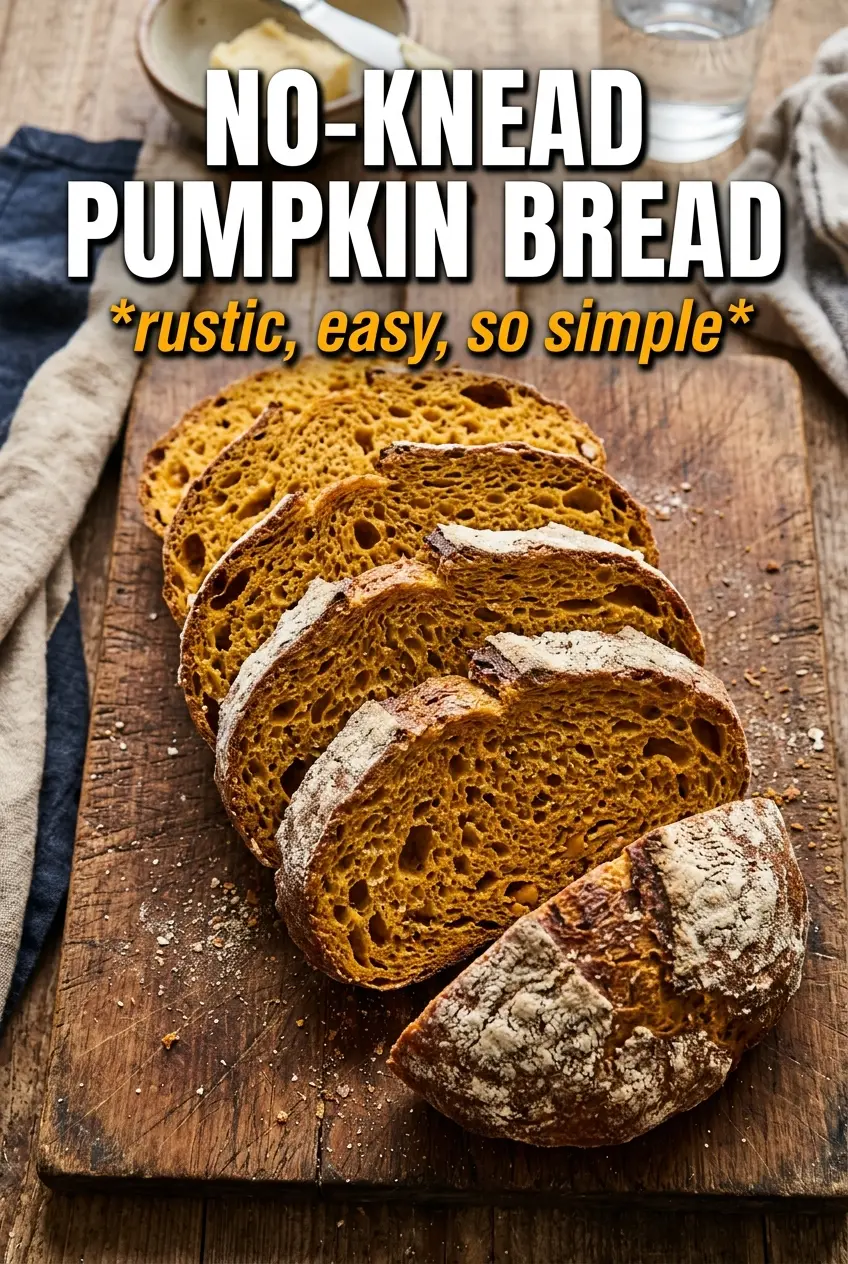
No-Knead Pumpkin Bread
Ingredients
Equipment
Method
- Whisk bread flour, instant yeast, salt, pumpkin pie spice, and cinnamon in a large bowl until evenly combined.
- Whisk pumpkin puree, warm water, warm milk, and maple syrup or honey, then stir into the flour mixture until a shaggy dough forms with no dry pockets.
- Cover the bowl with plastic wrap and rest at room temperature for 12-18 hours until the dough is very bubbly.
- Preheat the oven to 450F and place the Dutch oven inside to heat for 30 minutes.
- Turn the dough onto a well-floured surface, shape into a ball, and rest for 15 minutes.
- Carefully lower the dough into the hot Dutch oven, cover, and bake at 450F for 30 minutes until visibly risen.
- Uncover the Dutch oven and bake at 450F for an additional 12-15 minutes, until the crust is deeply golden with a crackled look.
- Cool the loaf on a wire rack for 1 hour before slicing to let the interior finish setting.