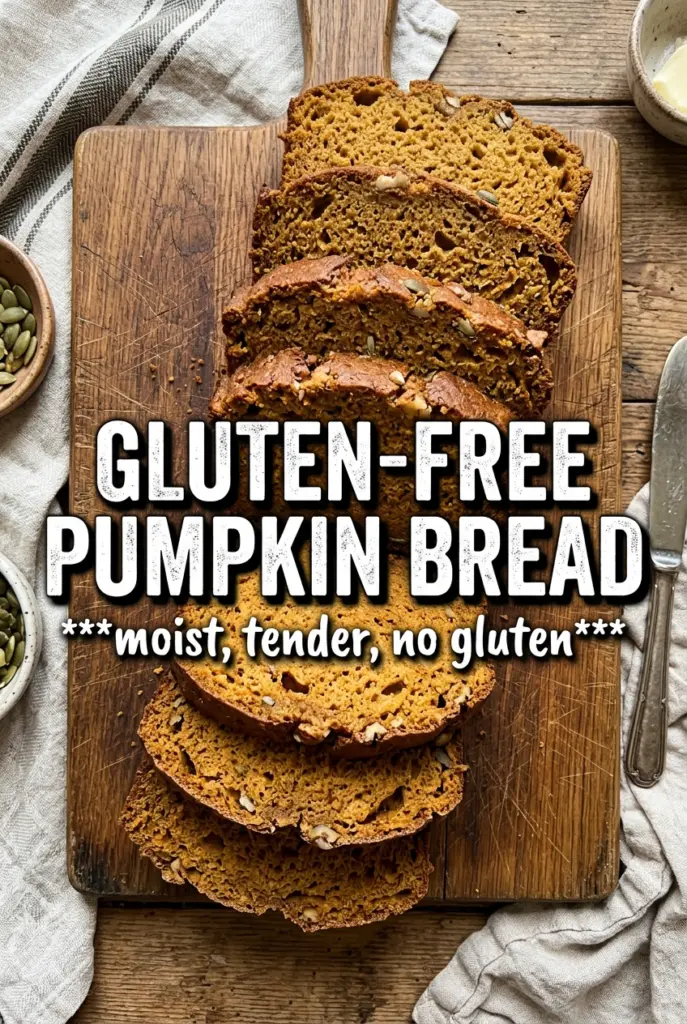
Gluten-free pumpkin bread should be tender, deeply spiced, and slice cleanly without that gummy middle that ruins so many quick breads. This version bakes up with a moist crumb that holds together beautifully, plus a cinnamon-sugar top that turns crackly in the oven and gives each slice a little crunch. It tastes like the pumpkin bread people remember, just without the wheat.
The trick is in the balance. Pumpkin puree brings moisture, but the extra egg and the sour cream give the loaf enough structure so it doesn’t collapse under that moisture. The flour blend matters too — a good gluten-free all-purpose mix with xanthan gum gives the batter the backbone it needs, while the baking soda and baking powder work together for lift without making the loaf taste cakey or flat.
Below you’ll find the little details that keep this bread from turning dense: how to mix the batter without overworking it, why the loaf needs a full cool-down before slicing, and a couple of smart swaps if you’re baking for different diets.
The loaf had that perfect pumpkin bread texture and the cinnamon sugar top turned into the best little crust. I used plain Greek yogurt and it sliced beautifully once it cooled.
Save this gluten-free pumpkin bread for the days when you want a moist loaf with a cinnamon sugar crust and a crumb that actually slices cleanly.
The Batter Needs More Structure Than Regular Pumpkin Bread
Gluten-free quick breads fail in a different way than wheat-based ones. They don’t just turn dense; they can bake up wet in the middle, crumble when sliced, or go gummy if the batter never gets enough support. That’s why this loaf uses a flour blend with xanthan gum plus an extra egg. The flour provides the bulk, and the egg helps bind everything so the bread holds together after baking.
The other thing that matters is the mixing. Once the dry ingredients go in, stir only until the batter is fully combined and smooth. Gluten-free batter doesn’t need kneading, but it does need even hydration. If you leave streaks of dry flour behind, those pockets show up as dry bites in the finished loaf.
- Gluten-free all-purpose flour blend with xanthan gum — This is the backbone of the recipe. A blend built for one-to-one baking works best because it already contains starches and binders in the right ratio. If your blend doesn’t include xanthan gum, add it only if the package directions call for it.
- Pumpkin puree — Use plain pumpkin puree, not pumpkin pie filling. The puree gives the loaf its flavor and moisture, but it needs the eggs and sour cream to keep the texture from going past moist into heavy.
- Sour cream or plain Greek yogurt — Either one adds richness and helps the crumb stay tender. Greek yogurt works well if that’s what you have, but use full-fat if possible because it keeps the bread softer after cooling.
- Cinnamon sugar topping — This is more than garnish. It sets into a thin crust that keeps the top from feeling soft and flat. Don’t skip it if you want that bakery-style finish.
What Each Ingredient Is Actually Doing in This Recipe
- Primary ingredient (the star) — Quality matters most. Choose the best you can find.
- Cooking medium (oil, butter, or broth) — This carries flavors and prevents dryness.
- Seasonings (salt, pepper, spices, herbs) — Layer flavors so nothing overpowers. Build depth gradually.
- Aromatics (garlic, onion, herbs) — Cook with fat to bloom flavors. Become the foundation.
- Supporting ingredients — Complement the main ingredient without overpowering it.
- Sauce or liquid (if applicable) — Brings flavors together. Balance richness with acid.
- Acid (lemon, vinegar, wine, or other) — Brightens and prevents flat-tasting results.
- Final finish (garnish, glaze, or sauce) — Prevents one-dimensional taste and adds visual appeal.
How to Keep the Loaf Moist Without Making It Heavy
Mix the wet ingredients until they look completely smooth
Whisk the pumpkin, sugars, oil, eggs, vanilla, and sour cream until the mixture looks glossy and uniform. If the sugars stay grainy or the sour cream is still in streaks, the loaf can bake with uneven pockets. The batter should look thick but pourable before the flour goes in.
Fold in the dry ingredients just until no flour remains
Once the dry ingredients are added, stir with a spatula until the batter is fully blended and you don’t see dry patches at the bottom of the bowl. Overmixing doesn’t develop gluten here, but it can still make the loaf tighter by knocking out too much air. Stop as soon as the batter looks smooth.
Bake until the center is set, not just the top
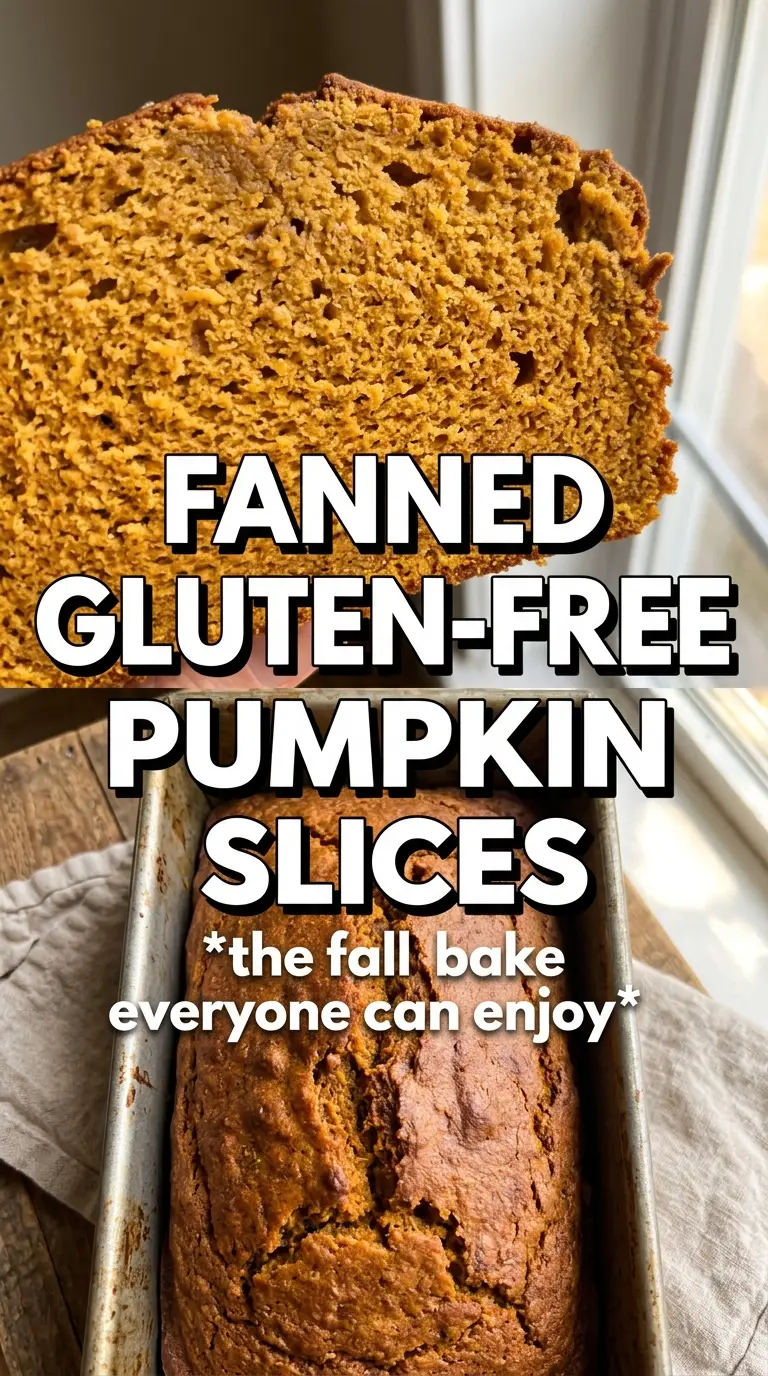
Gluten-free pumpkin bread often needs the full 65 to 70 minutes, sometimes a few minutes more depending on your pan and oven. The top should be deep golden and the crack in the center should look set, not wet. A toothpick in the middle should come out clean or with just a few moist crumbs. If it still looks shiny in the center, give it more time before pulling it.
Cool completely before slicing
This is the part people rush, and it’s where the texture gets lost. Gluten-free loaves finish setting as they cool, so slicing too early can make the middle seem underbaked even when it isn’t. Let it sit in the pan until fully cool, then lift it out and cut with a sharp knife.
How to Adapt This Loaf Without Losing the Texture
Dairy-Free Version
Swap the sour cream or yogurt for a thick dairy-free yogurt with some body, not a thin drinkable one. The loaf will still stay moist, but the crumb may be a touch less rich. Choose an unsweetened version so the sugar balance stays the same.
Lower-Sugar Top
You can reduce the cinnamon sugar topping or skip it entirely, but the top will bake up softer and less crackly. If you want a little finish without as much sugar, dust the loaf lightly with cinnamon after baking instead.
Muffin-Style Bake
Turn the batter into muffins by dividing it among lined muffin cups and baking until the centers spring back. The bake time drops a lot, and the texture comes out a little lighter and more portable than a loaf. Watch them closely near the end because gluten-free muffins can go from done to dry fast.
Storage and Reheating
- Refrigerator: Store in an airtight container for up to 5 days. The crumb stays moist, though the cinnamon sugar top softens a bit.
- Freezer: This loaf freezes well. Wrap individual slices tightly and freeze for up to 3 months so you can thaw only what you need.
- Reheating: Warm slices in the toaster oven or microwave just until heated through. Don’t overheat or the edges will dry out before the center gets warm.
Questions I Get Asked About This Recipe
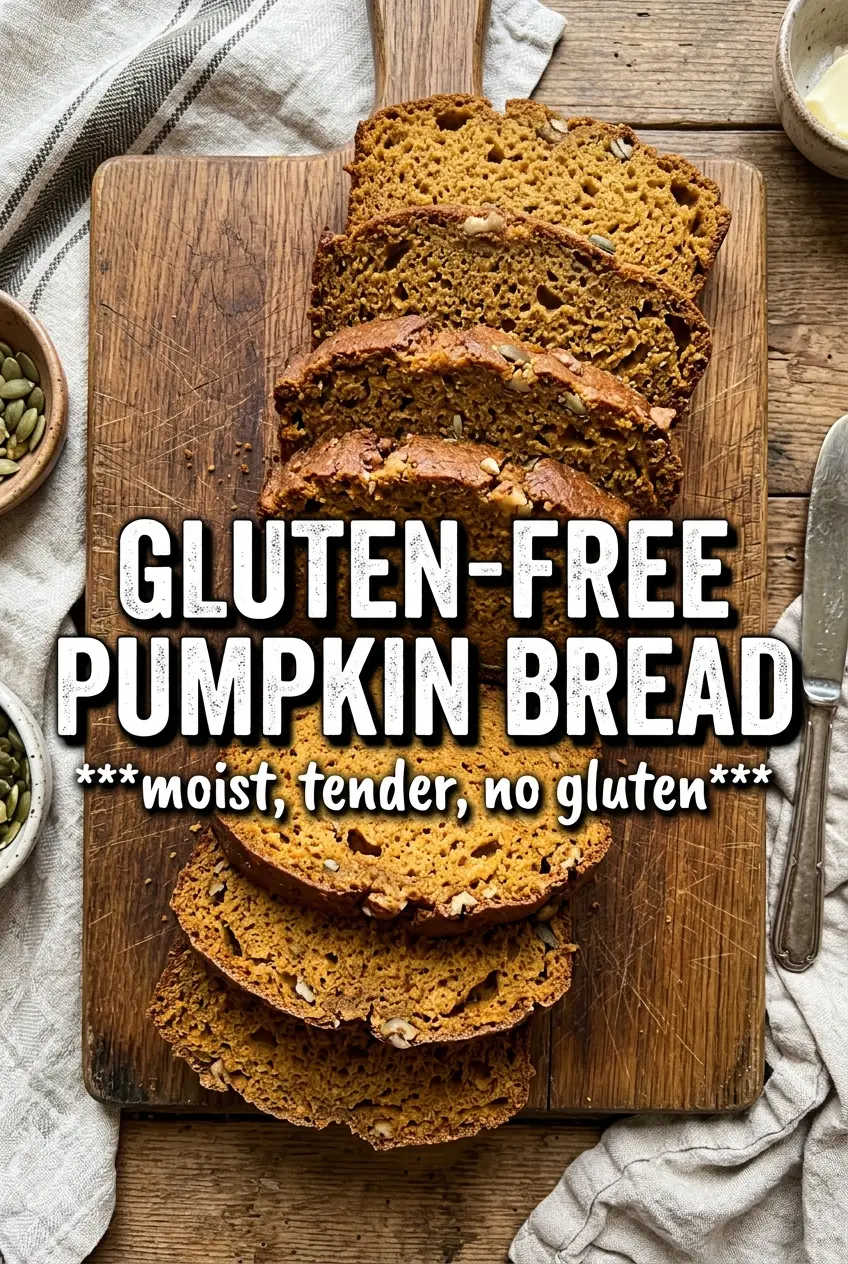
Gluten-Free Pumpkin Bread
Ingredients
Equipment
Method
- Preheat the oven to 350F, and grease a 9x5 loaf pan very well so the loaf releases cleanly.
- Whisk the gluten-free flour blend, baking soda, baking powder, pumpkin pie spice, cinnamon, and salt until evenly combined and no lumps remain.
- Whisk the pumpkin puree, both sugars, vegetable oil, eggs, vanilla extract, and sour cream (or plain Greek yogurt) until smooth.
- Fold the dry mixture into the wet mixture until completely combined, and keep mixing just until the GF batter is smooth.
- Pour the batter into the prepared pan and sprinkle cinnamon sugar over the top so the surface stays evenly speckled.
- Bake at 350F for 65-70 minutes, until a toothpick comes out clean and the loaf is domed and set; GF bread may take slightly longer.
- Cool the bread completely in the pan before slicing so the slices hold together and the crumb stays tender.