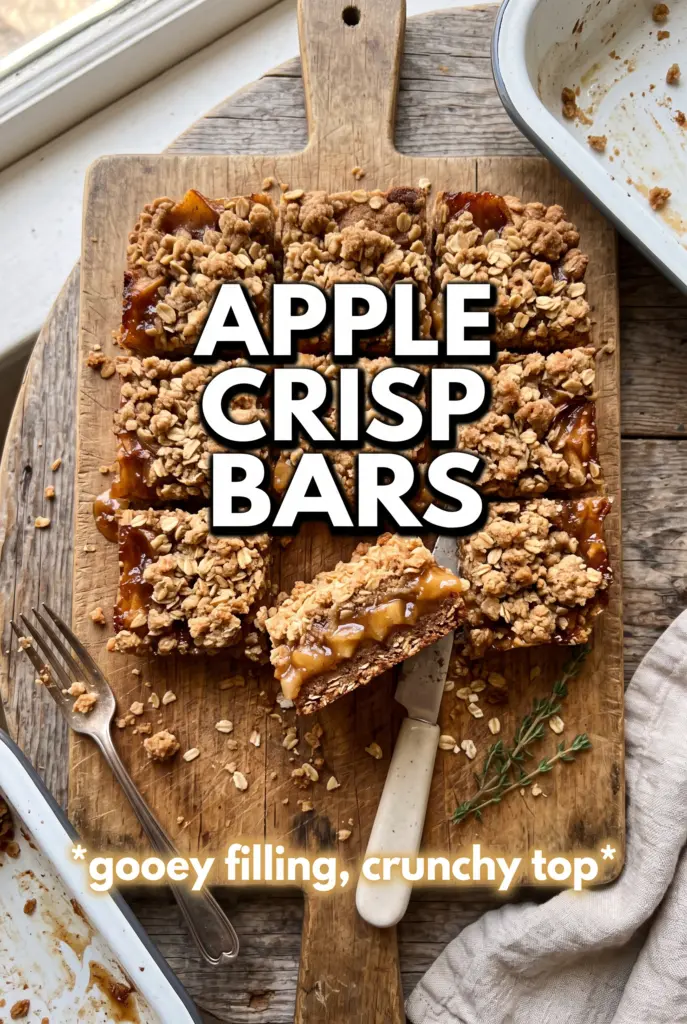
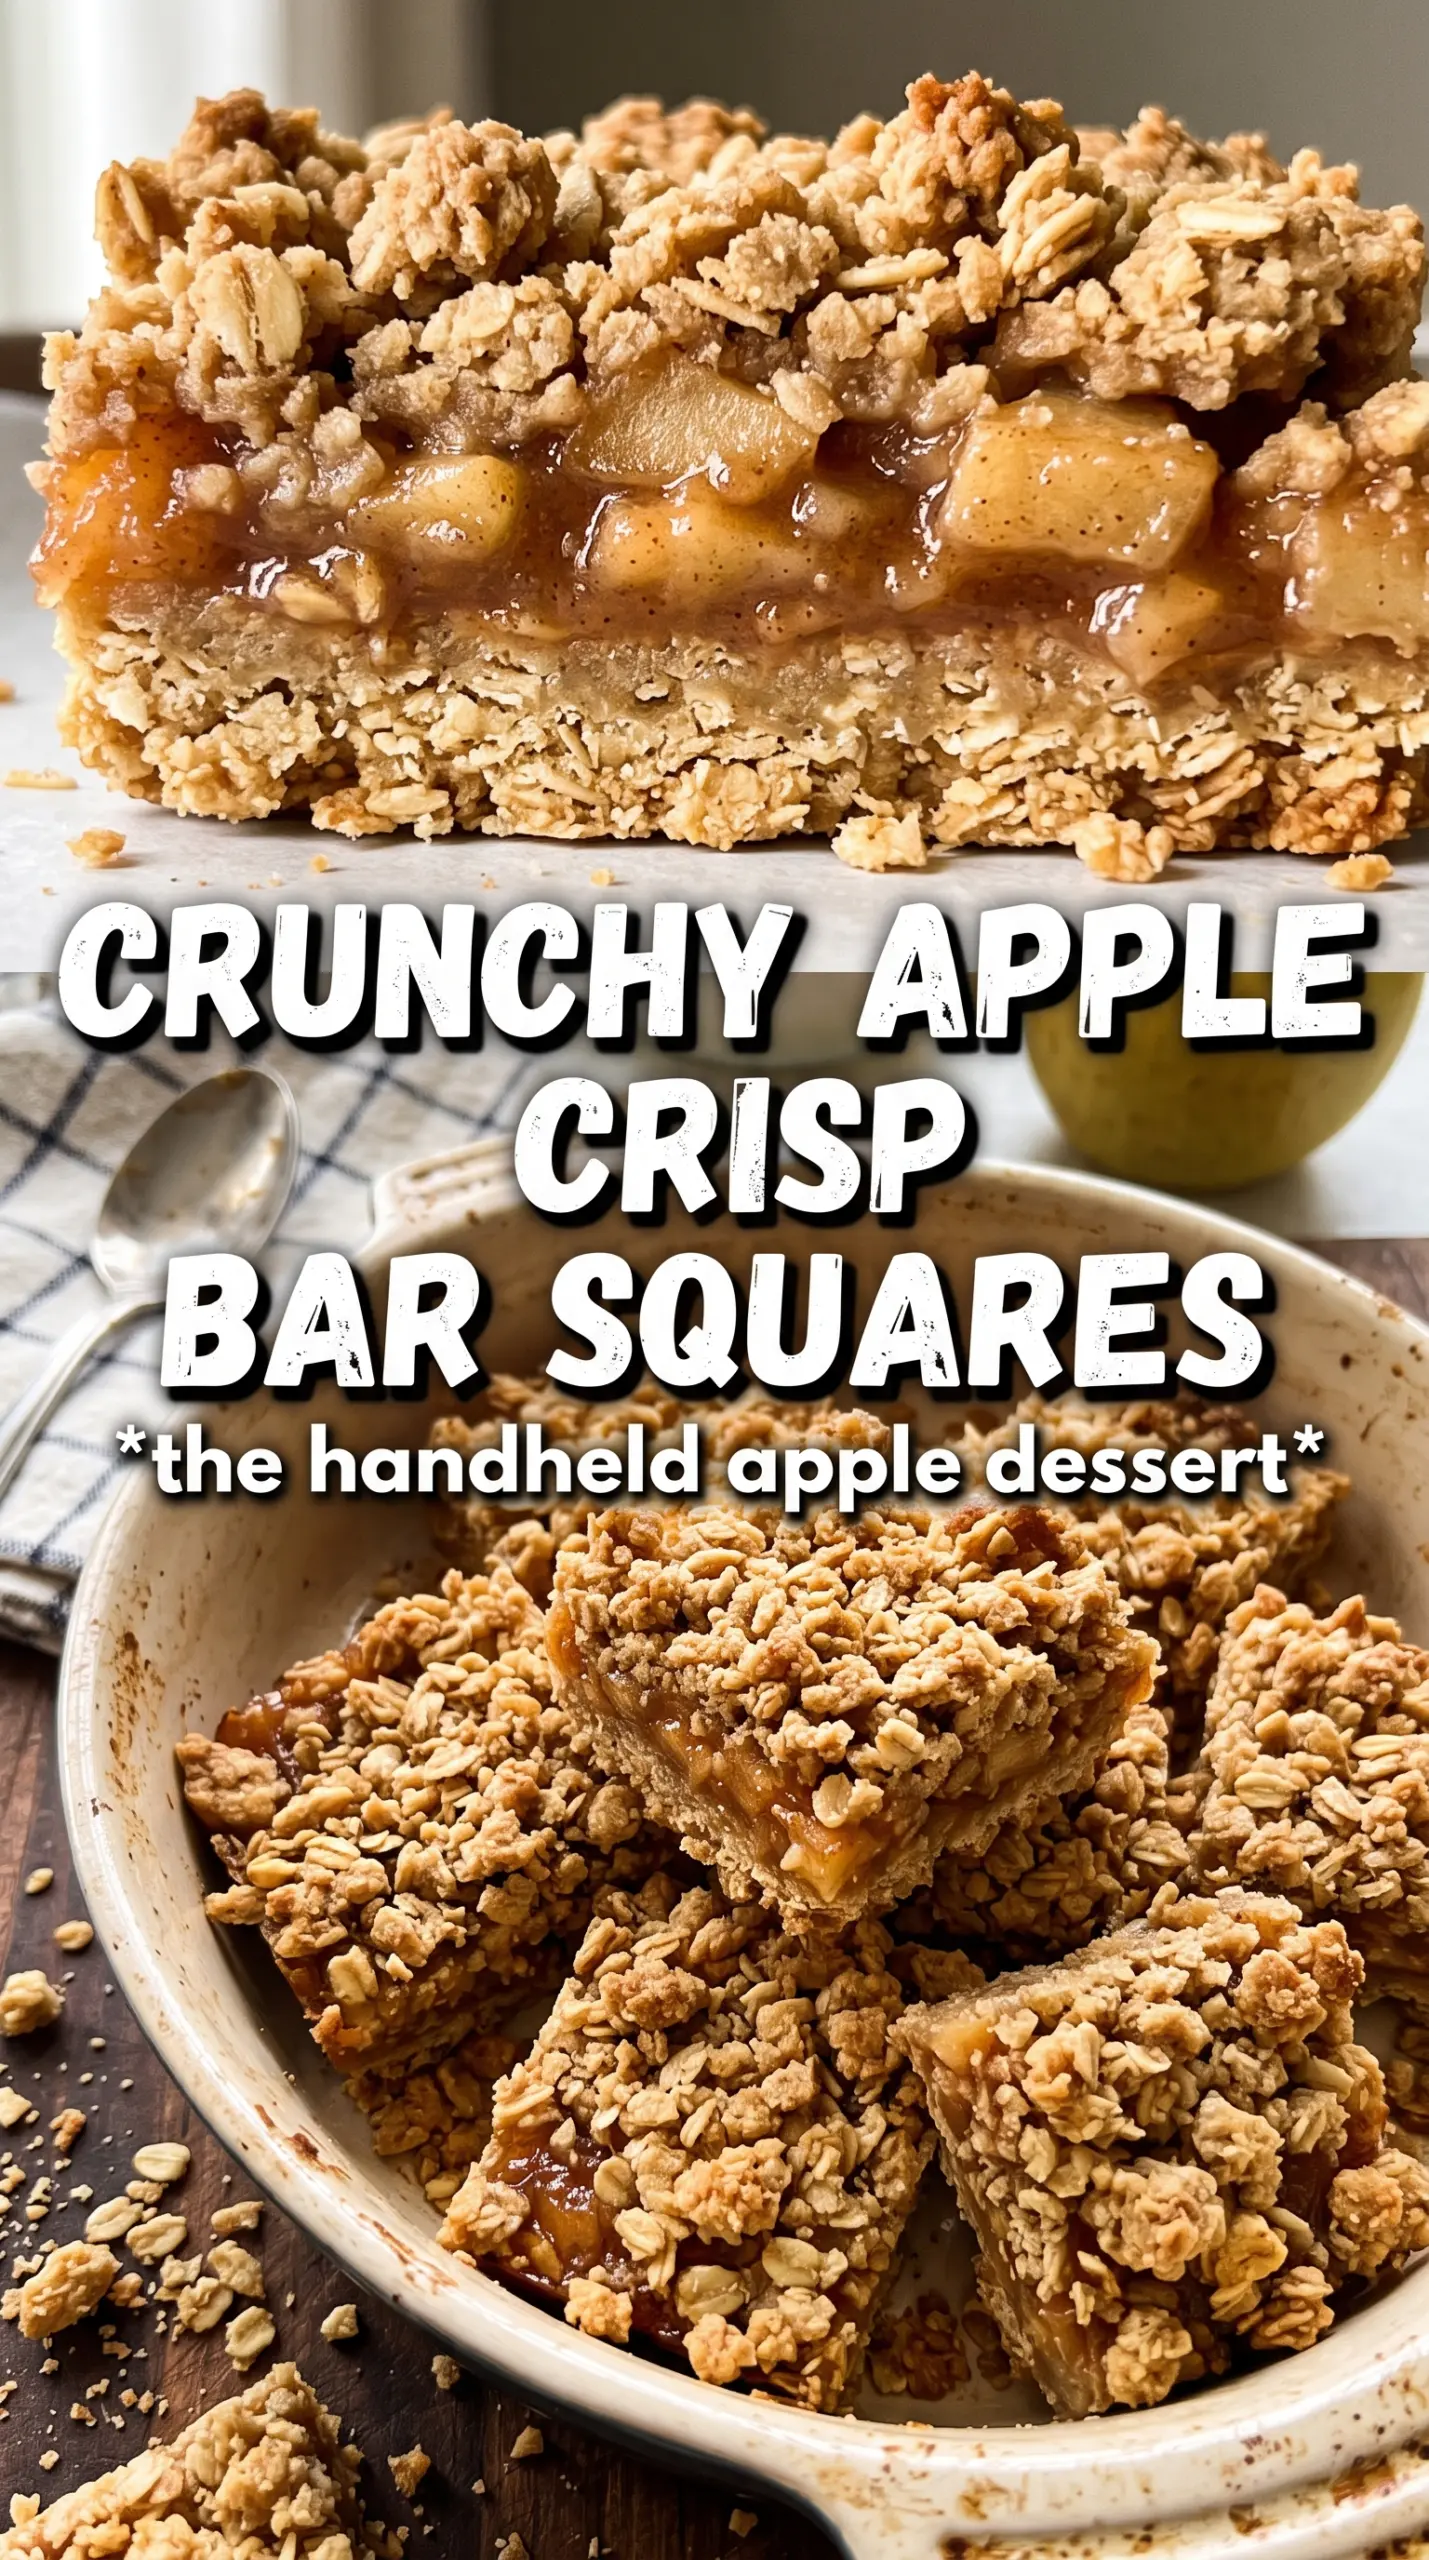
Apple crisp bars bake up with the same buttery, cinnamon-scented comfort as a pan of apple crisp, but they slice cleanly into sturdy squares instead of falling apart on the spoon. The bottom crust turns toasted and crisp, the apple layer softens into a thick filling, and the oat crumble on top stays nubby and golden. You get all the good parts in one bar: sturdy base, tender fruit, and a topping that holds its texture even after cooling.
The trick is pressing most of the oat mixture into the pan and baking it before the apples go in. That short head start keeps the crust from turning soggy once the fruit starts releasing juice. Cornstarch matters here too, because diced apples leak more liquid than sliced ones; it thickens the filling enough that the bars cut neatly once they’re completely cool.
Below, I’ve included the part that usually trips people up: how to keep the layers distinct, plus the small swaps that still give you a bakery-style result.
The oat crust held together beautifully, and the apple layer set up just enough that I could cut clean squares after cooling. My husband kept sneaking back for “just one more” because the topping stayed crisp.
Save these apple crisp bars for when you want a thick spiced apple filling and a crisp oat crumble in one easy pan dessert.
The Reason the Bottom Stays Crisp Instead of Going Soft
The most common problem with apple bars is a base that turns damp under the fruit. That happens when the crust goes into the oven raw and then sits under a wet filling long enough to steam instead of bake. The short pre-bake fixes that. It gives the oat layer time to set and start toasting before the apples go on, so the bars hold together after cooling.
Another detail that matters is the crumb texture before it hits the pan. You want the melted butter distributed through the oats and flour until every bit looks evenly moistened, not pooled at the bottom of the bowl. If the mixture is patchy, the crust bakes unevenly and the topping can finish greasy in spots and dry in others.
What Each Ingredient Is Actually Doing in These Bars
- Rolled oats — These give the bars their crisp, craggy texture. Quick oats get mushier and pack down tighter, so stick with old-fashioned rolled oats for the best bite.
- Brown sugar — This adds moisture and that deep caramel note that makes the crumble taste like more than sweet oats. Light or dark brown sugar both work; dark brown sugar gives a slightly richer finish.
- Butter — Melted butter coats the dry ingredients fast and helps the crumb bake into clusters. If you use it warm, not hot, it mixes more evenly and won’t partially cook the flour.
- Apples — Finely diced apples soften quickly and make the filling sliceable. A firm baking apple like Granny Smith, Honeycrisp, or a mix gives the best texture; soft apples can disappear into applesauce.
- Cornstarch — This is what turns the apple juices into a thick filling instead of a runny layer. Don’t skip it unless you want messy bars that slump when cut.
- Lemon juice — Just enough acid keeps the apple flavor bright and helps the diced fruit taste fresh after baking. It also slows browning while you mix the filling.
How to Build the Layers So They Bake Up Cleanly
Mixing the Crumble
Start by combining the oats, flour, brown sugar, cinnamon, and salt, then drizzle the melted butter over the top. Toss with a fork or your hands until the mixture looks evenly damp and crumbly, with no dry flour hiding at the bottom of the bowl. If you see wet clumps surrounded by powder, keep tossing; uneven moisture is what gives you a patchy crust.
Pressing and Pre-Baking the Base
Press about two-thirds of the mixture firmly into the parchment-lined pan. Firm pressure matters here because a loosely packed base falls apart when you cut the bars. Bake it for 10 minutes until it looks set and lightly matte at the edges; it won’t be fully browned yet, and that’s fine.
Making the Apple Filling
Toss the diced apples with the granulated sugar, cinnamon, nutmeg, cornstarch, and lemon juice until every piece is coated. The cornstarch should disappear into the juices instead of sitting in white streaks. Spread the filling over the hot crust right away so the base starts working against the moisture as soon as the apples go on.
Finishing the Top and Baking Through
Scatter the remaining crumble over the apples without pressing it down. Bake until the top is golden and you can see the filling bubbling around the edges and through the cracks in the crumble, which tells you the cornstarch has thickened. If the top browns before the filling bubbles, the bars need more time; the color alone isn’t the signal.
How to Adapt These Bars Without Losing the Texture
Gluten-Free Version
Use a good 1:1 gluten-free flour blend in place of the all-purpose flour, and check that your oats are certified gluten-free. The bars stay crisp and sliceable, though the crumble can be a little more delicate when warm, so let them cool fully before cutting.
Dairy-Free Swap
Replace the butter with a plant-based butter that’s meant for baking. Coconut oil works in a pinch, but it changes the flavor and can make the crumble a little firmer once chilled, so the butter-style substitute gives the closest result.
Different Apple Balance
For a sharper filling, use mostly Granny Smith apples. For a softer, sweeter bar, mix in Honeycrisp or Gala. The key is to keep the apples finely diced so they cook through in the same time as the topping.
Storage and Reheating
- Refrigerator: Store covered for up to 4 days. The crumble softens a little in the fridge, but the bars still slice cleanly.
- Freezer: These freeze well. Wrap individual bars tightly and freeze for up to 2 months, then thaw in the refrigerator so the filling doesn’t turn watery.
- Reheating: Warm bars in a 300°F oven for about 10 minutes if you want the topping to crisp again. The microwave softens the crumble and makes the base lose its texture fastest.
Answers to the Questions Worth Asking
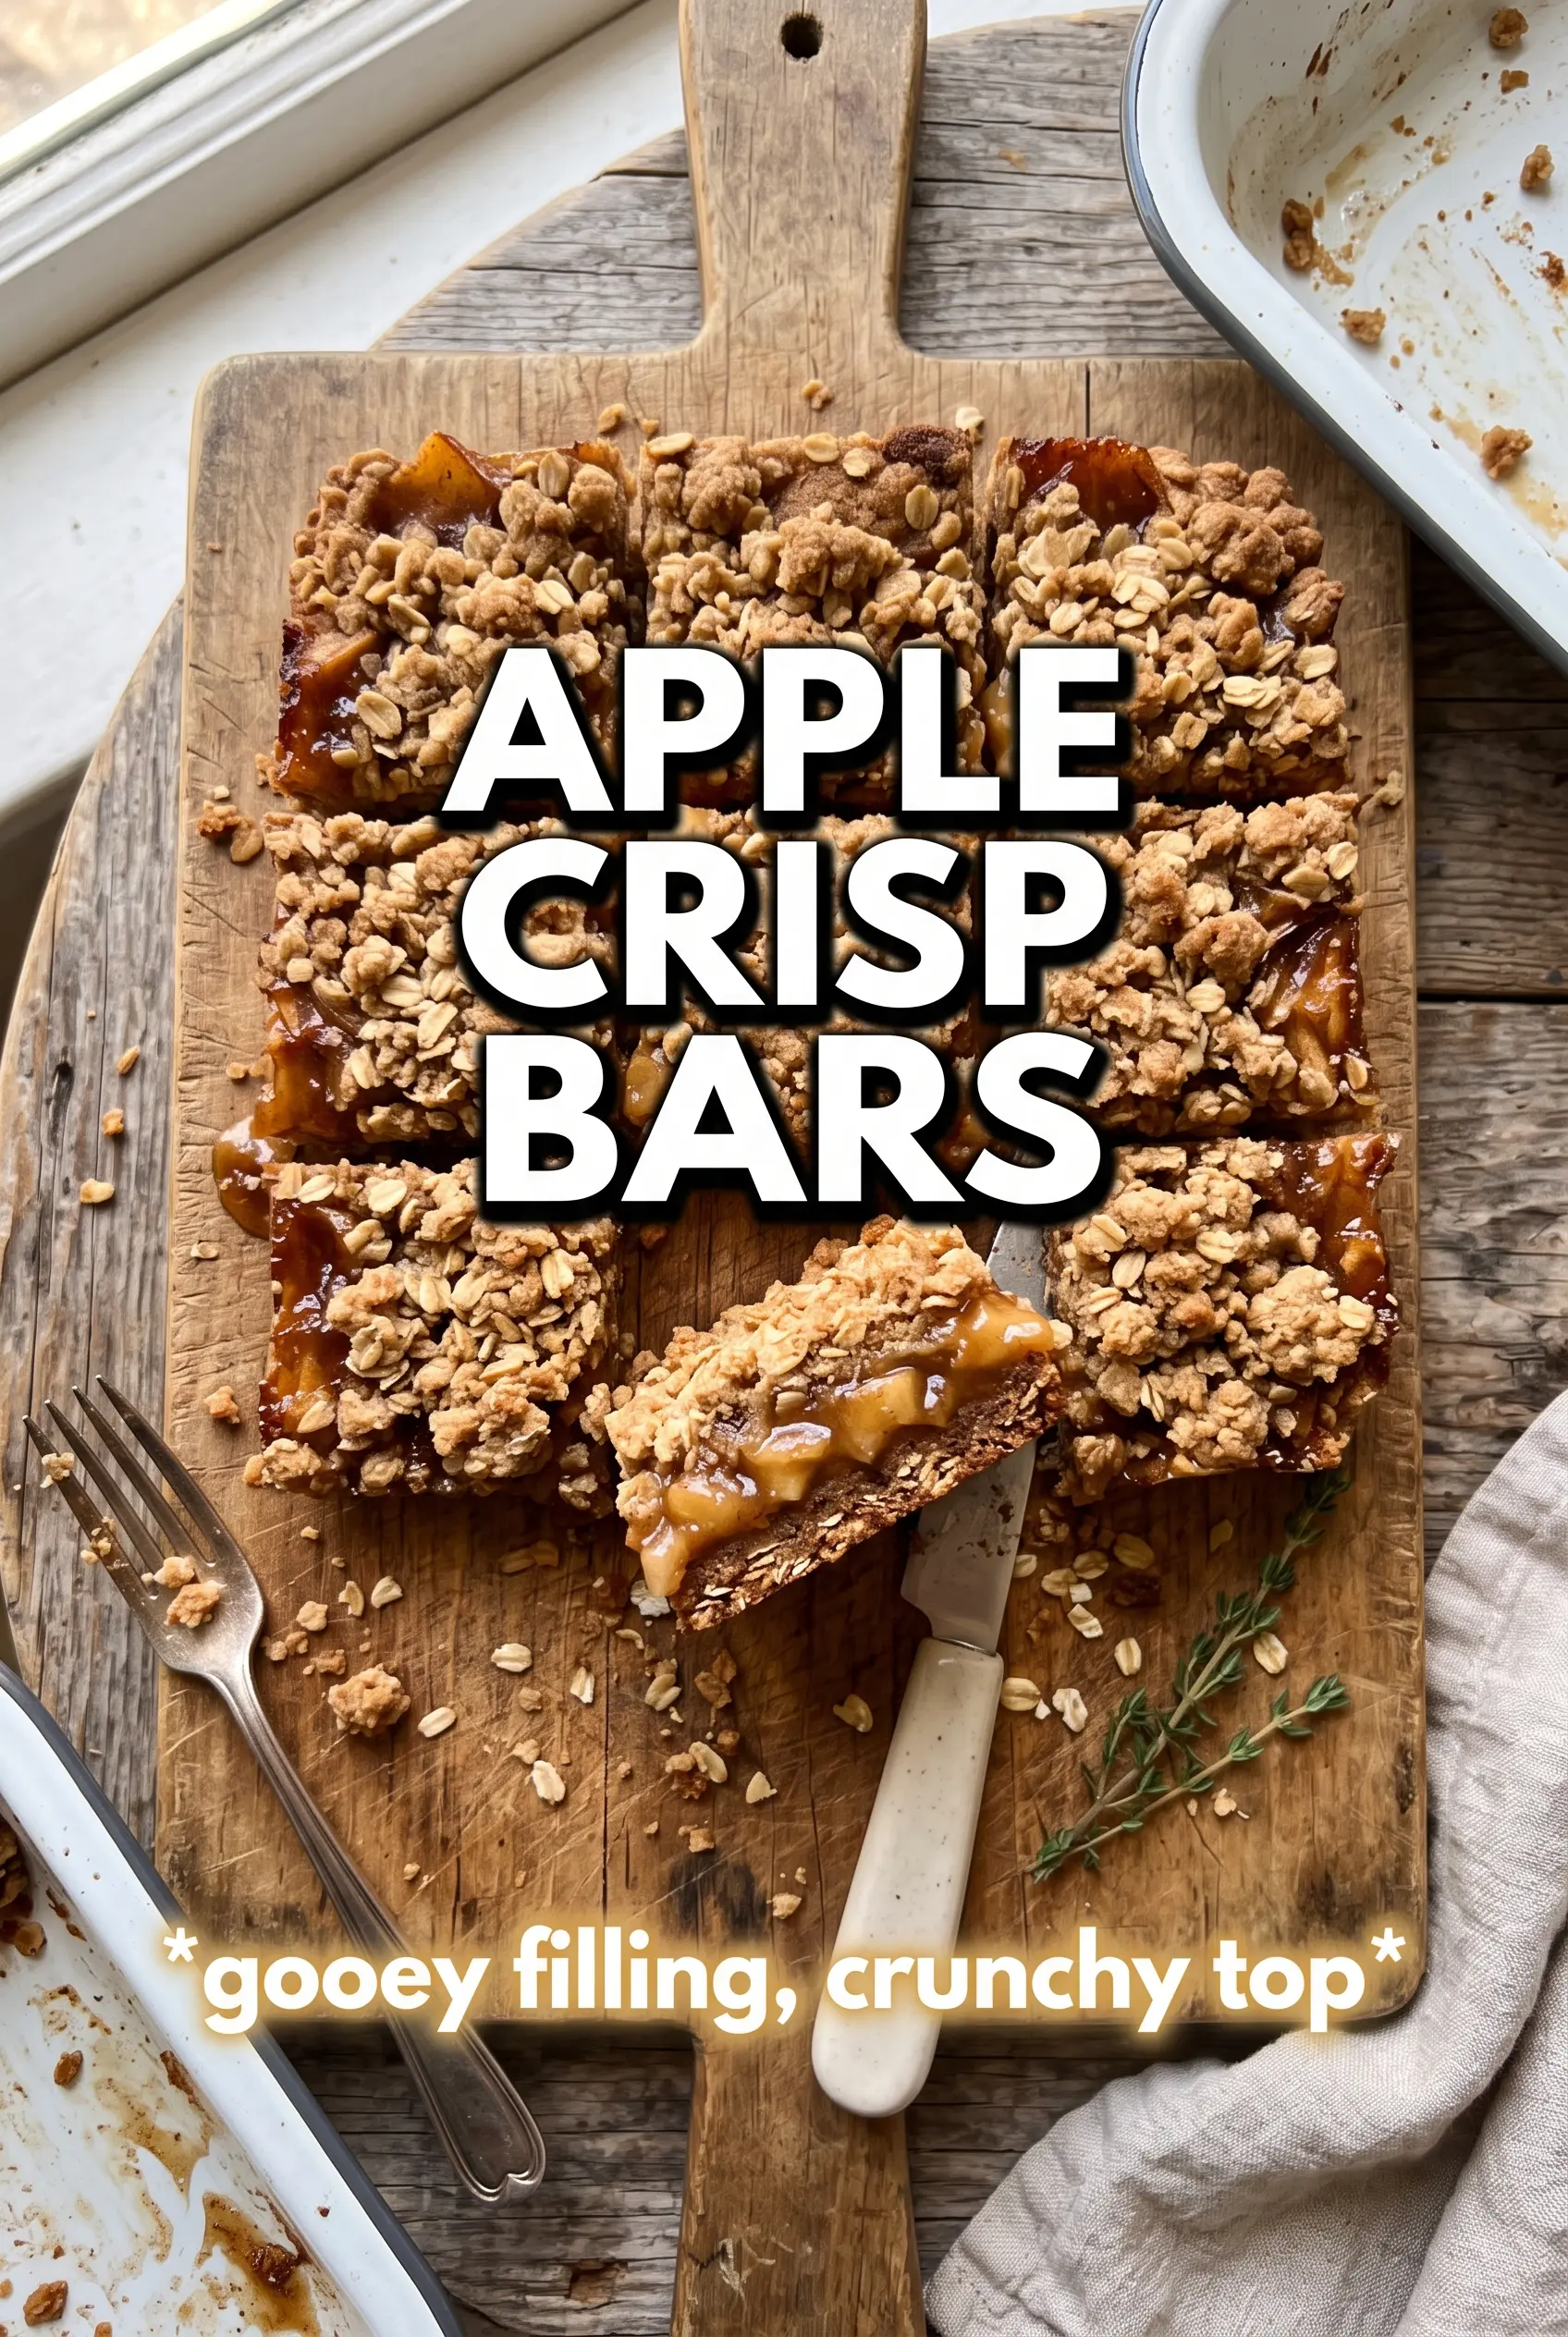
Apple Crisp Bars
Ingredients
Equipment
Method
- Preheat the oven to 375F and line a 9x13 pan with parchment so the bars lift out easily.
- Combine rolled oats, all-purpose flour, brown sugar, cinnamon, and salt in a bowl, then drizzle melted butter over and toss until evenly moistened with clumps.
- Press 2/3 of the oat mixture firmly into the prepared pan and bake for 10 minutes, until set.
- Toss apples with granulated sugar, cinnamon, nutmeg, cornstarch, and lemon juice, then spread the apple mixture over the hot base.
- Scatter the remaining oat crumble over the apples, covering as evenly as possible.
- Bake for 30 more minutes at 375F until the topping is golden and the filling bubbles around the edges.
- Cool completely before slicing into bars so the layers hold their shape.