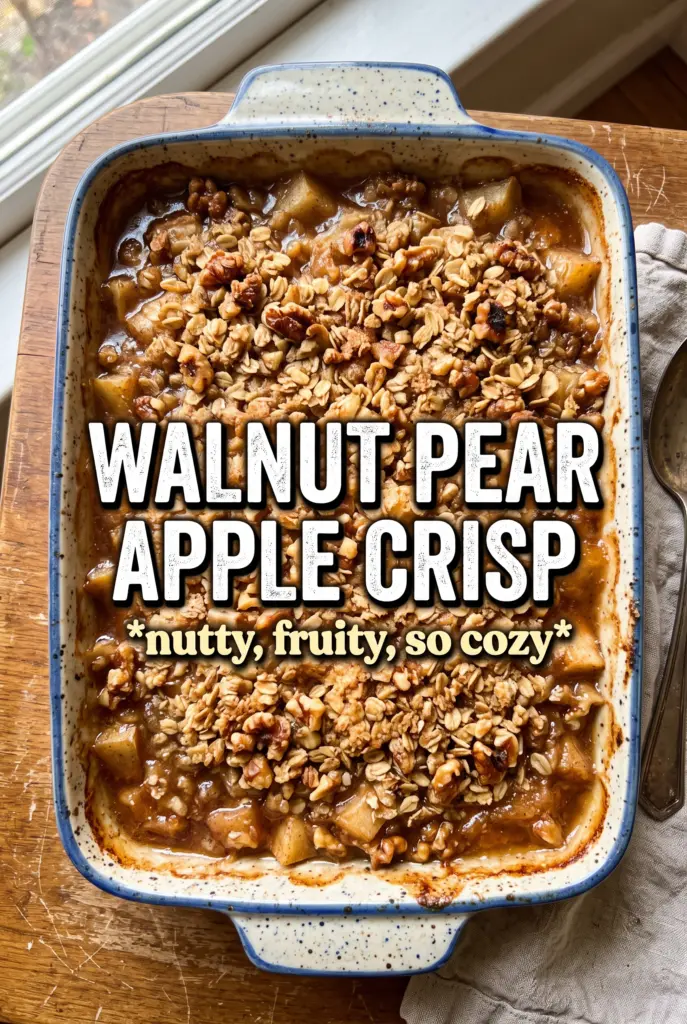
Walnut pear apple crisp lands with the kind of contrast that keeps people going back for another spoonful: tender baked fruit underneath, a deeply golden oat crumble on top, and little toasty hits of walnut in every bite. The pears soften into the apples and turn the filling juicy without going mushy, while the topping stays crisp around the edges and chunky in the middle.
The key is balancing the fruit and the topping so neither one gives up its texture. Apples bring structure, pears bring moisture and perfume, and a little cornstarch thickens the juices just enough to keep the crisp from turning soupy. Cold butter matters here, too. It’s what creates those rough, craggy crumbs that bake up into the best part of the dish.
Below, I’ve included the small details that keep this dessert from slipping into soggy territory, plus a few swaps that still give you a reliable crisp when you need to work with what’s in the pantry.
The fruit baked down into this perfect soft layer and the walnut topping stayed crunchy even after we added vanilla ice cream. I loved that the pears didn’t disappear — they gave the filling a little extra juice and sweetness.
Like this walnut pear apple crisp? Save it to Pinterest for the nights when you want bubbling fruit and a crunchy walnut-oat topping with almost no fuss.
The Reason the Fruit Stays Tender Instead of Turned to Jam
The biggest mistake with fruit crisps is treating all fruit the same. Apples need more time to soften than pears, but pears collapse faster once they hit heat, so the best texture comes from using both together. The apples hold the filling together while the pears melt into the juices and keep everything from feeling dry. That mix gives you a spoonable center instead of a layer that bakes into either crunchy chunks or applesauce.
Corstarch is doing a quiet but important job here. It thickens the juices as the fruit bakes, especially once the sugars pull liquid out of the fruit. If you skip it, the bottom can get loose and watery. The lemon juice matters too, not for brightness alone, but because it keeps the fruit tasting fresh after 45 minutes in the oven.
- Apples — Use firm baking apples if you can. Softer eating apples will break down too quickly and disappear into the filling.
- Pears — Choose ripe pears that still hold their shape when sliced. If they’re overly soft, they’ll turn the filling soupy before the topping is finished.
- Cornstarch — This is the difference between glossy, thick fruit and a puddle in the pan. Flour works in a pinch, but it won’t set the juices as cleanly.
- Lemon juice — A small amount keeps the fruit from tasting flat and helps the apples stay brighter as they bake.
What the Walnut Crumble Is Doing Besides Topping the Dessert
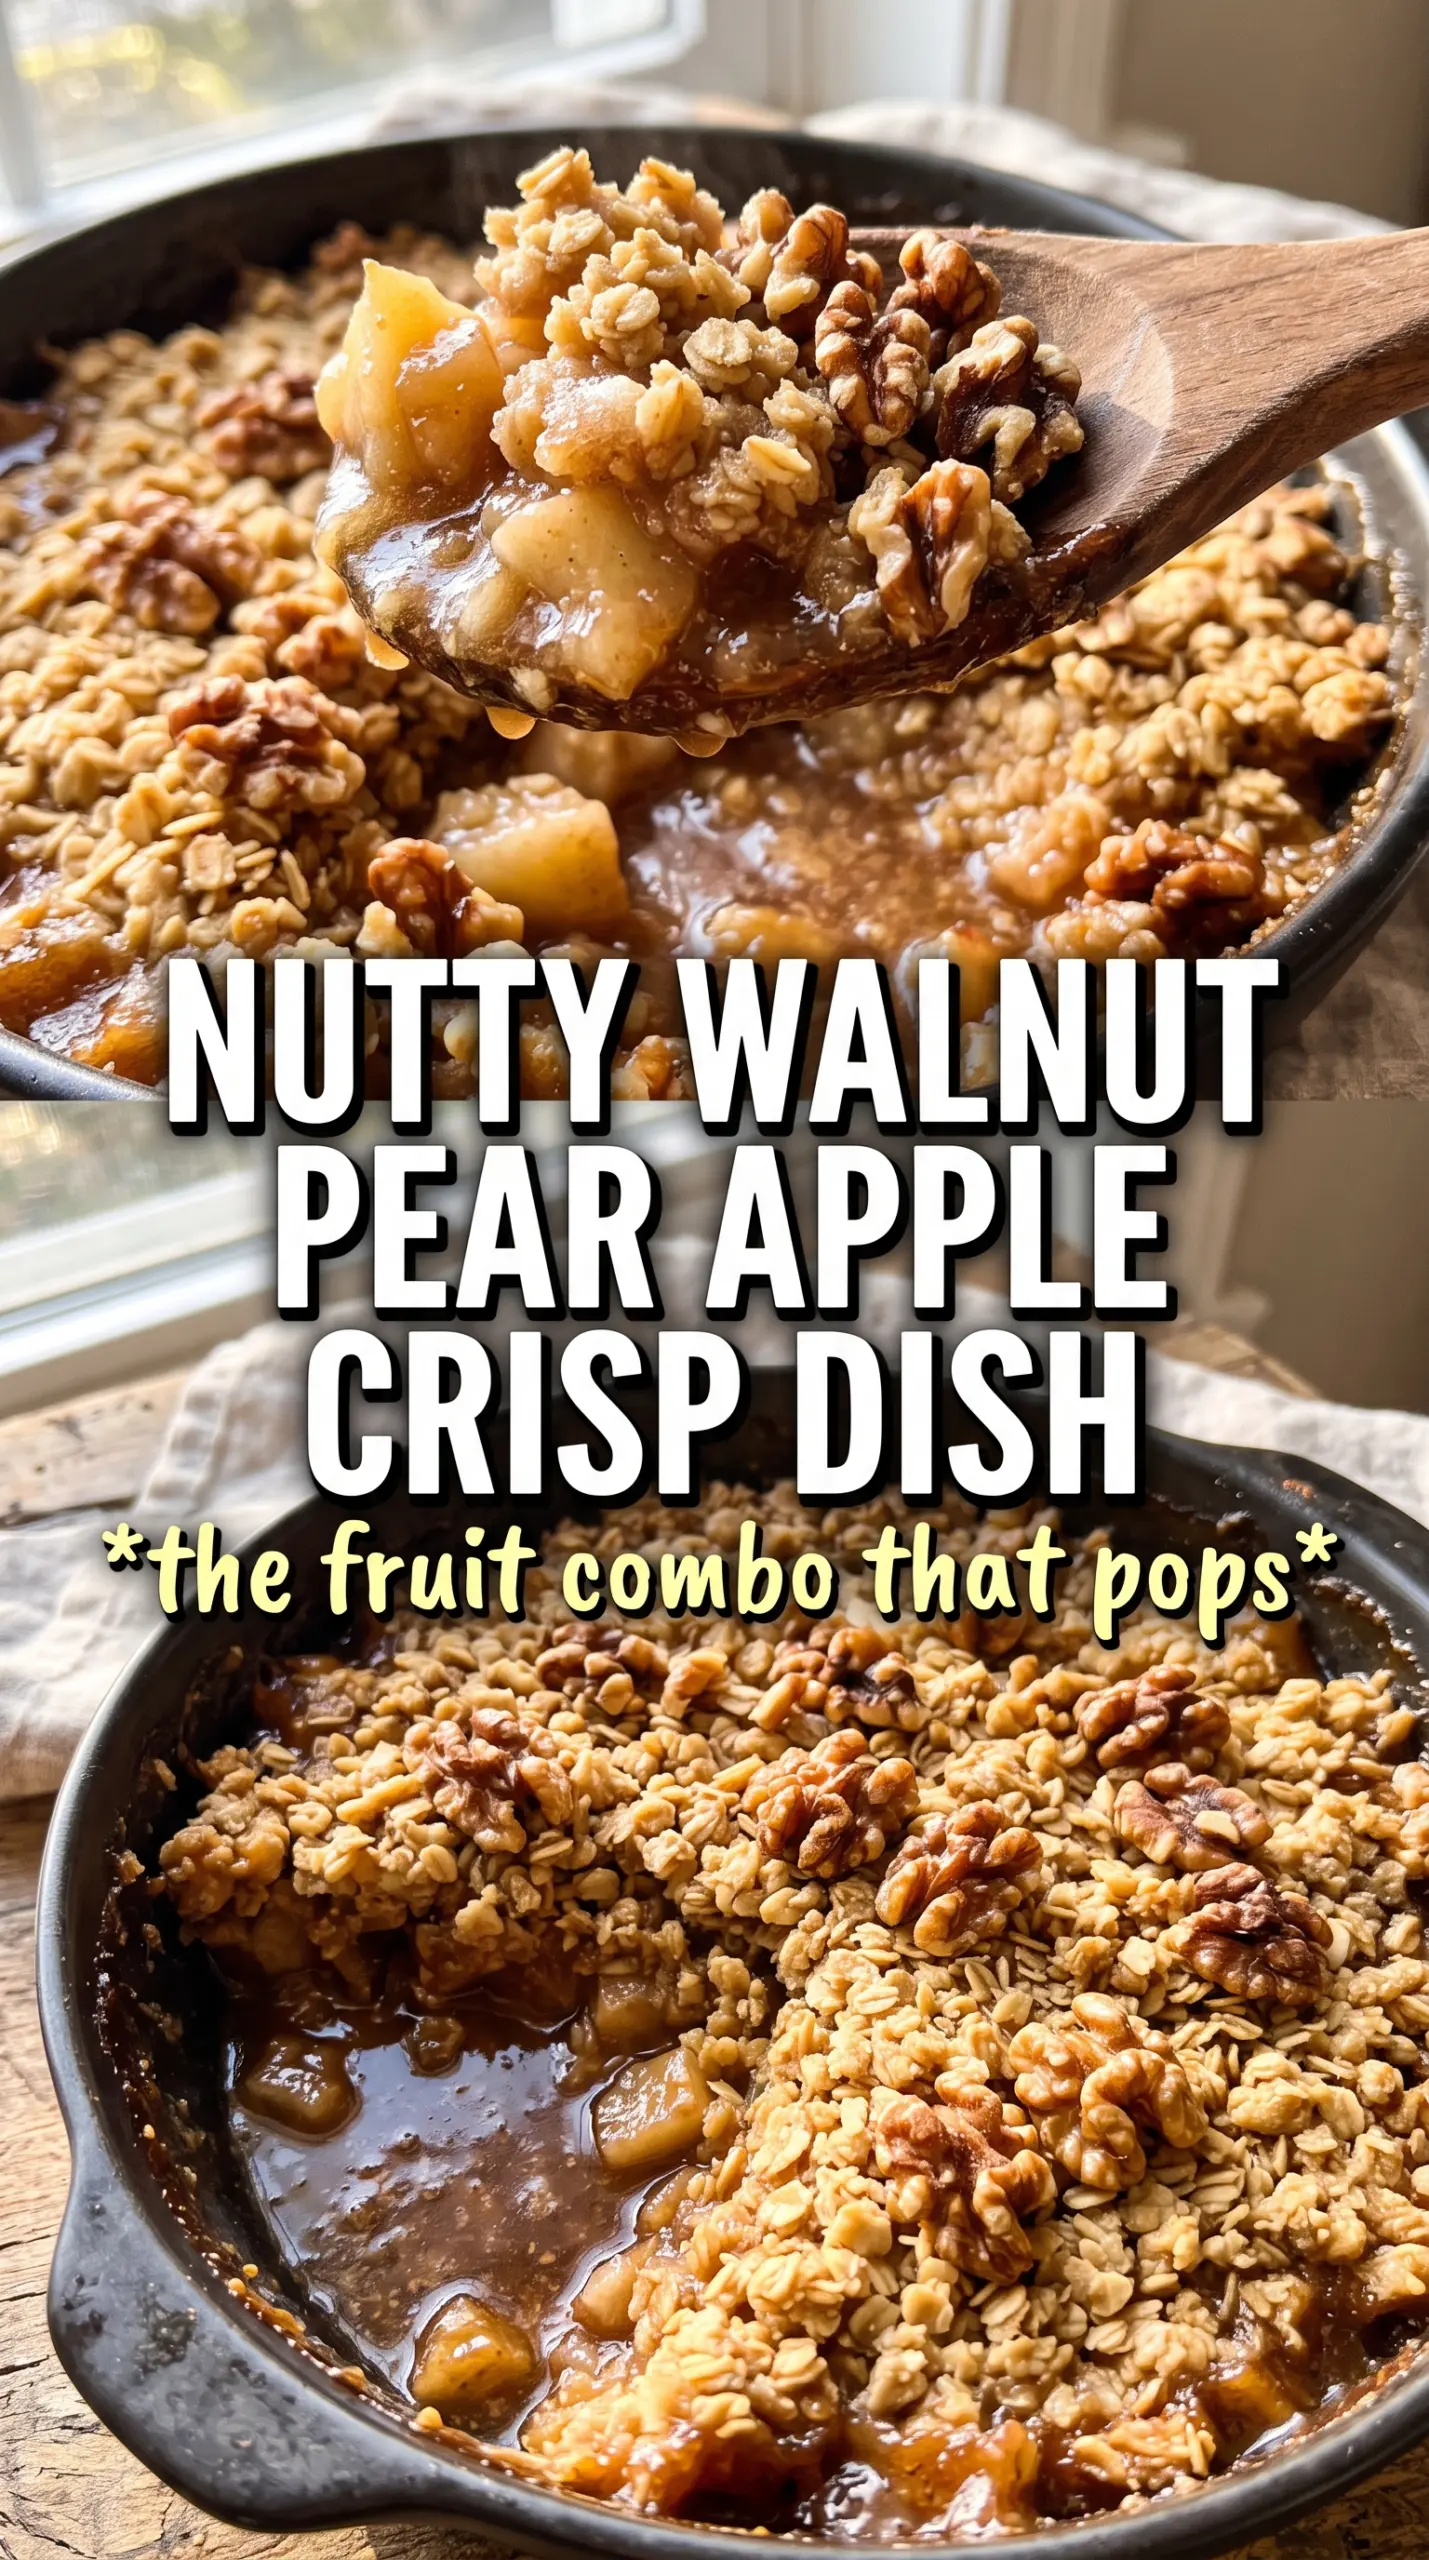
The crumble has to do more than brown. It needs to hold some structure, soak up just enough juice from the fruit below, and still stay rough and crisp on top. Rolled oats give the topping that craggy texture. Walnuts add richness and a toasty edge that makes the whole dessert taste deeper than a basic fruit crisp.
Cold butter is what makes the difference between a sandy layer and a real crumble. When you cut it into the dry ingredients, you want some pea-size pieces left behind; those melt in the oven and create those golden pockets people fight over. If the butter gets too warm before baking, the topping will bake up dense instead of crisp. For a gluten-free version, use a certified gluten-free oat and a 1:1 gluten-free flour blend in place of the all-purpose flour.
Building the Crisp So the Topping Stays Crunchy
Coating the Fruit First
Toss the sliced apples and pears with the sugars, cinnamon, ginger, cornstarch, and lemon juice until every piece looks lightly coated. The sugar won’t fully dissolve yet, and that’s fine. As the crisp bakes, it draws out juice and starts the sauce in the pan. Spread the fruit in an even layer so the filling cooks at the same rate; if it’s piled high in one corner, the center will stay firmer than the edges.
Making Chunky Crumble, Not Sand
Mix the oats, flour, brown sugar, cinnamon, salt, and walnuts, then cut in the butter until you see both fine crumbs and larger clumps. Those uneven bits are what you want. If everything looks like wet sand, the butter is too warm or you’ve overmixed it. Stop as soon as the dough holds together when squeezed in your hand, then scatter it over the fruit without pressing it down.
Baking Until the Filling Bubbes Through
Slide the dish into a 375°F oven and bake until the topping is deeply golden and you can see the fruit juices bubbling up around the edges and through the middle. That bubbling is the sign the cornstarch has thickened the filling. If the top gets dark before the fruit is done, lay a piece of foil loosely over the dish for the last 10 minutes. Let it rest before serving so the juices settle instead of running everywhere when you scoop it.
Three Ways to Work With What You Have
Make it dairy-free
Swap the butter for a plant-based baking stick that stays firm when cold. The topping will still brown and crisp, though it may bake a little less richly than butter-based crumble. Use a version designed for baking, not a soft tub spread, or the topping can turn greasy.
Lean into extra pear flavor
Use one extra pear and one fewer apple if you want a softer, more fragrant filling. The texture will be juicier and a little more delicate, so keep the cornstarch as written and bake until the bubbles look thick rather than watery.
Make it nut-free
Leave out the walnuts and add another 1/4 cup of oats plus 1/4 cup flour to replace the lost volume. You’ll lose the toasty crunch and the deeper nutty flavor, but the topping will still bake up crumbly and crisp.
Storage and Reheating
- Refrigerator: Keep covered for up to 4 days. The topping softens a little, but the flavor holds up well.
- Freezer: Freeze baked crisp in a tightly wrapped dish for up to 2 months. Thaw overnight in the refrigerator before reheating.
- Reheating: Warm uncovered in a 325°F oven until the fruit is hot and the topping crisp again, usually 15 to 20 minutes. The microwave works for a single serving, but it softens the crumble fast.
Questions I Get Asked About This Recipe
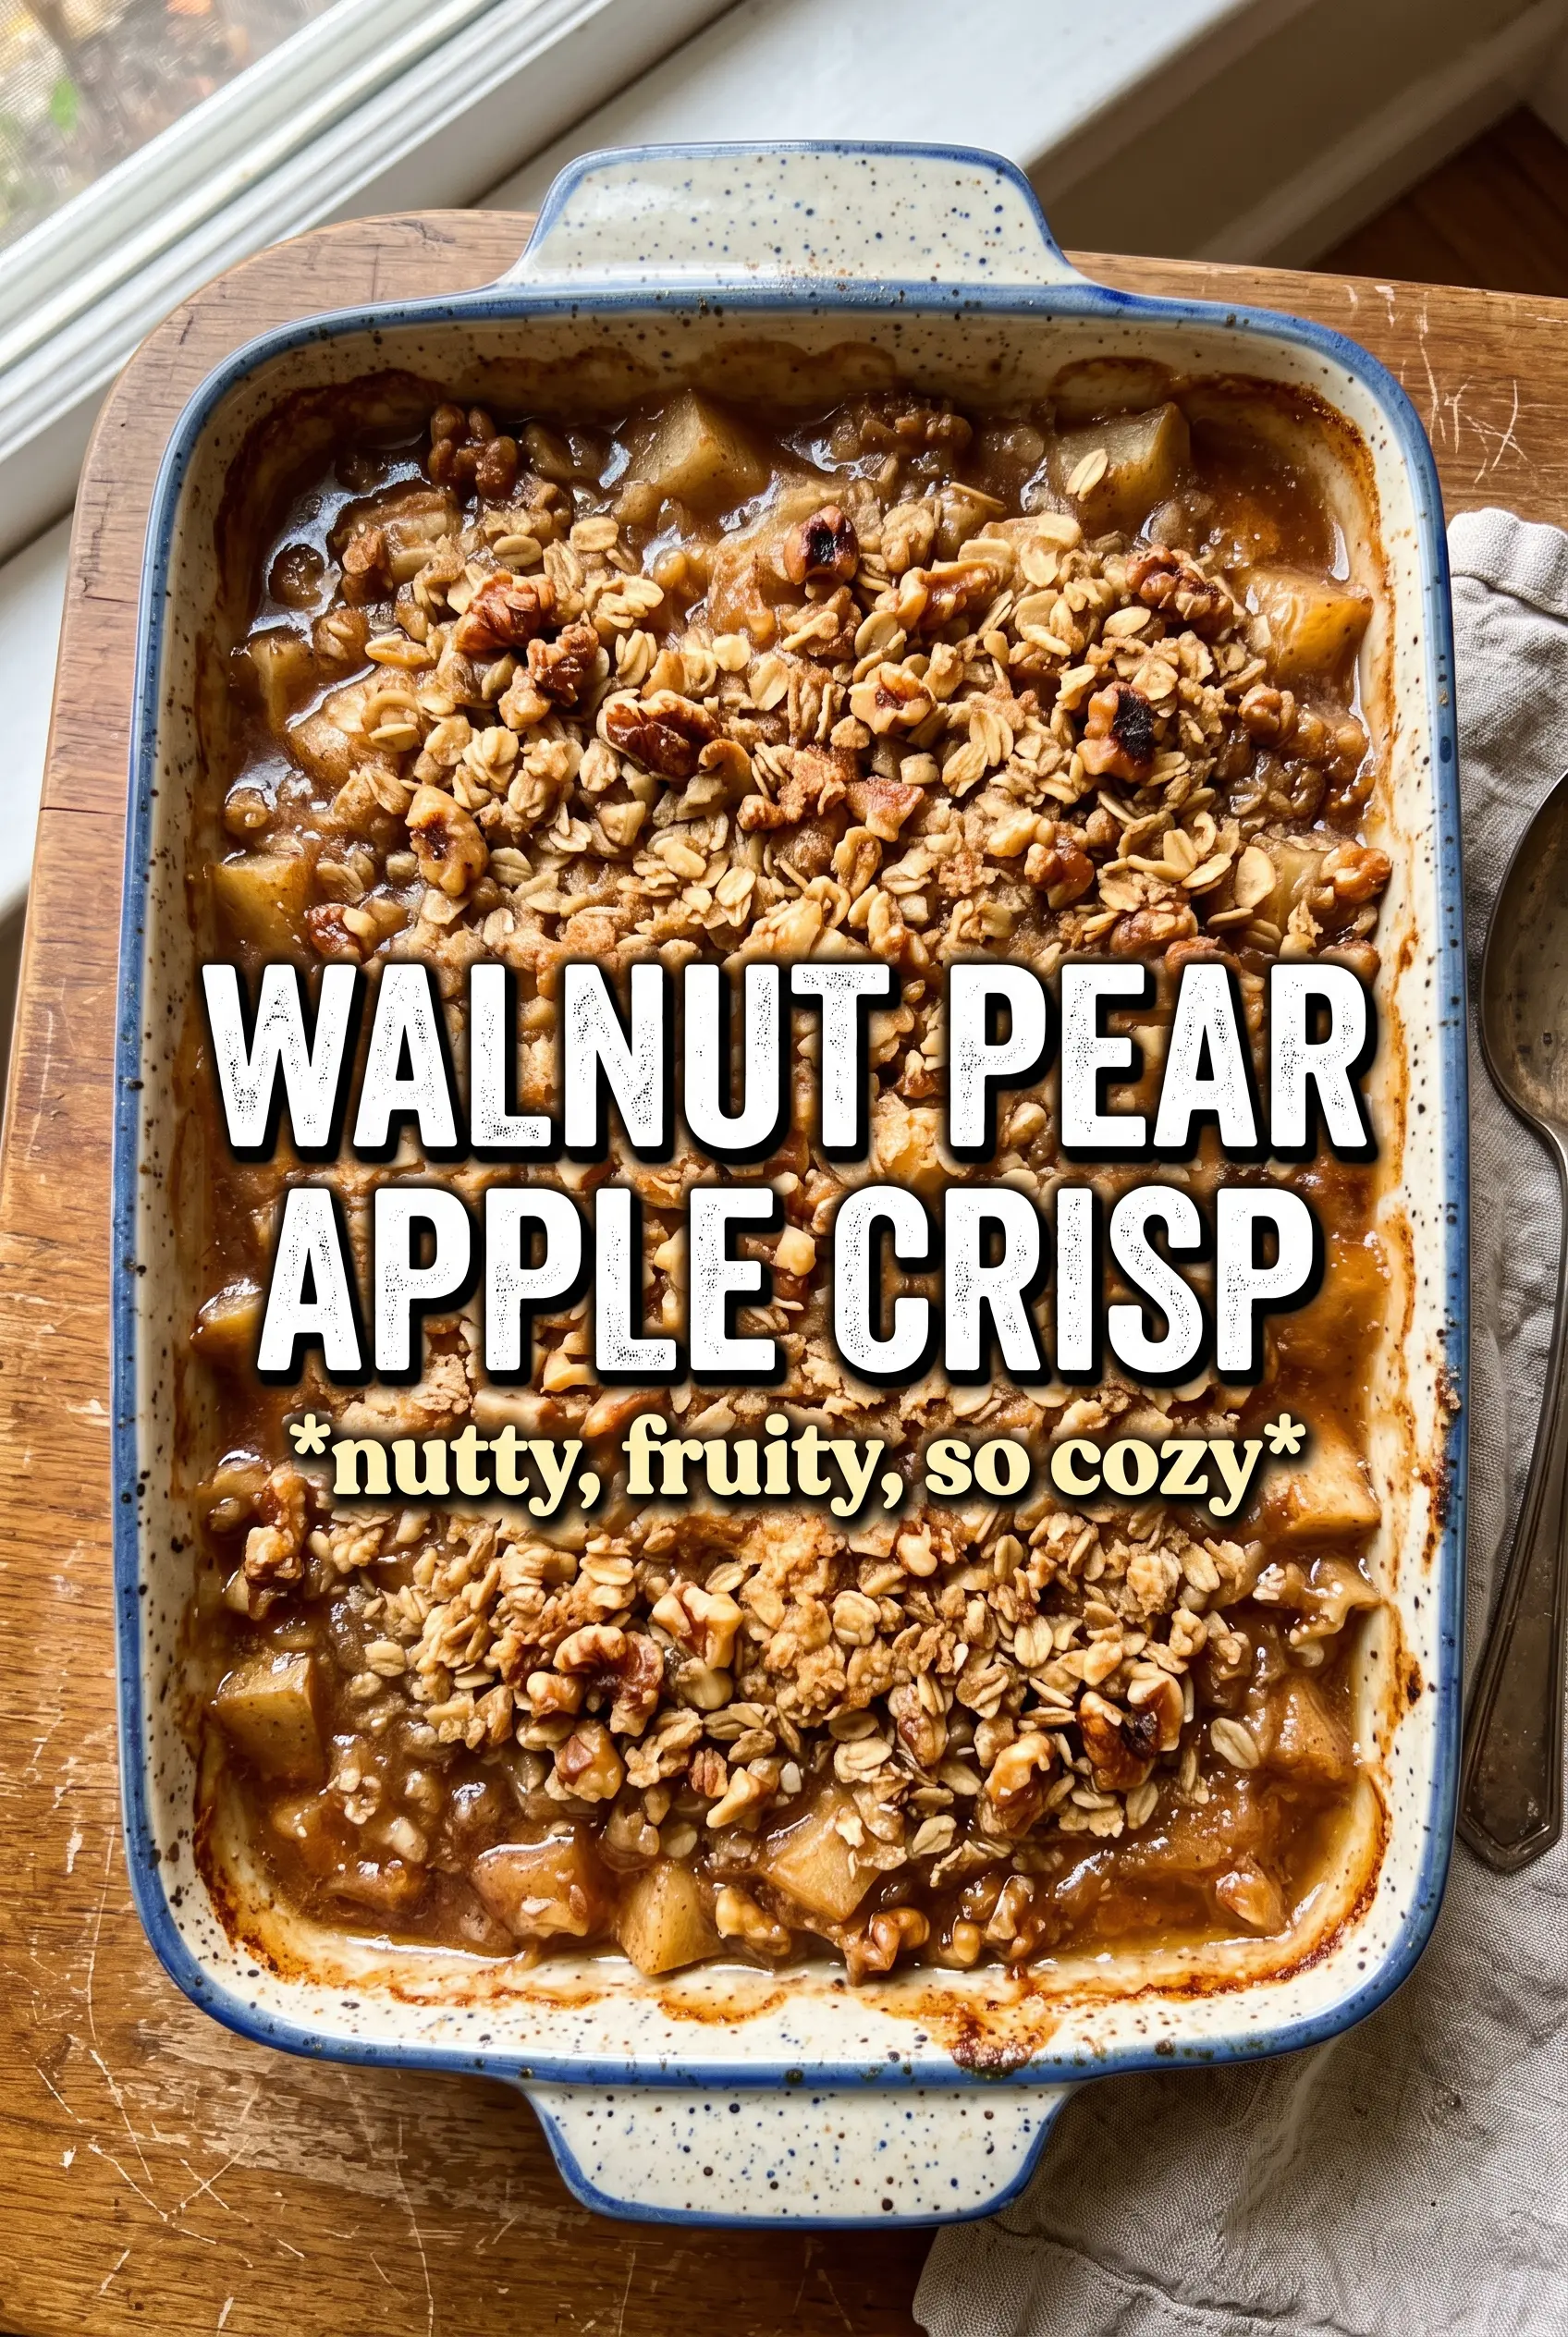
Walnut Pear Apple Crisp
Ingredients
Equipment
Method
- Preheat oven to 375F and grease a 9x13 baking dish, so it’s ready for the fruit right away.
- Toss apple and pear slices with both sugars, cinnamon, ginger, cornstarch, and lemon juice, then spread them into an even layer in the dish.
- Combine rolled oats, all-purpose flour, packed brown sugar, cinnamon, salt, and chopped walnuts, then cut in cold butter until chunky clumps form.
- Scatter the crumble over the fruit, making sure the top is fully covered.
- Bake for 40-45 minutes at 375F until the crumble is deeply golden and the fruit is bubbling around the edges.
- Rest for 10 minutes before serving so the filling thickens slightly and the crumble stays crisp.