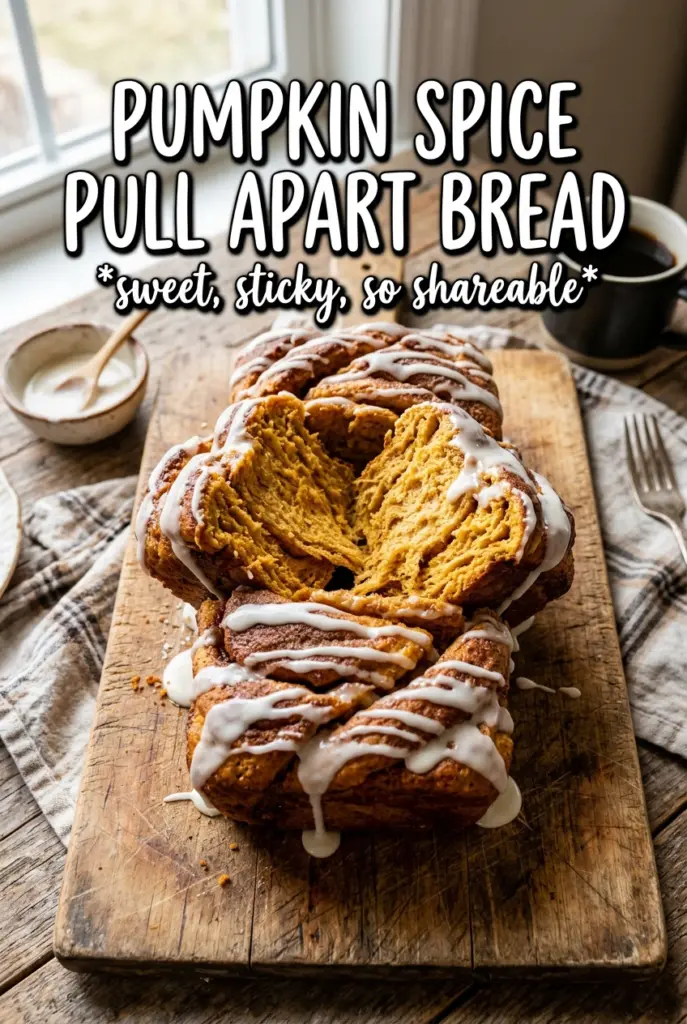
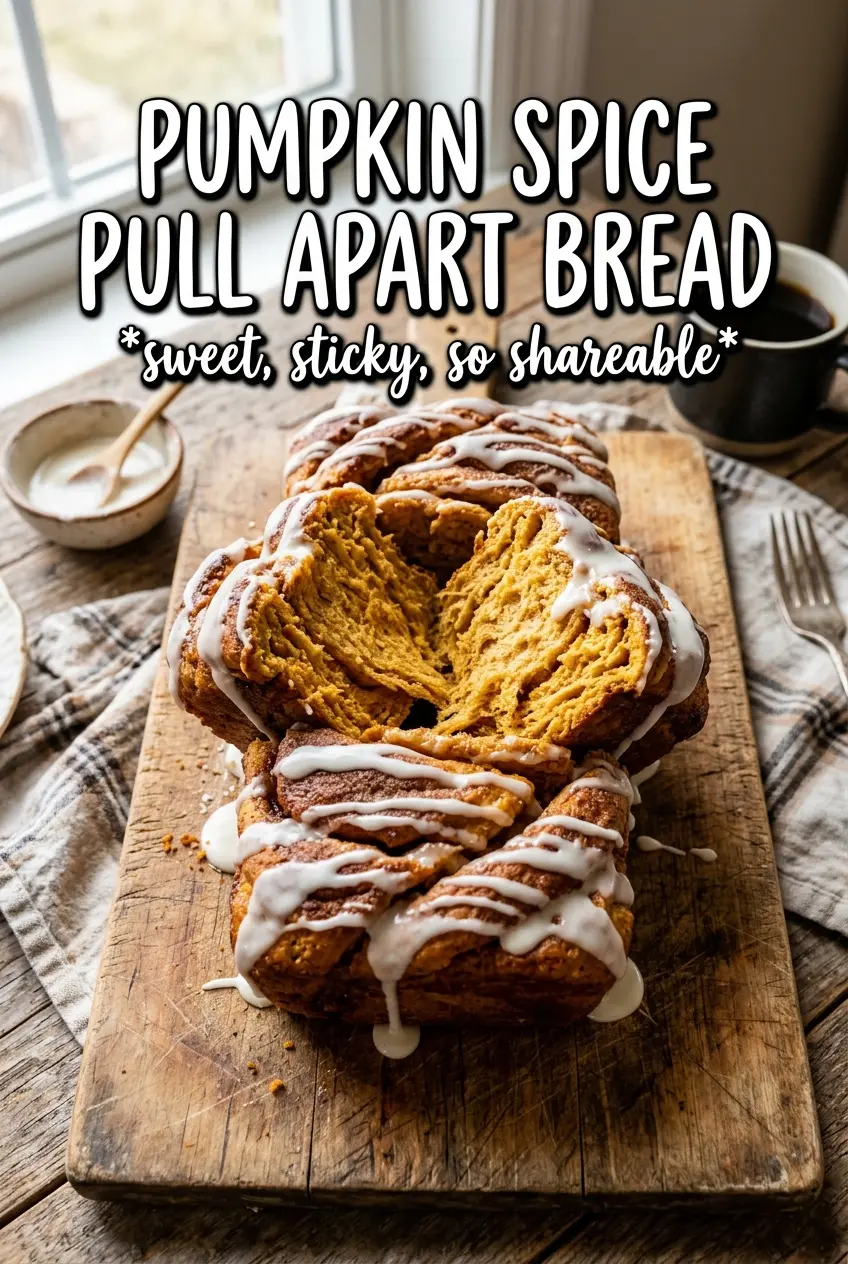
Golden, tender layers with pumpkin spice cinnamon sugar tucked between every fold make this pull apart bread the kind of breakfast people hover over before it even hits the table. The edges bake up lightly caramelized, the center stays soft and plush, and every square pulls away with a little stretch that makes the whole loaf feel special without being fussy.
What makes this version work is the dough itself. Pumpkin puree adds moisture and a little richness, but it also means the dough needs enough kneading to build strength before the first rise. The filling is simple on purpose: melted butter, brown sugar, cinnamon, pumpkin pie spice, and a little nutmeg. That mix melts into the layers as the loaf bakes, so you get defined swirls instead of a dry, sandy middle.
Below, I’m walking through the part that matters most: how to stack and cut the dough so the loaf rises evenly instead of collapsing in the pan. I’ve also included a few swaps that keep the texture on track if you want to adjust the glaze or make the loaf ahead.
The layers baked up fluffy and the filling stayed gooey without leaking all over the pan. The cream cheese glaze soaked into the top just enough and my kitchen smelled like a bakery for hours.
Save this pumpkin spice pull apart bread for a loaf that bakes up fluffy, layered, and finished with cream cheese glaze.
The Layer Trick That Keeps This Loaf From Sinking
Pumpkin dough is softer than a plain yeast dough, which is why this loaf needs structure before it goes into the pan. If the dough feels sticky after kneading, that’s normal at first. Keep kneading until it turns smoother and elastic; otherwise the stacked pieces won’t support one another and the center can collapse while it bakes.
The other place people lose the shape is the second rise. The loaf should look puffy and nestled up in the pan, not doubled to the point where the stacked pieces are spilling over. Overproofed pull apart bread bakes up dense in the middle because the layers blow out before the dough has enough strength to hold them.
- Warm milk — This wakes up the yeast and gives it a comfortable start. Too hot and it can kill the yeast; too cool and the rise drags.
- Pumpkin puree — Canned puree is the right call here because it’s consistent and smooth. Use plain pumpkin puree, not pumpkin pie filling.
- Butter in the dough — It softens the crumb and adds richness, but it also slows gluten development a little, which is why the full knead matters.
- Pumpkin pie spice — It gives the dough a gentle background spice so the loaf tastes like pumpkin, not just sweet bread with filling.
What Each Ingredient Is Actually Doing in the Dough and Glaze
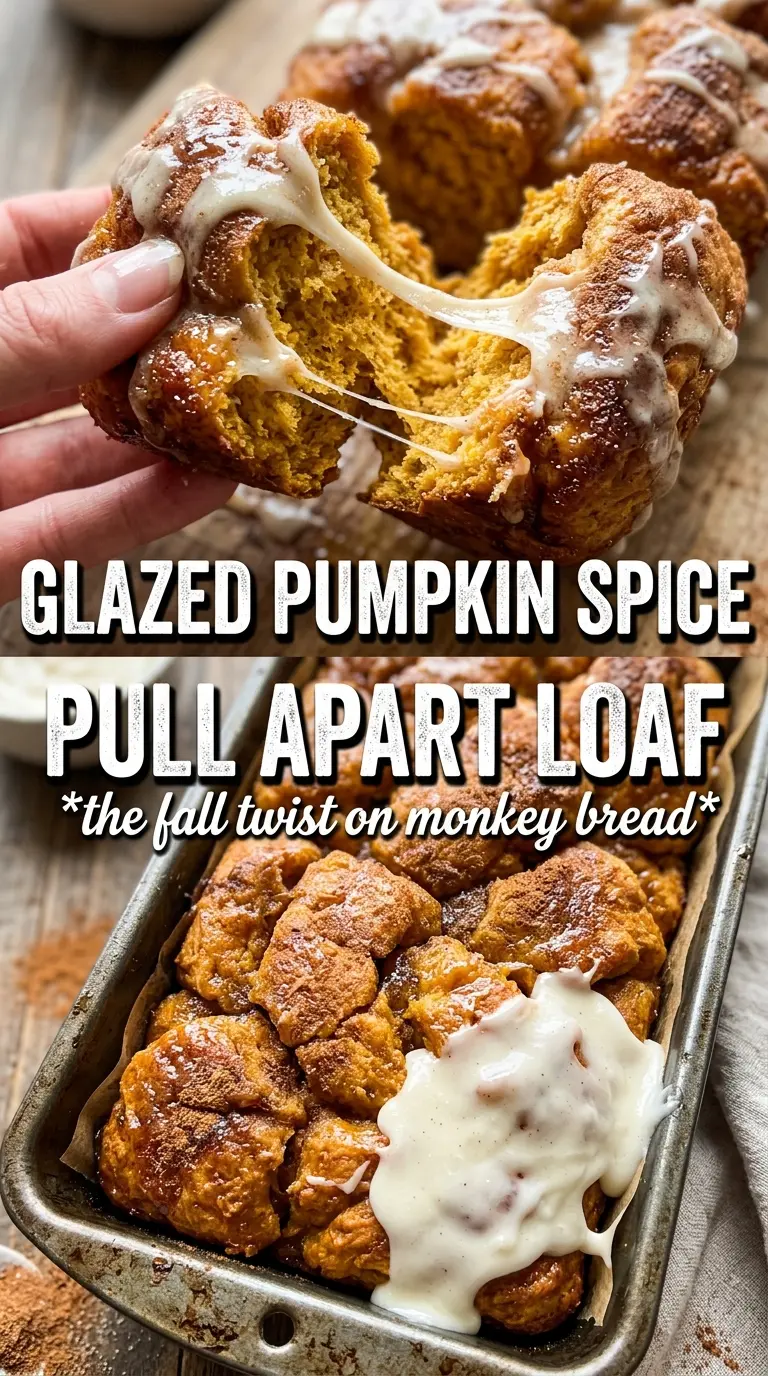
The filling looks basic, but the ratios matter. Brown sugar melts into a sticky layer that holds the spirals together, while the melted butter helps the spices spread instead of clumping. If you cut back the butter too much, the filling turns dry and sandy, and the layers don’t separate as cleanly once baked.
The cream cheese glaze is there to balance the sweetness and add a little tang. If you want a thinner drizzle, add the milk a teaspoon at a time until it falls off the spoon in ribbons. If you want it thicker and more bakery-style, use less milk and let the loaf cool for a few minutes before glazing so it sits on top instead of sinking in.
Stacking and Cutting the Dough So the Layers Stay Distinct
Building the Rectangle
Roll the dough into a 12×16-inch rectangle with even thickness from edge to edge. If one side is noticeably thinner, that section bakes faster and tears when you move the strips. Brush on the melted butter while the dough is still supple, then scatter the filling all the way to the edges so every bite has that cinnamon-sugar pull.
Making the Stacks
Cut the rectangle into four long strips, then stack them neatly. Press lightly so the strips adhere, but don’t mash them flat. When you cut the stacks into squares, use a sharp knife or bench scraper and keep the cuts clean; ragged edges stick together in the pan and make the loaf look patchy instead of layered.
Fitting the Pan and Proofing
Set the square stacks on their sides in a greased 9×5 loaf pan so the cut layers face up. The loaf should look like a row of little books standing on end. During the second rise, it should puff into the gaps without overflowing the pan. If it rises too fast in a warm kitchen, move it to a cooler spot; a rushed proof gives you a loaf that looks inflated but bakes unevenly.
Baking Until the Center Sets
Bake at 350°F until the top is deeply golden and the center feels set when you tap the loaf. Tent with foil halfway through if the top is browning faster than the middle is cooking. That foil matters because the sugar in the filling can darken before the dough is done, and a burnt top with a doughy center is the easiest way to ruin a good loaf.
How to Adapt This Pumpkin Spice Pull Apart Bread Without Losing the Texture
Dairy-Free Version
Swap the milk for an unsweetened plant milk and use a good dairy-free butter in both the dough and filling. The loaf will still rise and bake up soft, but the glaze needs dairy-free cream cheese with a little less liquid so it stays thick enough to drizzle.
Make It Ahead for Brunch
Shape the loaf, cover it tightly, and refrigerate it after the second rise begins if you want to bake it later the same day. Bring it back toward room temperature while the oven preheats, then bake as written. Straight from the fridge, the center lags behind and the top overbrowns before the middle is done.
A Sweeter, More Dessert-Like Finish
Add an extra tablespoon of brown sugar to the filling and use the full cream cheese glaze amount. The loaf becomes richer and more bakery-style, but it also caramelizes faster, so keep the foil tent on schedule and watch the last 10 minutes closely.
Storage and Reheating
- Refrigerator: Keep leftovers covered for up to 4 days. The bread firms up a bit in the fridge because of the butter and cream cheese glaze.
- Freezer: Freeze slices tightly wrapped for up to 2 months. Unglazed slices freeze best; add fresh glaze after thawing for the cleanest texture.
- Reheating: Warm individual slices in the microwave for 15 to 20 seconds or in a 300°F oven until just heated through. Don’t overheat it or the bread dries out and the glaze turns greasy.
Questions I Get Asked About This Recipe
Pumpkin Spice Pull Apart Bread
Ingredients
Equipment
Method
- In a mixing bowl, combine warm milk and yeast, then add sugar, melted butter, egg, and pumpkin puree until evenly blended. Let stand briefly so the yeast activates and becomes foamy.
- Add flour, pumpkin pie spice, and salt, then knead for 7-8 minutes until the dough is smooth and elastic with a cohesive stretch.
- Cover the bowl and let the dough rise for 1 hour, until it doubles in size and looks puffy.
- Roll the dough into a 12x16 rectangle, keeping it even so the layers bake uniformly.
- Brush the rectangle with melted butter, then sprinkle the pumpkin spice filling mixture evenly over the surface.
- Cut the filled dough into 4 strips lengthwise, then stack the strips to form layers.
- Cut the stacked strips into 6 square stacks.
- Place the stacks on their sides in a greased 9x5 loaf pan, spacing them so they can expand upward. Cover and rise for 30 minutes until slightly puffed.
- Bake at 350F for 35-40 minutes, until the loaf is deep golden and the edges look set.
- Tent the loaf with foil halfway through baking to prevent over-browning while the center finishes cooking.
- While the bread is warm, drizzle cream cheese glaze over the top so it melts slightly and settles into the pull-apart layers.