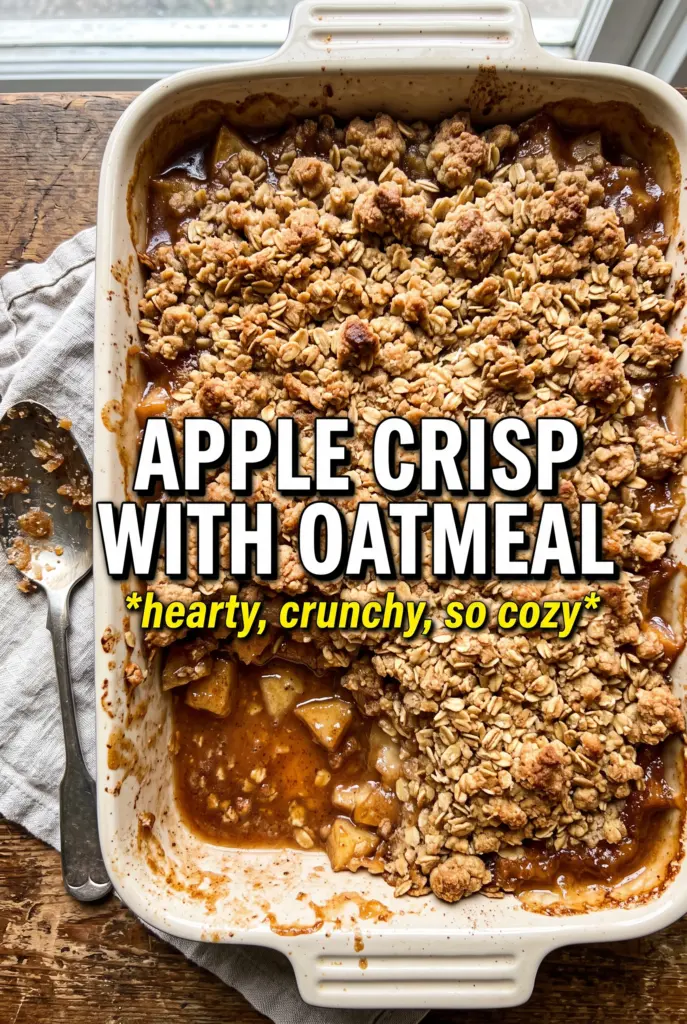
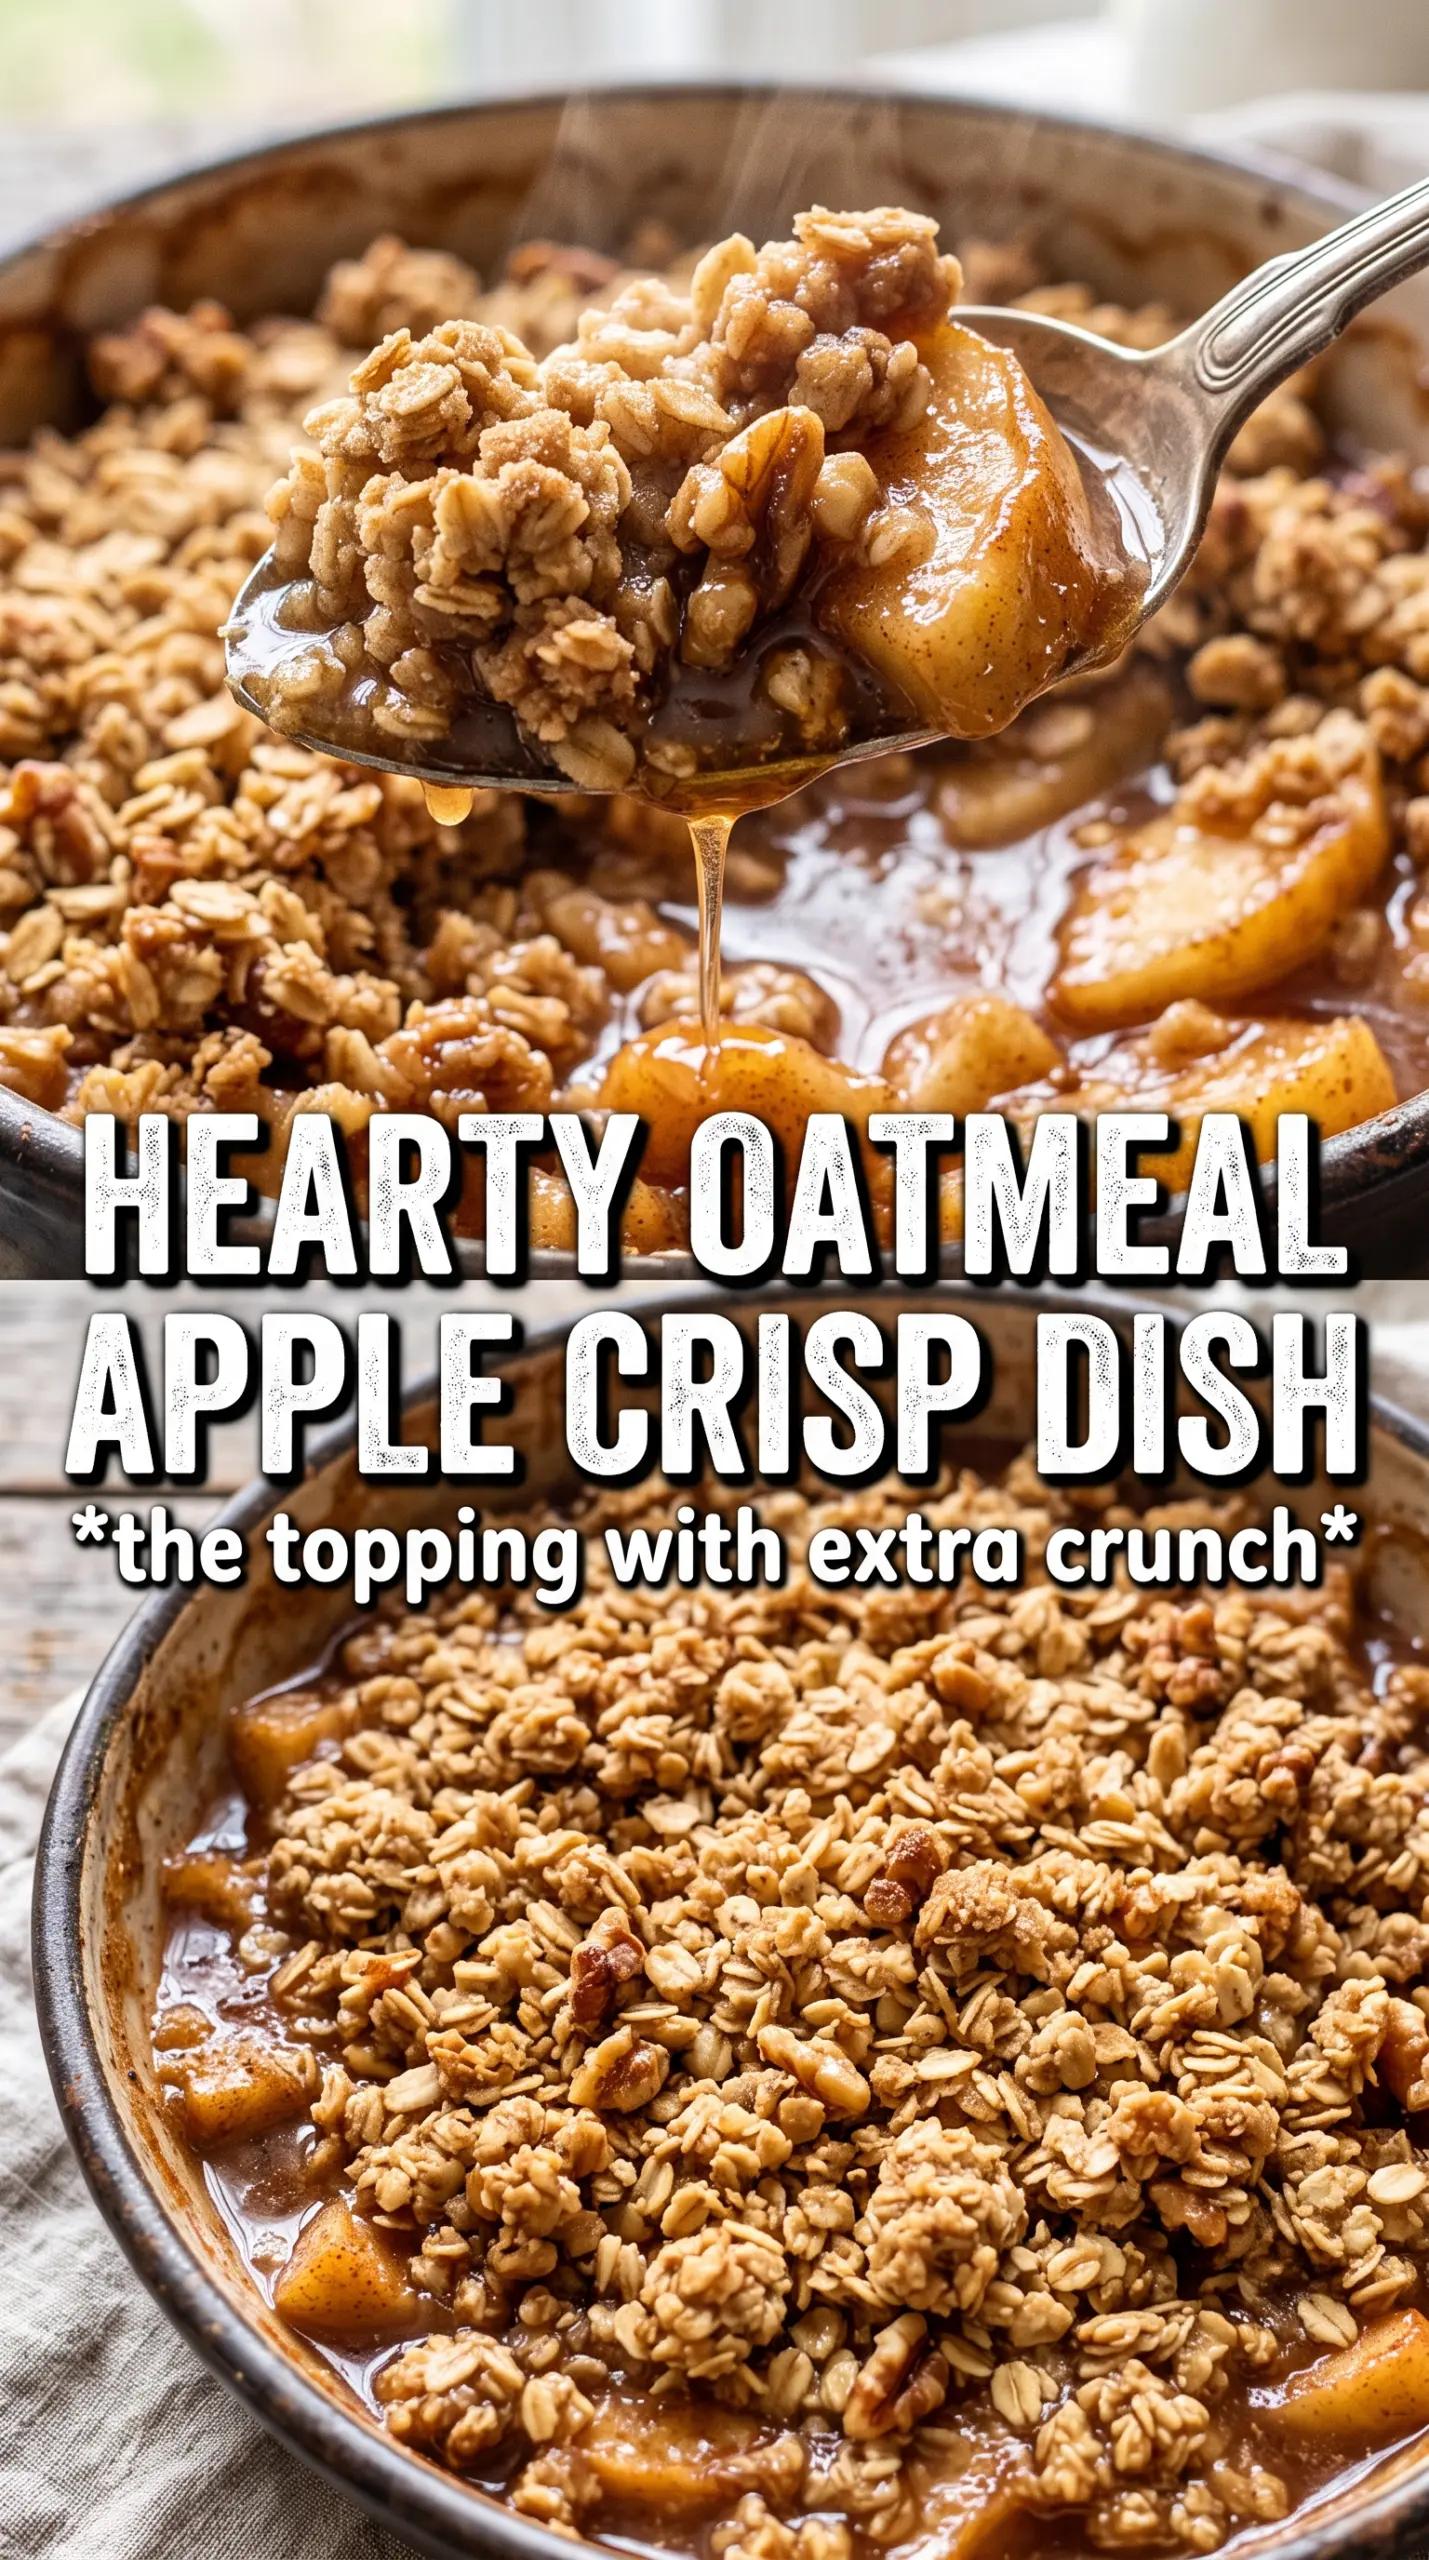
Big scoops of apple crisp with oatmeal come out of the oven with a deeply golden topping that shatters at the first spoonful and a spiced apple filling that bubbles up around the edges. The best bites have a little bit of everything: soft fruit, crisp oat crumbles, and a cold streak of vanilla ice cream melting into the warm pan. That contrast is what keeps this dessert in regular rotation.
This version works because the apples are lightly thickened before baking, so the filling sets up instead of turning watery under the crumble. The oats bring chew and structure, but the real key is keeping the butter cold and cutting it in just until chunky clumps form. Those uneven pieces bake into a craggy top with pockets of crunch instead of a sandy layer.
Below, I’ve included the small details that matter: which apples hold their shape best, how to tell when the crisp is baked through, and a few simple ways to adjust it if you want to change the fruit or make it dairy-free.
The oat topping baked up crisp and chunky, and the filling thickened instead of running all over the plate. I used Honeycrisp apples and it was perfect with vanilla ice cream.
Save this apple crisp with oatmeal for the nights when you want a bubbling fruit dessert with a thick, crunchy topping.
The One Thing That Keeps the Filling From Turning Soupy
The biggest mistake with apple crisp is underestimating how much liquid apples give off once they hit the oven. The cornstarch in this recipe isn’t there as a vague thickener; it’s there to catch that juice and turn it into a glossy filling instead of a puddle under the crumble. If you skip it, the topping can still taste good, but the bottom layer will slide around on the plate.
Lemon juice helps the apples taste brighter, especially once the sugar and cinnamon soften everything in the oven. It also slows the apples from browning while you work, which matters if you’re slicing by hand and taking your time. Bake until the edges are actively bubbling. That bubbling is the clearest sign the filling has thickened enough to hold once it cools.
What the Oats, Butter, and Brown Sugar Are Each Doing
- Apples — Use firm baking apples that hold their shape, like Honeycrisp, Fuji, or Granny Smith. Softer apples collapse too fast and turn the filling mushy. A mix of sweet and tart apples gives the best balance, but even one good baking variety works.
- Cornstarch — This is what keeps the filling from turning runny. Flour can work in a pinch, but it makes the juices cloudier and less clean-tasting. Toss it evenly with the fruit so it dissolves before baking.
- Old-fashioned rolled oats — These give the topping its chew and craggy texture. Quick oats will bake into a finer, softer crust, which is fine if that’s what you want, but you lose the chunky crumble. Don’t use steel-cut oats here; they won’t soften properly in time.
- Cold butter — Cold cubes are nonnegotiable. Warm butter melts into the dry ingredients and makes a dense, sandy topping instead of crisp clumps. Cut it in until you still have visible pieces the size of peas and hazelnuts.
- Brown sugar — Brown sugar brings the caramel note that makes the topping taste baked and toasty instead of just sweet. Packed light brown sugar is ideal, but dark brown sugar works if you want a deeper molasses flavor.
Building the Crumble So It Bakes Up Crispy, Not Dry
Tossing the Apples First
Mix the sliced apples with both sugars, cinnamon, nutmeg, cornstarch, and lemon juice until every piece looks lightly coated. You want the sugar evenly distributed before the baking dish so the cornstarch starts doing its job right away. Spread the apples in an even layer; a mound in the middle bakes unevenly and leaves some fruit underdone.
Cutting in the Butter
Use your fingertips or a pastry cutter to work the cold butter into the oat mixture until you have large, shaggy clumps. Stop before it looks uniform. If the mixture turns pasty or sandy, the butter warmed up too much and the topping will bake flatter. The goal is a rough texture that can brown on the outside while staying tender inside.
Baking Until the Edges Bubble
Scatter the crumble over the apples in a thick layer and cover every bit of fruit. Bake at 375°F until the top is deeply golden and you can see the filling bubbling at the corners, usually 40 to 45 minutes. If the top browns too quickly before the fruit is bubbling, lay a sheet of foil loosely over the dish for the last part of baking.
Letting It Set Before Serving
Rest the crisp for 10 minutes after it comes out of the oven. That short wait lets the juices settle and thicken, so the filling holds together when you scoop it. Serve it warm with vanilla ice cream, and don’t rush this part — the contrast between hot crisp and cold ice cream is what makes the dish feel complete.
How to Adapt This Crisp When You Need a Different Version
Dairy-Free Crisp
Swap the butter for a firm vegan butter block in equal amounts. Soft tub-style spreads can make the topping greasy and less crisp, while a solid block replacement still gives you those browned, chunky crumbs. Keep it cold and cut it in the same way.
Gluten-Free Oat Crisp
Use a cup-for-cup gluten-free flour blend in place of the all-purpose flour and check that your oats are certified gluten-free. The texture stays close to the original, though the topping may bake a little more tender. If the crumble looks dry before baking, squeeze a few larger butter clumps together with your fingers.
Mixing Up the Fruit
Pear slices, peaches, or a blend of apples and cranberries all work, but softer fruit usually needs a little extra cornstarch because it releases more juice. Keep the total fruit amount about the same so the crumble ratio doesn’t get thrown off. With very juicy fruit, bake until the filling is visibly bubbling in the center, not just at the edges.
Making It Ahead
You can assemble the whole dish a few hours ahead and refrigerate it before baking, or mix the crumble topping separately and keep it chilled until you’re ready. If the assembled dish goes straight from the fridge to the oven, add a few extra minutes to the bake time so the center heats through.
Storage and Reheating
- Refrigerator: Store covered for up to 4 days. The topping softens a little, but the flavor holds well.
- Freezer: It freezes well after baking. Cool completely, wrap tightly, and freeze for up to 2 months. Thaw overnight in the fridge before reheating.
- Reheating: Warm individual portions in the microwave for speed, or reheat the whole dish in a 325°F oven until hot. The oven brings the topping back to life better than the microwave, which softens the crumble.
Questions I Get Asked About This Recipe
Apple Crisp With Oatmeal
Ingredients
Equipment
Method
- Preheat the oven to 375°F and grease a 9x13 baking dish, keeping the dish ready for the apple layer.
- Toss the apple slices with granulated sugar, brown sugar, cinnamon, nutmeg, cornstarch, and lemon juice, until evenly coated and glossy.
- Spread the coated apples in the prepared dish in an even layer.
- Combine the oats, flour, brown sugar, cinnamon, and salt, then cut in the cold butter until large, chunky clumps form with no loose dry patches.
- Scatter the crumble generously over the apples so every inch is covered and the topping looks thick.
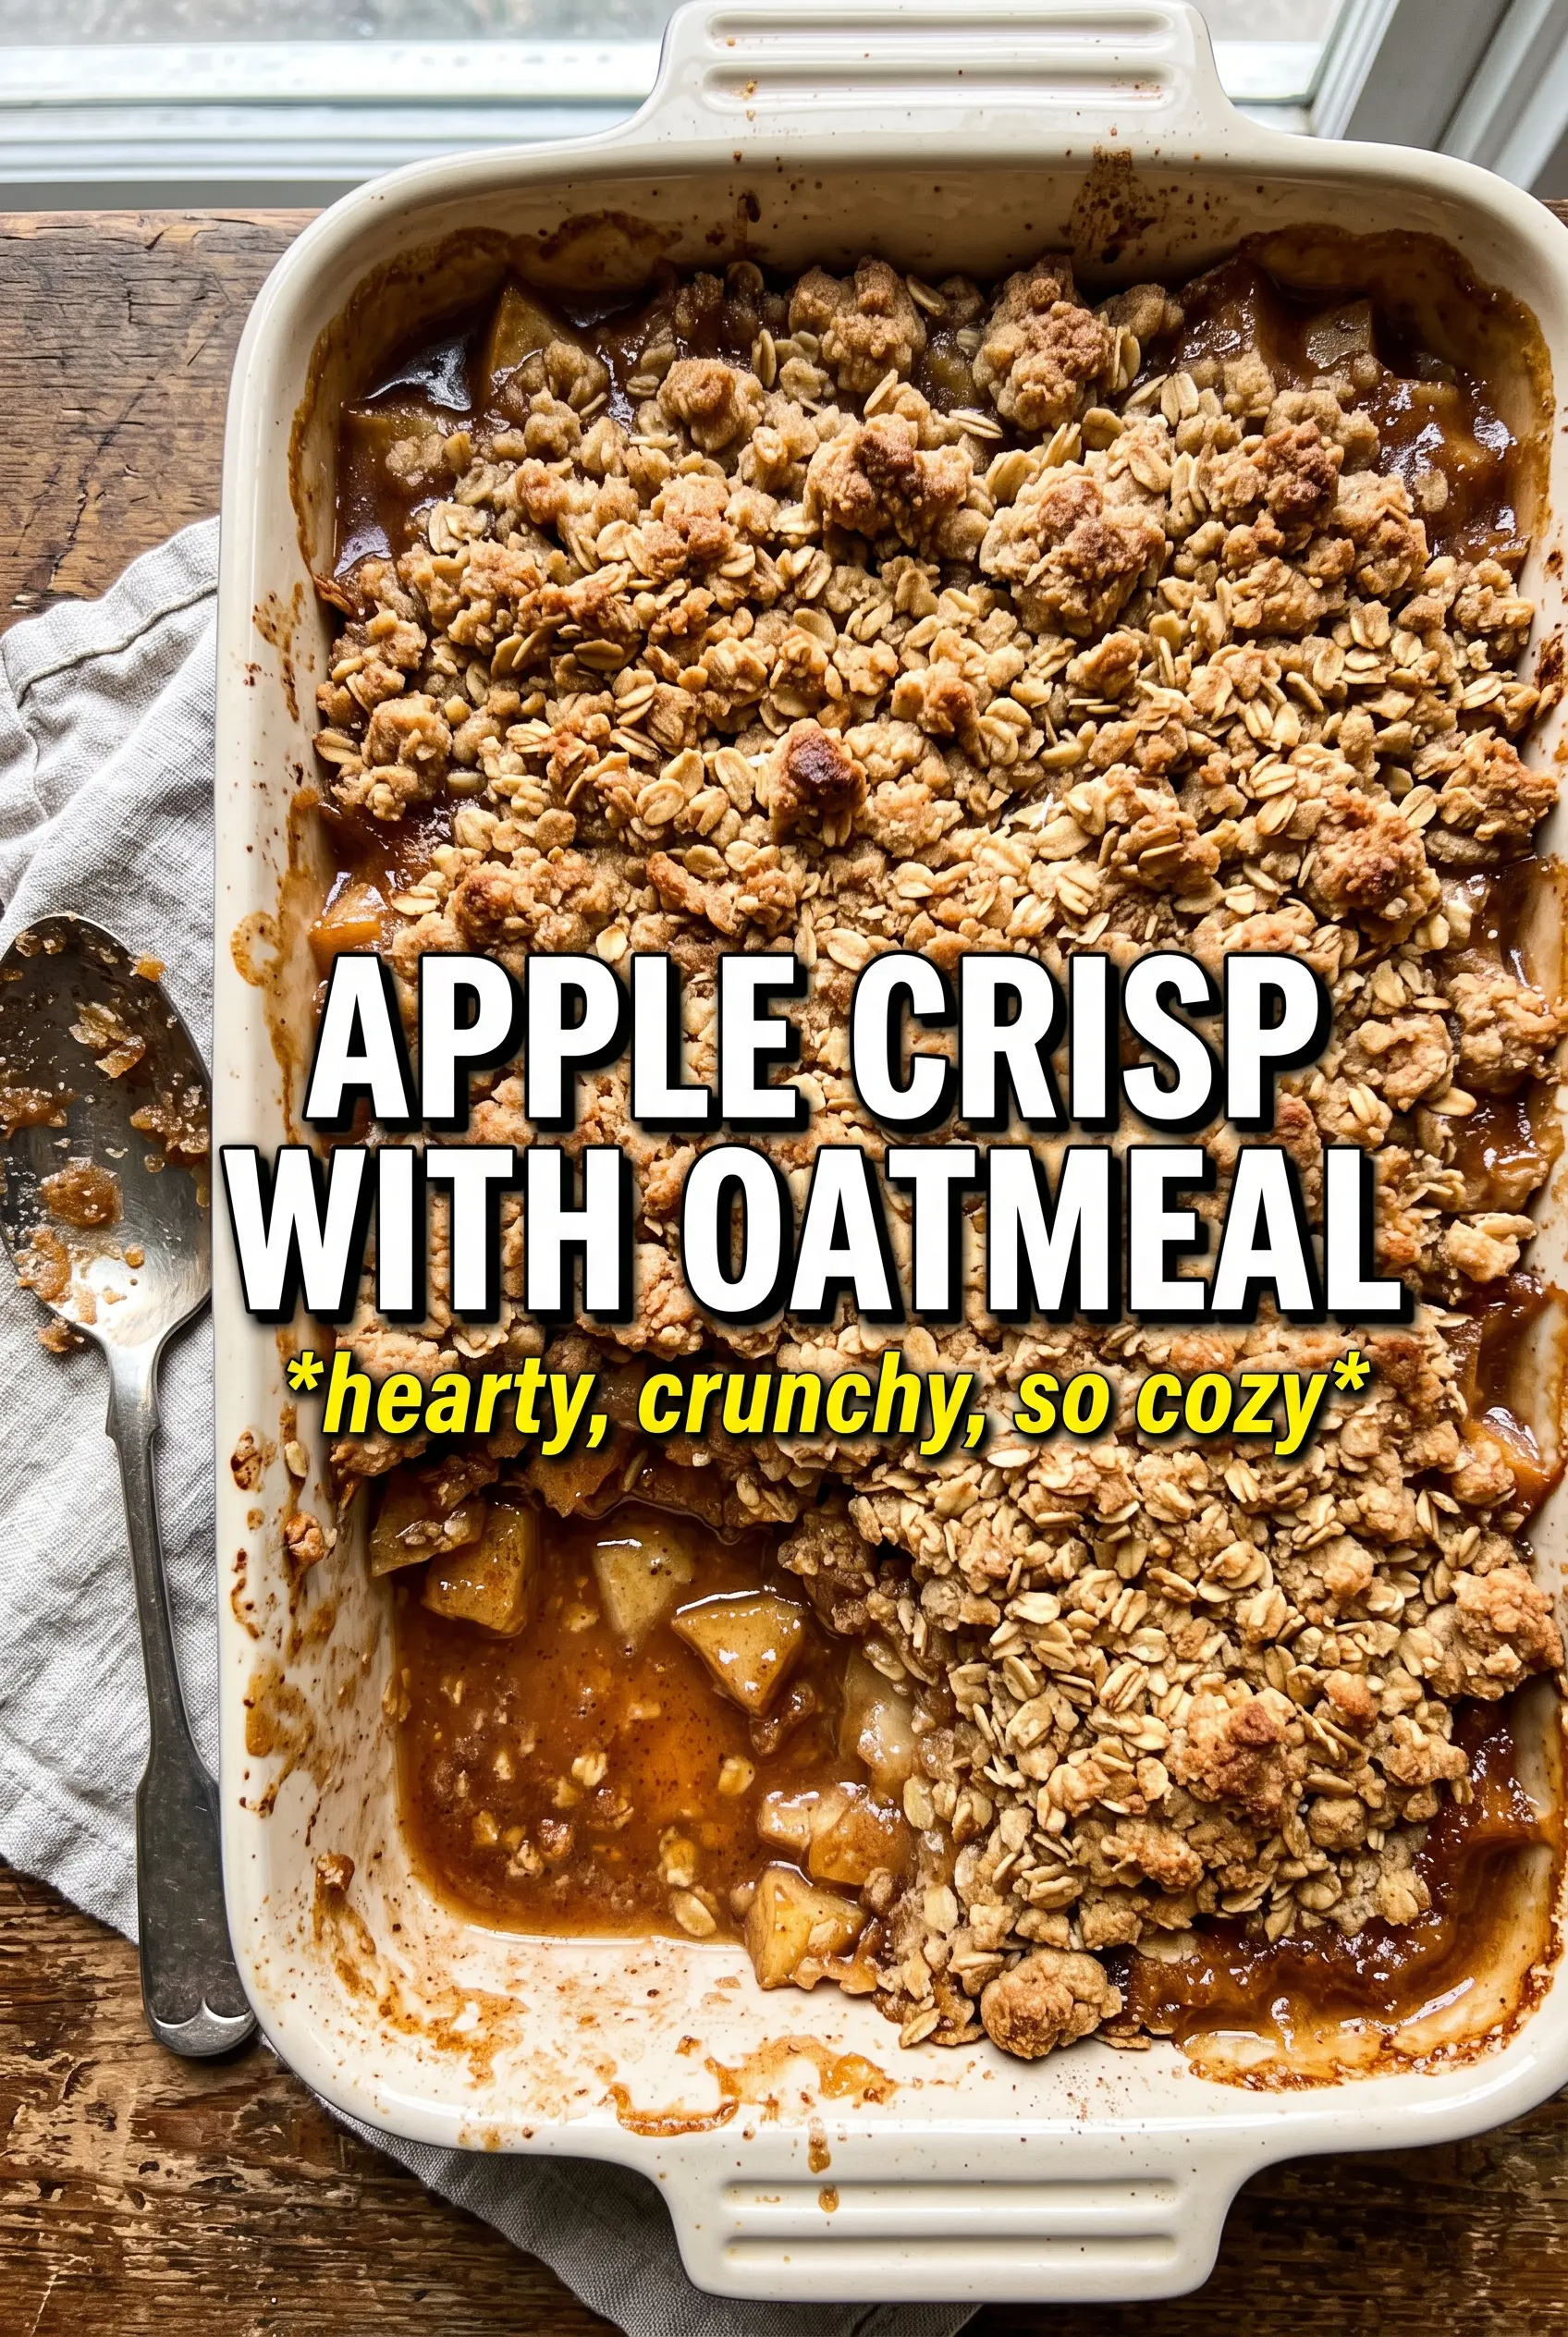
- Bake for 40-45 minutes at 375°F, until the topping is deeply golden and the apple filling bubbles at the corners.
- Rest the crisp for 10 minutes at room temperature so the juices thicken slightly before slicing.
- Serve warm with vanilla ice cream, with the topping looking crisp and the apple filling still bubbling lightly around the edges.