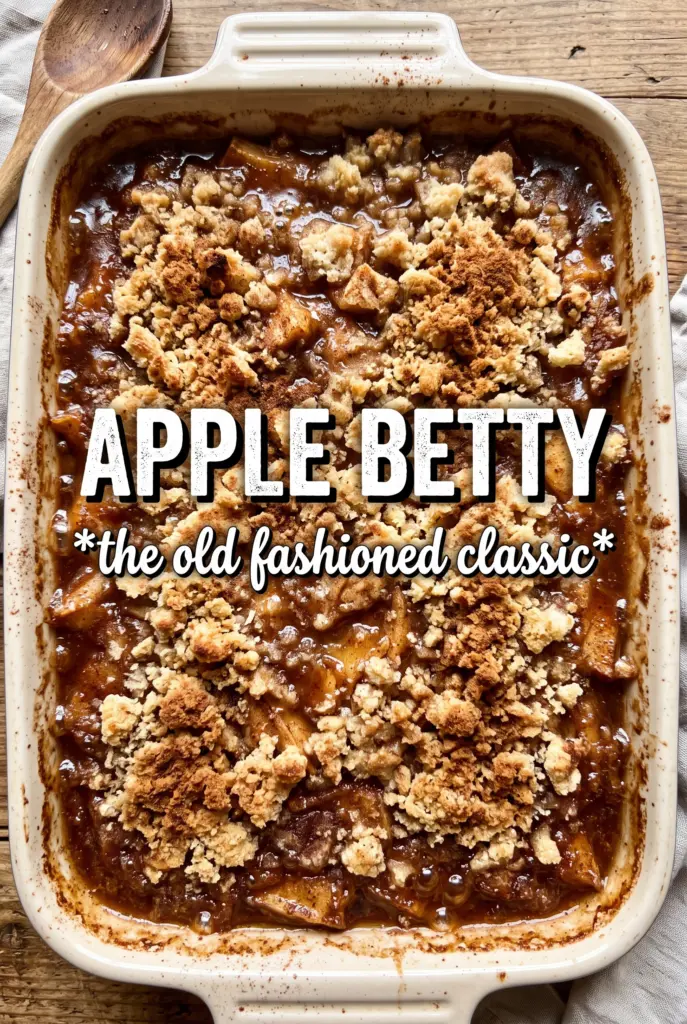
Apple Betty bakes into a warm, layered dessert with soft spiced apples tucked between buttery breadcrumbs and a crisp, bronzed top. The contrast is what keeps it interesting: the fruit goes tender and saucy underneath while the crumbs on top stay light, crunchy, and deeply toasted instead of turning soggy. It tastes old-fashioned in the best way, with enough structure to slice or spoon and enough caramelized edges to make the pan disappear fast.
The trick is keeping the breadcrumbs well coated with butter before they hit the dish. That step helps them toast instead of drying out, and it gives the topping its rich, crackly finish. The apples also need to be sliced thin so they soften at the same pace as the crumbs brown. Too thick, and you end up waiting on the fruit while the top overbakes.
Below, I’ll walk through the layering order that keeps the Betty from collapsing into apple soup, plus a few smart swaps if your bread is stale, your apples are tart, or you want to serve it with something other than ice cream.
The breadcrumb topping stayed crisp all the way through the edges, and the apples turned perfectly tender without getting mushy. I baked it the full 45 minutes and the kitchen smelled incredible.
Save this Apple Betty for the nights when you want tender cinnamon apples and a crisp buttery topping without making pie crust.
The Trick to Keeping the Topping Crisp Instead of Soggy
Apple Betty fails when the crumbs and apples are treated like a simple dump-and-bake situation. The bottom layer of breadcrumbs acts like a buffer, and the butter on those crumbs gives the dessert its structure as it bakes. If you skip that first buttered layer or scatter the apples too loosely, the juices run straight through and the top never gets the contrast it needs.
The other thing that matters is layering the cider in small doses. That liquid steams the apples from underneath, which helps them soften before the crumbs overbrown. Too much at once, and you end up with a wet center. The right amount keeps the fruit juicy while the top turns crisp and bronzed.
- Day-old bread — Fresh breadcrumbs work best because they absorb the butter evenly without turning pasty. If your bread is very dry, pulse it a little finer so the topping bakes into a cohesive crust instead of rough chunks.
- Apples — A mix of tart and sweet apples gives the best balance. Firm apples hold their shape; softer apples collapse too fast and can make the filling mushy before the topping is ready.
- Brown sugar — This does more than sweeten the apples. It draws out juice, helps the fruit caramelize, and adds that deep, almost molasses-like note that plain white sugar can’t match.
- Lemon juice and zest — The juice keeps the apples bright and stops the dessert from tasting flat. The zest adds a clean citrus edge that lifts the spice and keeps the filling from tasting heavy.
Building the Layers So the Apples Stay Juicy and the Top Stays Golden
Coating the Breadcrumbs First
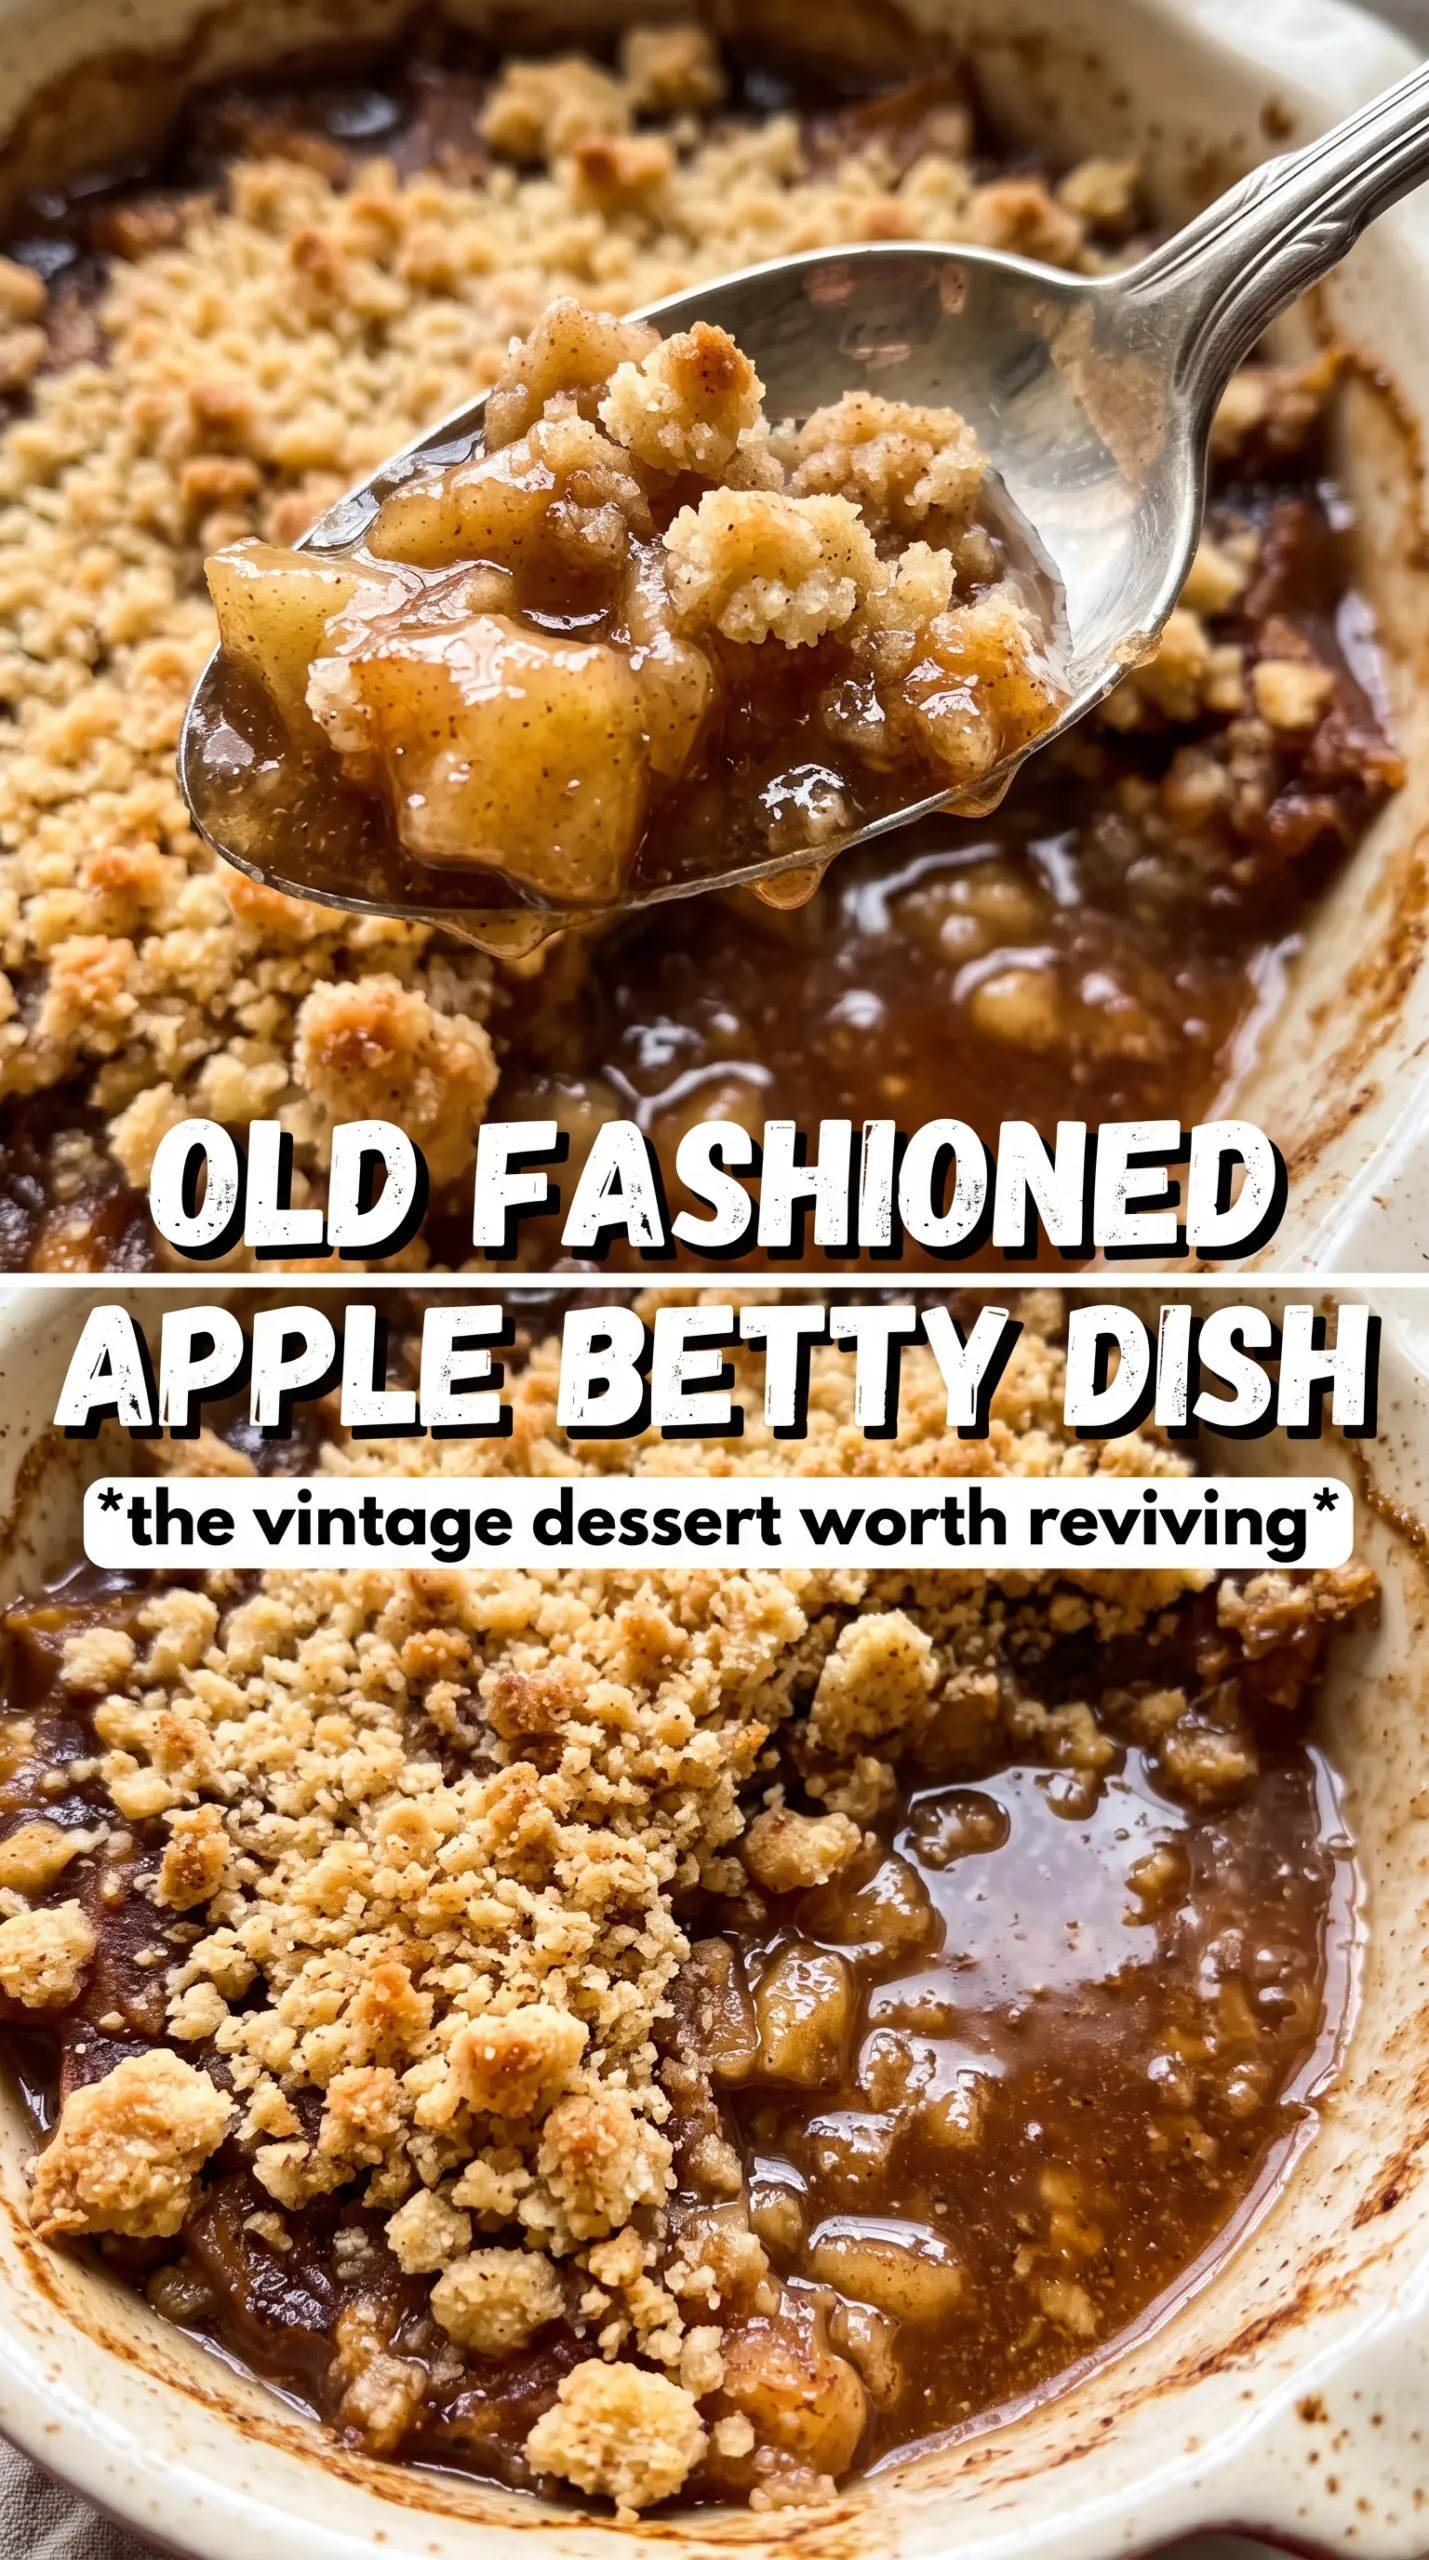
Stir the melted butter through the breadcrumbs until every crumb looks lightly glossy. Dry patches show up in the finished dish as pale, dusty spots that never toast properly. You want the crumbs to clump a little when you squeeze them, but not look greasy. That coating is what gives the top its crisp, toasted bite instead of a dry, sandy texture.
Seasoning the Apples Thoroughly
Toss the sliced apples with the sugar, spices, lemon juice, and zest until the slices are evenly coated. The goal is not just sweetness; it’s to pull a little juice from the fruit so the layers bake together. If the apples sit too long before assembly, they’ll release more liquid than you want, so get the layers into the pan once they’re coated.
Layering Without Packing It Down
Start with a third of the crumbs, then add half the apples and a little cider. Repeat the layers and finish with the remaining crumbs on top. Leave the layers loose instead of pressing them flat; packed layers trap steam and turn the dessert dense. A light hand here gives you distinct strata and a cleaner spoonful at serving.
Baking Until the Edges Start to Crackle
Bake until the top is a deep golden brown and the apples underneath are tender when pierced. The crust should sound faintly crisp when you tap it, and the filling should bubble at the edges. If the top is browning too fast, lay a piece of foil loosely over the dish for the last 10 to 15 minutes. Don’t pull it early just because the kitchen smells done; the apples need the full bake to soften properly.
Use Pears for a Softer, More Delicate Filling
Swap in firm pears for up to half the apples if you want a gentler, more fragrant dessert. Pears bake down faster and release more juice, so keep the slices thick enough to hold their shape and don’t add extra liquid. The result is softer and a little more floral, with the same crisp topping.
Make It Dairy-Free
Use a neutral plant-based butter that melts cleanly and coats the crumbs without separating. Avoid spreads with a lot of added water, or the topping can steam instead of crisp. The flavor stays close to the original, and the texture still comes out nicely bronzed.
Gluten-Free Breadcrumb Topping
Use gluten-free bread crumbs or pulse sturdy gluten-free bread into coarse crumbs. They brown a little faster, so keep an eye on the last 10 minutes of baking. The texture is slightly lighter, but the butter still gives you a crisp top and a good layered bite.
Storage and Reheating
- Refrigerator: Store covered for up to 4 days. The topping softens as it sits, but the flavor stays good.
- Freezer: Freeze after baking in a tightly wrapped container for up to 2 months. Thaw in the fridge before reheating; the topping won’t be quite as crisp as fresh, but it still works.
- Reheating: Warm uncovered in a 325F oven until heated through. The oven helps re-crisp the crumbs; the microwave makes the topping soggy and collapses the texture.
Answers to the Questions Worth Asking
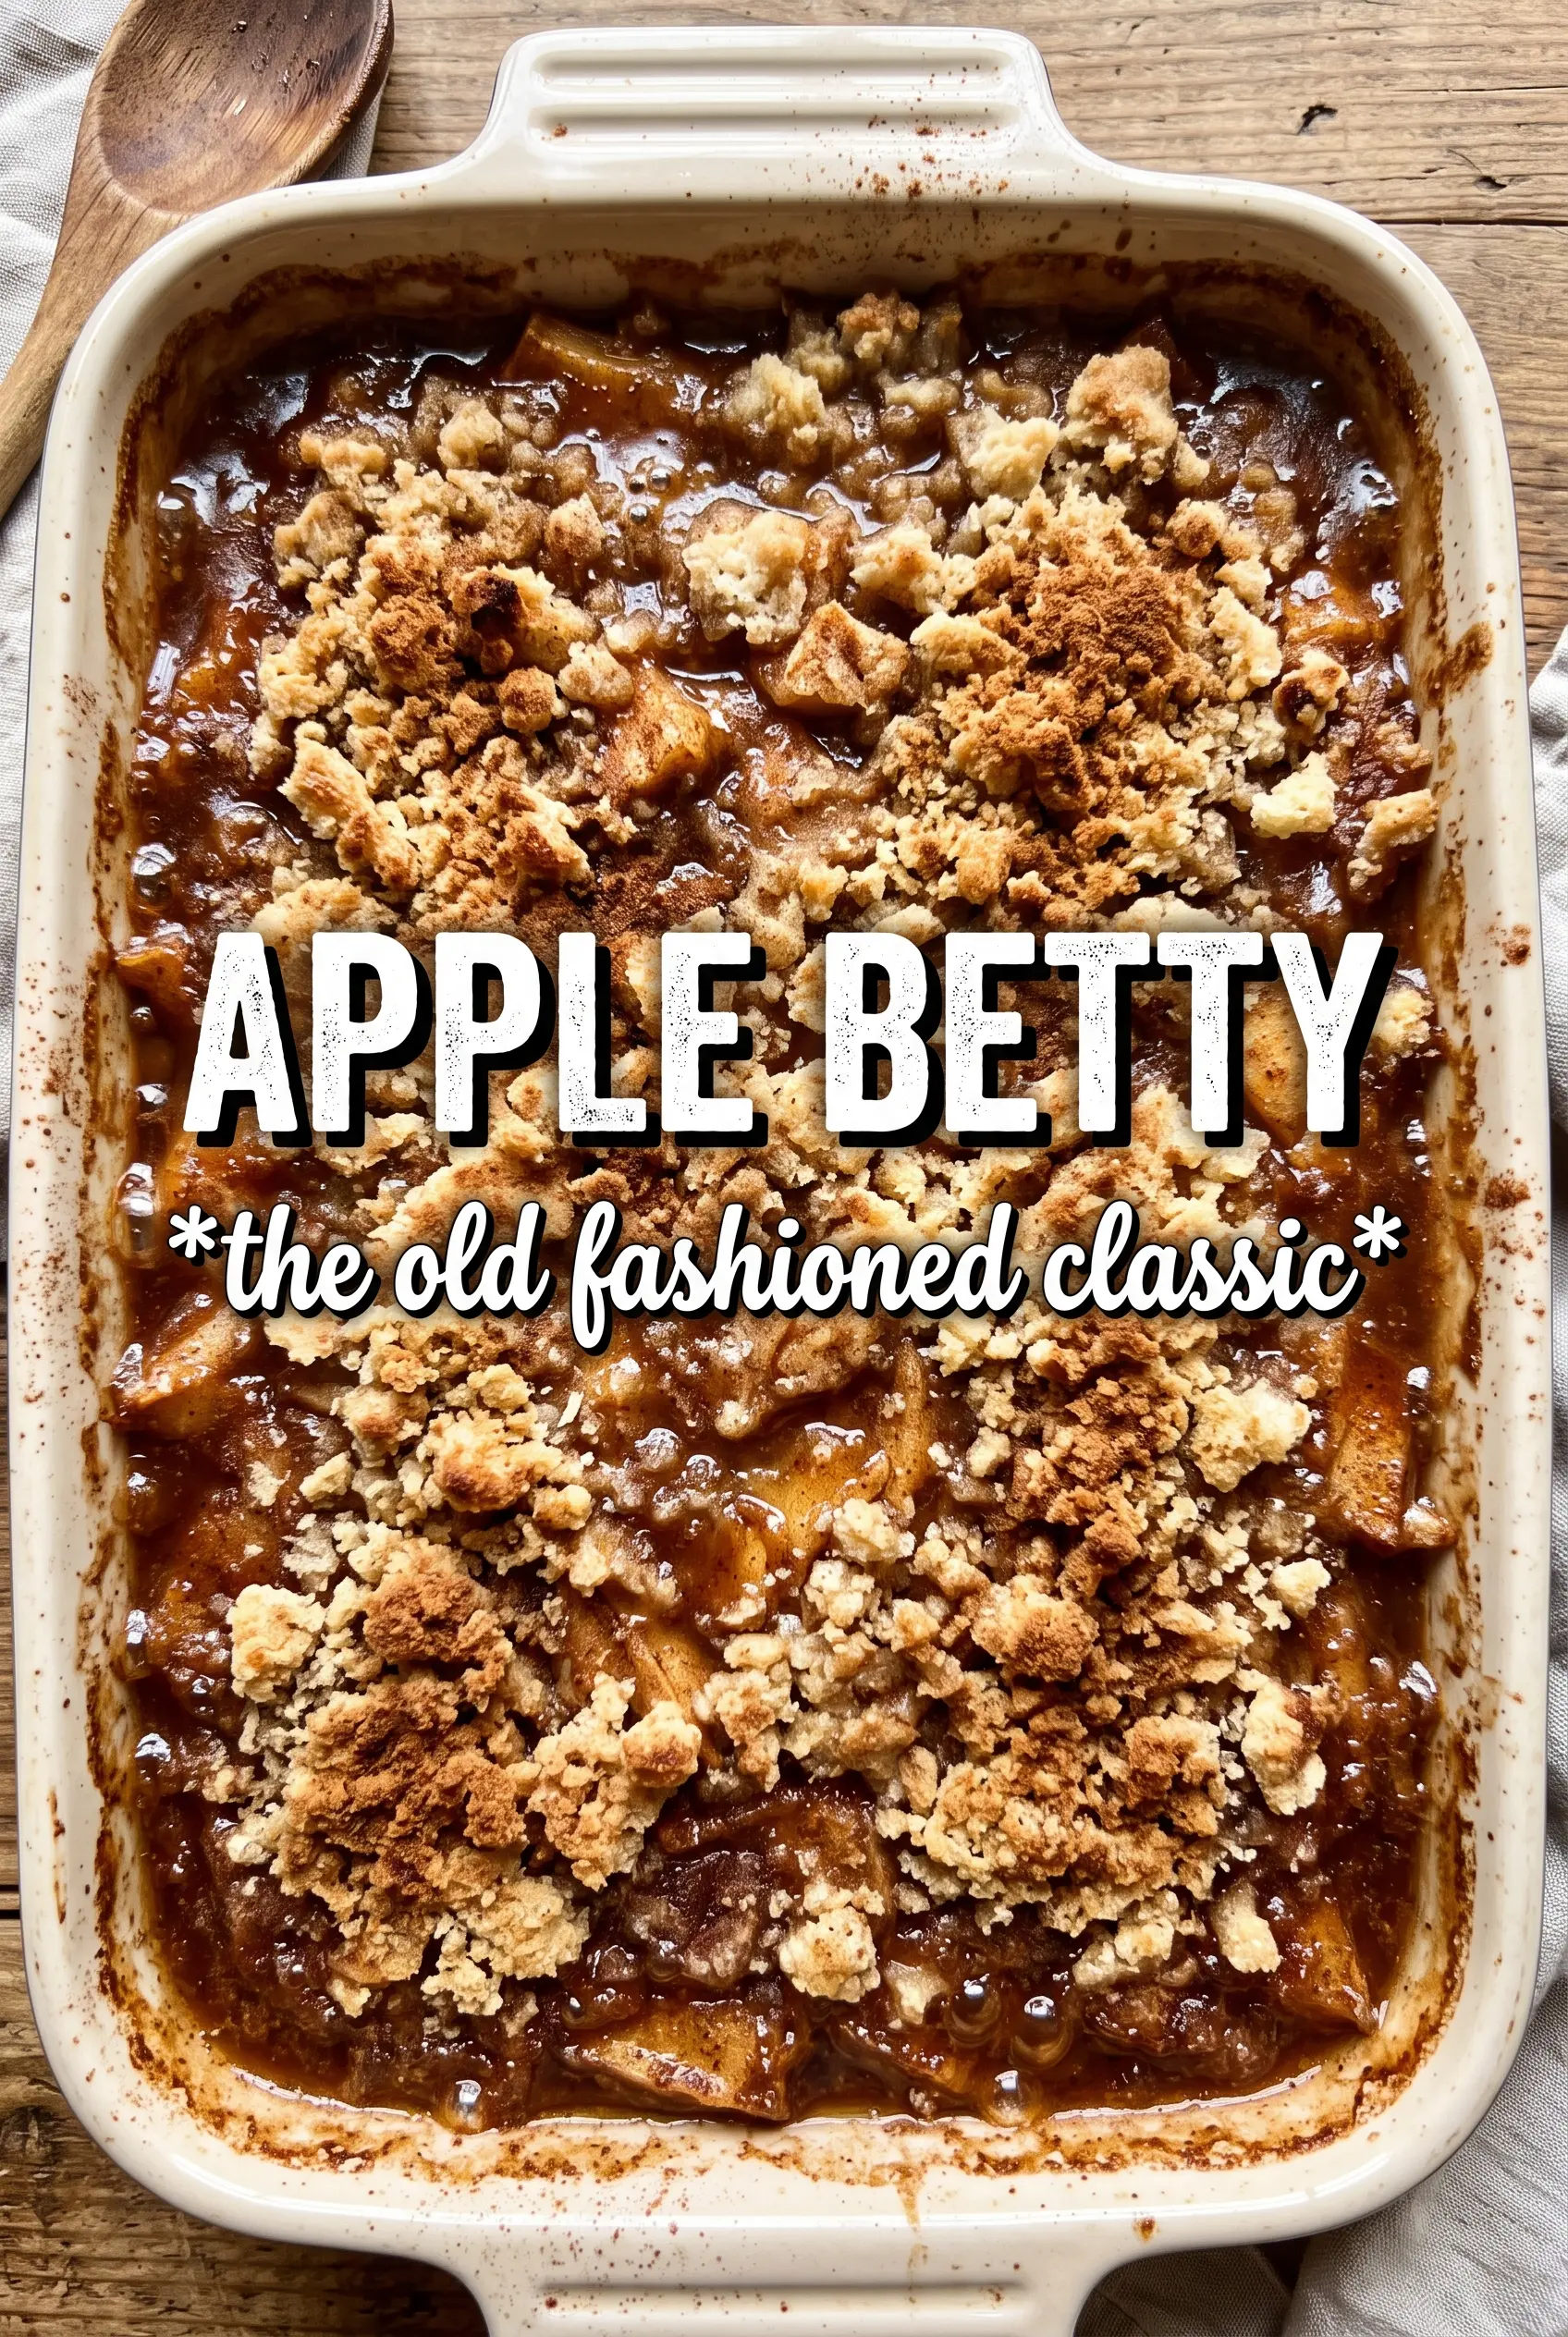
Apple Betty
Ingredients
Equipment
Method
- Preheat the oven to 375F and grease a 9x13 baking dish. Set the dish aside so it’s ready to fill.
- Toss the fresh breadcrumbs with the melted unsalted butter until evenly coated. The crumbs should look sandy and buttery with no dry spots.
- Mix the apple slices with the brown sugar, cinnamon, nutmeg, allspice, lemon juice, lemon zest, and apple cider or water. Stir until the apples look glossy and the spice mixture clings to them.
- Spread 1/3 of the buttered breadcrumbs in the bottom of the greased dish. Press lightly so it forms an even base layer.
- Layer half of the apple mixture over the breadcrumbs, then drizzle with half of the apple cider. Add a gentle, even layer so the topping bakes uniformly.
- Repeat by adding another layer of breadcrumbs, the remaining apples, and the remaining cider. Finish with the final layer of breadcrumbs on top.
- Bake at 375F for 40-45 minutes until the top is deeply golden and crispy and the apples are tender. Look for bubbling around the edges and a crunchy breadcrumb surface.
- Serve the apple betty warm with vanilla ice cream or heavy cream. Spoon portions while the topping is crisp.