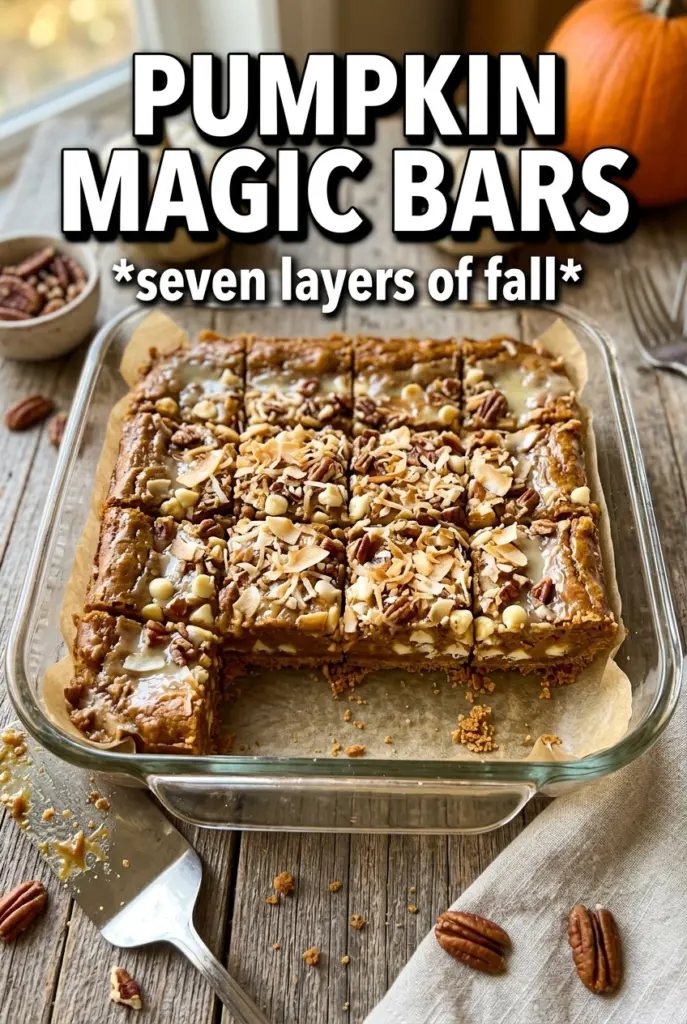
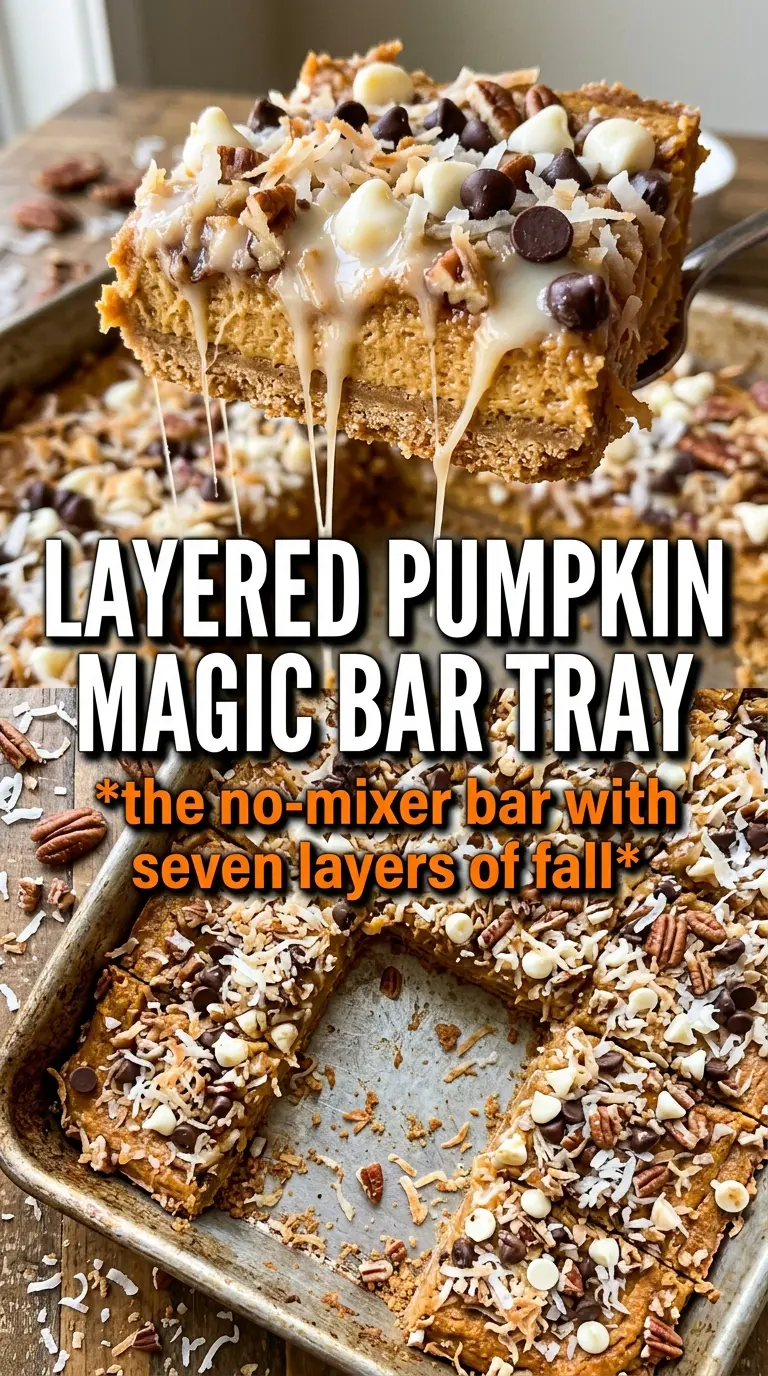
Layered, chewy pumpkin magic bars have a way of disappearing before they’ve fully cooled. The gingersnap crust stays crisp at the edges, the pumpkin layer sets into a soft custard-like middle, and the coconut, white chocolate, butterscotch, pecans, and toffee bits turn each bite into something a little sticky, a little crunchy, and a lot more interesting than a plain bar cookie.
What makes this version work is the balance. Pumpkin puree brings flavor and color, but the sweetened condensed milk is what gives the bars their rich, sliceable texture. I’ve found that the spices need to stay restrained here; too much pumpkin pie spice and the bars start tasting muddled instead of warm and layered. The gingersnap crumbs also matter more than a graham crust would, because they keep the base from disappearing under all those sweet toppings.
Below, I’ll walk through the one detail that keeps the bars from turning soggy, plus the easiest way to get clean cuts once they’re cooled. If you’ve made magic bars before, this pumpkin version will still give you a couple of new tricks worth keeping.
The pumpkin layer set up beautifully and the gingersnap crust stayed sturdy even after chilling overnight. I was worried the toppings would sink, but pressing them in gently made every bar slice clean and look bakery-worthy.
Pumpkin Magic Bars with gingersnap crust and all those crunchy, chewy layers are worth keeping on hand for easy dessert cutting days.
The part that keeps the crust from turning soggy
Magic bars can get heavy fast, and pumpkin makes that even more true. The mistake is treating the pumpkin mixture like a loose filling and pouring it over a weak base that hasn’t been evenly coated with butter. Here, the melted butter does more than help the crumbs stick; it creates a barrier that keeps the gingersnap layer from dissolving as the bars bake.
Pressing the toppings down lightly matters, but hard pressure is the enemy. You want the coconut and chips to settle into the pumpkin layer without forcing everything into one dense sheet. If the top looks uneven before baking, that’s fine. It will level out in the oven as the chips melt and the coconut browns at the edges.
What each ingredient is actually doing here
- Gingersnap cookie crumbs — These give the base a spiced, sturdy crunch that fits the pumpkin filling better than a plain graham crust. If you only have graham crackers, the bars will still work, but they’ll taste softer and less defined. Crush the cookies fine enough to pack evenly, but not so fine that the crust turns dusty.
- Sweetened condensed milk — This is what binds everything and helps the bars set into clean squares. There isn’t a real substitute here if you want the same texture; evaporated milk won’t thicken the same way, and regular milk will leave the bars loose.
- Pumpkin puree — Use pure pumpkin, not pumpkin pie filling. Pie filling already has sugar and spice added, which throws off the balance and can make the bars taste flat and overly sweet. If your puree looks watery, blot it lightly before mixing so the filling doesn’t turn soft.
- Sweetened shredded coconut — Coconut adds chew and helps create that classic magic bar texture. Unsweetened coconut can work if that’s what you have, but the bars will taste less rich and a little drier.
- White chocolate chips, butterscotch chips, pecans, and toffee bits — These are the layers that make each bite taste different. The white chocolate melts into sweetness, the butterscotch leans caramel-like, the pecans bring structure, and the toffee bits give little crunchy pockets. If you want a cleaner nut-free version, swap the pecans for extra coconut or more chips.
Building the layers so the bars set cleanly
Start with the buttery crumb base
Pour the melted butter straight into the pan, then scatter the gingersnap crumbs evenly over it. The goal is a damp, evenly coated layer that looks sandy but clumps when pressed. If any dry patches remain, they’ll bake up crumbly and fall apart when you cut the bars. A flat-bottomed measuring cup works well for a light press, but don’t compact the crust until it turns hard.
Mix the pumpkin layer until it’s smooth
Whisk the sweetened condensed milk, pumpkin puree, pumpkin pie spice, and cinnamon until the mixture looks silky and uniform. Any streaks of pumpkin or spice will show up in the finished bars as uneven pockets of flavor. Pour it over the crust and spread it gently to the corners so the filling reaches every edge. If the layer pools in the center, the bars will bake unevenly and take longer to set.
Add the toppings in an even blanket
Sprinkle the coconut, white chocolate chips, butterscotch chips, pecans, and toffee bits across the surface, then press everything down lightly with your hands. That last step helps the toppings stick as the filling bakes, but the pressure should stay gentle. You’re nudging, not burying. The bars are ready when the edges are deeply golden and the center no longer sloshes in the pan, even if it still has a slight jiggle.
Cool before you cut
This is the step that separates tidy bars from a sticky mess. Let them cool completely at room temperature before slicing, then chill them if you want extra-clean edges. If you cut them warm, the filling will ooze and the layers will smear together. A sharp knife wiped clean between cuts gives you the neatest squares.
How to adapt these bars without losing the good part
Gluten-Free with a Better Base
Swap in gluten-free gingersnap cookies and crush them the same way. The texture stays close to the original as long as the crumbs are fine and evenly coated with butter. Skip coarse cookie chunks, which can leave the crust fragile after baking.
Dairy-Free Version That Still Sets
Use a dairy-free sweetened condensed milk alternative and plant-based butter, but keep in mind the bars may set a little softer. The flavor still works, especially with the gingersnap crust and spice, but you’ll want a full cool-down before slicing. Coconut milk-based condensed alternatives usually give the best result.
Nut-Free for School Events
Leave out the pecans and replace them with extra white chocolate chips, coconut, or toffee bits. The bars will lose some crunch, so the toffee becomes more important for texture. Check that your chips and toffee bits are made in a nut-free facility if that matters for your crowd.
Make Them a Little Less Sweet
Use unsweetened coconut and cut the butterscotch chips down slightly if you want a more balanced bar. The texture stays the same, but the pumpkin and spice come through more clearly. Don’t reduce the condensed milk, or the bars won’t set properly.
Storage and Reheating
- Refrigerator: Store in an airtight container for up to 5 days. The bars firm up in the fridge, which makes them easier to cut and serve.
- Freezer: These freeze well. Wrap the cut bars tightly and freeze for up to 2 months, then thaw in the refrigerator so the topping layers don’t sweat.
- Reheating: Serve them cold or let them come to room temperature. If you want a softer bite, warm a bar for just 8 to 10 seconds in the microwave. Longer heat makes the chips greasy and the crust soft.
Questions I Get Asked About This Recipe
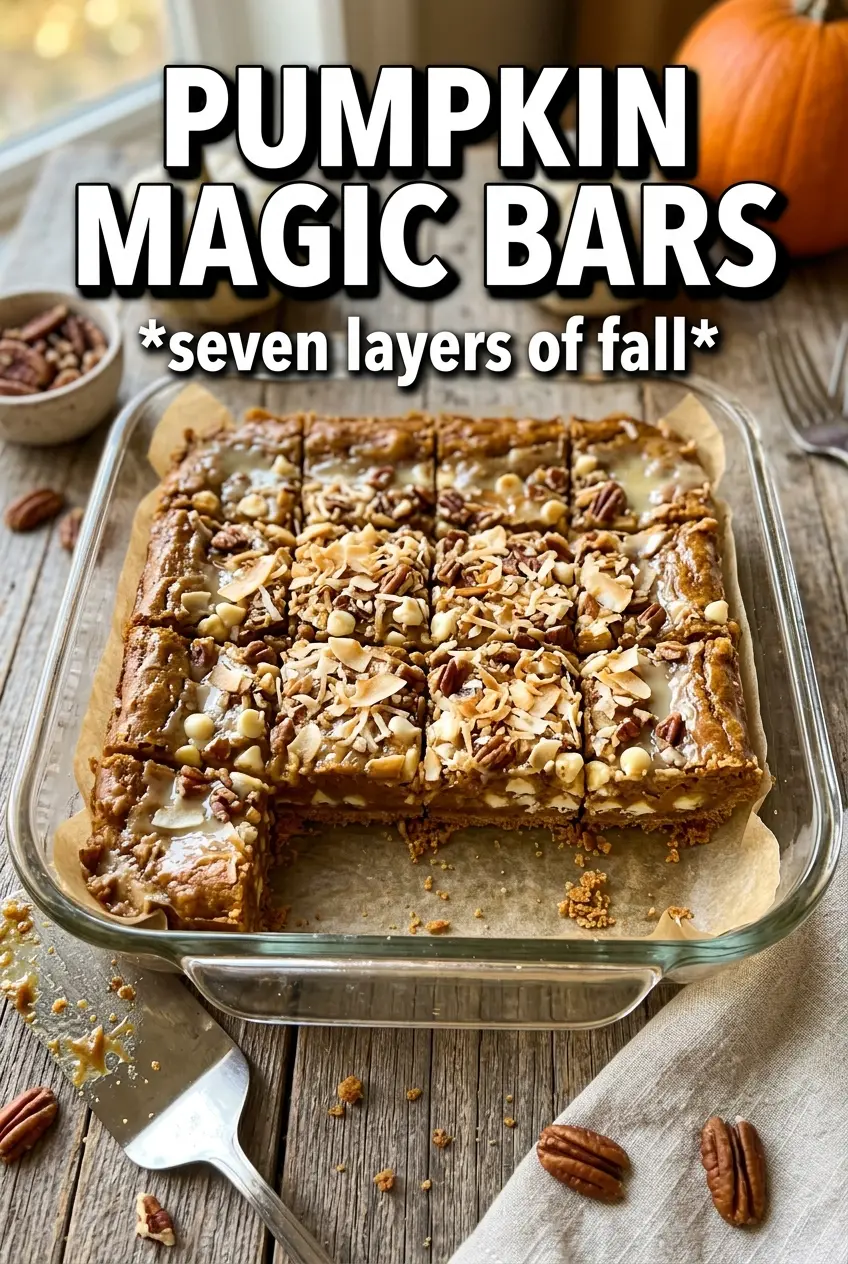
Pumpkin Magic Bars
Ingredients
Equipment
Method
- Preheat the oven to 350F and pour the melted butter into a 9x13 baking pan.
- Sprinkle the gingersnap crumbs evenly over the butter to form the crust layer.
- Whisk the sweetened condensed milk, pumpkin puree, pumpkin pie spice, and cinnamon, then pour evenly over the crumbs.
- Layer the shredded coconut, white chocolate chips, butterscotch chips, pecans, and toffee bits evenly over the top.
- Press down gently with your hands to help the layers set together.
- Bake for 30-35 minutes, until the edges are golden and the center is set, with a visible set in the middle.
- Cool completely before cutting into bars so the layers hold their shape.