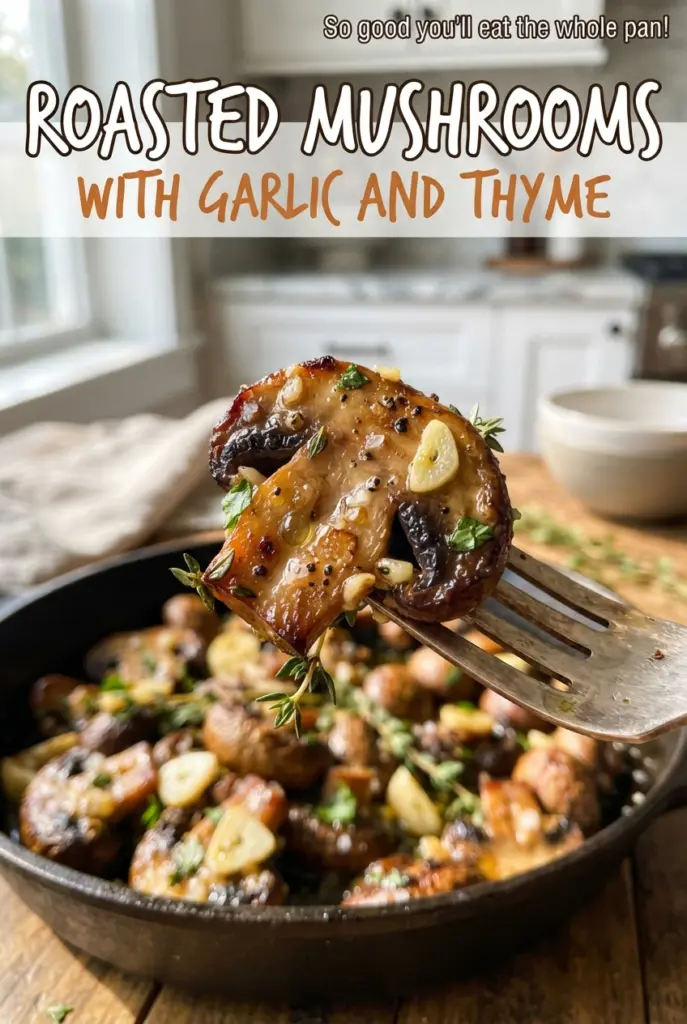
Deeply browned roasted mushrooms bring everything you want from a simple side dish: meaty texture, savory edges, and just enough garlic and thyme to make the whole kitchen smell like dinner is already halfway done. Roasting them hard in a hot oven concentrates their flavor instead of watering it down, and the butter at the end gives the pan juices a glossy finish that clings to every piece.
The trick is giving the mushrooms space early on so they can shed moisture before the browning starts. If they’re crowded, they steam. If the garlic goes in too soon, it can burn before the mushrooms finish roasting. This version waits until the mushrooms have already collapsed and taken on color, then adds the garlic, thyme, and butter for the last stretch so the flavor stays clean and rich.
Below, you’ll find the timing cues that matter most, plus a few smart swaps if you need to work with what’s in the fridge. Once you’ve made them this way, it’s hard to go back to a softer, wetter pan of mushrooms.
The mushrooms actually browned instead of going soggy, and the garlic stayed sweet because it went in near the end. I served them over polenta and my husband scraped the pan clean.
Save these garlic-thyme roasted mushrooms for a deeply browned side dish that finishes with butter, lemon, and fresh herbs.
The Reason Mushrooms Turn Silky Instead of Soggy
Mushrooms are full of water, and that water has to get out before browning can happen. The first roast does the boring work: it drives off moisture and starts the edges turning chestnut brown. If you skip the single layer and pile them onto the pan, the steam has nowhere to go and the mushrooms stay pale and soft.
The second stage matters just as much. Garlic burns fast in a hot oven, which is why it goes in after the mushrooms have already started to color. Butter is added at the same time so it melts into the mushroom juices and coats the pan without scorching.
What the Garlic, Thyme, and Lemon Are Really Doing
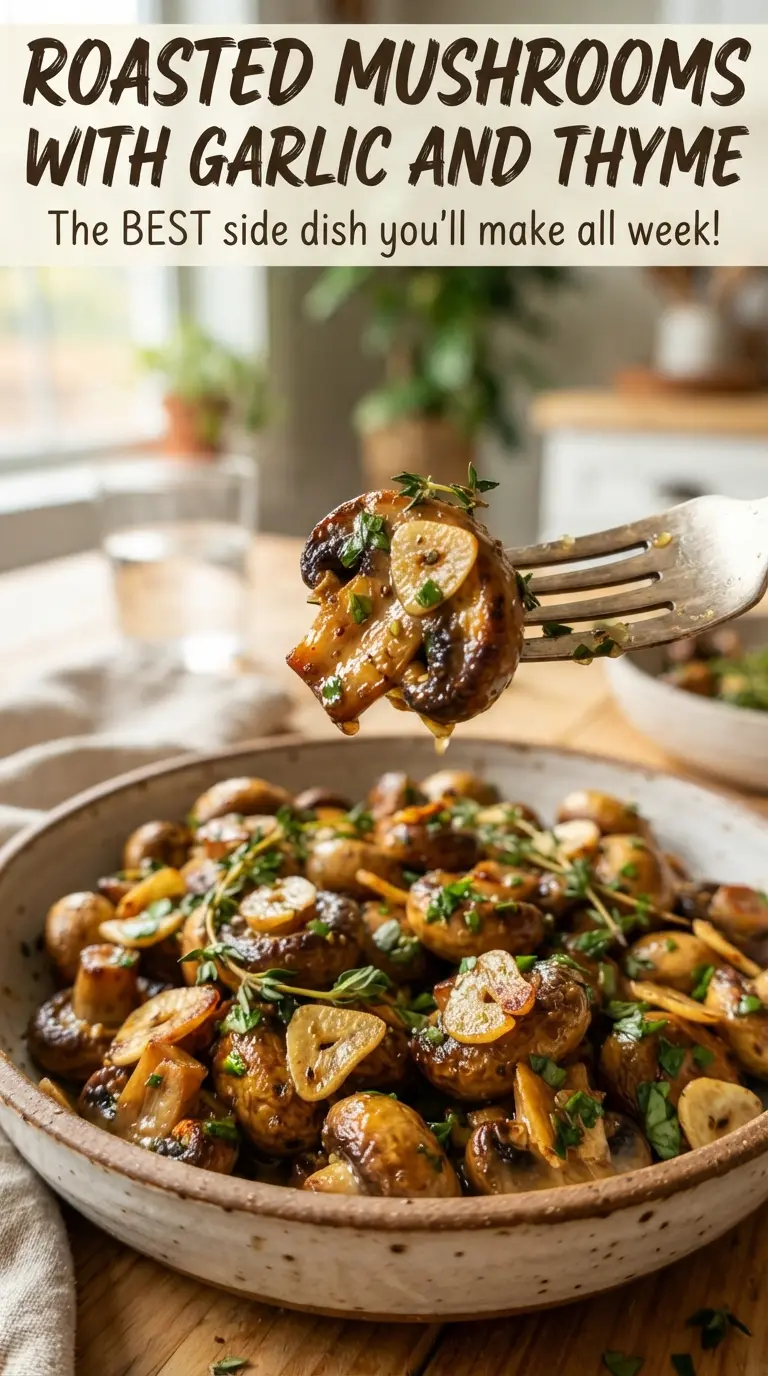
- Cremini mushrooms — These hold their shape and develop a deep, savory roast flavor. White button mushrooms work in a pinch, but they’re milder and a little softer once roasted. If the mushrooms are large, cut them into even halves so the whole pan finishes at the same time.
- Olive oil — This helps the mushrooms brown before the butter goes in. Don’t swap it for melted butter at the start; butter can brown too quickly and won’t coat the mushrooms as evenly during the first roast.
- Garlic — Fresh garlic is worth using here because it softens into the pan juices and gives the mushrooms a warm, savory edge. Mince it fine so it doesn’t sit in harsh raw bits after roasting. If you only have garlic powder, the flavor will be flatter and less aromatic.
- Fresh thyme — Dried thyme can work, but use less of it and expect a more muted result. Fresh thyme gives the dish its French-inspired, woodsy note and perfumes the butter as it melts.
- Lemon juice and parsley — These wake everything up at the end. The acid keeps the mushrooms from tasting heavy, and the parsley brings freshness after the oven has done all the deep, browned work.
The Timing That Gives You Deep Browning Without Burnt Garlic
Starting with heat and space
Heat the oven fully before the mushrooms go in. A hot oven encourages moisture to evaporate quickly, which is what creates that roasted edge instead of a wet pan. Spread the mushrooms out in a single layer with some breathing room between pieces. If they’re packed in tight, they’ll sit in their own liquid and steam before they ever brown.
The first roast does the drying
After 15 minutes, the mushrooms should look shrunken and glossy, with liquid collecting on the pan and a few brown spots starting underneath. That’s the point where they’re ready for the flavor builders. If they still look pale and watery, give them a few more minutes before adding the garlic and butter. Rushing this stage is the fastest way to end up with bland mushrooms.
Finishing with garlic, thyme, and butter
Add the garlic, thyme, and butter, then toss well so everything gets coated in the hot mushroom juices. Return the pan to the oven just long enough for the garlic to soften and the mushrooms to turn deeply golden at the edges. Watch closely near the end; garlic can go from fragrant to bitter fast in a hot pan, and you want sweet, toasted aroma instead.
The final bright lift
Take the pan out and drizzle on the lemon juice right away. That little hit of acid loosens the buttery glaze and keeps the mushrooms from tasting flat. Finish with parsley while the mushrooms are still hot so the herb stays fresh and vivid rather than wilting into the pan.
How to Adjust This Without Losing the Roast
Dairy-free version
Skip the butter and finish with an extra tablespoon of olive oil plus the lemon juice. You’ll lose a little of the buttery gloss, but the mushrooms will still taste rich because the oven builds so much natural depth. A small pinch of flaky salt at the end helps replace the roundness butter usually adds.
Using white button or mixed mushrooms
White buttons roast a little softer and taste milder, so don’t expect the same earthy depth from the pan. Mixed mushrooms work beautifully, though, especially if you leave the smaller ones whole and cut the larger ones in half. The important part is keeping the pieces close in size so nothing burns before the rest is ready.
Turning it into a main or heavier side
Serve the mushrooms over polenta, toast, mashed potatoes, or rice to turn the dish into something more substantial. The garlicky butter sauce acts like a built-in gravy, so spoon everything from the pan over the base instead of leaving the juices behind. That pan liquid is where a lot of the flavor lives.
Storage and Reheating
- Refrigerator: Store in an airtight container for up to 4 days. The mushrooms soften a bit more as they sit, but the flavor stays good.
- Freezer: They freeze, but the texture turns softer after thawing. If you do freeze them, cool completely first and pack tightly in a freezer-safe container for up to 2 months.
- Reheating: Warm them in a hot skillet or in a 400F oven until heated through. Don’t microwave them if you want to keep any of the roasted edges; it tends to make them watery again.
Answers to the Questions Worth Asking
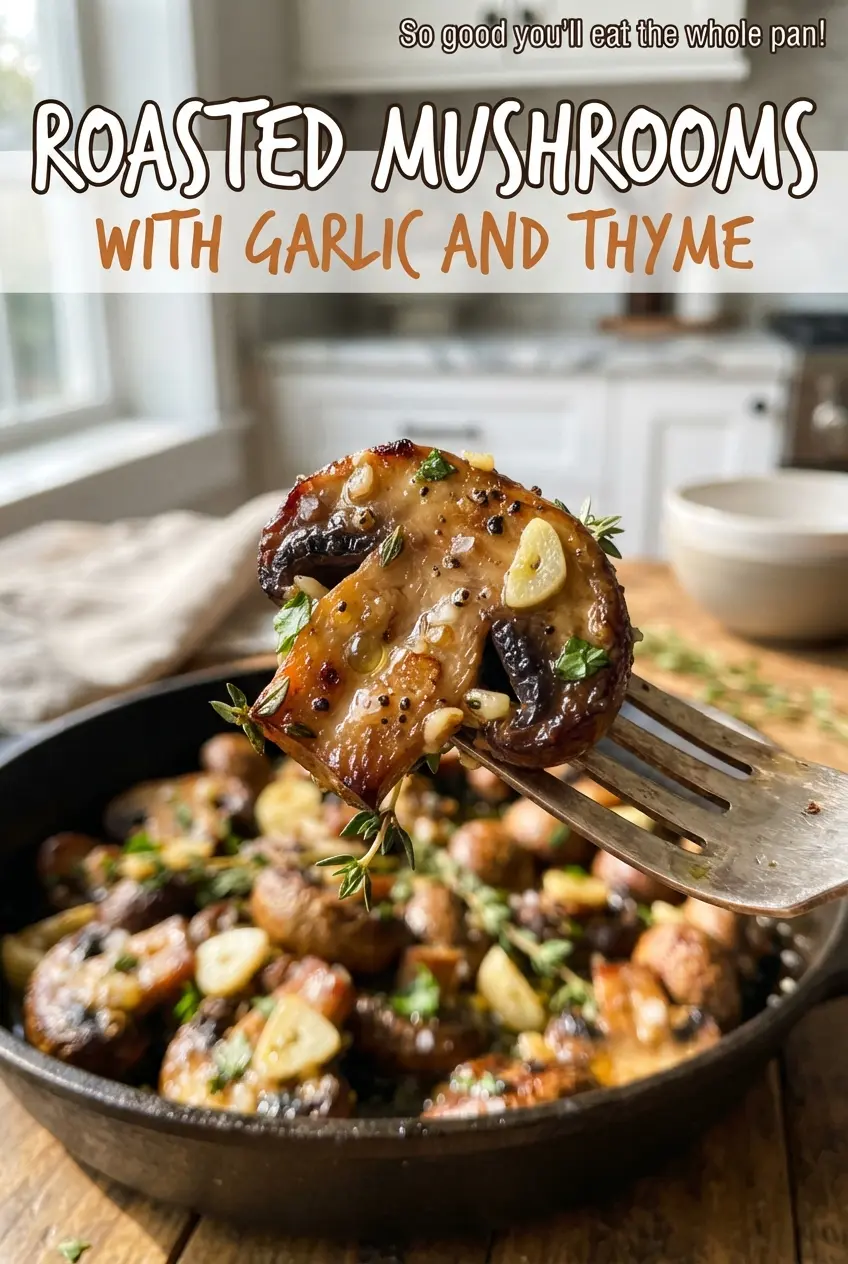
Roasted Mushrooms with Garlic and Thyme
Ingredients
Equipment
Method
- Preheat the oven to 425F. Set out a sheet pan so it’s ready for even browning.
- Toss the halved cremini mushrooms with olive oil, salt, and black pepper, then spread them in a single layer on the sheet pan. Make sure cut sides have space so steam can escape instead of steaming.
- Roast for 15 minutes until the mushrooms release their liquid and begin to brown. Look for pooled moisture that starts to evaporate around the edges.
- Add the garlic, thyme leaves, and butter to the mushrooms, then toss to coat. The butter should start melting and turn the surface glossy.
- Roast for 8-10 minutes more until deeply golden. Aim for browned edges and a fragrant, roasted aroma.
- Drizzle with fresh lemon juice and sprinkle with chopped parsley. Serve hot for the best contrast of browned mushrooms and bright citrus.


