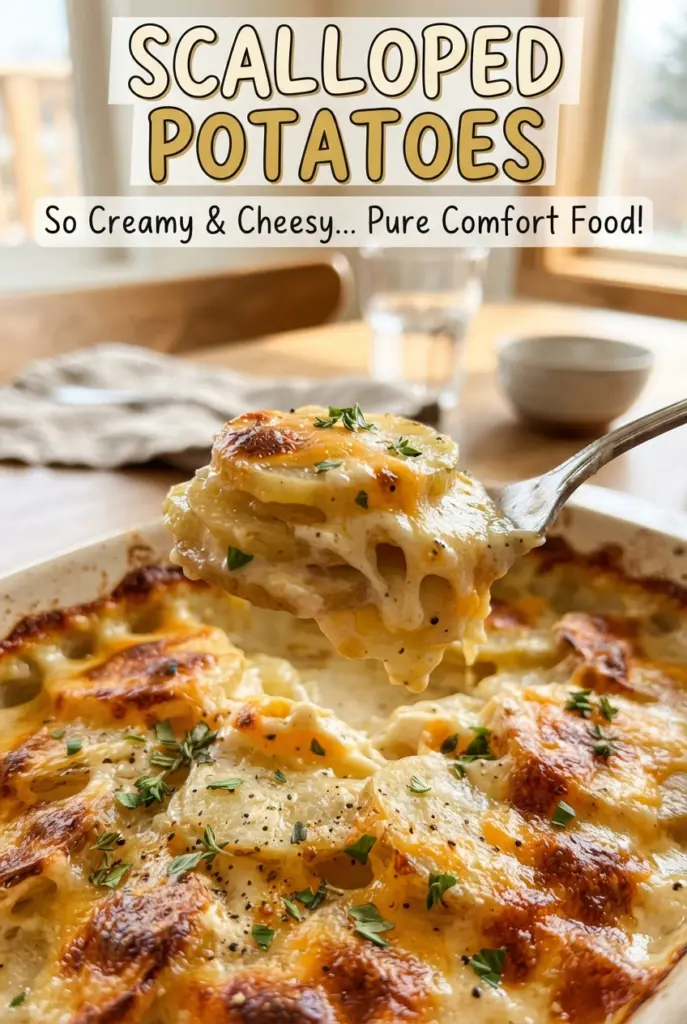
Scalloped potatoes earn their place on the table because they come out tender, creamy, and edged with that browned top that crackles a little when the spoon goes in. The best version isn’t watery or gluey. It holds together in neat layers, with enough sauce to coat every slice without pooling at the bottom of the dish.
The difference comes down to two things: slicing the potatoes evenly and giving the sauce a head start on the stovetop before it ever hits the oven. Thin, even slices cook at the same pace, and the flour-thickened milk mixture needs to simmer until it lightly coats a spoon. If you rush that part, the sauce can stay thin and slip right off the potatoes.
Below, I’ve included the little timing detail that keeps the top from burning before the center turns tender, plus the one rest period that makes serving much cleaner. The layers set up as they cool, and that matters more than most people think.
The sauce thickened beautifully and the potatoes were tender all the way through without turning mushy. I loved the golden Parmesan top — my husband kept sneaking spoonfuls straight from the dish.
Save these scalloped potatoes for the nights when you want a creamy layered side with a crisp Parmesan top.
The Reason Scalloped Potatoes Turn Silky Instead of Soupy
The trouble with scalloped potatoes is almost always in the sauce. If the milk mixture never fully thickens on the stove, the potatoes keep releasing starch in the oven and the whole dish can turn loose and cloudy instead of creamy and structured. A brief simmer fixes that. You want the sauce to lose its raw flour taste and take on enough body to cling to the back of a spoon.
The other trap is slicing. Thick slices stay firm in the center while the top browns, and uneven slices give you a dish with some pieces done and others still firm. A mandoline helps, but a sharp knife works if you keep the cuts steady. The goal is thin, even slices that cook at the same rate so the layers soften together.
- Russet potatoes — They break down just enough to thicken the sauce and give that classic tender texture. Waxy potatoes stay more intact and can make the dish feel firmer, which changes the whole result.
- Whole milk and heavy cream — This combination gives the sauce enough richness without turning it greasy. If you need to lighten it, you can swap in more whole milk, but the finished dish won’t coat the potatoes quite as luxuriously.
- Flour and butter — This is the roux that keeps the sauce stable in the oven. Don’t skip the minute of cooking after the flour goes in; that step takes away the raw taste and helps the sauce thicken evenly.
What Each Ingredient Is Doing in the Layered Bake

- Russet potatoes — These are the best choice because their starch helps the sauce settle into a creamy, cohesive bake. Slice them 1/8 inch thick so they soften before the top overbrowns.
- Onion — Thin slices melt into the sauce and give it sweetness without needing extra cooking. If the slices are too thick, they can stay sharp and interrupt the texture of the layers.
- Garlic — A quick bloom in butter keeps it mellow and fragrant. Let it sit in the hot butter for only about 30 seconds; longer and it can turn bitter.
- Thyme and Parmesan — Thyme cuts through the richness, and Parmesan gives the top a salty, nutty crust. If you don’t have Parmesan, a similar hard cheese will brown well, but you’ll lose some of that sharp finish.
Building the Sauce and Layers Without Breaking the Bake
Starting the Roux
Melt the butter first, then cook the garlic just long enough for it to smell sweet. Whisk in the flour and let it cook for a full minute, stirring constantly so it doesn’t catch on the bottom. That short cook sets up the sauce so it thickens smoothly instead of tasting pasty later. If the flour clumps at this stage, the finished sauce will never fully smooth out.
Turning Milk and Cream Into a Coating Sauce
Pour the milk and cream in gradually while whisking. The mixture should look thin at first, then turn slightly glossy and thick enough to coat a spoon as it simmers. Keep the heat moderate; if it boils hard, the sauce can scorch on the bottom before it thickens evenly. Season it once it has thickened, not before, so you can judge the salt against the finished body of the sauce.
Layering for Even Tenderness
Build three layers of potatoes and onion, and pour sauce over each layer so every slice gets coated. Press the layers down gently with a spoon as you go; that helps settle the sauce between the potatoes and keeps dry pockets from forming. Cover the dish tightly with foil for the first hour so the potatoes steam and soften before the top starts to brown. If the foil is loose, moisture escapes and the upper layers can dry out.
Finishing the Top
Once the potatoes are fork-tender, uncover the dish and add the Parmesan. Bake until the top turns deeply golden and the edges bubble. If the top browns too quickly, move the dish one rack lower rather than covering it again, which can trap steam and soften the crust. Let it rest for 15 minutes before serving so the sauce settles and slices hold together.
How to Adapt Scalloped Potatoes for Different Tables
Make It Gluten-Free
Swap the all-purpose flour for a 1:1 gluten-free flour blend that thickens like regular flour. The texture stays close to the original, though the sauce may need an extra minute on the stove before it fully coats the spoon.
Lighter Version With More Milk
Use all whole milk and leave out the cream if you want a lighter side dish. The bake will still be creamy, but it won’t have quite the same rich, almost silky finish on the top and edges.
Add Ham or Crispy Bacon
Fold in small pieces of cooked ham or a scattering of crisp bacon between the layers. That adds salt and makes the dish hearty enough to stand on its own, but keep the amount modest so the sauce doesn’t get crowded and the potatoes still cook evenly.
Dairy-Free Version
Use plant-based butter, unsweetened oat milk, and a rich unsweetened dairy-free creamer. The flavor changes the most here, especially in the sauce, but the method stays the same and the potatoes still bake up tender if the sauce is thickened on the stove first.
Storage and Reheating
- Refrigerator: Store covered for up to 4 days. The sauce thickens as it chills, and the layers set up firmly.
- Freezer: It can be frozen, but the texture softens a bit after thawing. Wrap portions well and thaw overnight in the refrigerator before reheating.
- Reheating: Reheat covered at 325F until hot through, then uncover for a few minutes to bring back the top. The common mistake is blasting it in a hot oven, which dries the potatoes before the center warms.
Answers to the Questions Worth Asking
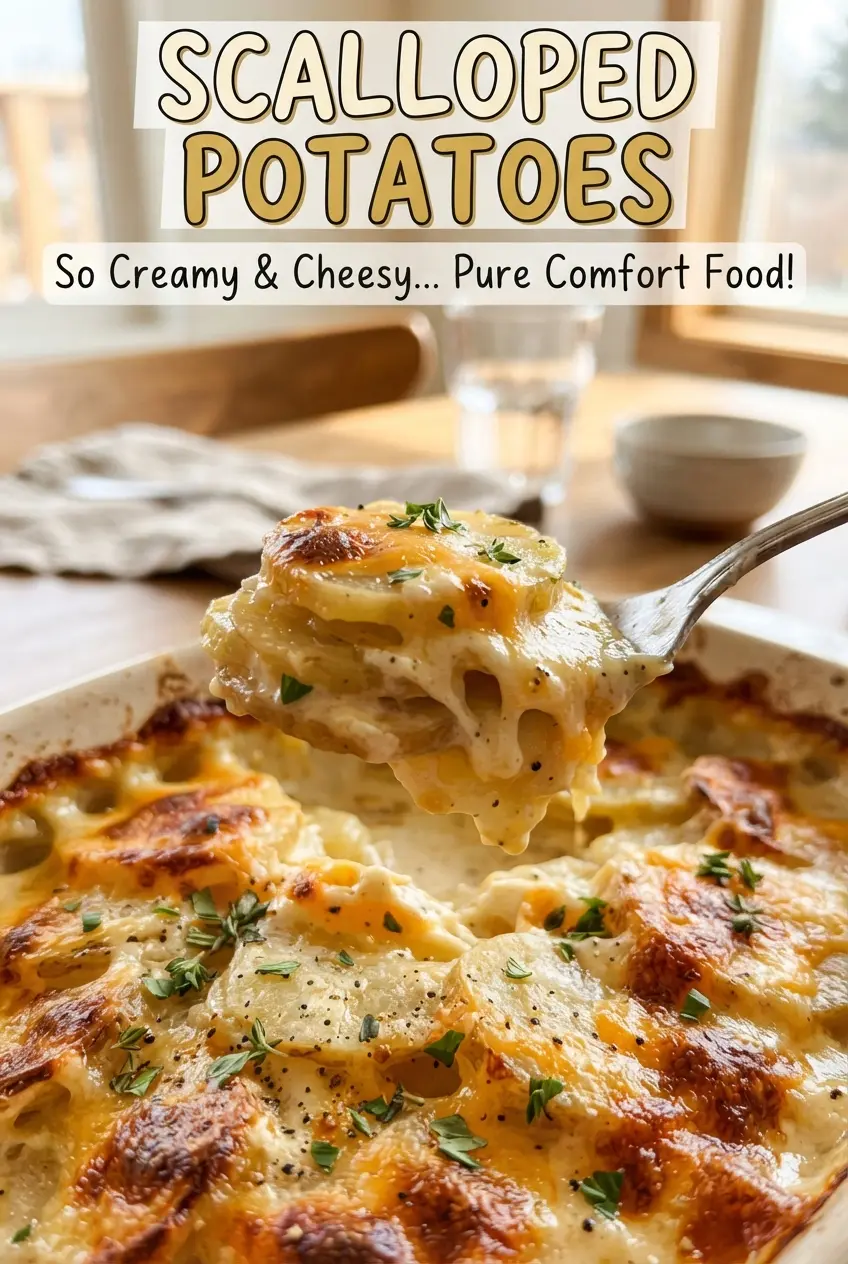
Scalloped Potatoes
Ingredients
Equipment
Method
- Preheat the oven to 375F and butter a 9x13-inch baking dish for easy release and clean edges (visual cue: glossy butter coating the bottom and sides).
- Melt the butter, then cook the minced garlic for 30 seconds until fragrant (visual cue: garlic looks lightly sizzling but not browned).
- Whisk in the all-purpose flour and cook for 1 minute to remove the raw flour taste (visual cue: mixture turns smooth and slightly paste-like).
- Gradually whisk in the whole milk and heavy cream, then simmer until slightly thickened (visual cue: sauce coats the back of a spoon and looks pourable yet thicker).
- Season with salt, black pepper, and fresh thyme leaves, stirring until evenly distributed (visual cue: visible specks of thyme and consistent seasoning throughout).
- Layer the sliced russet potatoes and thinly sliced onion in the dish in three layers, pouring sauce over each layer (visual cue: each potato layer is visibly slick with sauce).
- Cover with foil and bake at 375F for 1 hour (visual cue: potatoes soften and sauce bubbles under the foil).
- Uncover, sprinkle with grated Parmesan, and bake 25-30 minutes at 375F until golden and fork-tender (visual cue: browned top and a fork slides into potato layers with little resistance).
- Rest for 15 minutes before serving to let the sauce set slightly (visual cue: bubbling slows and the layers hold together when you scoop).