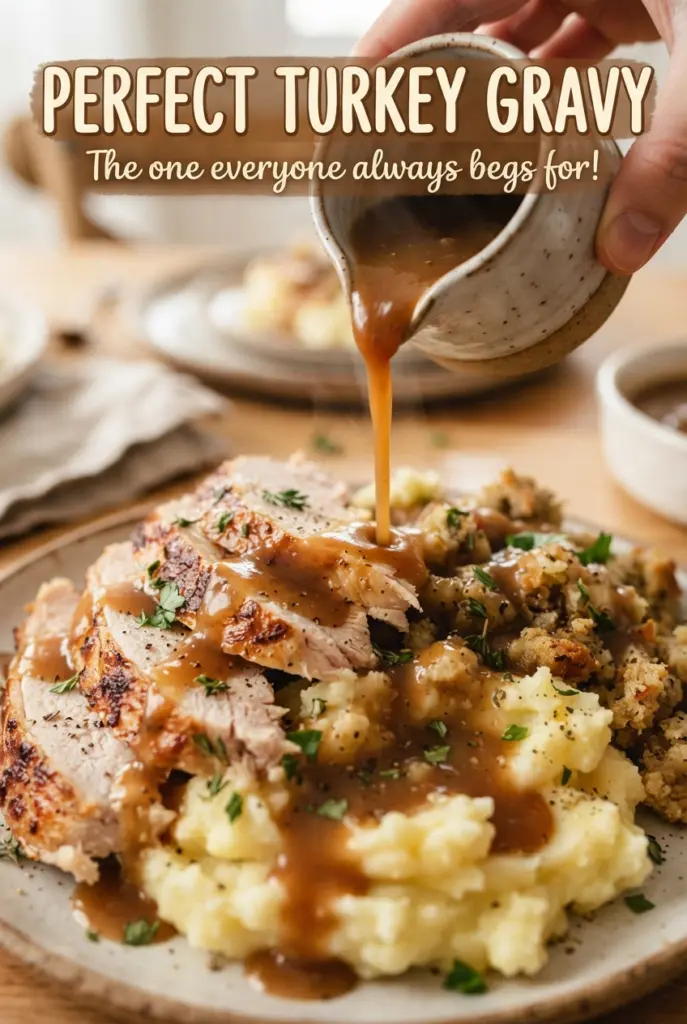
Silky turkey gravy turns a holiday plate into a proper meal. When it’s done right, it pours in a slow ribbon, clings to mashed potatoes, and settles around sliced turkey without turning gluey or greasy. This version gets its depth from the pan drippings, but it doesn’t depend on them entirely, which means you still get a rich, steady gravy even if the roasting pan isn’t packed with fat.
The key is building a roux from the reserved fat and flour first, then adding warm stock gradually so the gravy stays smooth. I also like the small amount of soy sauce here because it rounds out the savory flavor without making the gravy taste like soy sauce. The thyme keeps it tasting like turkey dinner instead of generic brown gravy.
Below you’ll find the exact point where the gravy thickens, how to keep it from going lumpy, and the small finishing step that makes it taste like it came straight from the roasting pan.
The gravy thickened up perfectly and stayed smooth even after I whisked in the warm stock. I used it on turkey and mashed potatoes, and there wasn’t a lump in the whole bowl.
Save this silky turkey gravy for Thanksgiving plates, mashed potatoes, and every roast dinner that needs a rich pan-dripping finish.
The Reason Your Gravy Stays Smooth Instead of Turning Pasty
The roux does more than thicken the gravy; it gives the flour time to cook so the finished sauce doesn’t taste raw. Three to four minutes over medium heat is enough to take the edge off the flour without darkening it into something bitter. If you rush this part, the gravy can end up chalky even when the texture looks right.
The other point that matters is temperature. Warm stock incorporates cleanly, while cold stock can seize the roux and leave you chasing lumps with a whisk. That’s why this gravy starts smoothly from the first pour instead of needing rescue at the end.
What the Drippings, Stock, and Soy Sauce Are Each Doing Here
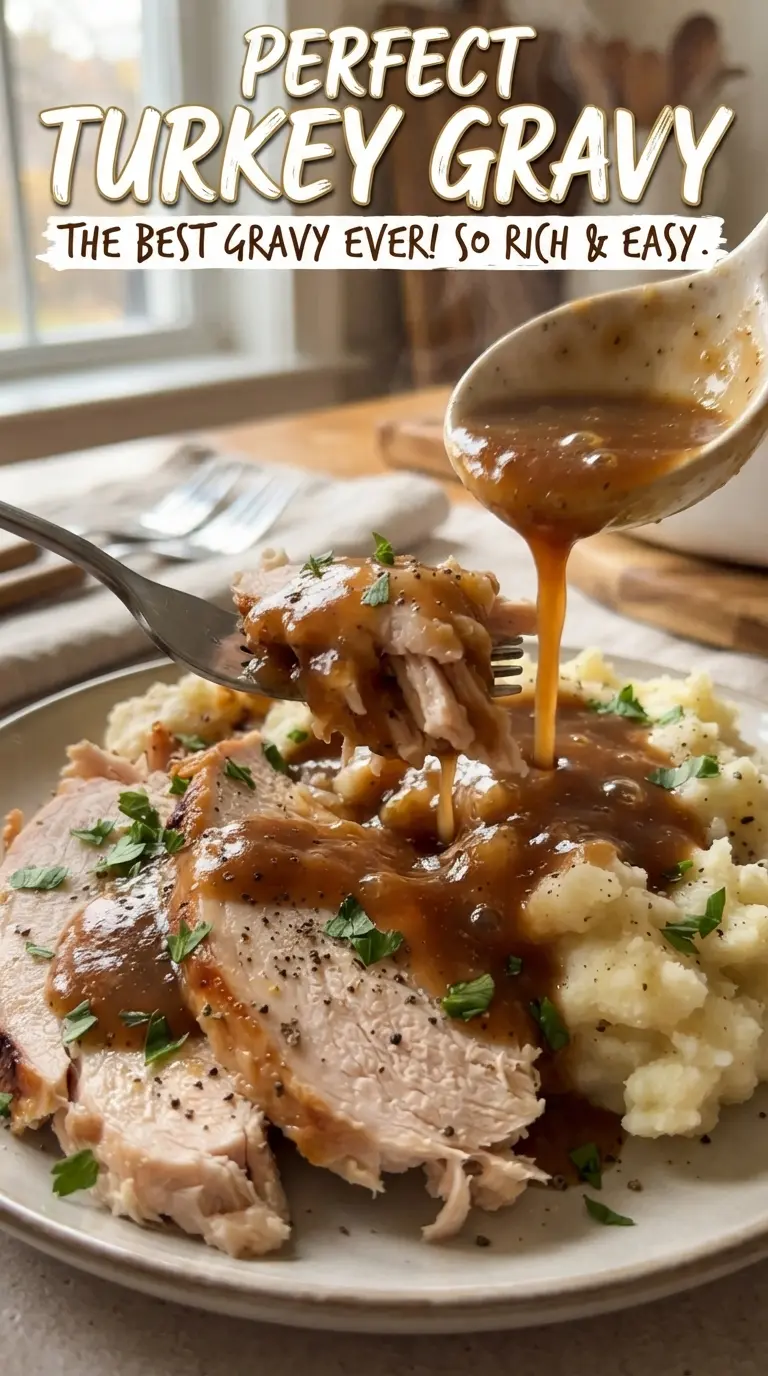
- Turkey pan drippings — These bring the roasted, savory backbone that makes gravy taste like it belongs on the holiday table. If you don’t have enough fat from the pan, butter works, but you’ll lose a little of that built-in turkey flavor.
- Flour — This is the thickener, and all-purpose flour is the right tool here because it makes a smooth, spoon-coating gravy without turning elastic. Cook it in the fat before adding liquid or it can taste raw and dusty.
- Warm stock and deglazed pan juices — The stock gives you volume and body, while the pan juices carry the browned bits from the roasting pan. Use good stock if you can; weak stock makes thin gravy taste flat no matter how long you simmer it.
- Fresh thyme and soy sauce — Thyme adds a clean herb note that lifts the richness, and soy sauce deepens the color and savory flavor without making the gravy taste like an Asian dish. If you’re out of soy sauce, a tiny splash of Worcestershire works, but start with less because it can take the flavor in a sharper direction.
Building the Gravy Without Lumps or a Raw Flour Taste
Rendering the Fat and Measuring the Base
Pour the roasting pan drippings into a measuring cup and let them separate for a minute or two. Spoon off 1/4 cup of the fat for the gravy, but keep the defatted juices if there are any; those browned pan juices carry flavor that plain stock can’t replace. If you only have butter, use that amount and move straight on.
Cooking the Roux Until It Smells Nutty
Whisk the flour into the hot fat and keep it moving so it cooks evenly. After a few minutes, it should look smooth and turn a light golden brown, with a faint nutty smell. If it stays pale and pasty, the gravy can taste floury later; if it gets too dark, the final gravy will lean bitter.
Whisking in the Stock the Right Way
Add the warm stock gradually, whisking after each splash until the mixture loosens and turns glossy. The first few additions look awkward and thick, and that’s normal. If you dump in all the liquid at once, the roux can clump before it fully disperses, which is where most lumpy gravy starts.
Finishing With Time, Not More Flour
Once the gravy simmers, let it bubble gently for 8 to 10 minutes until it coats the back of a spoon. That simmer does the final thickening and gives the flour time to fully hydrate. Stir in the thyme and soy sauce near the end, then taste and season with salt and pepper after the gravy has reduced a bit, not before.
Three Ways to Adjust This Gravy Without Losing the Texture
Use butter when the roasting pan is dry
If your pan drippings don’t give you 1/4 cup of fat, swap in butter for the missing amount. The gravy will still thicken the same way, but it won’t have quite as much roasted depth, so lean a little harder on the pan juices and stock for flavor.
Make it gluten-free with cornstarch
Replace the roux with a cornstarch slurry if you need a gluten-free version, but add it near the end instead of cooking it from the start. The texture will be a little glossier and less velvety than flour-thickened gravy, and it can thin slightly if it sits too long on heat.
Skip the soy sauce for a milder gravy
If you want a more classic, straightforward turkey gravy, leave out the soy sauce and add an extra pinch of salt at the end. You’ll lose a little color and savoriness, but the gravy will taste cleaner and more traditional.
Storage and Reheating
- Refrigerator: Store in an airtight container for up to 4 days. It will thicken as it chills.
- Freezer: It freezes well for up to 2 months. Cool completely first, then freeze in a sealed container and leave a little room for expansion.
- Reheating: Warm it slowly on the stove over low heat with a splash of stock or water to loosen it. High heat can make the gravy break or turn gummy before it smooths out.
Answers to the Questions Worth Asking
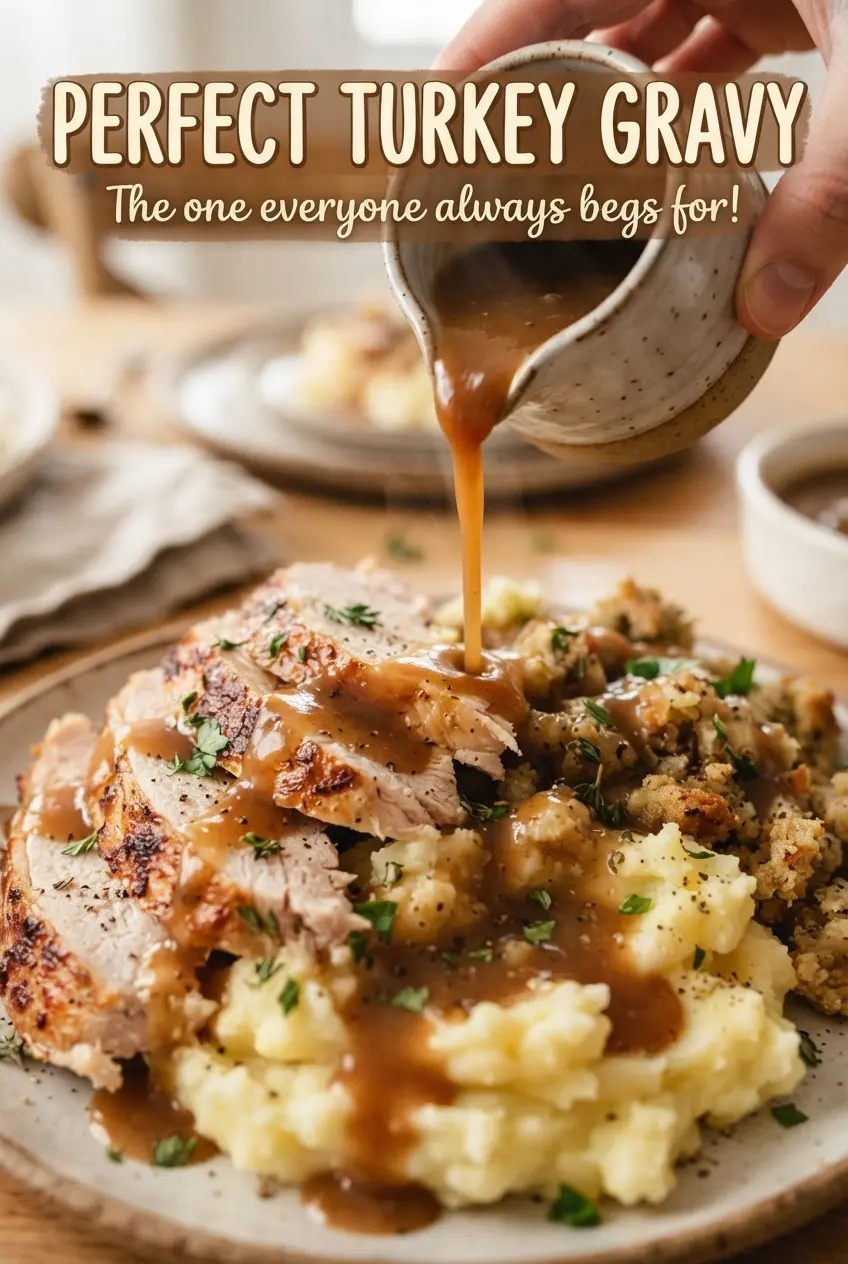
Perfect Turkey Gravy
Ingredients
Equipment
Method
- Pour the roasting pan drippings into a measuring cup and let the fat rise to the top. Visual cue: a clear layer of fat forms on top while darker juices settle below.
- Spoon 1/4 cup of the fat into a saucepan over medium heat and whisk in the flour. Visual cue: the mixture turns into a thick paste as you whisk.
- Cook the roux 3-4 minutes, whisking, until golden brown. Visual cue: it deepens to a light-to-medium amber color and smells nutty.
- Gradually whisk in warm stock and the defatted pan juices until smooth. Visual cue: the gravy becomes glossy and lump-free.
- Add the thyme and soy sauce, then simmer 8-10 minutes until thick enough to coat a spoon. Visual cue: bubbles slow down and the surface clings to the back of a spoon.
- Season with salt and pepper to taste, then strain if desired and serve hot. Visual cue: a final taste balances the flavors before serving.


