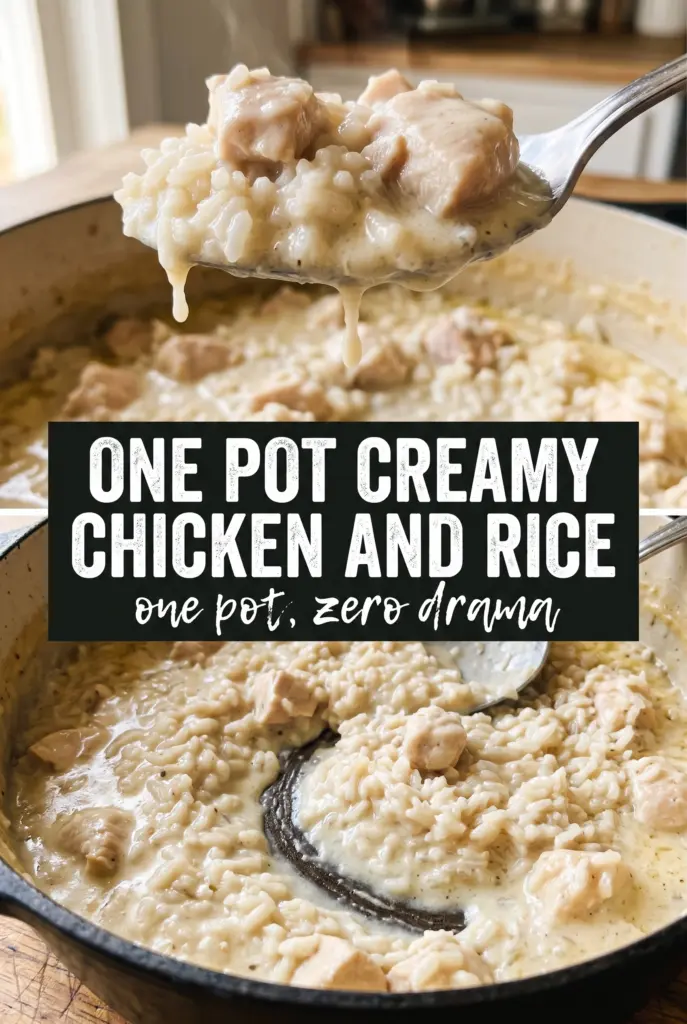
Golden chicken thighs on top of creamy rice make this one-pot dinner feel bigger than the effort it takes to cook it. The rice turns glossy and rich as it absorbs the chicken drippings, broth, cream, and Parmesan, and the skin stays crisp enough to give each bite a real contrast. It’s the kind of pan supper that disappears fast because every spoonful tastes like the best part of a slow-cooked meal without the wait.
The part that makes this version work is the order. The chicken gets a hard sear first, which builds flavor in the pot and gives the skin a head start before it finishes covered. Then the rice is toasted briefly with the onion and garlic so it holds its shape instead of turning mushy once the broth and cream go in. That short toast is what keeps the texture fluffy instead of heavy.
Below you’ll find the timing that keeps the rice tender and the chicken juicy, plus the few small moves that keep the sauce creamy instead of greasy. If you’ve ever had one-pot rice cook unevenly or end up bland, the details here will help.
The rice came out creamy but still had texture, and the chicken skin stayed golden even after the covered cook time. I loved that the pan sauce picked up all the browned bits from searing.
Save this one-pot creamy chicken and rice for the nights when you want tender chicken, glossy rice, and one Dutch oven doing all the work.
The Sear That Keeps the Chicken Juicy and the Rice Rich
The biggest mistake with a one-pot chicken and rice dish is rushing past the sear. If the skin doesn’t get deep color first, the final pan tastes flat and the chicken can steam instead of developing that roasted note that carries the whole dish. You want the thighs to release cleanly from the pot with a dark golden crust before you turn them.
That browned fond at the bottom isn’t something to scrape away and forget. It dissolves into the onion, broth, and cream later and gives the rice its savory backbone. If the pot looks dry after searing, that’s normal; the onion will loosen everything once it starts cooking in the same fat.
- Bone-in, skin-on chicken thighs — Thighs stay tender through the covered cook time and their skin gives you the best flavor in the pot. Boneless chicken cooks faster, but it won’t add the same richness to the rice.
- Long-grain white rice — This is the rice that holds its shape under the cream and broth. Short-grain rice turns softer and stickier here, which changes the dish from creamy to heavy.
- Heavy cream — The cream rounds out the broth and makes the sauce glossy. Half-and-half works in a pinch, but the sauce will be a little thinner and less lush.
- Parmesan cheese — Parmesan adds salt, body, and a savory finish that thickens the liquid as it cooks. Grate it finely so it melts evenly instead of clumping.
What Each Ingredient Is Actually Doing in the Pot

The onion and garlic build the base after the chicken comes out, and they should soften in the rendered fat, not brown hard. Garlic only needs about a minute; if it burns, the whole pot takes on a bitter edge. Rice goes in next so the grains can toast in the fat for a minute or two, which helps them stay separate after simmering.
Chicken broth does most of the cooking work, but the cream changes the texture from plain pilaf to a true creamy pan dish. Dried thyme adds a quiet herb note that fits the chicken without taking over. Fresh parsley at the end isn’t just garnish; it wakes up the rich sauce and keeps the bowl from tasting too heavy.
The 25 Minutes That Decide Whether the Rice Stays Creamy or Turns Gummy
Building the Browned Base
Start the chicken skin-side down in a hot Dutch oven and leave it alone until the skin is deeply golden and pulls free on its own. If you move it too early, the skin tears and sticks, which means you lose both texture and flavor. The pot should have a good layer of rendered fat before the chicken comes out.
Toasting the Rice Before the Liquid Goes In
Cook the onion until it softens, then stir in the garlic just until fragrant. Add the uncooked rice and let it toast briefly in the pot so the grains get coated in fat; that tiny step helps the rice stay fluffy instead of collapsing. If the rice starts to look translucent at the edges, you’re in the right place.
Keeping the Simmer Low and Tight
Once the broth, cream, Parmesan, and thyme go in, bring the pot to a gentle simmer, not a boil. A hard boil is where creamy rice turns uneven and the dairy can separate. Nestle the chicken back in skin-side up, cover tightly, and keep the heat low enough that you hear only a soft, steady bubble.
Resting Before You Fluff
When the rice is tender and the chicken reaches 165°F, let the pot sit covered for five minutes before you lift the lid. That resting time lets the steam finish the rice without overcooking it. Fluff gently with a fork so you don’t smash the grains or stir up the crispy bits on top.
How to Adapt This for Different Pans, Diets, and Leftovers
Make It Dairy-Free Without Losing the Creamy Texture
Use unsweetened coconut cream or an unsweetened oat-based cooking cream in place of the heavy cream, then skip the Parmesan or use a dairy-free Parmesan-style topping. The sauce won’t have the same savory depth, so a little extra salt and a squeeze of lemon at the end help bring it back into focus.
Use Boneless Chicken Thighs When You Need a Faster Dinner
Boneless thighs cook faster and are easier to eat, but they won’t protect the rice the way bone-in thighs do. Reduce the covered cooking time by a few minutes and start checking early so the rice doesn’t overcook while the chicken finishes.
Swap in Brown Rice Only If You Adjust the Timing
Brown rice needs more liquid and a longer cook, so you can’t swap it in straight across. If you use it, expect a much longer simmer and a looser sauce; otherwise, the grains stay too firm while the chicken overcooks.
Storage and Reheating
- Refrigerator: Store leftovers in an airtight container for up to 4 days. The rice will firm up a little as it chills, but it stays flavorful.
- Freezer: It freezes well for up to 2 months, though the cream sauce may look a bit looser after thawing. Cool it completely before freezing and use a shallow container for faster thawing.
- Reheating: Reheat gently on the stove or in the microwave with a splash of broth to loosen the rice. High heat dries out the chicken and makes the rice gluey, so warm it slowly until it’s hot through.
Answers to the Questions Worth Asking
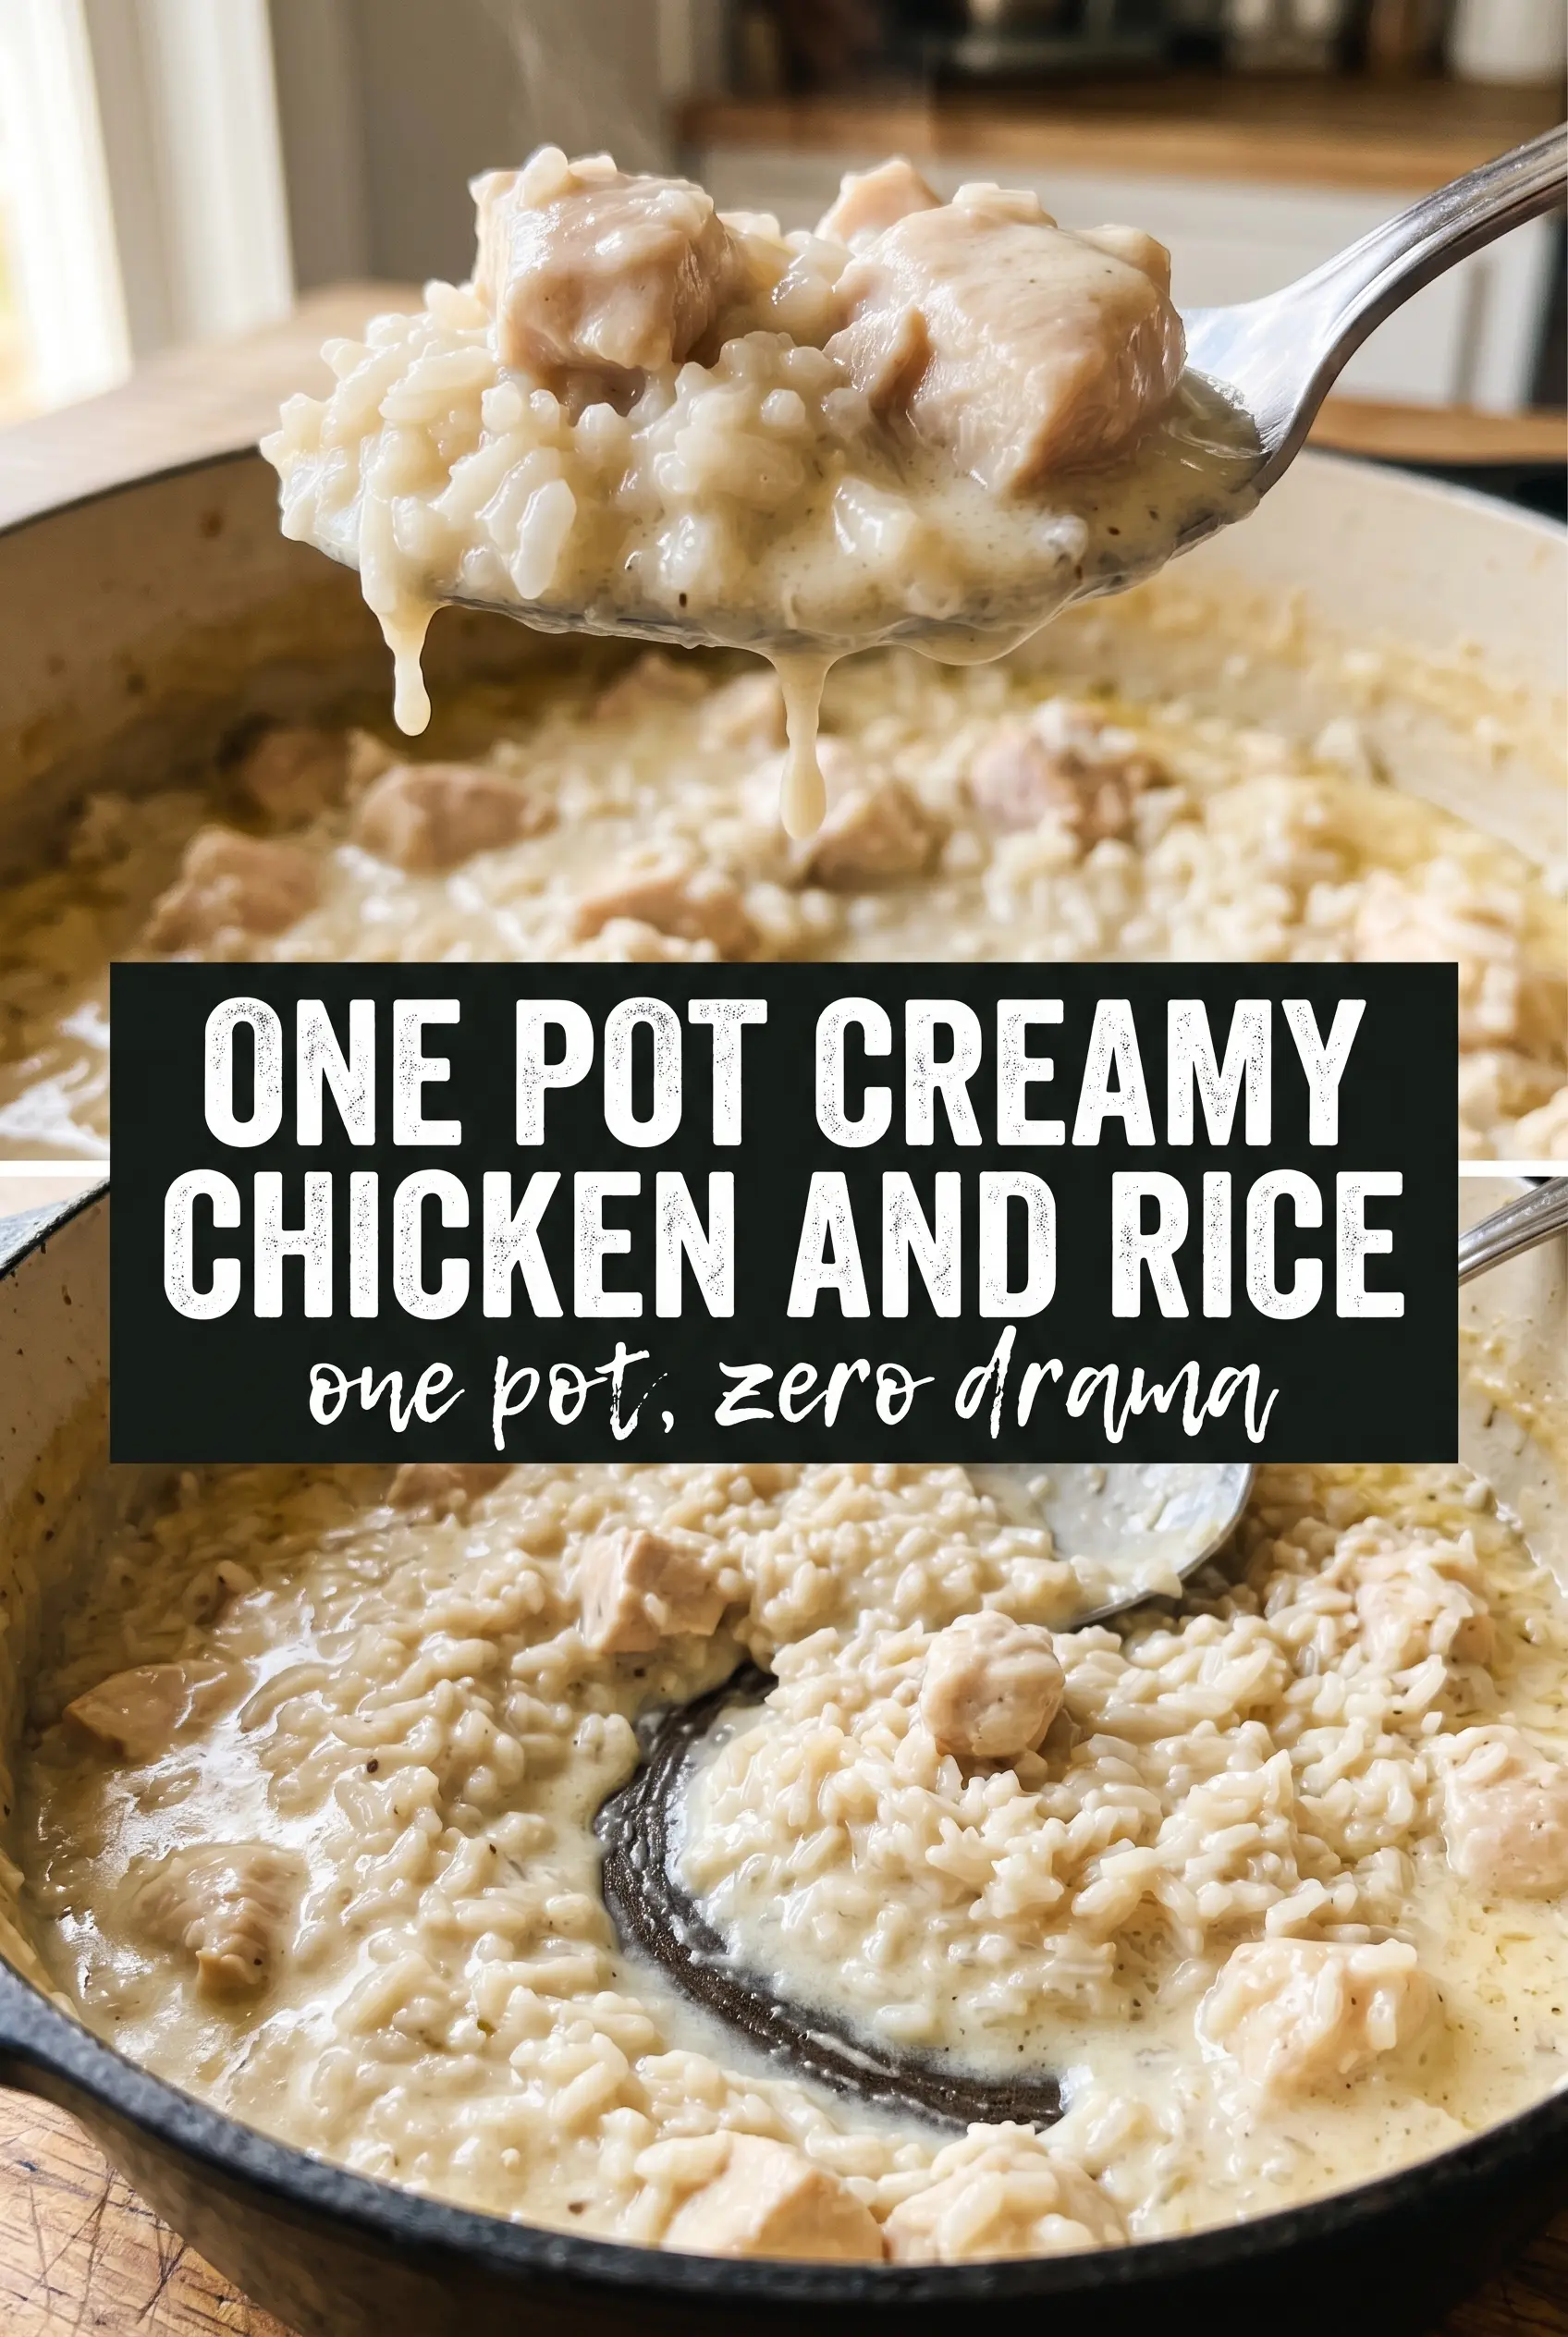
One Pot Creamy Chicken and Rice
Ingredients
Equipment
Method
- Season the chicken thighs with salt, pepper, garlic powder, smoked paprika, and Italian seasoning to taste. Pat to help the spices adhere, then keep the chicken ready by the stove.
- Heat olive oil in a Dutch oven over medium-high heat and sear chicken skin-side down for 7-8 minutes until deeply golden. Look for crisp, browned skin and a steady sizzle.
- Flip the chicken and sear for 3 minutes more, until the second side is browned. Transfer to a plate to rest while you cook the rice base.
- Add the diced onion to the same pot and cook for 3 minutes. Stir until the onion softens and turns slightly translucent.
- Add minced garlic and cook for 1 minute. Stir until fragrant, not browned.
- Add the uncooked long-grain white rice and toast for 2 minutes. The rice should look lightly opaque and smell nutty.
- Pour in the chicken broth and heavy cream, then stir to combine. Scrape up any browned bits from the bottom of the pot.
- Stir in the grated Parmesan and dried thyme, then bring the mixture to a simmer. Watch for gentle bubbling before moving to the next step.
- Nestle the chicken thighs skin-side up into the rice, keeping them mostly above the surface. Arrange them evenly so the drippings can flavor the rice.
- Cover tightly and cook over low heat for 22-25 minutes, until the rice is cooked and the chicken reaches 165°F. Keep the lid on to trap steam and prevent uneven cooking.
- Rest the pot covered for 5 minutes, then fluff the rice gently. The rice should look fluffy and glossy from the absorbed sauce.
- Garnish with fresh parsley and serve. Add cracked pepper if you like before plating.