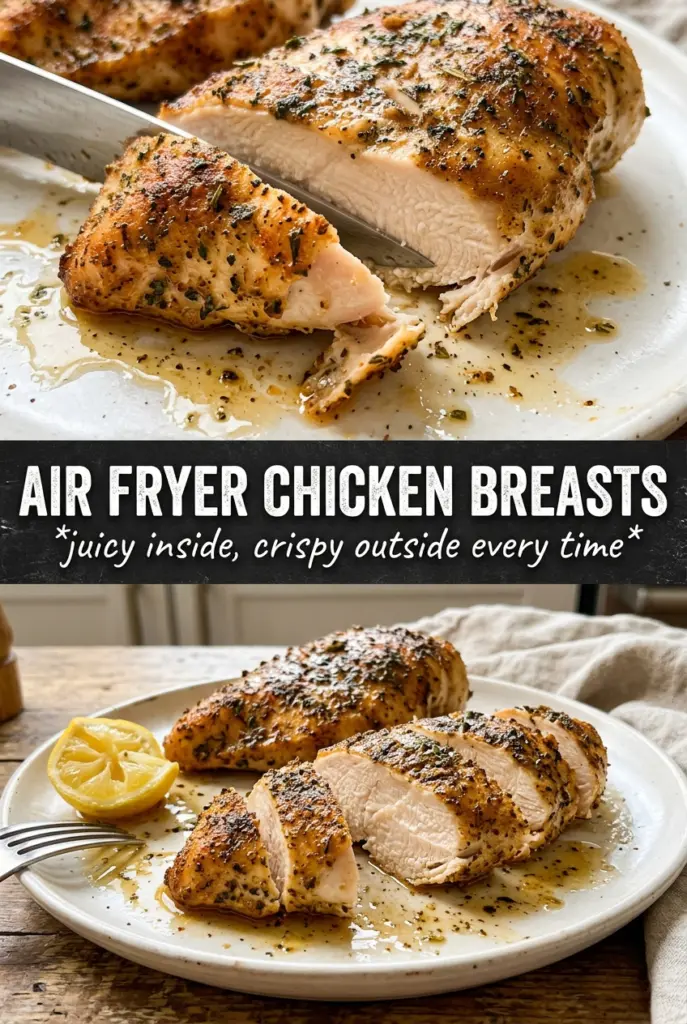
Air fryer chicken breasts come out with a deep golden crust and a juicy center when the thickness is even and the seasoning hits the meat before it ever goes into the basket. The air fryer does its best work when the chicken cooks in a steady, hot blast, which is why this version skips anything fussy and focuses on the two things that matter most: uniform thickness and a dry, well-seasoned surface.
Pounding the breasts to about 3/4-inch thick keeps the thinner ends from drying out before the center is done. A light coat of oil helps the spices cling and encourages that browned, fragrant exterior instead of a pale, papery one. The spice mix here is simple on purpose — garlic, onion, smoked paprika, and Italian seasoning give the chicken enough backbone to taste like dinner without burying the chicken itself.
Below, I’ve included the small adjustments that make a real difference, plus a few ways to change the seasoning without losing that juicy texture.
The chicken stayed unbelievably juicy, and the seasoning made a perfect crust without getting bitter. I flipped it at the halfway point and it was done right on time at 18 minutes.
Keep this air fryer chicken breasts recipe handy for nights when you want juicy chicken fast with a crisp, seasoned crust.
The Reason Most Air Fryer Chicken Dries Out Before the Center Is Done
The biggest mistake with air fryer chicken breasts is treating them like they all cook at the same pace. They don’t. One end is often much thinner than the other, and that tapered shape is what leaves people with stringy edges before the thickest part hits temperature. Even thickness matters more here than almost anywhere else.
The other trap is overloading the basket. Air needs to move around the chicken, not trap steam against it. If the pieces are crowded, the outside stays soft and the seasoning turns dull instead of forming that browned crust you want.
- Even thickness keeps the breast from drying out at the edges while the center finishes cooking.
- Oil helps the spices adhere and encourages browning; dry seasoning alone tends to look dusty.
- Space in the basket lets hot air circulate, which is what gives you that crisp exterior instead of pale, steamed chicken.
- A short rest lets the juices settle back into the meat after cooking, so they don’t spill out on the cutting board.
What Each Seasoning Is Doing on the Chicken
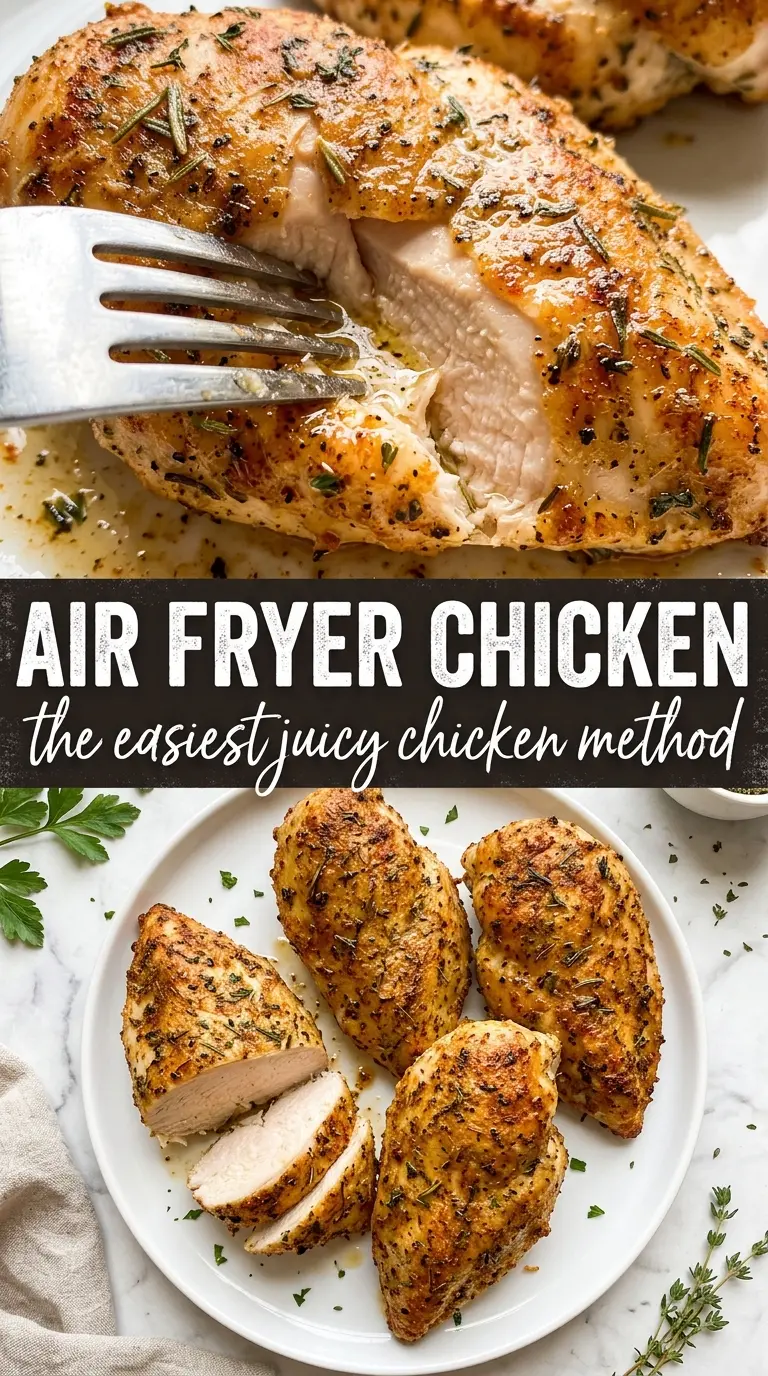
- Chicken breasts need to be boneless, skinless, and pounded evenly. This is one of those recipes where shape matters as much as quality, because a thick center and thin tail won’t finish together.
- Olive oil is enough here to coat the surface and help the spices toast. You don’t need much, but you do need some fat or the seasoning will sit on top without developing that bronzed finish.
- Smoked paprika adds the kind of color and warmth that makes the chicken taste like it’s been seasoned longer than 8 minutes. Regular paprika works in a pinch, but the smoked version gives you a deeper, grill-like note.
- Italian seasoning brings herbs into the mix without forcing you to chop anything. If yours is old and dusty, replace it — dried herbs lose punch fast, and this recipe depends on them showing up.
- Lemon wedges aren’t just garnish. A squeeze at the end wakes up the whole dish and keeps the chicken from tasting flat after the hot air fryer finish.
Getting the Sear, the Timing, and the Rest Right
Heating the Air Fryer First
Preheat the air fryer to 390°F before the chicken goes in. That first blast of heat is what starts the crust right away instead of slowly drying the meat as the machine comes up to temperature. If your model runs hot, the top can brown quickly, so keep an eye on the first batch and adjust the last minute if needed.
Seasoning for a Better Surface
Brush the chicken with oil, then rub the spice mixture over both sides until every bit looks evenly coated. The goal is a thin, even layer, not a thick paste. If the seasoning clumps, it usually means the chicken was too wet or the oil wasn’t spread evenly.
Cooking in the Basket
Lay the breasts in a single layer with space between them and cook for 16 to 18 minutes, flipping halfway through. The flip helps both sides brown, but the real test is temperature: pull the chicken when the thickest part reaches 165°F. If the top browns before the center is done, lower the heat by 10 degrees next time or cut the breasts smaller so they match better.
Letting the Juices Settle
Rest the chicken for 5 minutes before slicing. That pause keeps the juices in the meat instead of running out the second your knife hits it. If the chicken seems dry when sliced, it was usually cut too soon, not necessarily overcooked.
How to Adapt Air Fryer Chicken Breasts Without Losing the Juicy Center
Make It Dairy-Free and Gluten-Free Without Changing the Method
This recipe is naturally dairy-free and gluten-free as written, which is part of why it works so well for weeknights. Just check that your Italian seasoning blend doesn’t include anti-caking fillers if you’re cooking for someone with a strict gluten issue. The texture and cooking time stay the same.
Use Chicken Thighs for Richer, More Forgiving Meat
Boneless skinless thighs work beautifully if you want darker, juicier meat. They usually need a few extra minutes, and they’re less likely to dry out, but they won’t slice as neatly as breasts. Keep the seasoning the same and cook until the thighs hit 165°F to 175°F, depending on how tender you like them.
Turn It into a Lower-Sodium Version
Cut the salt to 1/4 teaspoon and lean on the smoked paprika, garlic powder, and a squeeze of lemon at the end. You’ll lose a little upfront punch, but the chicken still tastes full because the air fryer concentrates the seasoning on the surface. Don’t cut the pepper — it helps the crust taste balanced even with less salt.
Meal-Prep It for Lunches
Cook the chicken, cool it completely, and slice it before refrigerating if you plan to use it over salads or grain bowls. Sliced chicken chills evenly and reheats faster without drying out. Keep a little lemon on the side and add it after reheating so the flavor stays bright.
Storage and Reheating
- Refrigerator: Store in an airtight container for up to 4 days. The crust softens a little, but the chicken stays tender if you don’t slice it until needed.
- Freezer: It freezes well for up to 2 months if wrapped tightly and cooled first. Freeze whole breasts or slices with parchment between layers so they don’t stick together.
- Reheating: Warm gently in the air fryer at 350°F for 3 to 5 minutes, or until just heated through. The common mistake is blasting it too long, which turns the edges dry before the middle is warm.
Questions I Get Asked About This Recipe
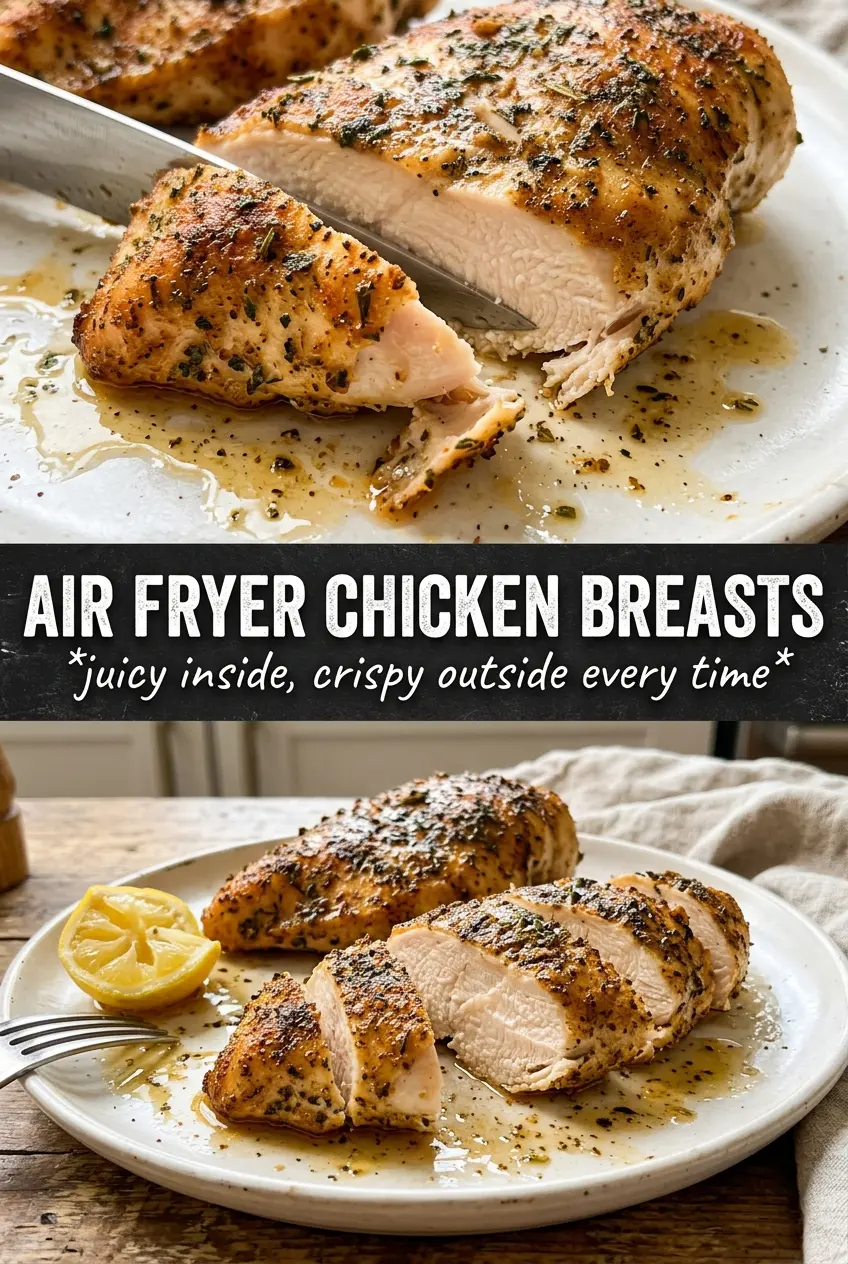
Air Fryer Chicken Breasts
Ingredients
Equipment
Method
- Preheat the air fryer to 390°F and let it fully come up to temperature before cooking.
- Pound the chicken breasts to an even 3/4-inch thickness if needed for uniform cooking.
- Brush both sides of the chicken breasts with the olive oil.
- Mix garlic powder, onion powder, smoked paprika, Italian seasoning, salt, and cracked black pepper, then rub evenly over both sides of the chicken.
- Air fry at 390°F for 8-9 minutes, flipping halfway through, until the crust is starting to turn golden.
- Continue air frying at 390°F for 8-9 minutes until the internal temperature reaches 165°F and the outside is golden-brown.
- Rest the chicken for 5 minutes before slicing so the juices redistribute.
- Garnish with fresh parsley and serve with lemon wedges.