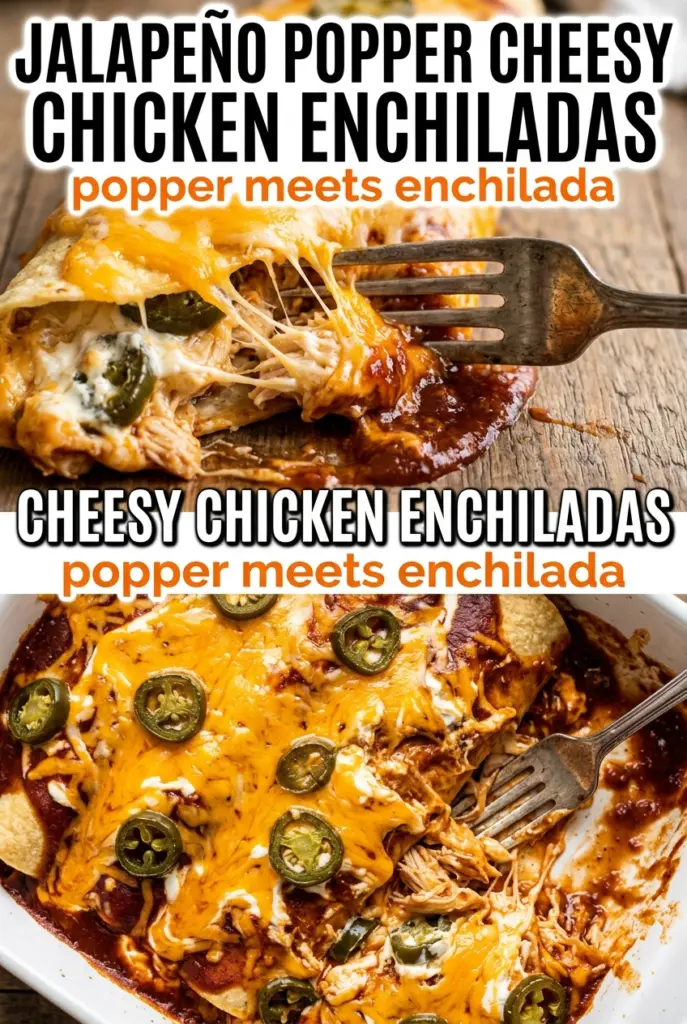
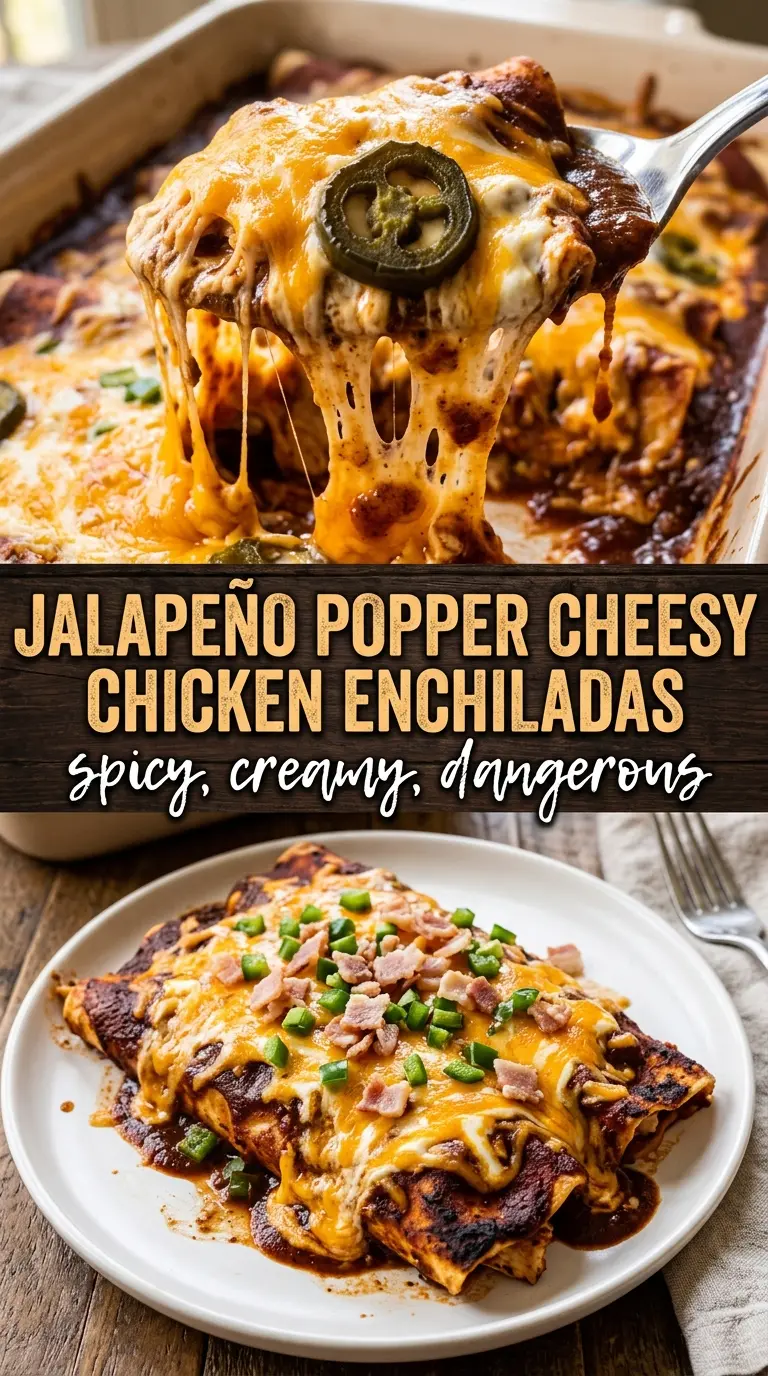
These jalapeño popper cheesy chicken enchiladas hit that sweet spot between comforting and a little bold. The filling stays creamy and packed with sharp, salty cheese, while the white sauce bakes into a bubbling blanket that clings to every tortilla instead of sliding off the pan. You get the jalapeño popper idea in a dinner that feels complete, not like a party appetizer stretched into a meal.
What makes this version work is balance. The chicken filling is rich, but the pickled jalapeños cut through the cream cheese so it doesn’t taste heavy. The sauce starts with a simple roux, which gives it body before the sour cream and Monterey Jack go in. That keeps the topping smooth and spoonable, not thin or grainy. The flour tortillas soften in the oven just enough to hold everything together without turning mushy.
Below you’ll find the small details that matter here: how to keep the sauce silky, how to roll the tortillas so they stay sealed, and the swaps that still keep the filling creamy if you need to work with what you’ve got.
The sauce thickened up beautifully and stayed creamy after baking. I loved that the jalapeños cut the richness without making it too spicy, and the tortillas held together instead of turning soggy.
Save these jalapeño popper cheesy chicken enchiladas for the night you want creamy, bubbly Tex-Mex comfort with a jalapeño kick.
The Reason the Sauce Stays Creamy Instead of Breaking
The sauce has to be built in stages, and the order matters. Butter and flour cook together first so the broth thickens evenly, which keeps the sauce from turning thin and watery in the oven. If you dump sour cream into a hot pan too early, it can separate and look grainy by the time the enchiladas come out.
The other thing that keeps this dish on track is heat control. The sour cream goes in off the heat, after the sauce has already thickened. That one move keeps the sauce smooth and gives you a rich, tangy finish without curdling. The baked enchiladas should come out bubbling at the edges with the cheese melted into the sauce, not oily on top.
- Pickled jalapeños — These bring the tang and the brightness that make the filling taste like jalapeño poppers instead of just spicy chicken. Fresh jalapeños work if that’s what you have, but they change the flavor a lot; you’ll lose that briny bite. If you use fresh, add a small splash of pickle juice or a pinch of vinegar to bring some of that sharpness back.
- Cream cheese — Softened cream cheese is what makes the filling hold together and stay plush after baking. Cold cream cheese will fight you and leave little lumps, so let it sit out until it presses easily with a finger. Neufchâtel can work if you want something a little lighter, but it won’t be quite as rich.
- Sharp cheddar and Monterey Jack — Cheddar gives the filling and topping their punch, while Monterey Jack melts into the sauce smoothly. You can swap in mild cheddar if that’s what you keep on hand, but the flavor will be softer. Don’t skip the Jack in the sauce; it helps the top stay creamy instead of setting up stiff.
- Flour tortillas — Soft flour tortillas are the right choice here because they roll cleanly and turn tender in the oven. Corn tortillas can be used in a pinch, but they’ll need to be warmed first and the dish will read more like enchilada casserole than rolled enchiladas. If your tortillas crack, warm them in the microwave under a damp paper towel for a few seconds before filling.
What Each Ingredient Is Actually Doing in This Enchilada Dish
- Tortillas (the structure holder) — Dip them briefly in sauce so they stay pliable without becoming soggy. They’re the vehicle that holds everything together.
- Filling (chicken, cheese, or meat) — This is the flavor star. Layer it evenly so every bite is satisfying.
- Enchilada sauce (the binding liquid) — This moistens the tortillas and brings flavors together. Don’t skimp or the enchiladas become dry.
- Cheese (the melting finish) — Layer some inside and top with more so it melts into the sauce. Cotija or mozzarella both work well.
- Broth or liquid (the steam helper) — This keeps enchiladas moist while they bake. It’s essential for the final texture.
- Seasonings and spices (cumin, chili powder, garlic) — Build flavor depth. Layer seasonings so no single one overpowers.
- Baking time and temperature (350°F, 25-35 minutes) — This melts the cheese and heats everything through without drying the filling.
- Fresh garnish (cilantro, sour cream, green onion) — These add color, freshness, and final flavor. Add right before serving.
Rolling, Saucing, and Baking Without a Soggy Pan
Mix the Filling Until It Holds Together
Stir the chicken, softened cream cheese, chopped pickled jalapeños, and half the cheddar until everything is evenly coated and the mixture looks thick and scoopable. If the cream cheese is still cold, you’ll see streaks instead of a cohesive filling, and that makes rolling harder. Use the back of a spoon or a spatula to press it together; you’re aiming for a spread that stays in place when you spoon it onto the tortilla.
Roll the Tortillas Tightly Enough to Stay Sealed
Spoon the filling down the center of each tortilla, then roll it snugly and place it seam-side down in the baking dish. If the tortillas are overfilled, they burst open and the filling leaks into the sauce. A tight roll is what keeps each enchilada looking defined after baking instead of collapsing into a casserole mess.
Cook the White Sauce Until It Naps the Spoon
Melt the butter and whisk in the flour until it smells a little toasty, then slowly stream in the broth while whisking so the sauce stays smooth. It should thicken enough to coat the back of a spoon before you take it off the heat. Stir in the sour cream and Monterey Jack after the pan comes off the burner; that keeps the sauce silky and prevents the dairy from splitting.
Bake Until the Edges Bubble and the Top Browns
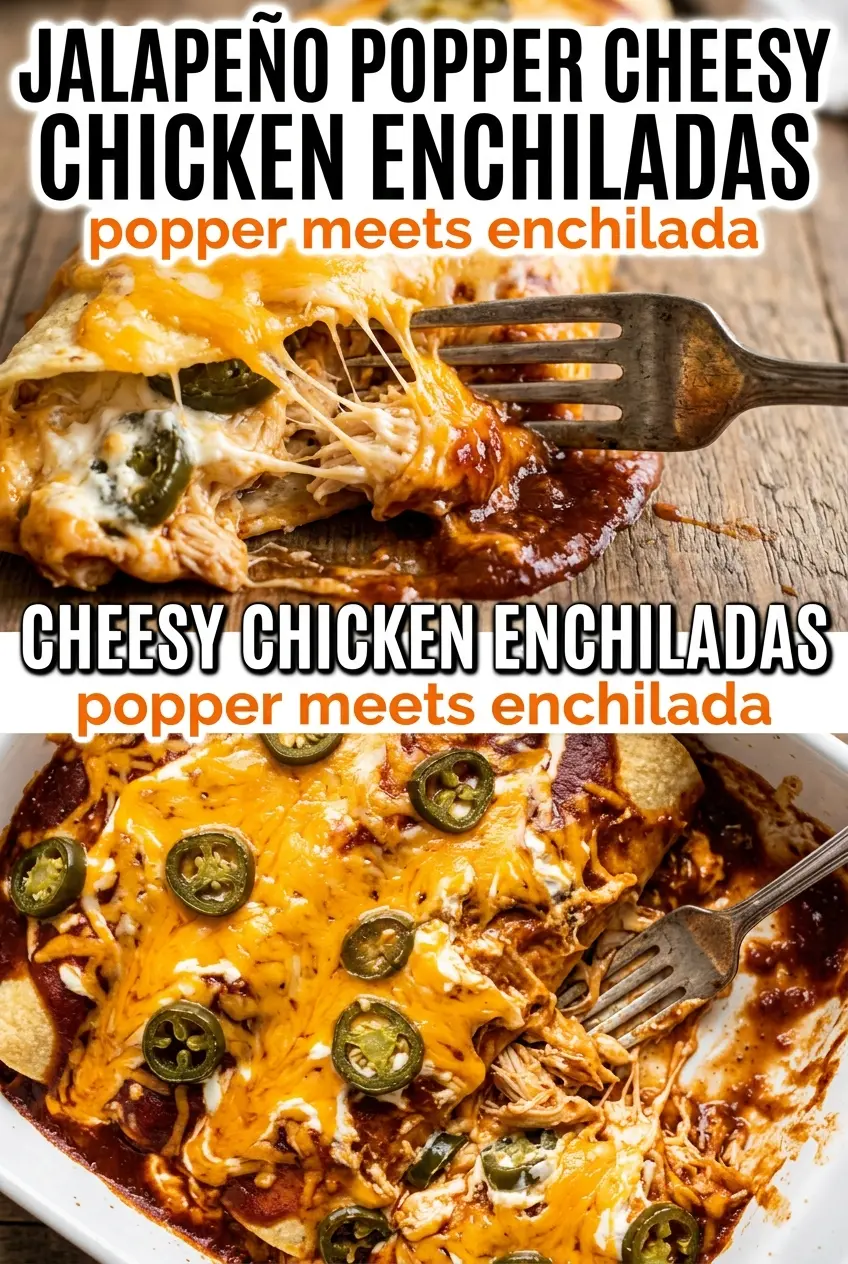
Pour the sauce over the enchiladas, scatter the remaining cheddar on top, and add extra jalapeño slices if you want more heat and color. Bake until the center is hot, the sauce is bubbling at the edges, and the cheese has melted into a light golden layer. If the top browns too fast before the middle is hot, cover it loosely with foil for the last part of baking.
How to Make These Enchiladas Fit the Way You Cook
Make Them Milder Without Losing the Jalapeño Popper Feel
Use fewer pickled jalapeños in the filling and stick with a light topping instead of piling them on. You still get the tangy cream cheese base and the cheddar richness, but the heat stays in the background. This is the best move if you’re serving kids or anyone who likes the flavor of jalapeños more than the burn.
Swap in Rotisserie Chicken for a Faster Dinner
Rotisserie chicken works perfectly and saves the step of cooking and shredding chicken yourself. Use the meat while it’s still moist, and pull out any large chunks so the filling mixes evenly. This shortcut keeps the texture tender, though the flavor will be a little more seasoned than plain cooked chicken.
Go Gluten-Free With a Sauce Swap
Use gluten-free flour for the roux and check that your broth is gluten-free. The sauce still thickens the same way, so you don’t lose the creamy finish. Corn tortillas also make sense here if you want to go fully gluten-free, but warm them first so they don’t split when you roll them.
Make It Ahead for a Busy Night
Assemble the enchiladas and sauce separately, then refrigerate them until you’re ready to bake. Pour the sauce over just before baking so the tortillas don’t absorb too much moisture and turn soft before they ever hit the oven. Add a few extra minutes to the bake time if the dish goes in cold.
Storage and Reheating
- Refrigerator: Store leftovers in an airtight container for up to 4 days. The tortillas soften a bit more overnight, but the flavor stays rich and the sauce holds up well.
- Freezer: This freezes better before baking than after. Assemble the enchiladas, wrap tightly, and freeze for up to 2 months; thaw overnight in the fridge before baking.
- Reheating: Cover and reheat in a 325°F oven until warmed through. The mistake that dries this dish out is blasting it in the microwave for too long; gentle heat keeps the sauce creamy and the filling tender.
Questions I Get Asked About This Recipe
Jalapeño Popper Cheesy Chicken Enchiladas
Ingredients
Equipment
Method
- Preheat oven to 375°F and grease a 9x13 baking dish. Set up your station so the tortillas can be filled and rolled quickly.
- Mix shredded chicken, cream cheese, pickled jalapeños, and 1/2 cup cheddar until combined. Divide the mixture among the tortillas, roll them up, and place seam-side down in the baking dish.
- In a pot, melt butter and whisk in flour, cooking 1 minute. This cooks out the raw flour taste and thickens the base.
- Gradually add chicken broth while whisking until the sauce thickens. Remove from heat so the sauce stays smooth.
- Stir in sour cream, garlic powder, salt, and Monterey jack until melted and creamy. Taste and adjust salt if needed.
- Pour the white sauce over the enchiladas, then top with the remaining cheddar. Scatter jalapeño rounds on top for the signature look.
- Bake 25–30 minutes until bubbly and golden. Let it cool 5 minutes so the filling sets slightly before serving.
- Serve immediately. Slice and serve warm to keep the cheese filling creamy.