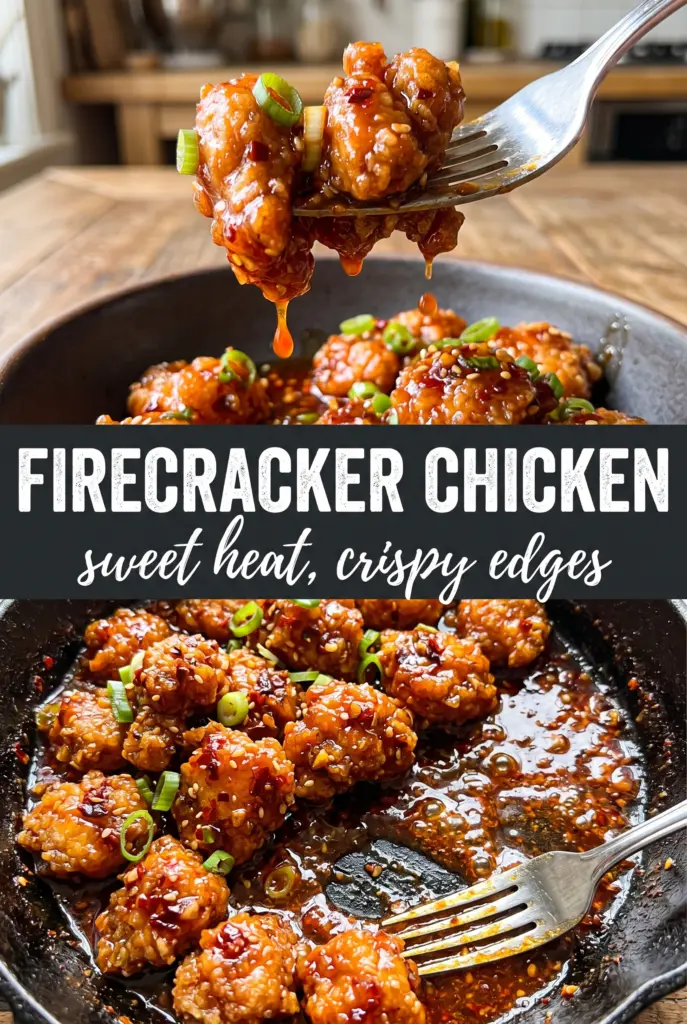
Crispy chicken bites drenched in firecracker sauce hit that sweet-spicy balance that keeps you reaching for one more piece. The coating stays light and crunchy under a sticky red-orange glaze, and the sauce clings instead of pooling, which is what makes this version feel worth making at home instead of ordering out.
The trick is in the double texture move: cornstarch plus flour for a craggy crust, then a short return to the pan after saucing so the coating can caramelize instead of going soft right away. The sauce itself stays bright and glossy because the butter, vinegar, hot sauce, and brown sugar are heated just until smooth; push it too far and it starts tasting flat and thick instead of sharp and lively.
Below, I’m breaking down the part that matters most — keeping the chicken crisp long enough to coat it well — plus a few swaps and storage notes so the recipe still works when you need to adapt it.
The chicken stayed crispy even after tossing it in the sauce, and the glaze thickened up in the pan just like you said. I used a little less red pepper flakes for the kids, and it still had that sweet heat we loved.
Save this firecracker chicken for the nights when you want crispy bites and a sticky sweet-heat glaze in one skillet.
Why the Coating Stays Crisp Under a Sticky Sauce
The biggest mistake with sauced chicken is rushing the sauce step while the chicken is still finishing. That sounds efficient, but it usually gives you soft breading and a sauce that never quite tastes integrated. Here, the chicken goes in hot, the sauce goes on in a separate pan, and the final toss happens fast enough that the crust stays intact long enough to caramelize.
Cornstarch matters here because it dries out the surface of the chicken and helps the crust blister a little in the oil. Flour adds body and makes the coating less fragile than cornstarch alone. If the pieces look pale and pasty before frying, they’re overloaded with flour; if they’re too bare, the sauce will slide right off instead of clinging.
- Cornstarch — This is what gives the chicken that crisp shell. You can’t swap in all flour and expect the same texture; flour browns, but cornstarch is what keeps the coating light and snappy.
- Hot sauce — Frank’s gives the sauce its sharp, vinegary backbone. A thicker, sweeter hot sauce will make the glaze heavier and less punchy, so use a classic cayenne-style sauce if you want the right balance.
- Brown sugar — This isn’t just sweetness. It melts into the sauce and helps it turn glossy and sticky. Light brown sugar works fine; dark brown sugar will give it a deeper molasses note.
- Butter — Butter smooths the heat and helps the sauce coat the chicken instead of tasting thin and watery. If you use margarine, the sauce won’t have the same round finish or cling the same way.
What Each Ingredient Is Actually Doing in This Chicken Dish
- Chicken (bone-in or boneless, skin-on or skinless) — Each cut has different cooking times and flavor profiles. Let thighs reach 165°F; breasts dry out if overcooked past that.
- Sauce or braising liquid (the moisture keeper) — This prevents the chicken from drying out and adds flavor. Don’t skip it even if the recipe seems moist.
- Aromatics (garlic, onion, herbs) — These add depth and complexity. Cook them with fat so they soften and sweeten instead of staying sharp.
- Cream or butter (optional richness) — These make the dish luxurious. Add to the sauce off the boil so it stays smooth instead of breaking.
- Cheese (if using) — This adds umami and richness. Mix into the sauce or sprinkle on top; either works depending on the dish.
- Acid (lemon, vinegar, wine, or tomato) — This prevents heavy sauces from tasting flat. Add at the end so the brightness doesn’t cook off.
- Proper temperature (165°F is perfect) — Use a thermometer to avoid guessing. Pull slightly early if the chicken will rest or finish in residual heat.
- Resting time (at least 5 minutes) — This lets juices redistribute so the meat stays moist when you cut into it instead of running dry.
Building the Sauce Before the Chicken Loses Its Crunch
Coating the Chicken Evenly
Cut the chicken into even bite-sized pieces so they cook at the same pace. Toss them until every surface looks lightly dusted, not caked, because a heavy coating turns gummy once it hits the oil. If the bowl looks wet at the bottom, add a spoonful more flour and toss again; that moisture is what causes patchy browning.
Frying to a Deep Golden Finish
Use enough oil to come up about half an inch and keep the heat around 375°F. At that temperature, the coating sets quickly and browns before the chicken dries out. If the oil is too cool, the breading drinks it up and turns greasy; too hot, and the outside burns before the center is done.
Cooking the Sauce Until It Turns Glossy
Stir the sauce ingredients over medium heat just until the butter melts, the sugar dissolves, and the mixture looks smooth and shiny. You’re not reducing it into a syrup here; you’re just encouraging it to come together. If it starts bubbling hard, lower the heat. Overcooked sauce gets sticky in the wrong way and loses that sharp, bright edge.
Coating and Caramelizing Fast
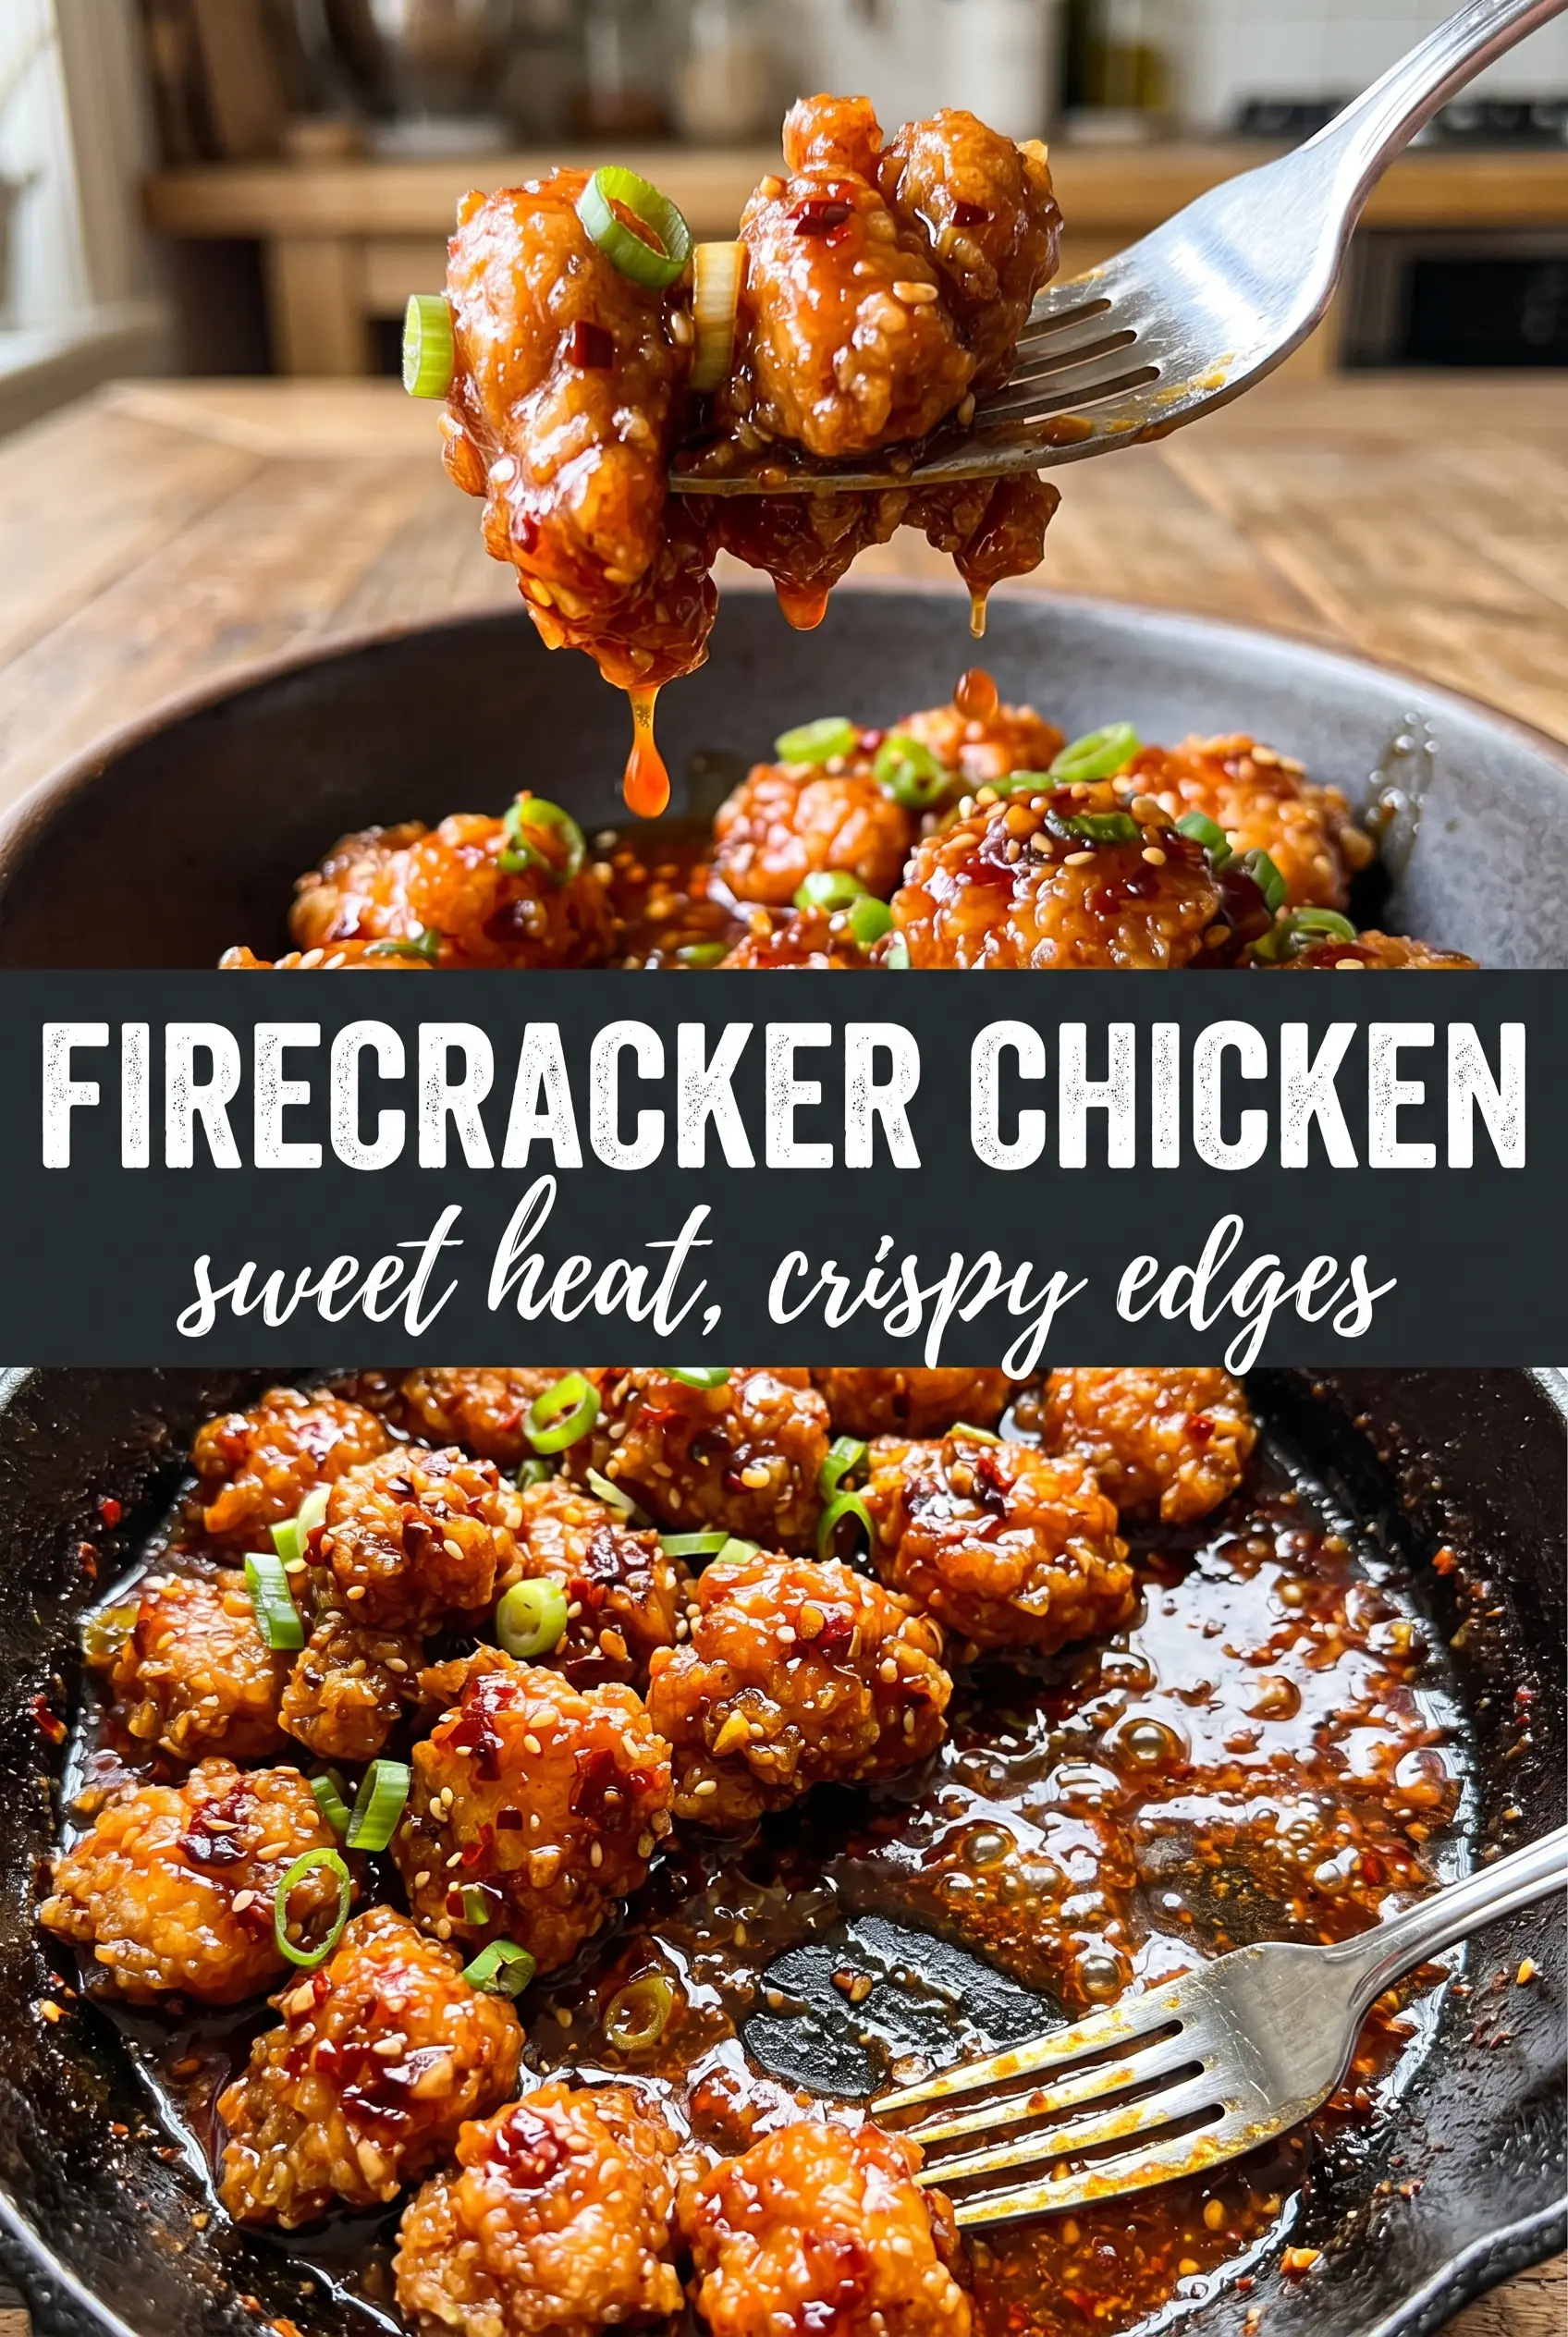
Add the fried chicken to the sauce and toss just until each piece is coated. Then return it to the pan for a minute or two so the glaze tightens around the crust. That extra minute is what gives you the caramelized finish in the photo instead of a wet, saucy pile. Stop once the sauce looks lacquered and the pieces are evenly red-orange.
How to Adapt It When You Need a Different Heat Level or Texture
Dial the Heat Back for a Milder Pan
Cut the red pepper flakes in half and use the lower end of the hot sauce amount. The chicken will still taste sweet, tangy, and savory, but the finish won’t hit as hard. This is the version I’d use if I was serving it with rice to people who want flavor without the burn.
Make It Gluten-Free Without Losing the Crunch
Swap the all-purpose flour for a gluten-free all-purpose blend and use tamari instead of soy sauce. The texture stays close if your flour blend includes rice flour or starches. Avoid a heavy bean-based blend here, since it can make the crust taste dense instead of crisp.
Bake Instead of Frying
Arrange the coated chicken on a well-oiled rack set over a sheet pan and bake at 425°F until browned and cooked through. It won’t have the same shattering crust as fried chicken, but it still gets plenty crisp at the edges. Toss it in the sauce right before serving so the coating doesn’t soften in the oven.
Storage and Reheating
- Refrigerator: Store leftovers in an airtight container for up to 3 days. The coating softens as it sits, but the flavor holds up well.
- Freezer: You can freeze the fried chicken before saucing for up to 2 months. Freeze the sauce separately. Fully sauced chicken doesn’t freeze well because the crust loses its texture.
- Reheating: Reheat the chicken on a rack in a 375°F oven or air fryer until hot and crisp again, then toss with warmed sauce. Microwaving makes the coating soggy, which is the fastest way to lose the whole point of this dish.
Questions I Get Asked About This Recipe
Firecracker Chicken
Ingredients
Equipment
Method
- Toss the chicken pieces with cornstarch, flour, salt, pepper, and garlic powder until every piece is evenly coated.
- Transfer the coated chicken to the sheet pan and let it rest for 20 minutes to set the coating.
- Heat vegetable oil in a Dutch oven to 375°F.
- Fry the chicken in 1/2 inch of oil for 3-4 minutes per side, until deeply golden and cooked through, then drain.
- In a saucepan, combine hot sauce, brown sugar, butter, apple cider vinegar, soy sauce, garlic powder, and red pepper flakes.
- Cook over medium heat, stirring, until the butter melts and the sauce turns smooth and glossy, about 2-3 minutes.
- Toss the crispy chicken in the sauce until every piece is fully coated.
- Return the coated chicken to the pan for 1-2 minutes to caramelize the sauce.
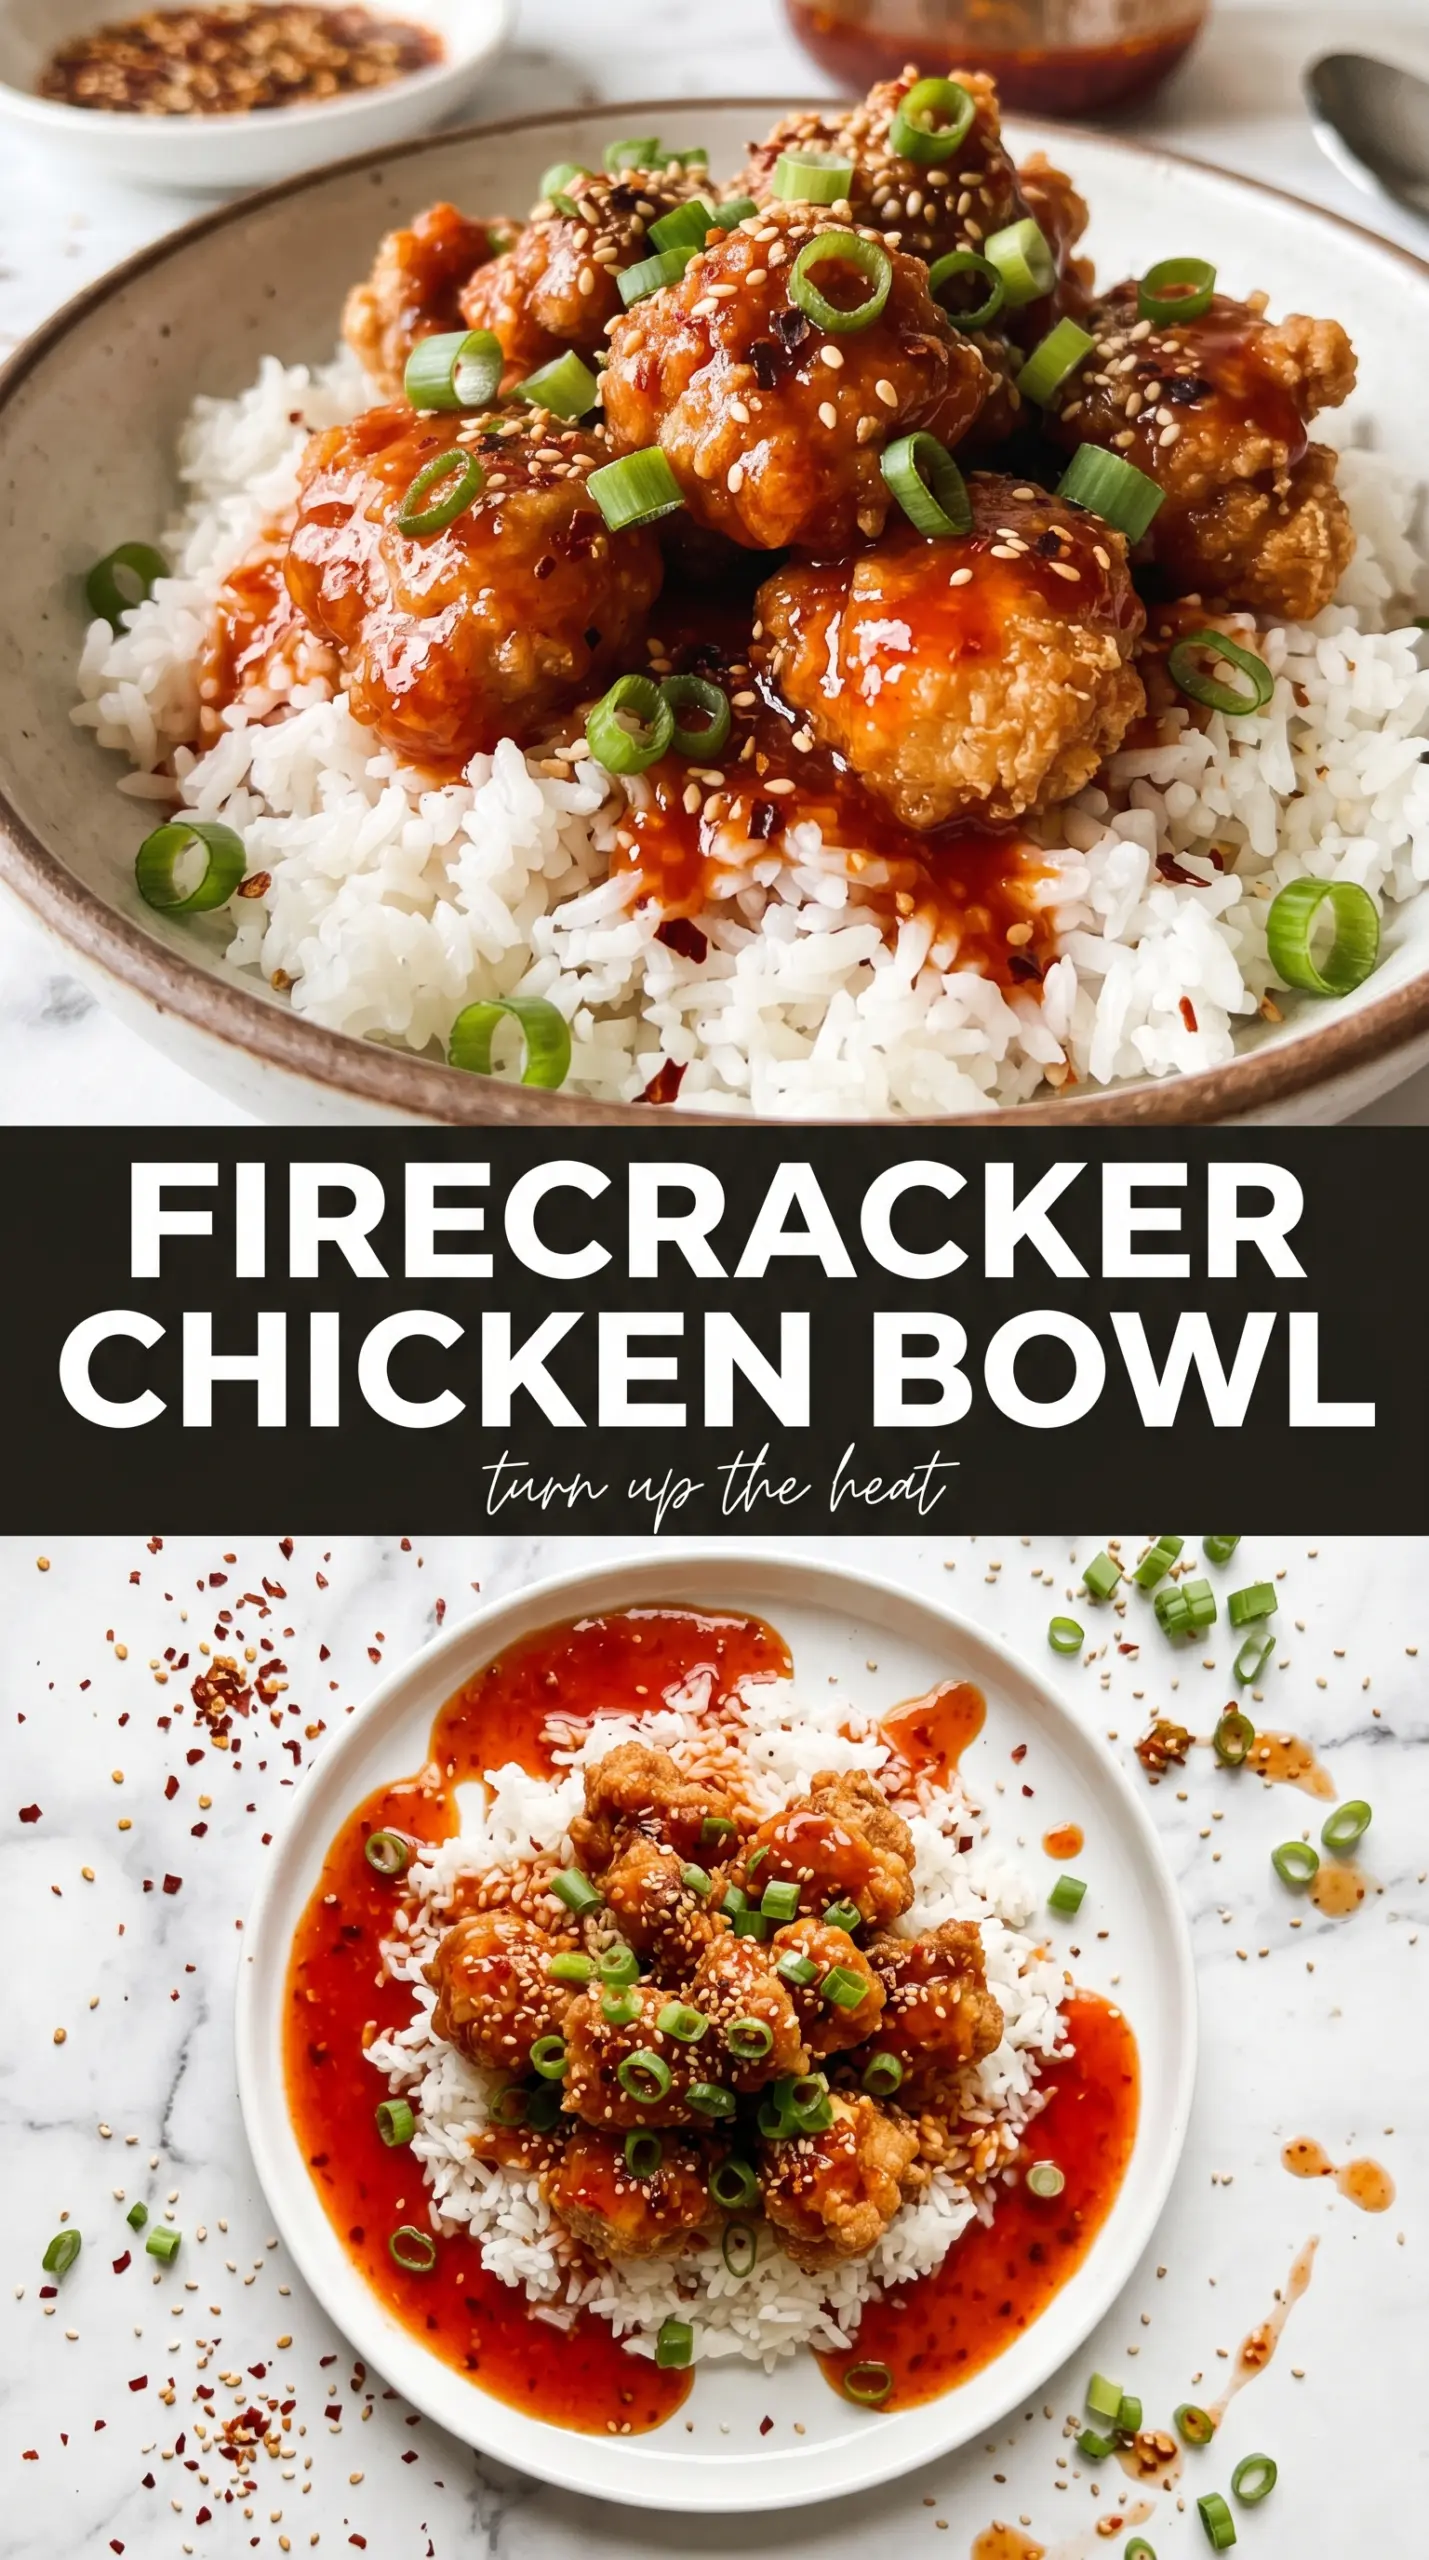
- Serve over steamed rice and top with sesame seeds and sliced green onions.