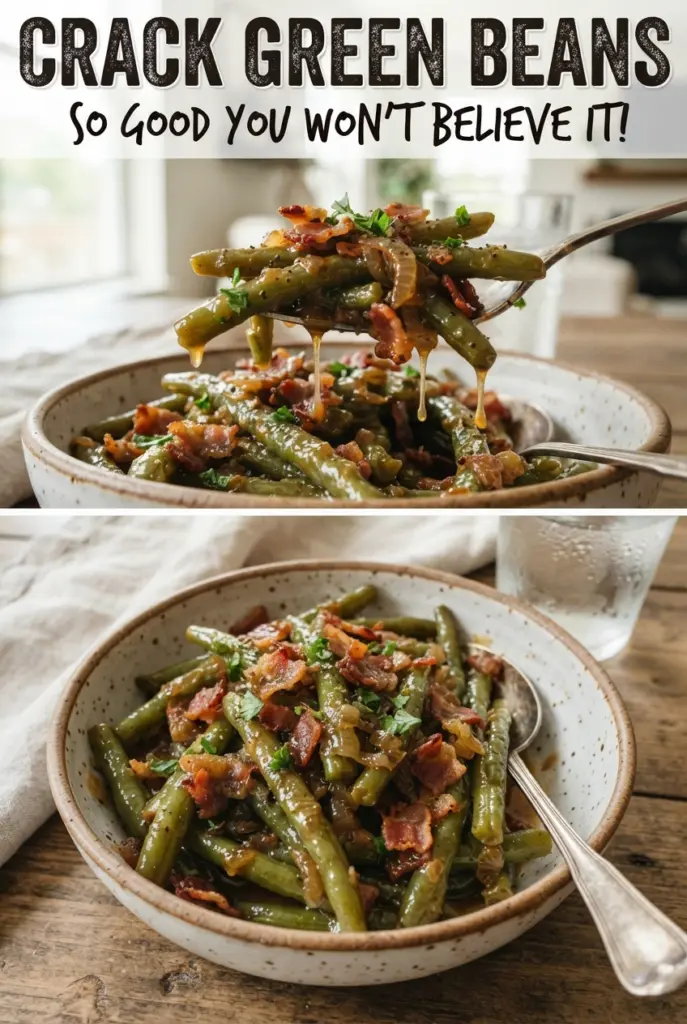
Sticky, savory-sweet green beans with bacon disappear faster than almost any other side dish on the table. The glaze clings to every bean, the edges turn glossy and caramelized, and the bacon adds just enough salt and crunch to keep each bite from leaning too sweet. It’s the kind of pan that gets scraped clean before the main dish is even halfway gone.
What makes this version work is the balance in the glaze and the way the beans are treated before they go into the oven. Blanching the green beans first keeps them bright and tender instead of shriveled, and the soy sauce pulls the brown sugar out of one-note sweetness. The melted butter helps the sauce coat the beans evenly, while the garlic and pepper keep the whole dish from tasting flat.
Below, I’ll walk through the little details that matter most: how crisp the bacon should be before baking, when to stir, and how to keep the beans from turning mushy. There are also a few easy swaps and make-ahead notes if you want to bring this to a holiday table or Sunday dinner without last-minute stress.
The glaze got sticky and caramelized in the oven, and the bacon stayed crisp enough to give every bite a little crunch. I brought this to a potluck and there wasn’t a spoonful left.
Save these sticky Crack Green Beans for the nights when you want a side dish with caramelized glaze and crisp bacon in every bite.
The Part That Keeps the Beans Tender Instead of Limp
Blanching the green beans before baking is the difference between a side dish with structure and one that collapses into the sauce. Three minutes in boiling water takes the raw edge off and sets the color without fully cooking them. If you skip that step, the beans need longer in the oven, and that extra time is what makes them soft and dull.
The other thing worth paying attention to is the bacon. It should be cooked until mostly crisp, not fully brittle, because it finishes in the oven while the glaze thickens around it. That means the bacon stays flavorful without turning dry, and it still gives you a little texture against the sticky beans.
- Fresh green beans — Use fresh, trimmed beans for the best bite. Frozen beans can work in a pinch, but they release more water and the final dish won’t caramelize quite the same way.
- Bacon — This is where most of the savory depth comes from. Cook it until the fat is rendered and the pieces are just short of crisp so they hold up during baking.
- Brown sugar and soy sauce — Together they build the sticky glaze. Brown sugar gives the caramel note, while soy sauce keeps it from tasting like dessert.
- Butter — Melted butter helps the sauce coat every bean and encourages browning in the oven. If you need a dairy-free version, use a neutral oil, but the glaze will be a little less rich.
- Garlic — Minced garlic adds a sharp, savory edge that keeps the sauce grounded. Fresh garlic matters here; garlic powder won’t give the same bite.
What Each Ingredient Is Actually Doing in This Recipe
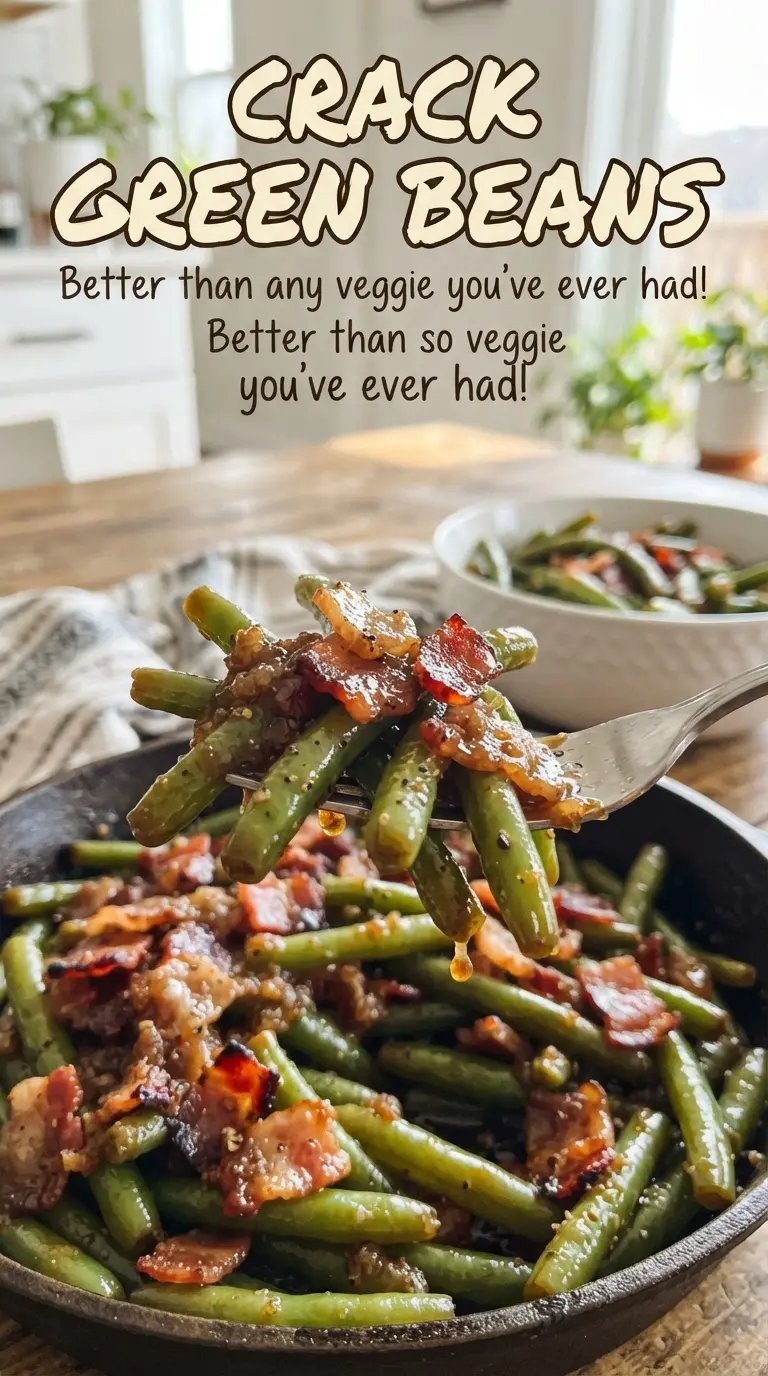
- Primary ingredient (the star) — Quality matters most. Choose the best you can find.
- Cooking medium (oil, butter, or broth) — This carries flavors and prevents dryness.
- Seasonings (salt, pepper, spices, herbs) — Layer flavors so nothing overpowers. Build depth gradually.
- Aromatics (garlic, onion, herbs) — Cook with fat to bloom flavors. Become the foundation.
- Supporting ingredients — Complement the main ingredient without overpowering it.
- Sauce or liquid (if applicable) — Brings flavors together. Balance richness with acid.
- Acid (lemon, vinegar, wine, or other) — Brightens and prevents flat-tasting results.
- Final finish (garnish, glaze, or sauce) — Prevents one-dimensional taste and adds visual appeal.
Building the Glaze So It Bakes Up Sticky, Not Watery
Blanching the Beans
Drop the trimmed green beans into boiling water and count three minutes once the water returns to a boil. Drain them well, then get them into the baking dish right away so they don’t keep steaming in the colander. If the beans look wrinkled or olive-colored, they’ve gone too far; you want them bright green and still firm.
Cooking the Bacon
Cook the chopped bacon until most of the fat has rendered and the pieces are just barely crisp around the edges. Drain it on paper towels so the final dish doesn’t turn greasy. If the bacon is undercooked, it can soften in the glaze; if it’s fully crisp before baking, it can go hard by the time the beans are done.
Mixing and Baking the Glaze
Whisk the brown sugar, melted butter, soy sauce, garlic, and pepper until the sugar is mostly dissolved, then pour it evenly over the beans and bacon. Stir once during baking so the top and bottom beans get coated in the sauce as it thickens. Bake uncovered until the glaze looks shiny, bubbling at the edges, and clings to the beans instead of pooling in the bottom of the pan.
What to Change When You Want a Different Kind of Finish
Turkey Bacon for a Lighter Side Dish
Turkey bacon works if you want less richness, but it won’t render the same amount of fat or deliver the same smoky depth. Cook it until it’s fully crisp before adding it, since it won’t improve much in the oven. The glaze still carries the dish, but the final result lands a little leaner and less savory.
Gluten-Free Without Losing the Sauce
Use a certified gluten-free soy sauce or tamari and the dish stays just as sticky and balanced. The rest of the ingredients are naturally gluten-free, so this is an easy swap with no change in technique. Tamari tastes a little rounder and less sharp, which works especially well if you like a softer glaze.
A Sweeter Holiday Version
Add an extra tablespoon or two of brown sugar if you want a more candied finish for a holiday spread. That makes the glaze thicker and darker, but it also pushes the dish closer to sweet than savory, so pair it with plain meats or potatoes. Stir once during baking so the extra sugar doesn’t settle and scorch in one spot.
Storage and Reheating
- Refrigerator: Store leftovers in an airtight container for up to 4 days. The beans soften a bit as they sit, but the flavor stays strong.
- Freezer: Freezing isn’t ideal here. The beans lose their snap and the sauce can turn loose after thawing.
- Reheating: Warm in a 325°F oven, covered loosely with foil, until heated through. The microwave works in a hurry, but it softens the bacon and makes the glaze less appealing.
Answers to the Questions Worth Asking
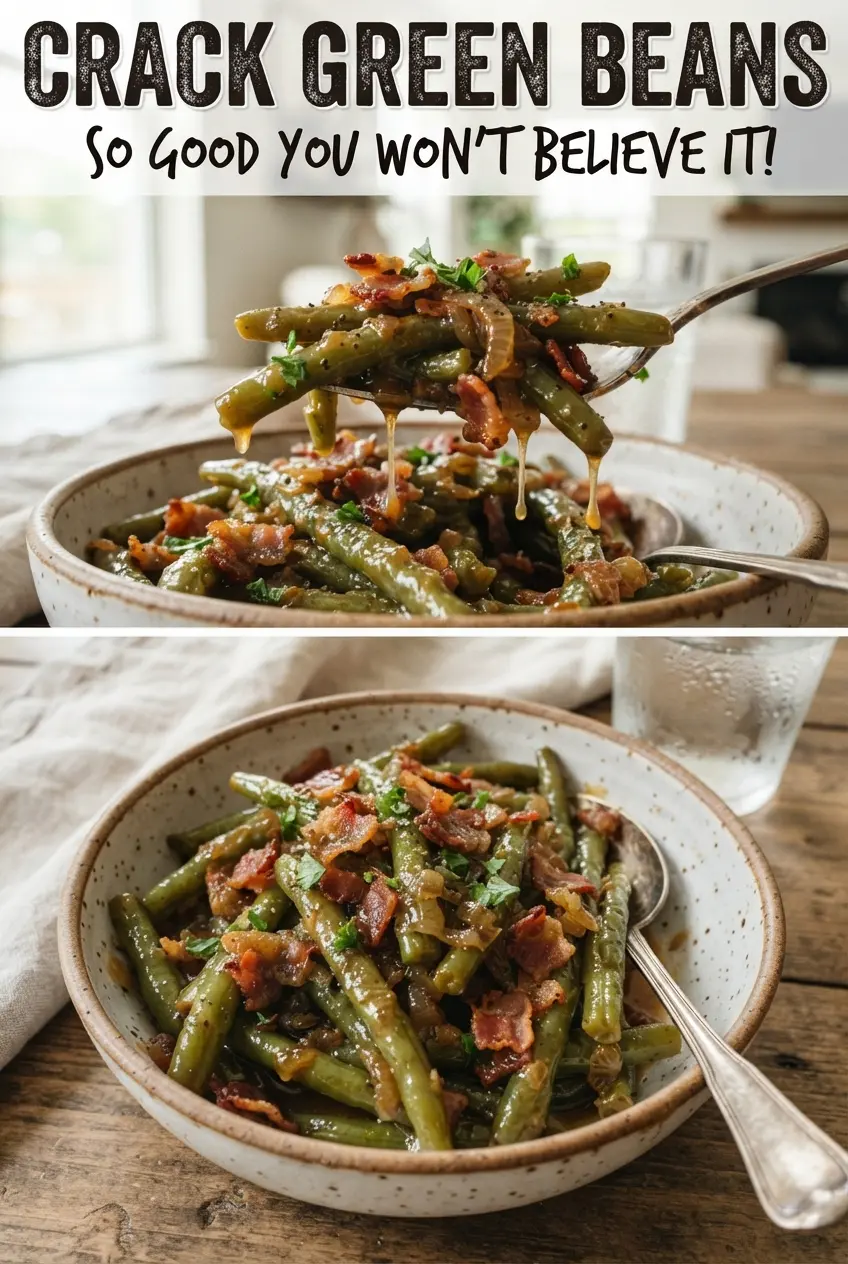
Crack Green Beans
Ingredients
Equipment
Method
- Preheat oven to 350°F (175°C). This ensures the baking dish is ready as soon as the beans are blanched.
- Blanch green beans in boiling water for 3 minutes, then drain well. Look for bright green color and beans that are just tender-crisp.
- Cook chopped bacon until mostly crisp, then drain on paper towels. Aim for pieces that are lightly browned but not fully dry.
- Place drained green beans in a 9x13-inch baking dish and top with bacon. Spread them into an even layer so the glaze sticks everywhere.
- Whisk brown sugar, melted butter, soy sauce, minced garlic, and black pepper until smooth. The mixture should look glossy before pouring.
- Pour the glaze over the beans so it coats the top surface. You should see caramel-brown liquid pooling slightly in the corners.
- Bake uncovered for 30 to 35 minutes, stirring once during baking. The glaze should become sticky, shiny, and caramelized with some darker spots.