
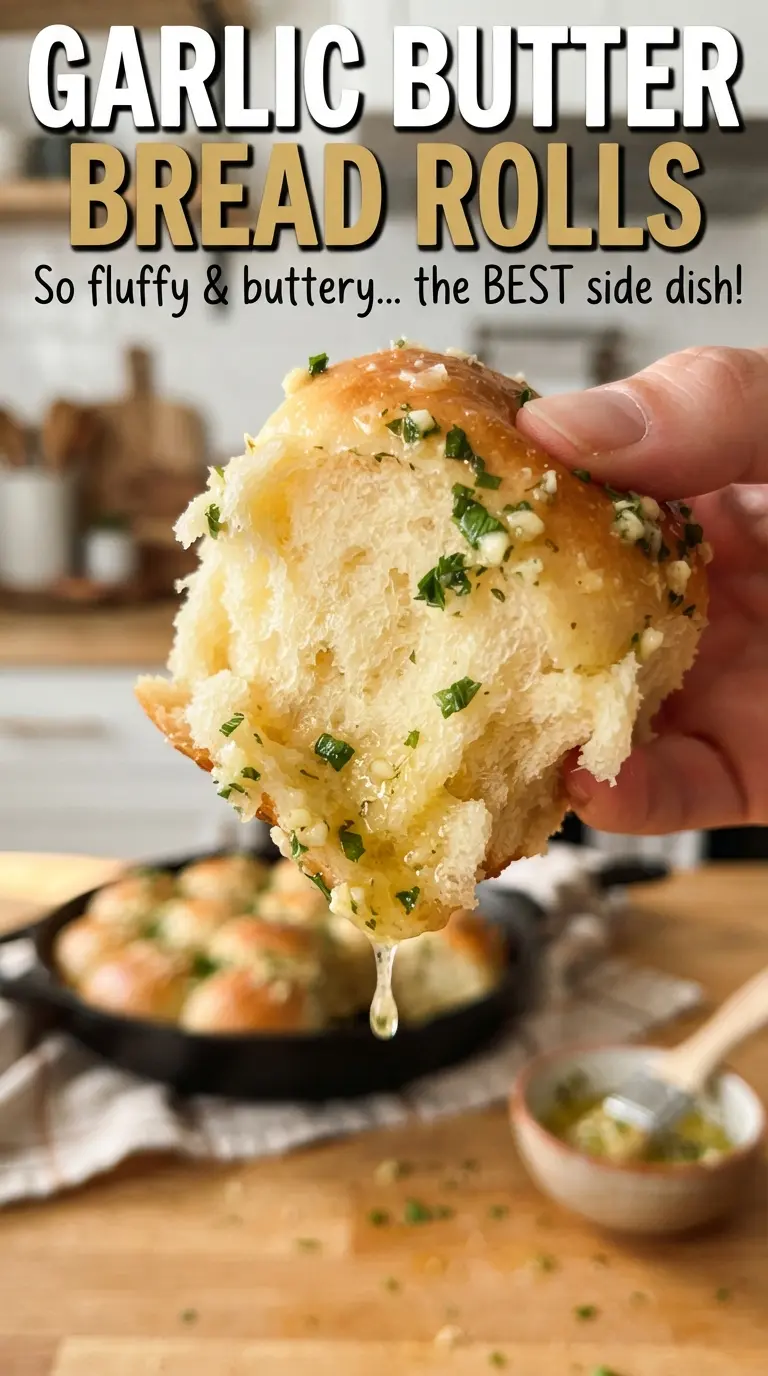
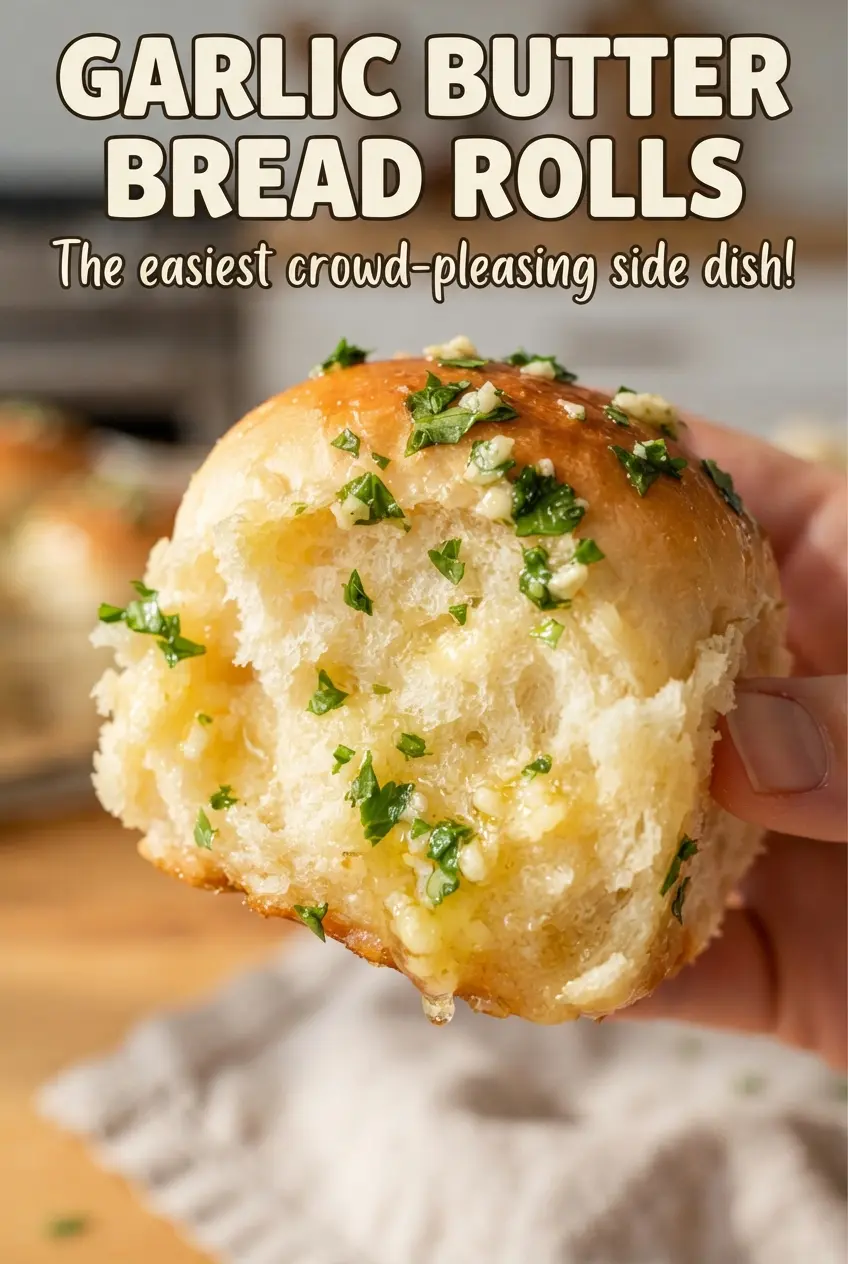
Garlic butter bread rolls come out soft, pull-apart tender, and glossy with that kind of garlicky finish that disappears fast from the pan. The tops bake up golden, the centers stay fluffy, and the buttery coating seeps into every seam, which is exactly why they work as a side dish for almost anything from pasta to roast chicken. They look simple, but when the dough is mixed and risen correctly, they taste like the kind of rolls people remember.
The trick is giving the yeast warm milk that feels comfortable to the touch, not hot enough to kill it, then kneading until the dough turns smooth and elastic. That structure matters because it helps the rolls rise high and bake up light instead of dense. Brushing the garlic butter on while the rolls are still hot lets it soak into the crust instead of sitting on top, and the flaky salt at the end keeps the whole pan from tasting flat.
Below, I’m walking through the small details that make these rolls reliable: how to tell when the dough has risen enough, why the pan matters, and what to do if you want to make them ahead without losing that fresh-from-the-oven texture.
The dough rose right on schedule and the rolls pulled apart so soft in the middle. Brushing on the garlic butter while they were still hot made the tops shiny and the flavor went all the way through the pan.
Save these garlic butter bread rolls for the next time you want soft pull-apart rolls with a shiny garlic-parsley finish.
The Reason These Rolls Stay Light Instead of Dense
Most bread rolls turn heavy for one of two reasons: the yeast never wakes up properly, or the dough gets overloaded with flour during kneading. These rolls avoid both problems by starting with warm milk, which feeds the yeast gently, and by stopping the kneading once the dough is smooth and elastic, not dry and stiff. The dough should feel soft and a little tacky at first; that’s normal. Add only enough extra flour to keep it workable, because a tight dough bakes up like a hockey puck instead of a pillow.
The second rise in the pan matters just as much as the first. When the dough balls puff up close together, they help each other rise upward instead of spreading outward. That gives you tall rolls with tender sides that tear apart cleanly after baking.
What Each Ingredient Is Actually Doing Here
- Warm milk — This adds richness and gives the yeast a friendly starting point. If it’s too hot, the yeast dies; if it’s too cool, the rise takes longer, so aim for warm like bath water.
- Instant yeast — This keeps the process fast and dependable. If you only have active dry yeast, it still works; let it sit in the warm milk with the sugar for a few extra minutes until it looks foamy before moving on.
- Butter — Butter in the dough makes the crumb soft and tender, and the melted butter on top gives the rolls that shiny, bakery-style finish. Use real butter here; margarine won’t give the same flavor or texture.
- Flour — All-purpose flour gives enough structure without making the rolls chewy. Measure carefully, because too much flour is the fastest way to dry rolls out.
- Garlic and parsley — Fresh garlic and chopped parsley are worth using. Garlic powder can cover in a pinch, but it won’t give the same bold, fresh finish that hits the hot rolls right after baking.
Building the Dough, Proving the Rolls, and Finishing with Garlic Butter
Waking Up the Yeast
Whisk the warm milk, yeast, and sugar together and let it sit until the surface looks foamy, usually about 5 minutes. That foam tells you the yeast is active and ready to work. If nothing happens, the milk was probably too hot, too cold, or the yeast is old, and the rolls won’t rise well no matter how long you wait.
Kneading to the Right Texture
Add the egg, melted butter, salt, and flour, then knead until the dough turns smooth and elastic, about 6 to 8 minutes. It should spring back when pressed and still feel soft, not dry. If it’s sticking badly, dust in a little more flour, but stop as soon as it can be handled cleanly. Too much flour here makes the finished rolls tough instead of cloud-soft.
Letting the Dough Rise
Cover the bowl and let the dough rise until doubled, about 1 hour. The real cue is size, not the clock: the dough should look puffy and hold a finger dent that doesn’t bounce back right away. If your kitchen is cool, give it longer rather than setting the bowl in a hot spot, which can dry the surface or rush the rise unevenly.
Shaping and Baking in the Pan
Divide the dough into 12 even pieces and place them in a greased 9×13-inch pan, then let them rise again until puffy. The rolls should be touching or nearly touching so they bake into a pull-apart loaf of individual rolls. Bake at 375°F until the tops are deeply golden and the centers feel set, 18 to 20 minutes. If the tops brown too quickly, the oven runs hot; tent loosely with foil for the last few minutes.
Brushing on the Garlic Butter Finish
Stir the melted butter with garlic and parsley, then brush it generously over the hot rolls the moment they come out of the oven. Hot rolls absorb the butter, which is why the flavor feels baked in instead of just sitting on top. Finish with flaky sea salt while the butter is still wet so it clings to the crust.
How to Change These Rolls for Different Menus
Make-Ahead Rolls for a Dinner Party
Shape the rolls in the pan, cover tightly, and refrigerate after the second rise has started but before they look fully puffed. The next day, let them sit at room temperature until they finish puffing, then bake as directed. This keeps the texture light, while baking straight from the fridge usually leaves the centers under-risen.
Dairy-Free Garlic Rolls
Use an unsweetened plain plant milk and a good dairy-free butter with a high fat content. The rolls will still rise and brown, but the flavor will be slightly less rich and the topping won’t soak in quite the same way. Brush a little extra melted dairy-free butter over the tops right before serving to keep them glossy.
Herb and Cheese Version
Add finely grated Parmesan to the garlic butter or fold a small handful into the dough for a richer, saltier roll. Parmesan gives the crust extra savoriness, but too much in the dough can weigh it down, so keep the heavier cheese mostly on top.
Freezer-Friendly Batch Baking
Bake the rolls fully, cool them completely, and freeze them in a sealed bag. They thaw well and reheat without much trouble, though the tops won’t stay as crisp as day one. Warm them in a low oven until heated through, then brush on a little fresh garlic butter to bring the texture back.
Storage and Reheating
- Refrigerator: Store in an airtight container for up to 3 days. The rolls will firm up a bit, especially at the edges.
- Freezer: Freeze baked rolls for up to 2 months. Wrap well so they don’t dry out, then thaw before reheating.
- Reheating: Warm in a 300°F oven, covered loosely with foil, until soft again. Microwaving makes the crust rubbery, so skip it if you want that fresh-baked texture.
Answers to the Questions Worth Asking
Garlic Butter Bread Rolls
Ingredients
Equipment
Method
- Whisk warm milk, instant yeast, and sugar together, then let it sit for 5 minutes until foamy (visual cue: bubbles on the surface).
- Add egg, melted butter, salt, and all-purpose flour, then knead for 6-8 minutes until smooth and elastic (visual cue: dough pulls together and feels springy).
- Cover the dough and let it rise for 1 hour until doubled in size (visual cue: indentation slowly fills back in when poked).
- Divide the dough into 12 balls and place them in a greased 9x13-inch pan, then cover and rise for 30 minutes until puffy (visual cue: balls look noticeably taller and softer).
- Preheat the oven to 375F, then bake for 18-20 minutes until golden brown (visual cue: tops are deeply browned and the rolls look set).
- Stir melted butter with minced garlic and chopped fresh parsley, then brush generously over the hot rolls (visual cue: glossy coating soaks in right away).
- Sprinkle flaky sea salt over the rolls, then serve warm (visual cue: a light salty sparkle on the surface).


