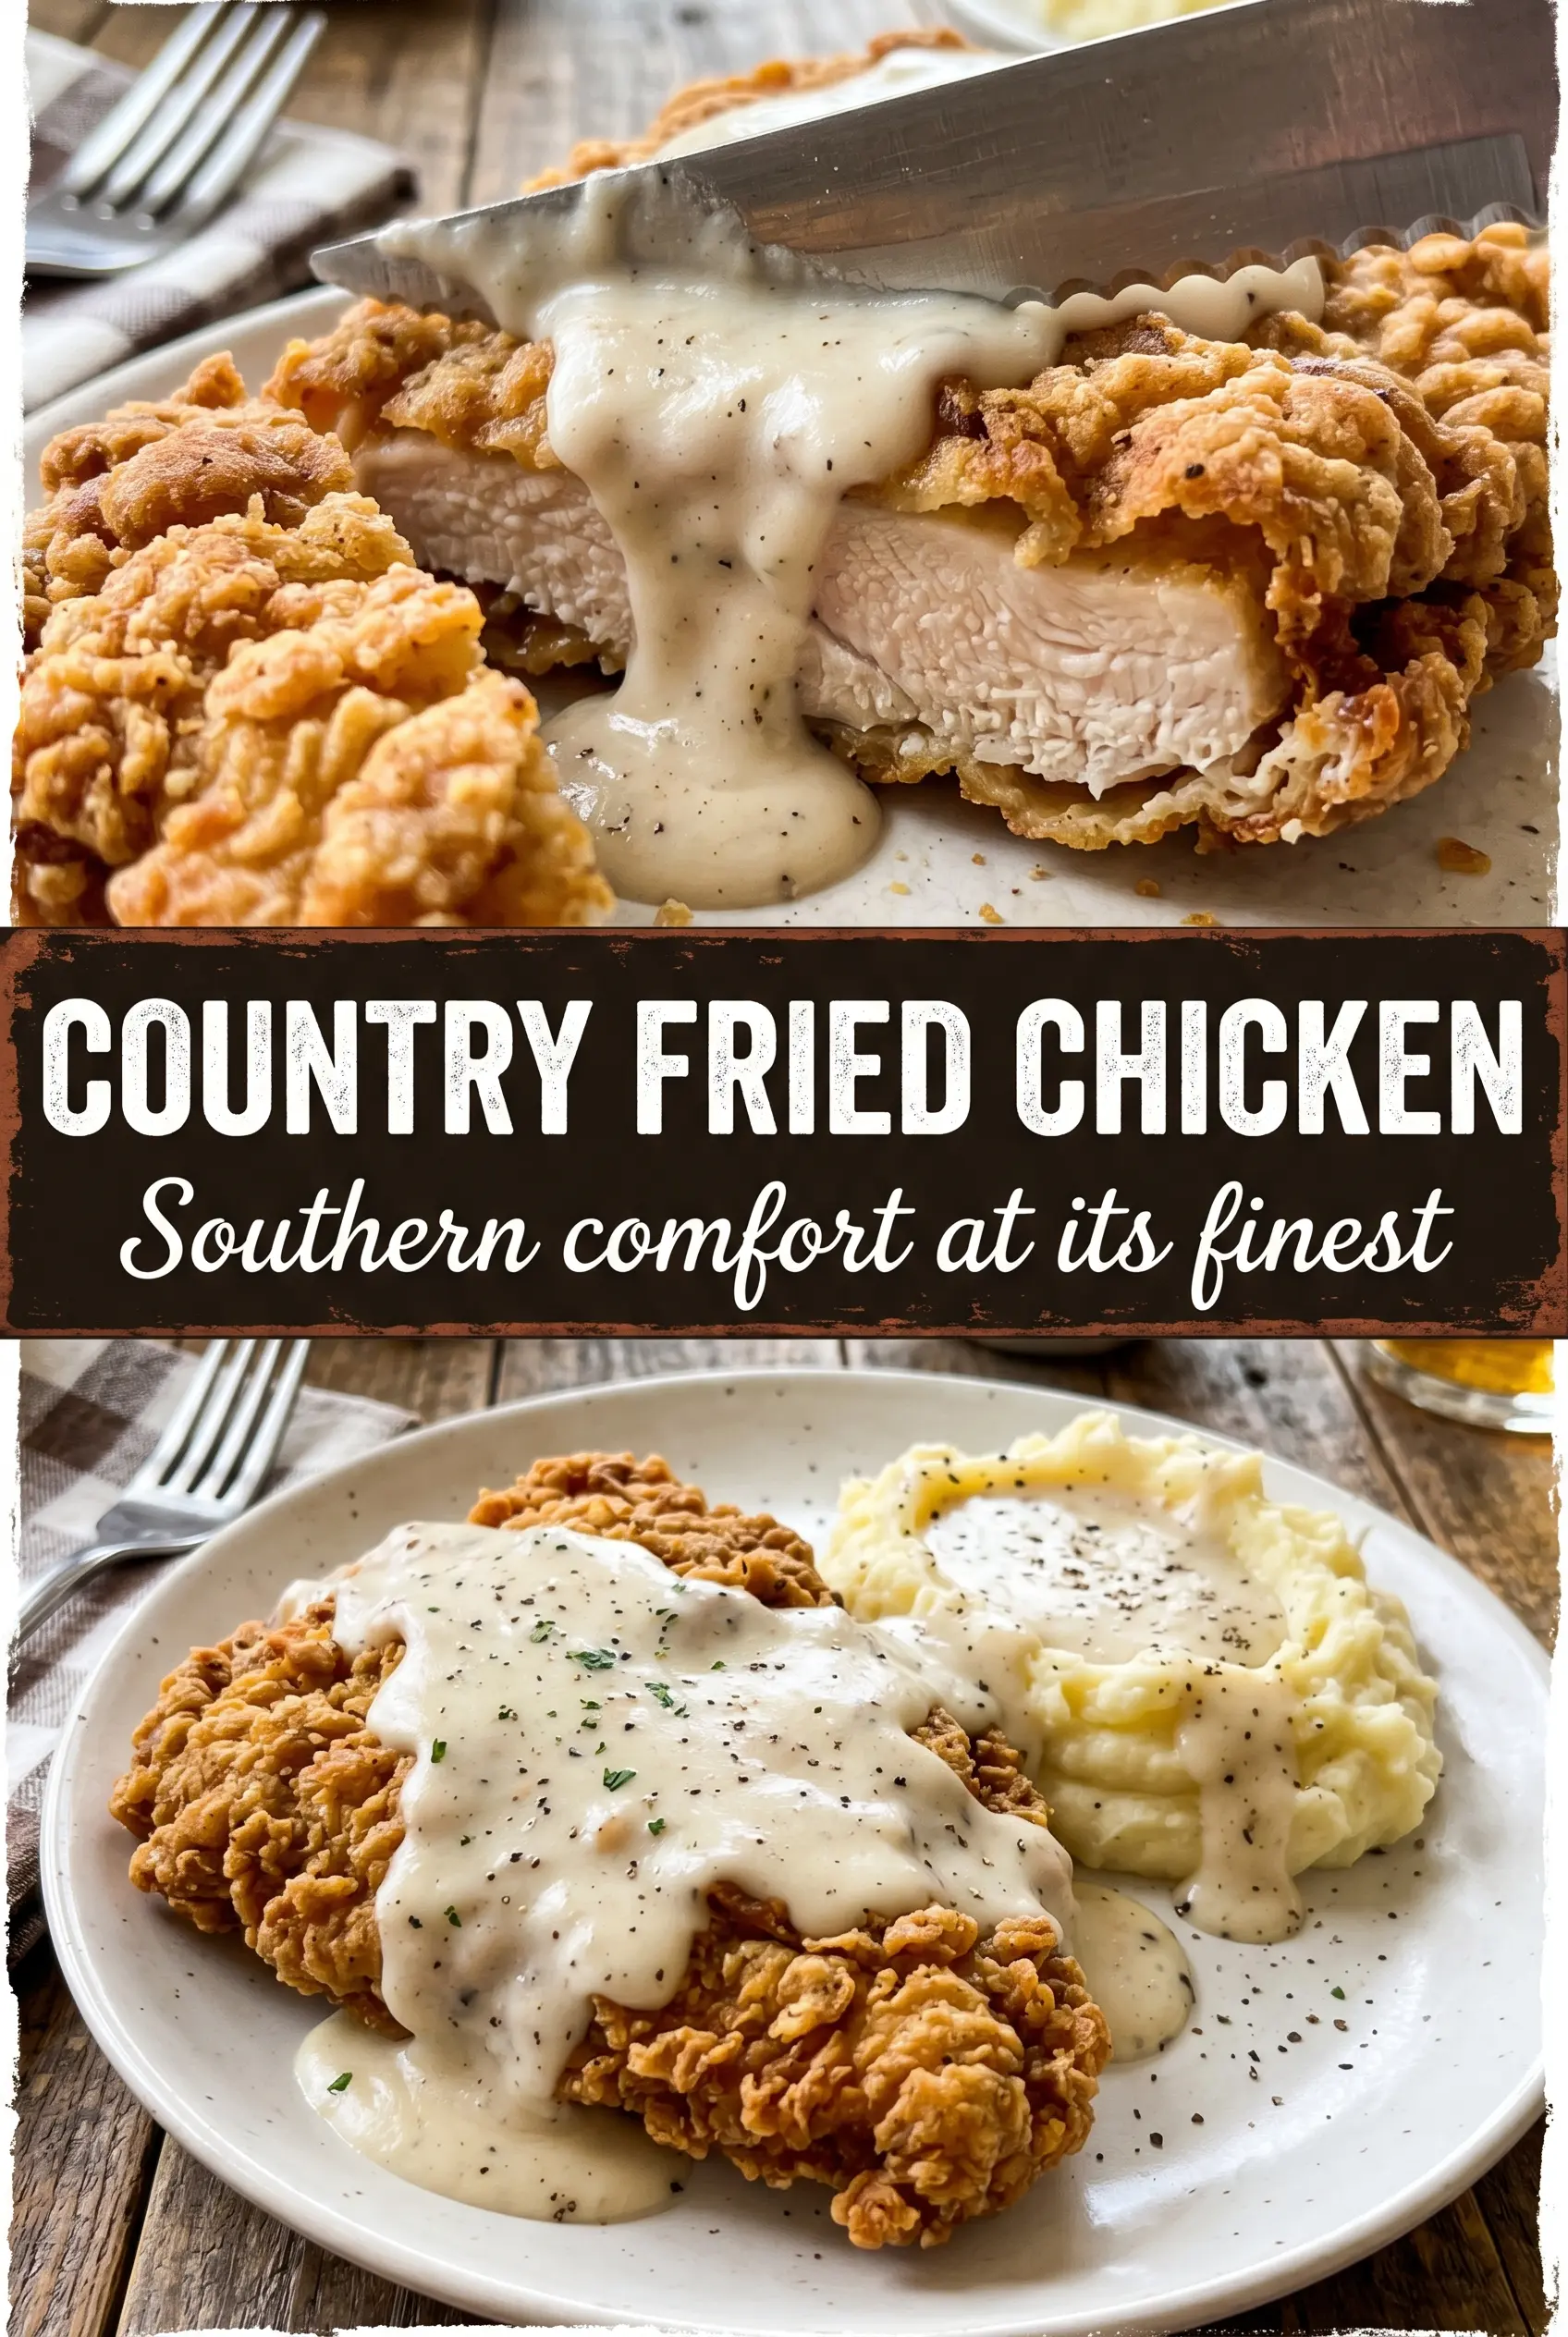
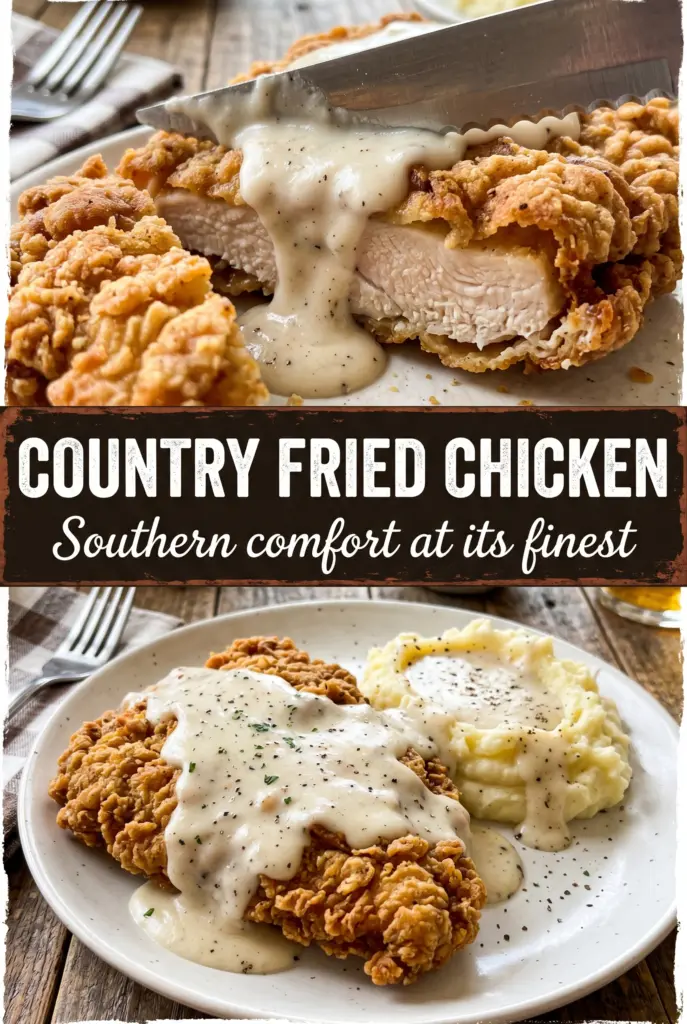
Shatteringly crisp chicken with a juicy center and a thick, peppery white gravy is the kind of dinner that disappears fast. The crust stays rugged and crunchy because the chicken gets a proper buttermilk soak, then a firm double dredge in seasoned flour before it ever touches the oil. When it comes out of the skillet, it has that deep golden, craggy shell that cracks under the fork instead of going soft and greasy.
The trick here is balancing moisture and structure. Buttermilk tenderizes the meat and gives the flour something to cling to, while the seasoning in the breading carries all the flavor so the gravy can stay simple and clean. Frying in a cast iron skillet helps the oil hold temperature, which is the difference between a crisp crust and a heavy, oily one.
Below, you’ll find the small details that matter most: how to keep the coating from slipping, how to tell when the oil is actually ready, and how to make the gravy from the pan drippings without ending up with lumps.
The crust stayed crispy even after I poured the gravy on, and the buttermilk soak made the chicken unbelievably juicy. I fried mine in a cast iron skillet and the coating never slid off.
Save this country fried chicken for the night you want a crackly crust and peppery white gravy over the top.
The Reason the Coating Stays Craggy Instead of Going Soft
The coating on country fried chicken fails for two reasons: the flour never gets pressed on firmly enough, or the oil isn’t hot enough when the chicken goes in. A loose dredge sheds in the skillet, and cooler oil gives you a pale, soggy crust that drinks grease instead of sealing fast. The double dip here solves both problems by building a thicker shell that fries into hard, jagged edges.
The buttermilk soak matters too, but not because it makes the chicken “taste like buttermilk.” It gives the flour a tacky surface to grip, and that grip is what keeps the crust on through frying. Letting the chicken rest after dredging would help even more, but even a short pause while the oil heats gives the flour time to hydrate and cling.
What the Buttermilk, Spices, and Drippings Are Each Doing Here
- Buttermilk — This is what tenderizes the chicken and helps the coating stick. Full-fat buttermilk gives the best cling and tang, but if you’re stuck, mix regular milk with a spoonful of lemon juice or vinegar and let it sit a few minutes before using it.
- Hot sauce — You won’t taste heat in the final chicken, but it wakes up the marinade and adds a little sharpness under the crust. Any vinegar-based hot sauce works.
- Smoked paprika, garlic powder, onion powder, cayenne — These build the seasoning inside the flour, which is the only place the chicken gets real flavor once it’s fried. If you cut the cayenne, the chicken still works; if you cut the paprika and allium powders, it tastes flat.
- Bone-in chicken pieces — Bone-in thighs stay juicier and are more forgiving, while breasts need closer attention so they don’t dry out. If you use all breasts, pound them to an even thickness so the thicker end doesn’t lag behind the thinner end.
- Pan drippings — These give the gravy its savory base. If you don’t have enough drippings, supplement with a little butter, but don’t skip the browned bits left in the pan.
Frying the Chicken, Then Using the Same Pan for the Gravy
Building the Buttermilk Grip
Let the chicken sit in the buttermilk and hot sauce long enough for the surface to turn slick and fully coated. Thirty minutes is enough for a quick dinner, but overnight gives you the most tender texture. When you pull the pieces out, let the excess drip off instead of shaking it dry; a thin coat of buttermilk is what helps the flour cling. If the chicken looks puddled and wet, the crust will turn gummy in spots.
Pressing on the Flour Coating
Drop each piece into the seasoned flour and press it in hard with your hands so every ridge gets covered. Then dip it back into the buttermilk and flour again for a thicker shell. The second layer should look rough and shaggy, not smooth like a breaded cutlet. That uneven surface is what fries into those crunchy, lacy bits people fight over.
Keeping the Oil at 350°F
Heat the oil to 350°F and hold it there as closely as you can. If the oil is too cool, the crust absorbs grease before it sets; if it’s too hot, the outside darkens before the chicken cooks through. A cast iron skillet helps steady the temperature, but the real cue is the sound: the chicken should sizzle immediately without violently spitting or smoking hard. Fry in batches so the temperature doesn’t drop too far.
Finishing the Gravy in the Drippings
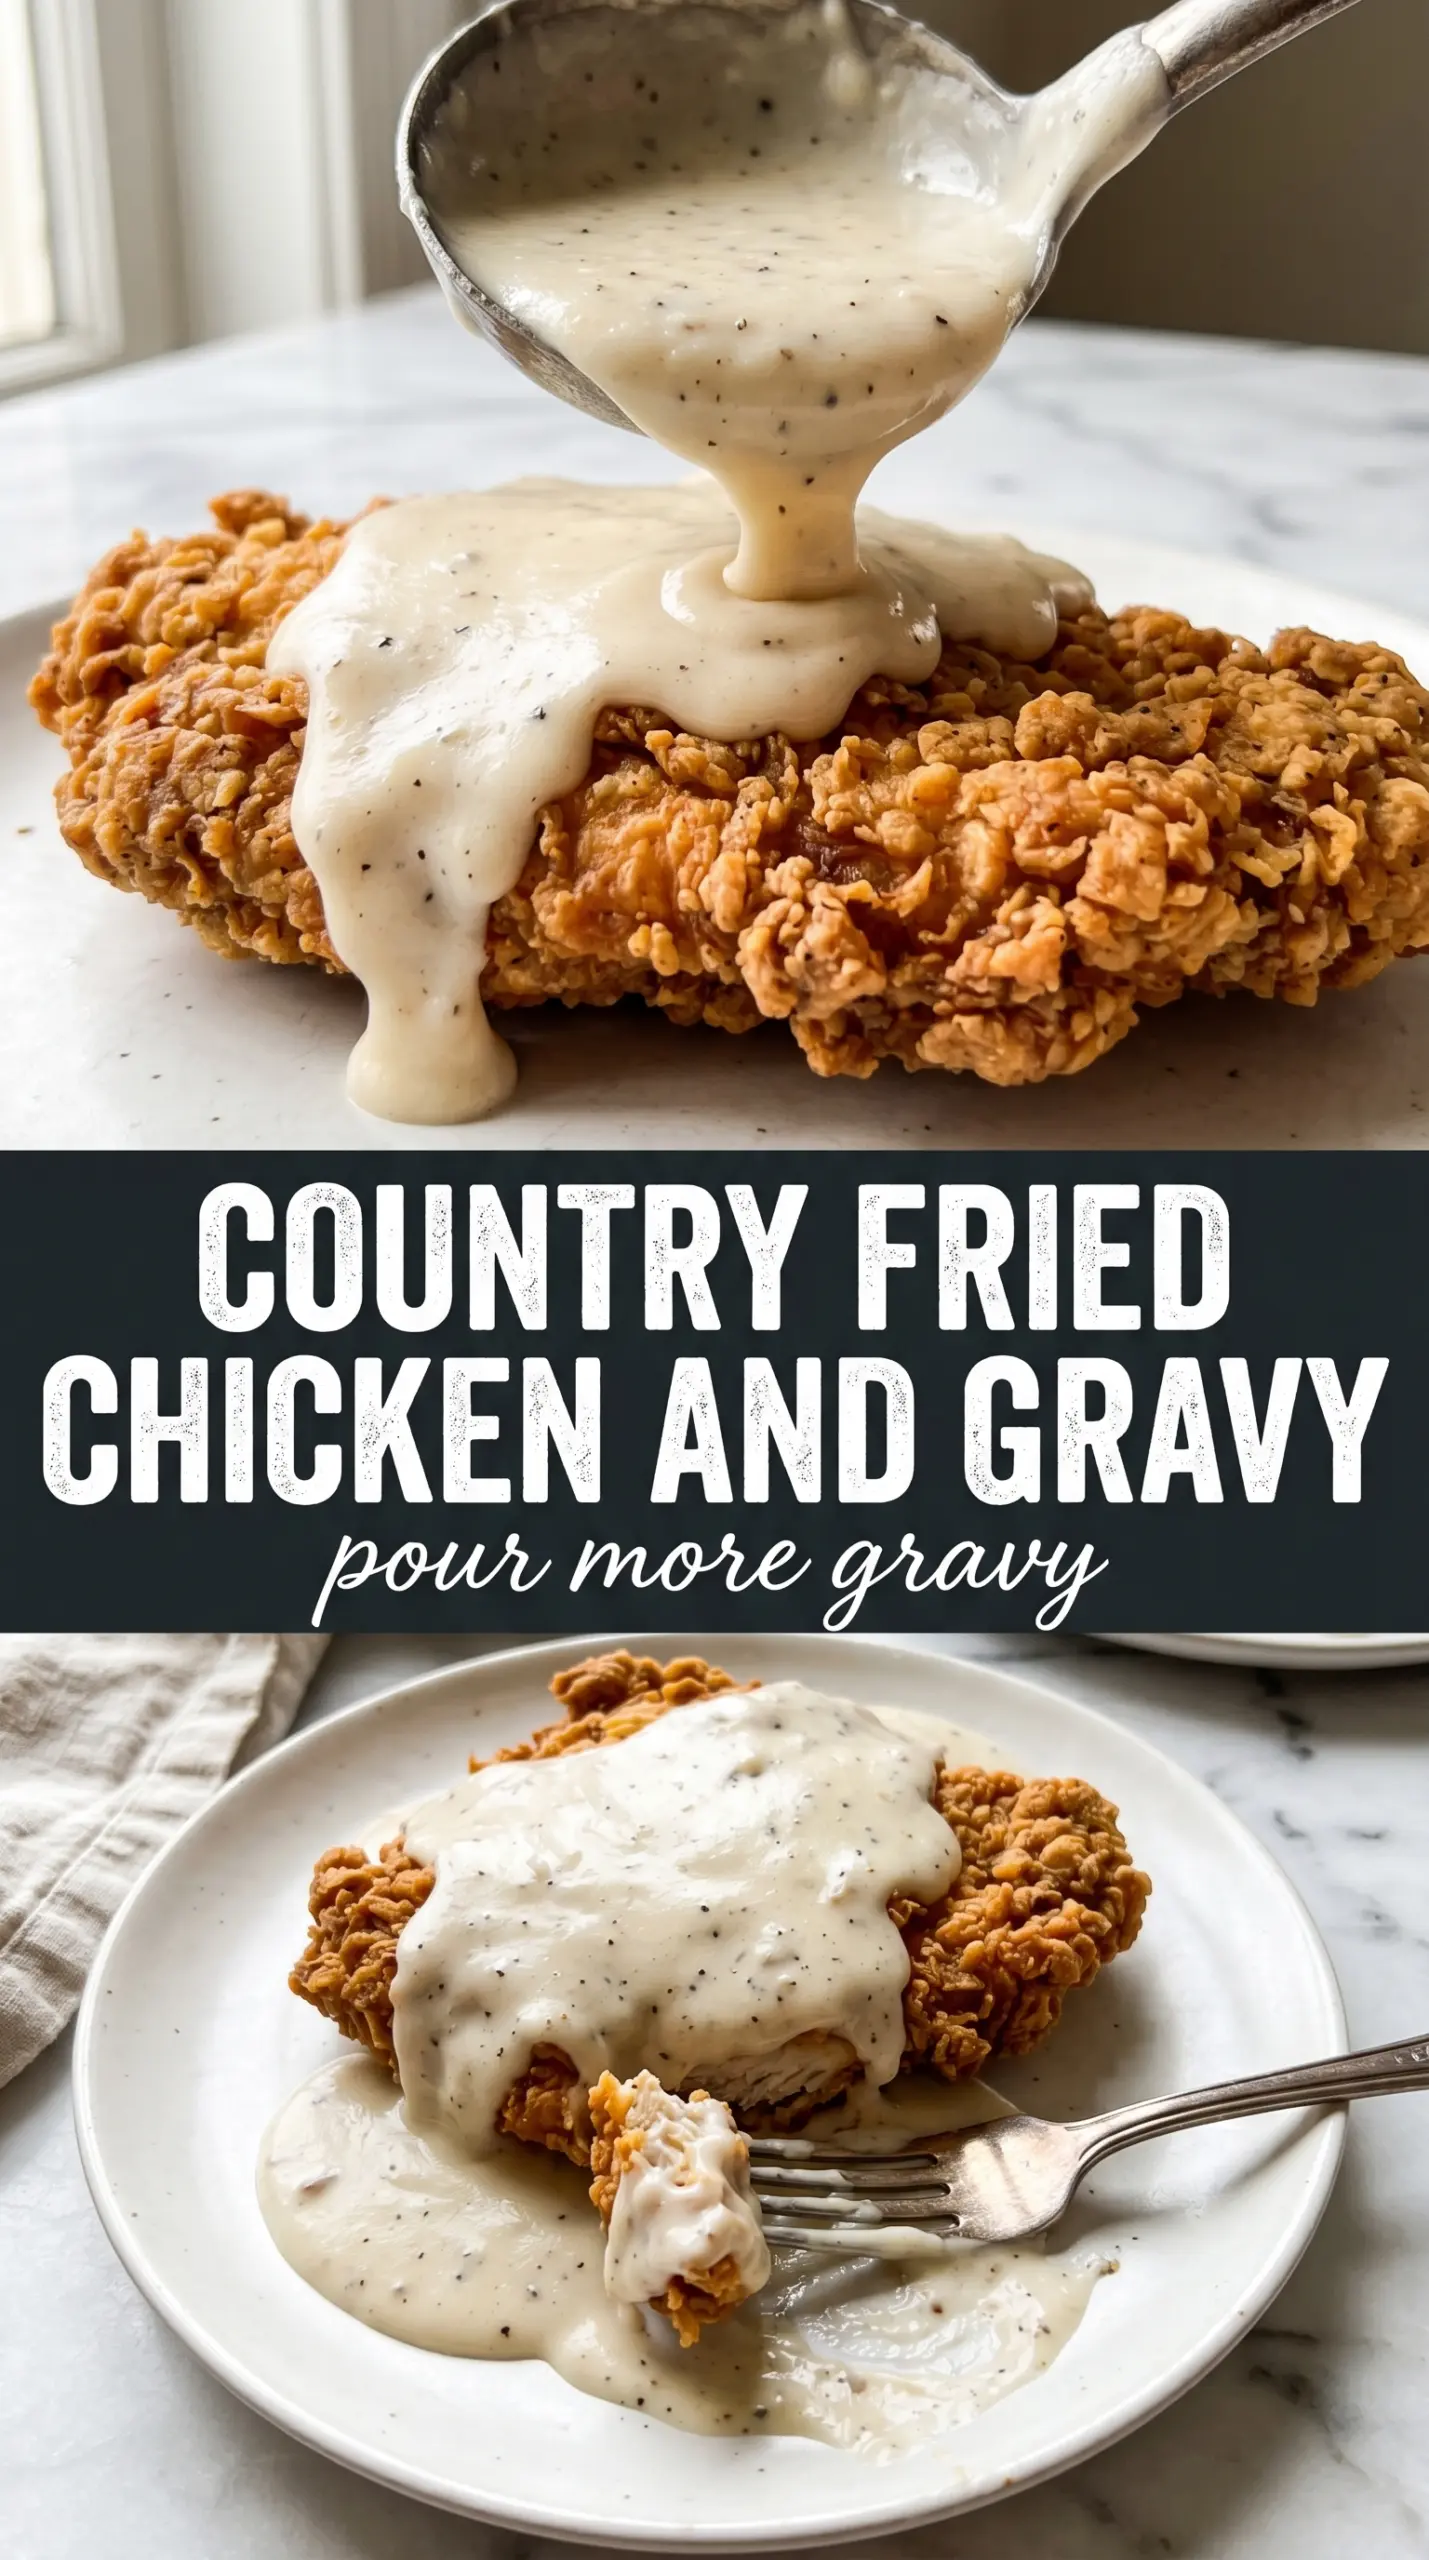
Once the chicken comes out, use the pan drippings while they’re still warm and flavorful. Whisk the flour into the fat first and let it cook for a minute so the gravy doesn’t taste raw, then add the milk slowly while whisking. If the gravy goes lumpy, it usually means the milk went in too fast or the heat was too high; keep whisking and lower the flame before it thickens. Season at the end, because the drippings already bring salt and depth.
How to Change the Recipe Without Losing the Crunch
Make It Spicier
Increase the cayenne in the flour by another 1/2 teaspoon or add a few dashes of hot sauce to the gravy. The chicken will still fry up the same, but the heat will sit more noticeably under the crust instead of fading into the background.
Use Boneless Chicken Cutlets
Boneless cutlets cook faster, which makes them useful when you want dinner on the table sooner, but they dry out more easily than bone-in pieces. Keep the pieces evenly thin and shorten the fry time, then pull them as soon as they hit 165°F in the center.
Skip the Gravy for a Dairy-Free Plate
The chicken itself can be made dairy-free by using an unsweetened plant-based milk with a splash of vinegar instead of buttermilk. You’ll lose a little tang and tenderness, but the crust still fries up crisp if the coating is pressed on well and the oil stays hot.
Storage and Reheating
- Refrigerator: Store leftovers up to 3 days. The crust softens in the fridge, especially under gravy, but the flavor stays good.
- Freezer: The fried chicken freezes well without gravy. Cool completely, wrap tightly, and freeze for up to 2 months; freeze the gravy separately if you want to keep it.
- Reheating: Reheat on a wire rack set over a baking sheet in a 375°F oven until hot and crisp again. Microwaving makes the coating soggy and steams the crust right off.