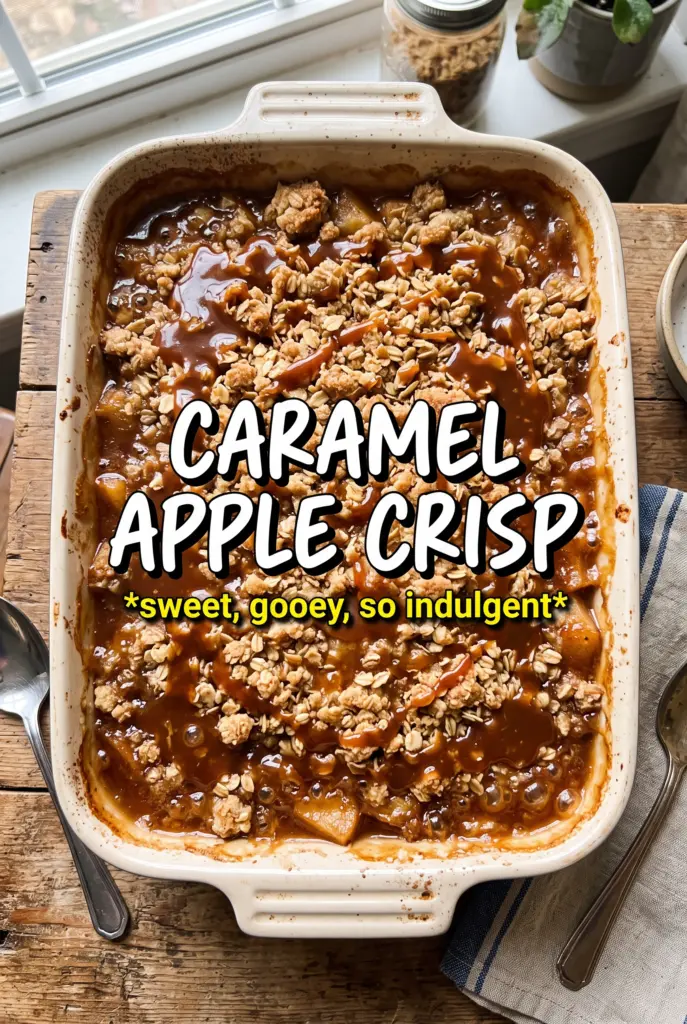
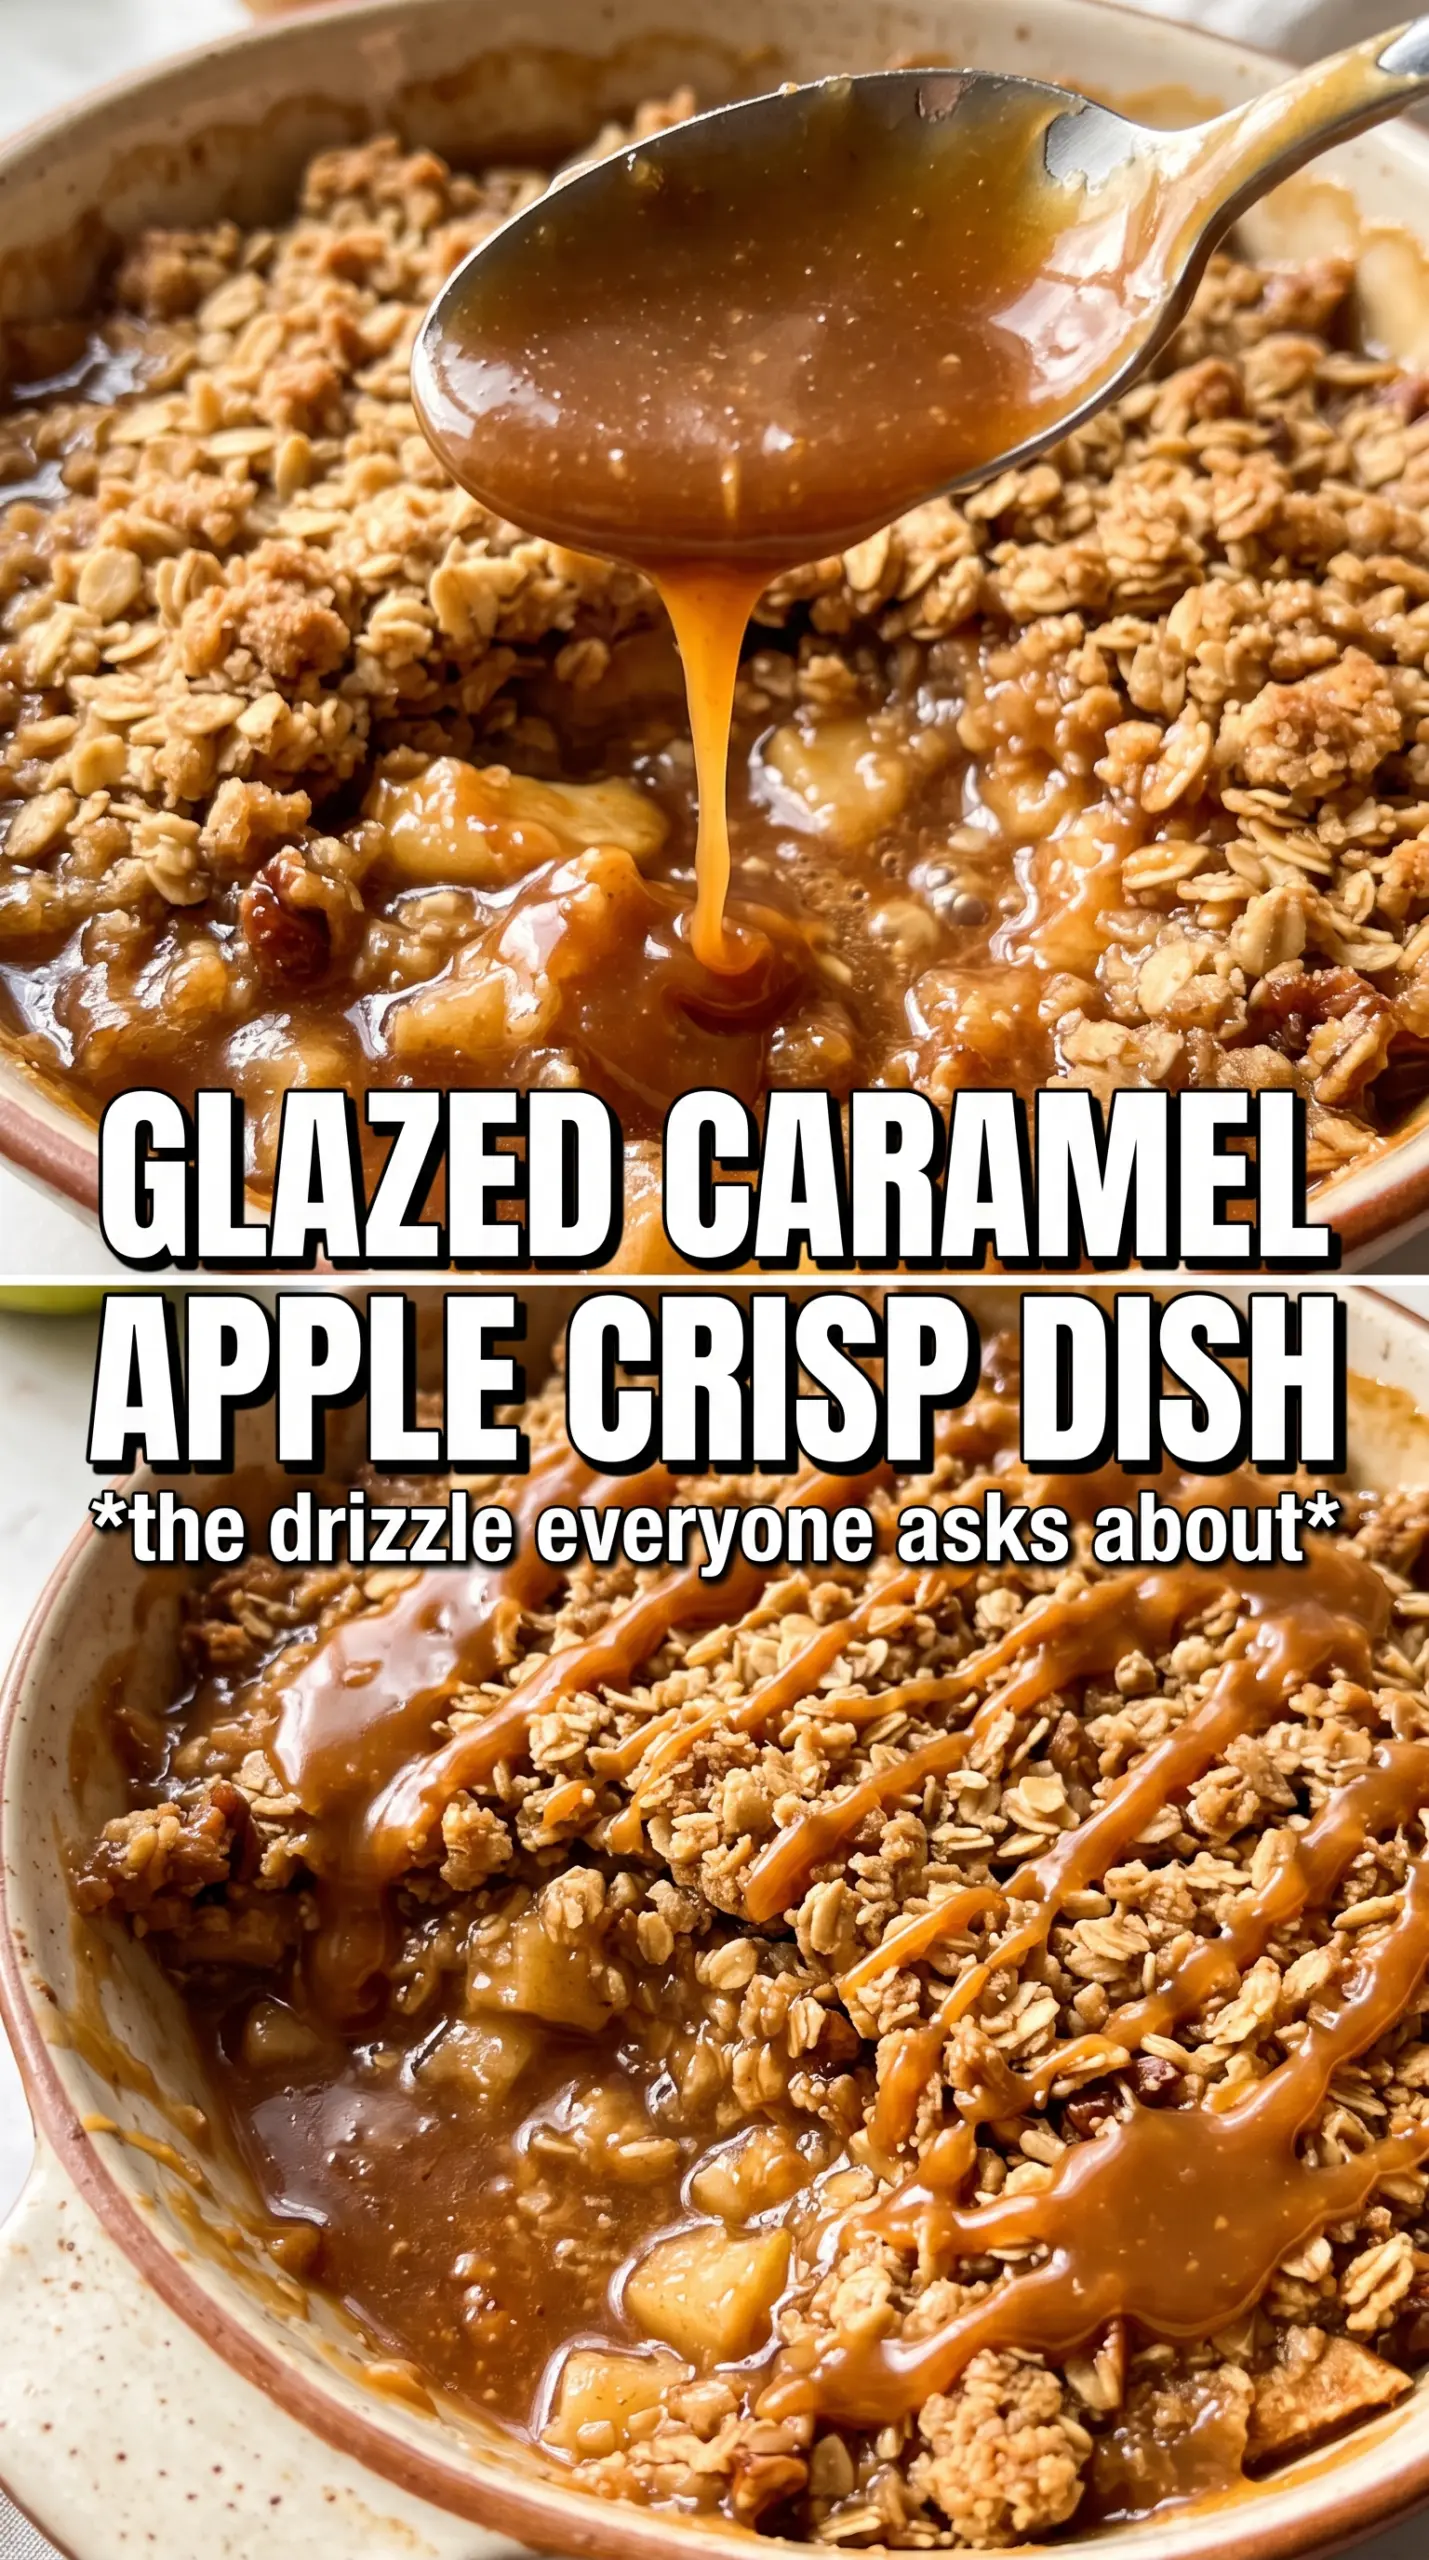
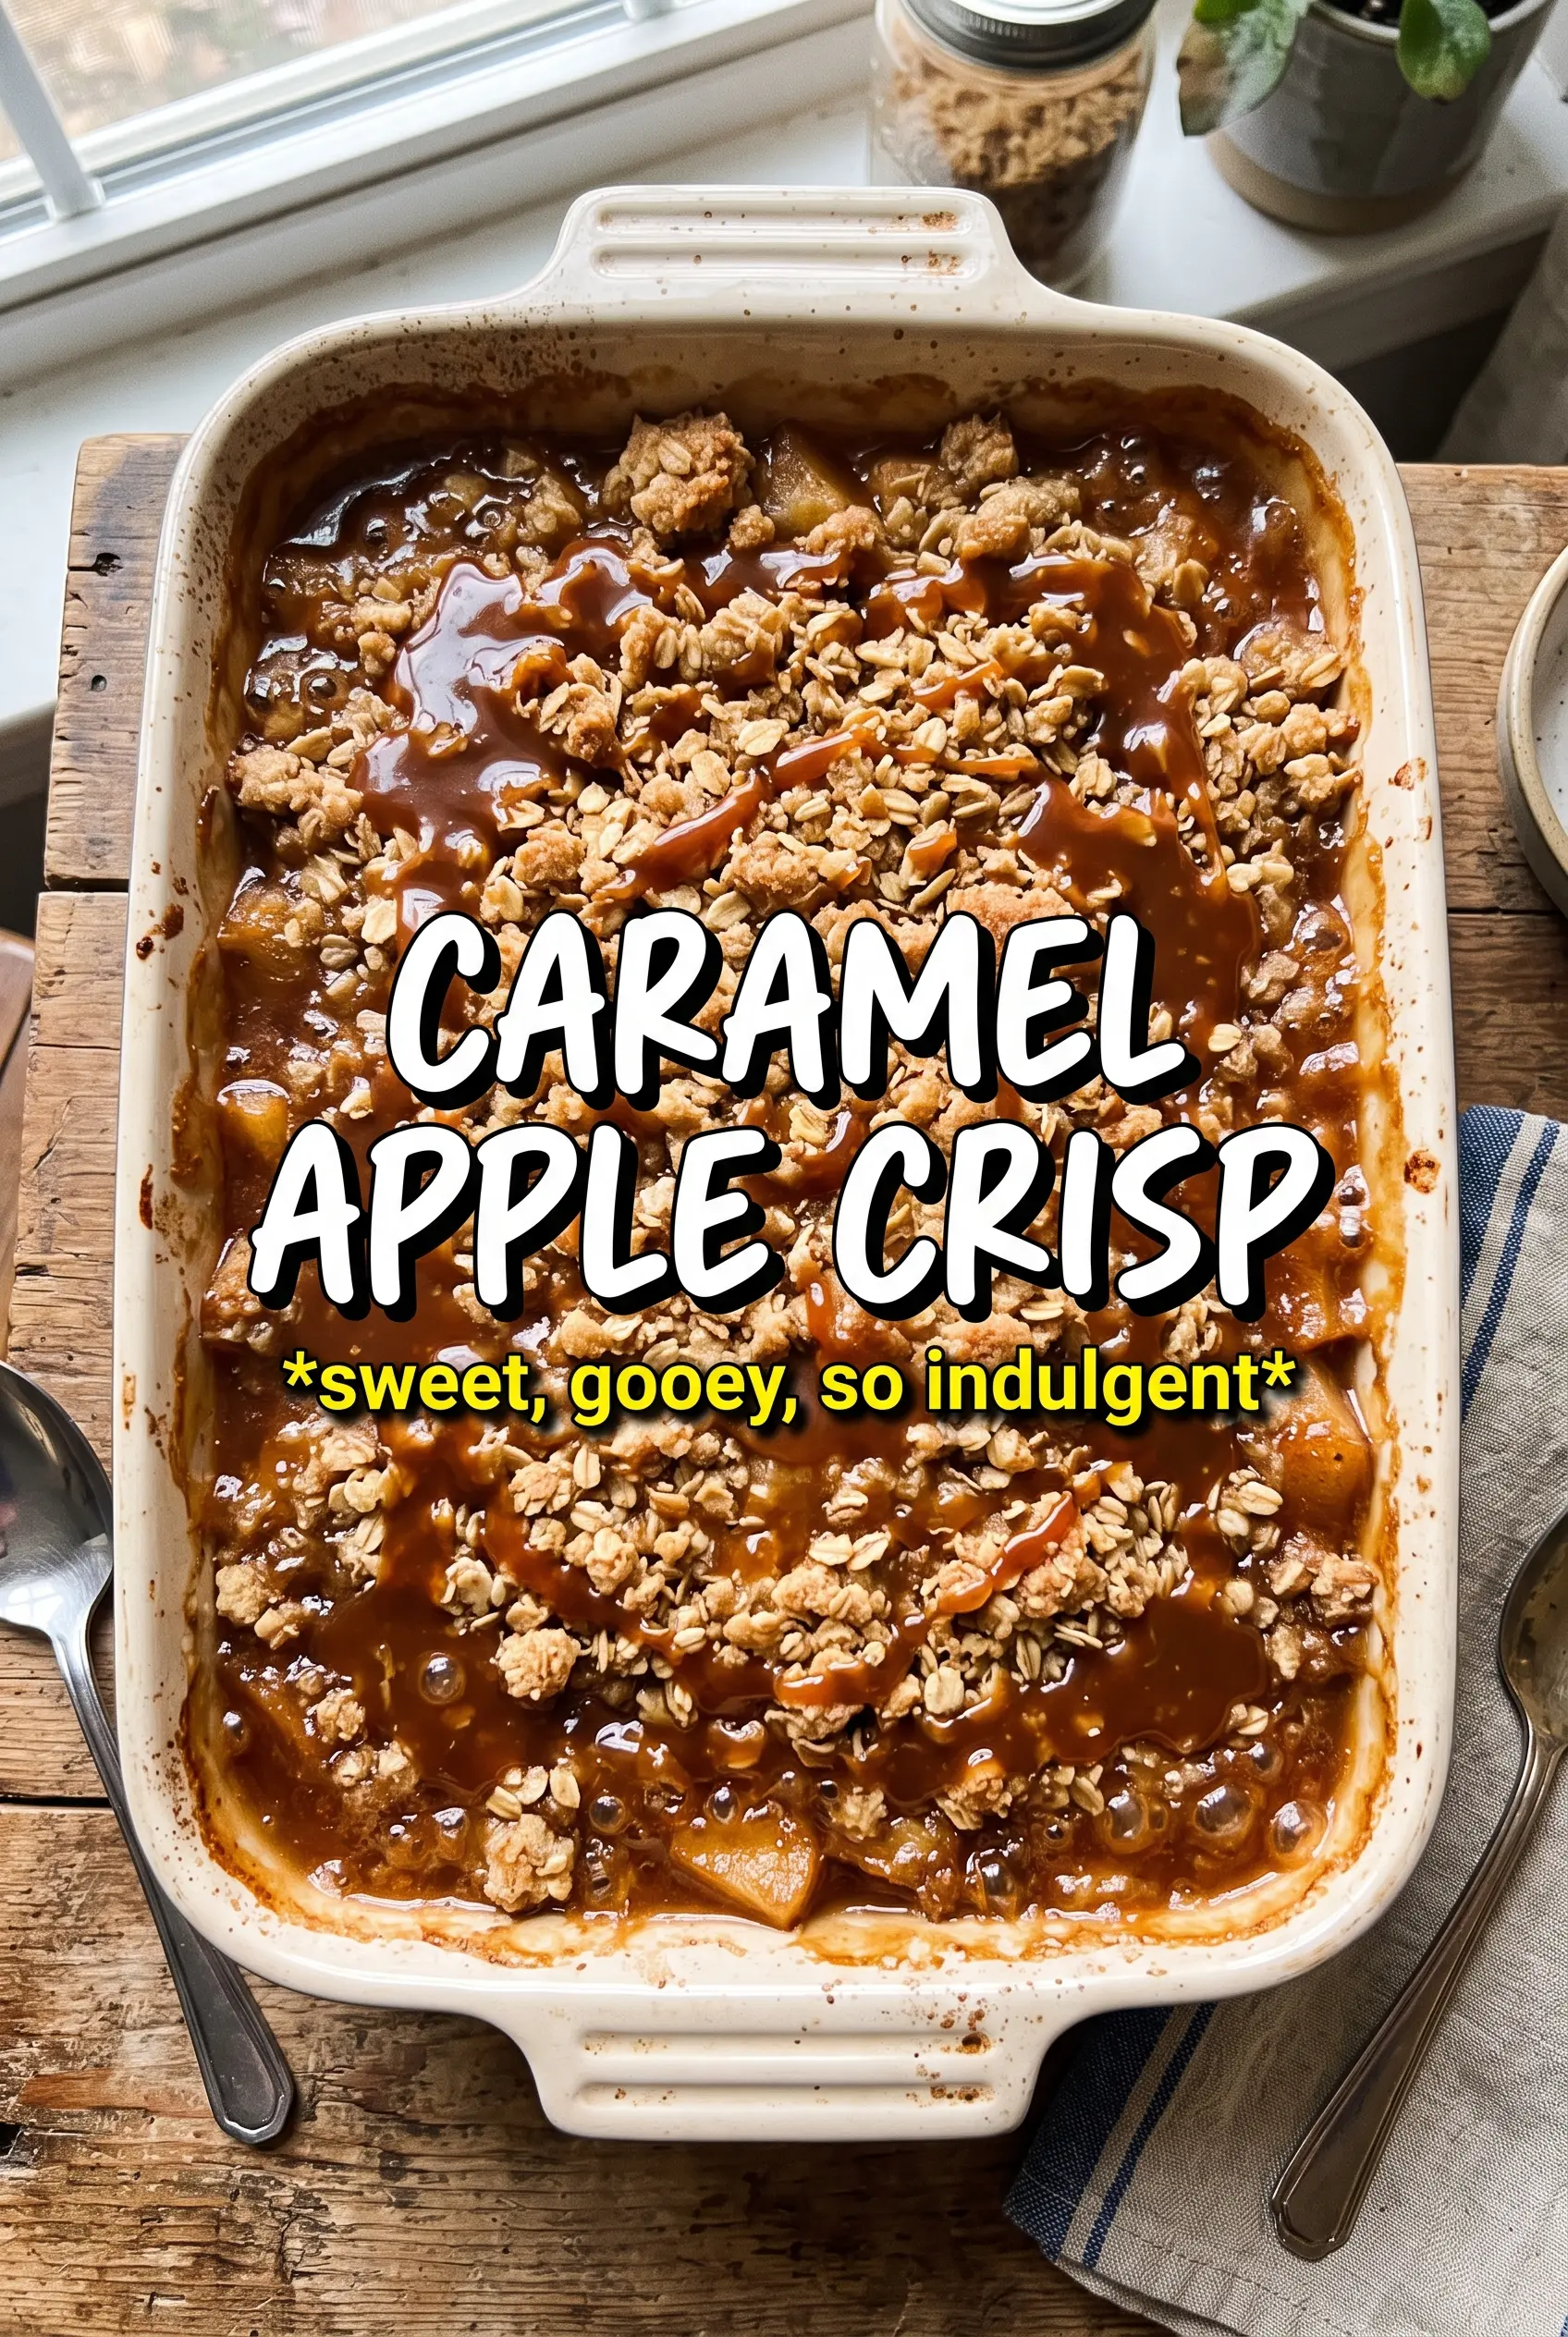
Caramel apple crisp is at its best when the filling turns glossy and bubbling at the edges while the oat topping bakes into deep golden crumbles that stay crisp instead of sinking into the fruit. The caramel doesn’t just sweeten the apples; it gives the filling a richer, almost toffee-like depth that makes this dessert feel a little more special than the usual baked fruit-and-streusel situation.
The part that makes this version work is the balance. Cornstarch thickens the juices so the bottom doesn’t turn soupy, and the lemon juice keeps the apples tasting bright instead of flat. Cold butter is the other non-negotiable here. If it softens before it hits the oven, the topping goes sandy instead of clumpy, and you lose the rugged texture that makes a crisp worth baking in the first place.
Below, I’ve included the timing cues I watch for every time, plus a few simple swaps for different apples or a dairy-free version. If you’ve ever had a fruit crisp come out runny, this one will help you avoid that.
The filling thickened up beautifully and the oats stayed crisp on top even after sitting for a bit. I used Honeycrisp apples and the caramel flavor came through without making it too sweet.
Save this caramel apple crisp for a dessert with bubbling caramel apples and a thick oat crumble that stays crisp under ice cream.
The Trick to Keeping the Bottom Thick, Not Soupy
The filling gets its structure before it ever goes into the oven. The cornstarch needs to be tossed thoroughly with the sliced apples so it can coat the juices as they release, and that matters more here than in a plain baked apple dessert because caramel adds extra liquid. If the apples sit around after mixing, they’ll start leaking early and you’ll lose some of that thickening power before baking even begins.
The other thing to watch is the apple choice. You want a variety that holds its shape, not one that collapses into applesauce by the time the topping is done. I like a mix of tart and sweet apples when I have them, because the caramel already brings plenty of sweetness and the tartness keeps the dessert from turning heavy.
- Cornstarch — This is what turns the apple juices into a glossy, spoonable filling instead of a puddle. Flour won’t thicken as cleanly here.
- Caramel sauce — Use a thick caramel sauce, not a thin sundae topping. A thicker sauce clings to the apples and bakes into the filling instead of disappearing.
- Lemon juice — It keeps the apples bright and slows browning while you assemble everything. Fresh lemon is best, but bottled works in a pinch.
- Sea salt — A little salt keeps the caramel from tasting flat. It doesn’t make the dessert salty; it sharpens everything around it.
What the Oats, Flour, and Cold Butter Are Doing Up Top
The topping is a balance of crunch and clump. Oats bring chew, flour helps the crumbs hold together, and brown sugar adds that deeper, molasses note that pairs naturally with caramel apples. Cold butter is what transforms all of that dry mixture into a crisp, craggy blanket instead of a paste.
The butter should stay in visible pieces as you cut it in. Those small pockets melt in the oven and create the rough, layered texture people want from a crisp. If you work it until it looks uniform and damp, the topping bakes up denser and loses the contrast between the soft fruit and the crunchy top.
- Rolled oats — Old-fashioned oats give the topping chew and texture. Quick oats can work, but they make a finer crumble that bakes up less rugged.
- Brown sugar — This deepens the topping and helps it brown beautifully. Light or dark brown sugar both work; dark gives a stronger caramel note.
- All-purpose flour — It binds the oats and sugar into clusters. There isn’t a great swap if you want the same crisp texture, though a 1:1 gluten-free flour blend can work well.
- Cold unsalted butter — This is the key to a chunky crumble. Salted butter is fine if that’s what you have, but cut back the added salt a bit.
Assembling It So the Topping Stays Crisp
Mix the Apples Until Every Slice Is Coated
Toss the sliced apples with the sugar, caramel, spices, cornstarch, lemon juice, and salt until the slices look evenly glossy. You’re not trying to drown them; you’re coating each piece so the filling thickens evenly as it bakes. Spread them in the pan right away, because the longer they sit in the bowl, the more liquid you’ll see at the bottom.
Cut the Butter in Until It Forms Clumps
Mix the oats, flour, brown sugar, cinnamon, and salt, then work in the cold butter until the mixture looks like chunky gravel with some larger pieces. Those bigger pieces are what give you a crisp top with actual texture. If it starts to look paste-like, stop and chill it for a few minutes before scattering it over the fruit.
Bake Until the Edges Bubble Thickly
The crisp is done when the topping is deeply golden and you can see the filling bubbling at the edges and in a few spots through the middle. That bubbling matters; it tells you the cornstarch has activated and the filling has thickened. If you pull it too early, the center may still taste loose and watery once it cools.
Finish With More Caramel While It’s Hot
Drizzle extra caramel over the top during the last few minutes of baking or right after it comes out of the oven. The heat helps it melt into the crumble instead of sitting on top in a hard streak. Serve it warm with vanilla ice cream, because the contrast between cold cream and hot fruit is half the point.
Three Ways to Make This Fit What’s in Your Kitchen
Dairy-Free Version
Swap the butter for a firm plant-based butter that’s meant for baking. The topping won’t taste exactly the same, but it still browns well and holds its crumble if you keep the fat cold and don’t overmix.
Gluten-Free Crisp
Use a good 1:1 gluten-free flour blend in place of the all-purpose flour. The oats are naturally gluten-free if they’re certified, and the texture stays close to the original as long as the butter stays cold and the topping is left chunky.
Apple Swaps That Still Bake Well
Use firm baking apples like Honeycrisp, Granny Smith, Fuji, or a mix. Softer apples will break down faster and make the filling softer, while tart apples keep the caramel from tasting too sweet.
Storage and Reheating
- Refrigerator: Store covered for up to 4 days. The topping softens a bit, but the flavor stays great.
- Freezer: Freeze baked crisp in an airtight container for up to 2 months. Thaw in the fridge before reheating; freezing before baking can make the apples release too much liquid.
- Reheating: Warm in a 325F oven until heated through and the topping perks back up. The microwave will heat the filling, but it turns the crumble soft fast.
Questions I Get Asked About This Recipe
Caramel Apple Crisp
Ingredients
Equipment
Method
- Preheat the oven to 375F, then grease a 9x13 baking dish.
- Toss the apple slices with granulated sugar, caramel sauce, cinnamon, nutmeg, cornstarch, lemon juice, and sea salt, then spread them evenly in the dish.
- Combine rolled oats, all-purpose flour, brown sugar, cinnamon, and salt in a mixing bowl.
- Cut the cold unsalted butter into the oat mixture until chunky clumps form, then scatter the crumble over the caramel apples.
- Bake for 40-45 minutes, until the topping is deeply golden and the filling is bubbling at the edges.
- Drizzle extra caramel sauce over the top during the last 5 minutes of baking, then serve warm with vanilla ice cream and more caramel.