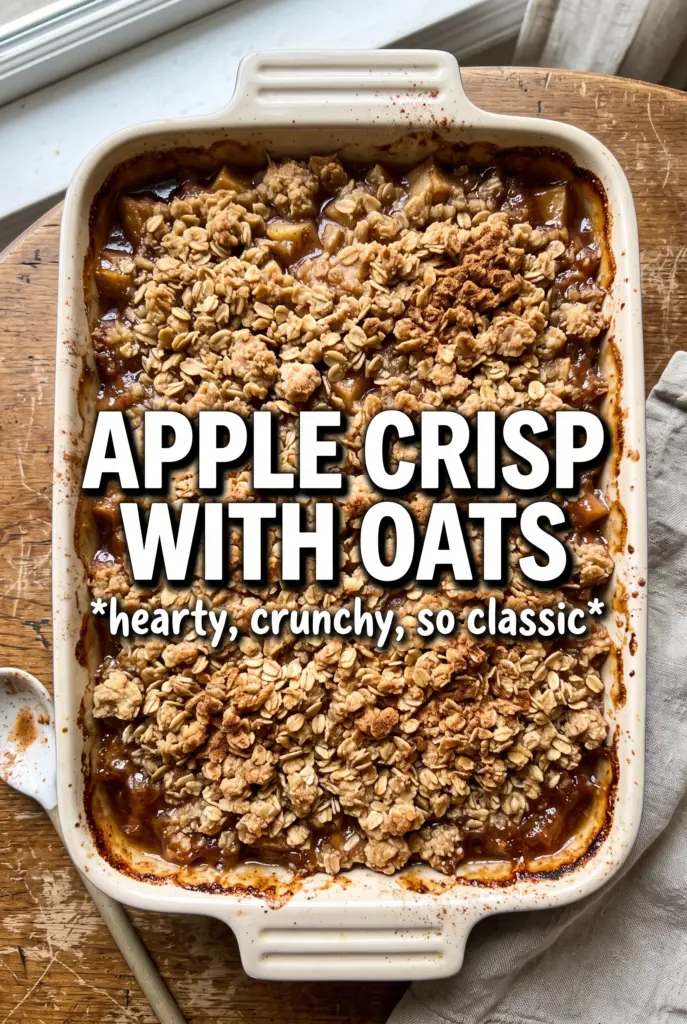
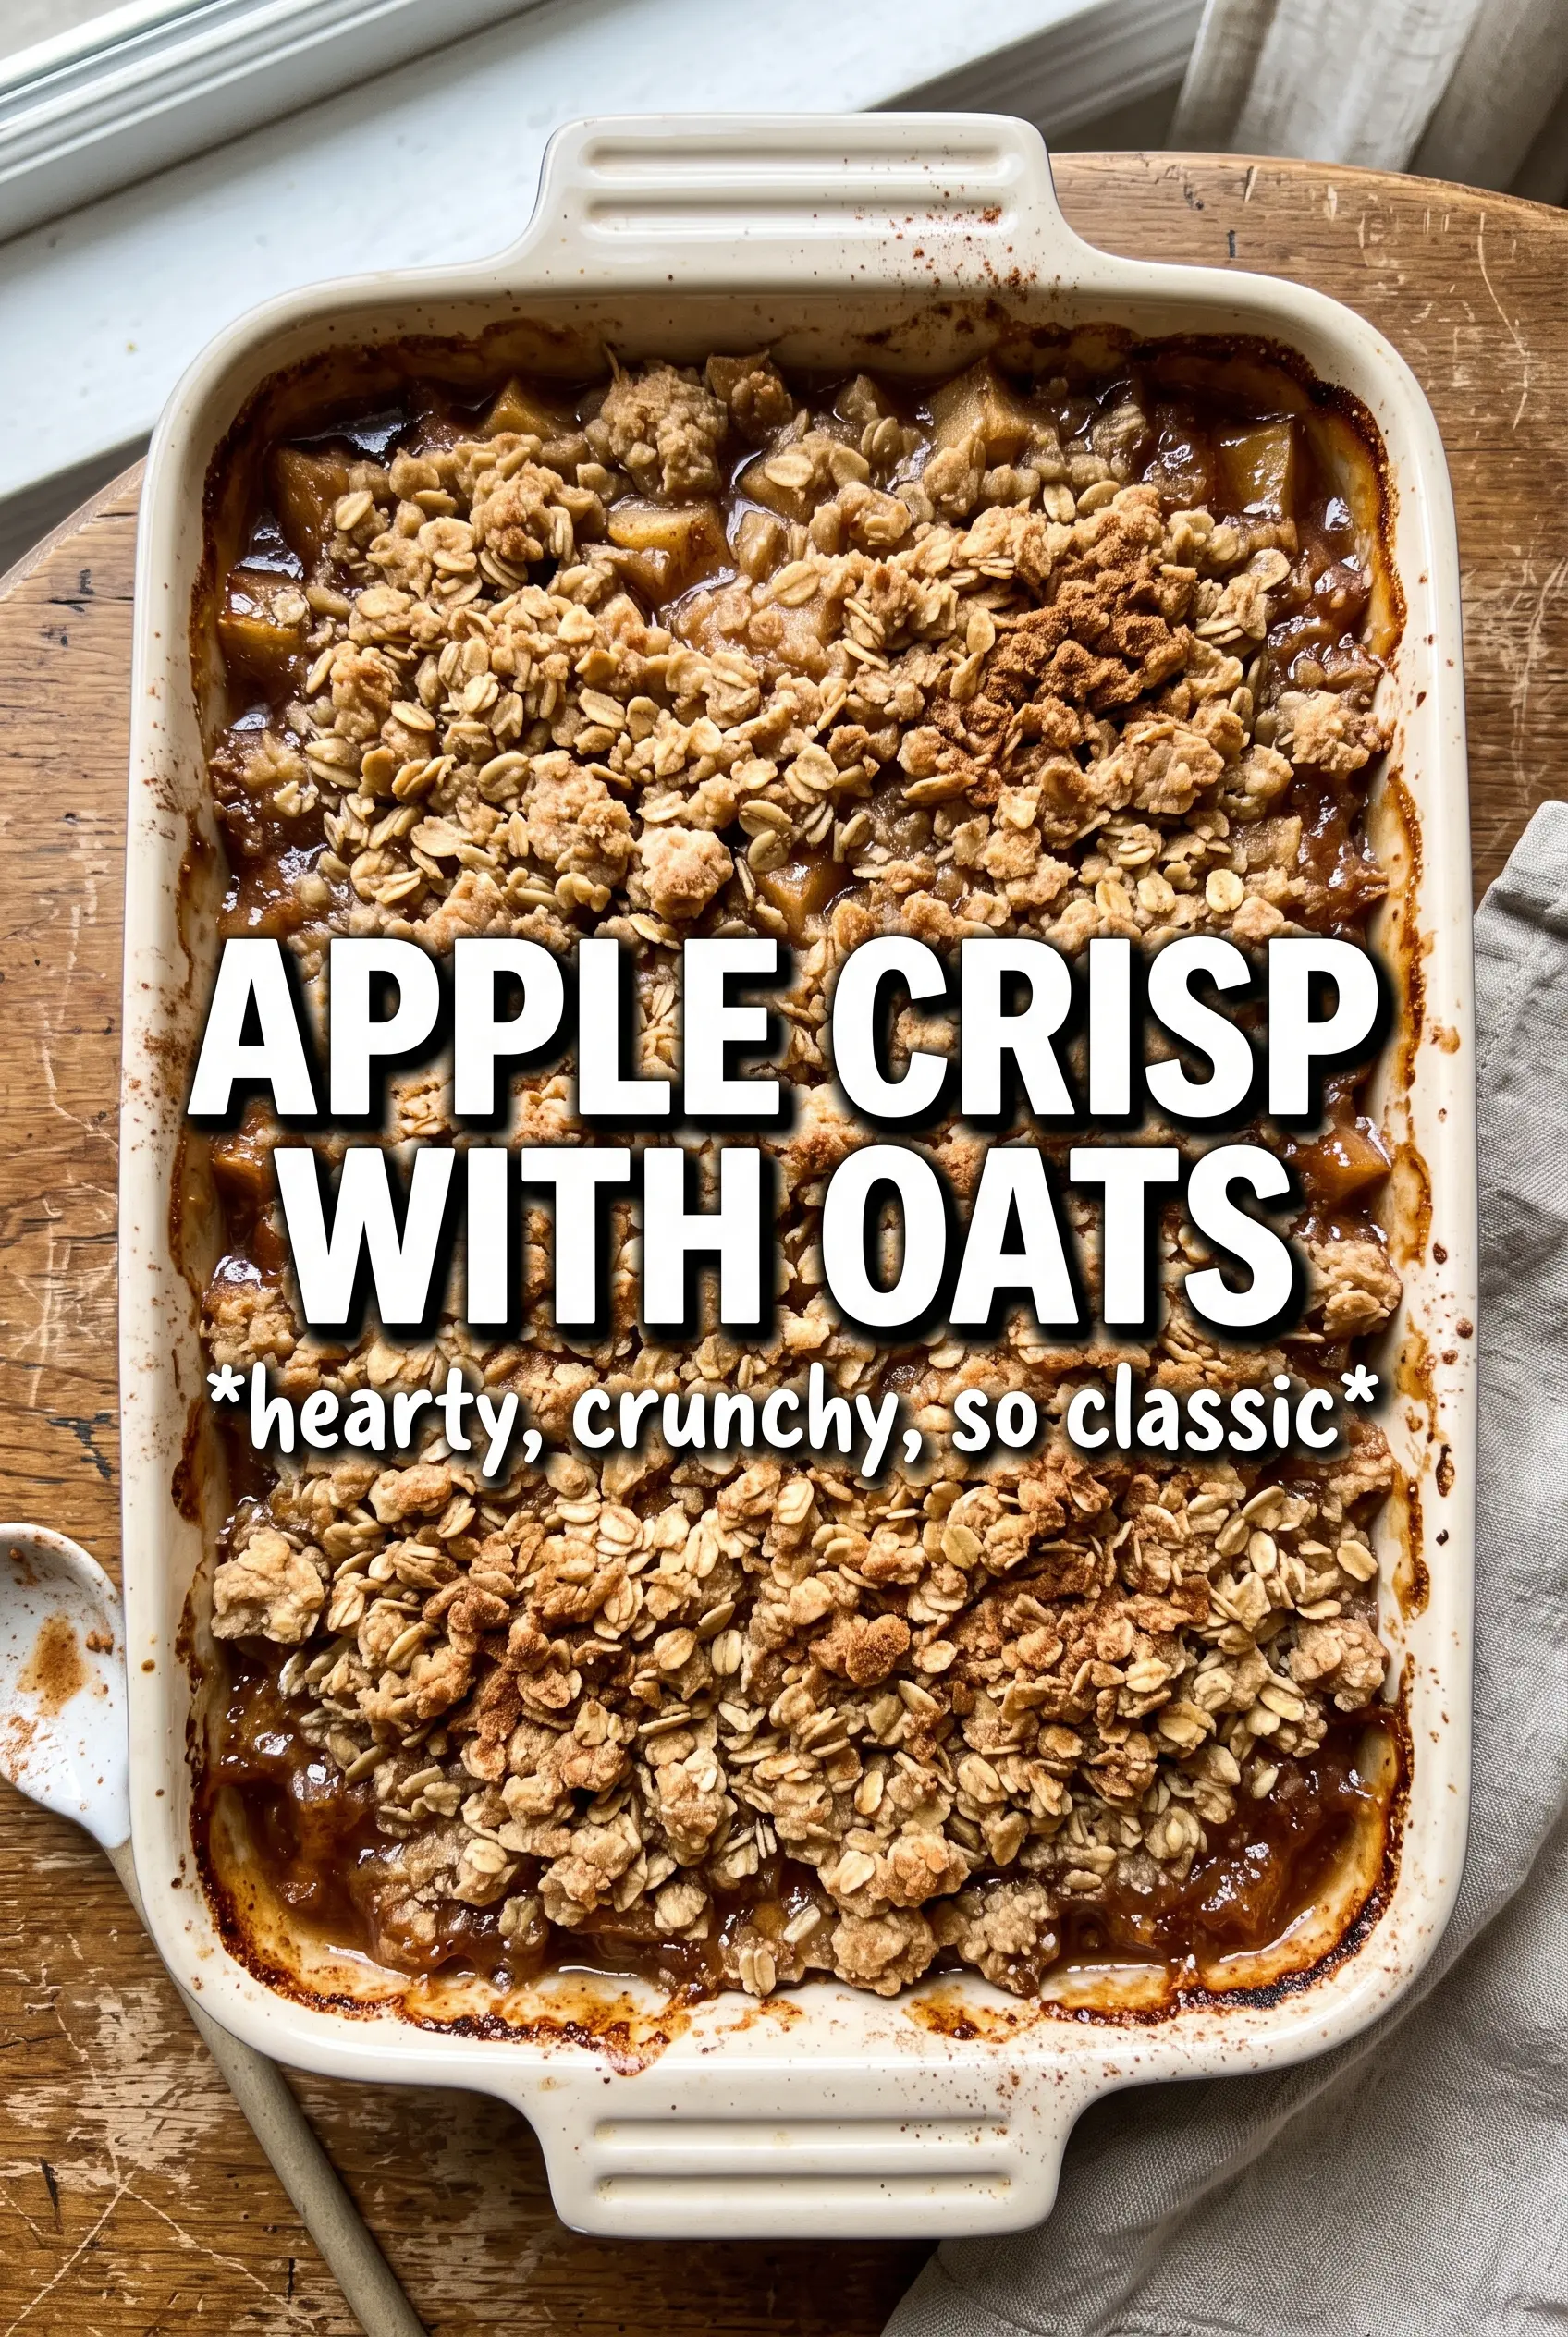
Apple crisp with oats is all about contrast: soft, cinnamon-scented apples underneath a thick, craggy oat topping that bakes up golden and crisp at the edges. When it comes out of the oven with the filling bubbling in the corners, it smells like the kind of dessert people drift into the kitchen for before you’ve even called them to the table.
This version works because the apples are lightly coated with cornstarch, which keeps the juices from turning thin and watery, and the topping is built with cold butter so it bakes into clumps instead of sandy crumbs. Mixing tart and sweet apples gives the filling enough backbone without making it sharp, and a little lemon juice keeps the flavor bright.
Below, I’ve included the exact texture cues I look for when the topping is done, plus a few easy swaps if you need to work with what’s already in your pantry. The goal here is a crisp that holds together on the spoon and still gives you those buttery, crunchy bites in every serving.
The topping baked into big buttery clusters and the apples thickened up beautifully instead of turning soupy. I used a mix of Granny Smith and Honeycrisp, and the balance was spot on.
Save this apple crisp with oats for that bubbling cinnamon filling and the thick, buttery crumble topping.
The Reason the Topping Stays Clumpy Instead of Sandy
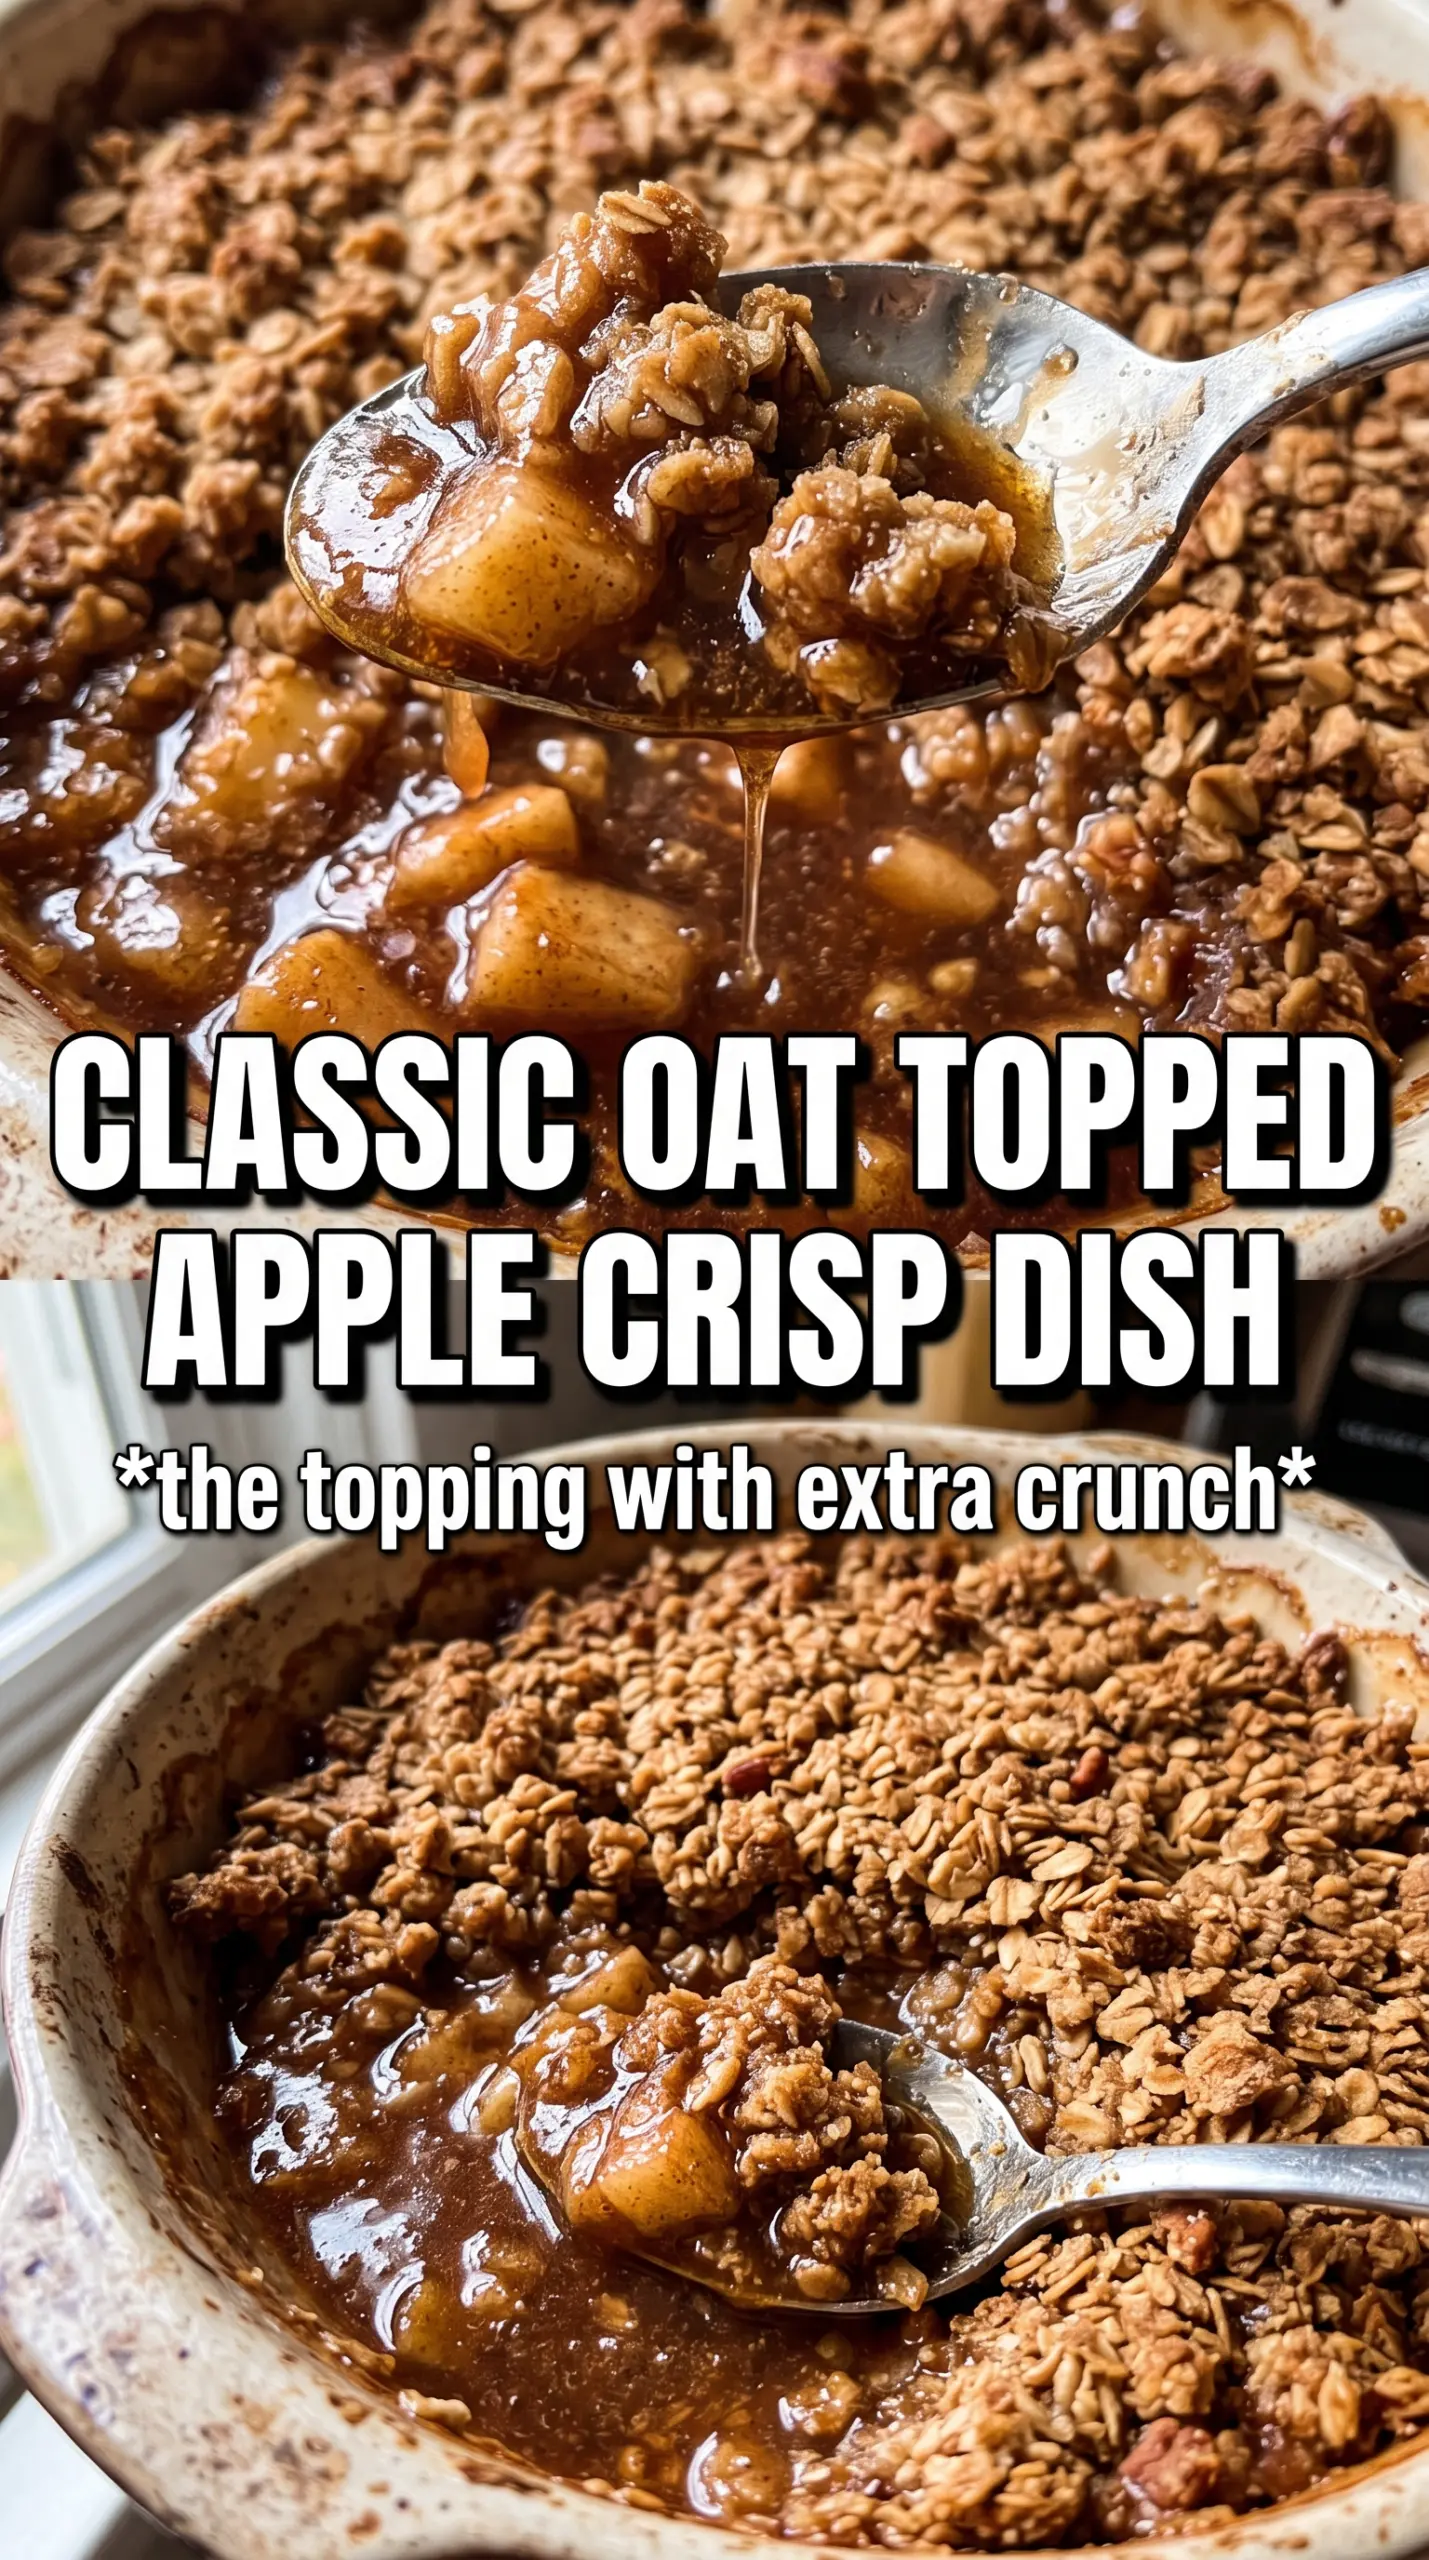
The difference between a crisp topping that feels bakery-style and one that bakes into dry gravel comes down to how the butter goes in. Cold butter needs to stay in distinct pieces, because those pockets melt in the oven and create the big crumbles everyone wants on top. If you work it too smoothly, you lose that texture and end up with a flat, uniform layer.
The other trap is overpacking the topping. You want the mixture to hold together when squeezed, but not form a paste. Those rough clumps catch in the oven and brown unevenly, which is exactly what gives this dessert its deep golden, crunchy top.
What Each Ingredient Is Doing in the Apple Layer
- Apples — Use a mix of tart and sweet apples so the filling tastes layered instead of one-note. Tart apples keep their shape and sharpen the sweetness, while sweeter apples melt down a little and help build that soft, saucy center.
- Cornstarch — This is what thickens the juices so they cling to the apples instead of running across the pan. Flour won’t give you the same clean, glossy filling.
- Lemon juice — It keeps the apples from tasting flat and helps the filling stay bright after baking. You only need a small amount, but it makes a difference.
- Old-fashioned rolled oats — These give the topping structure and chew. Quick oats turn mushy and won’t give you the same craggy texture.
- Cold butter — This is the ingredient that creates the crispness. If the butter softens too much before baking, the topping spreads and loses its crunch.
Building the Crisp So the Bottom Doesn’t Turn Watery
Coating the Apples Evenly
Toss the sliced apples with the sugars, spices, cornstarch, and lemon juice until every piece is lightly coated. The cornstarch needs to touch the fruit evenly or you’ll get pockets of thin juice in the finished dish. Spread the mixture into the baking dish right away so the apples don’t sit and release extra liquid before baking.
Making the Crumble by Hand
Combine the oats, flour, brown sugar, cinnamon, and salt first, then cut in the cold butter with your fingertips. Stop when you have a mix of coarse crumbs and larger clumps; those bigger chunks are what turn crunchy in the oven. If the topping starts looking greasy or pasty, the butter has warmed up too much and the crumble won’t bake with the same texture.
Baking Until the Center Bubbles
Scatter the topping evenly over the apples and cover the surface all the way to the edges. Bake until the top is deeply golden and you can see the filling bubbling through the corners, because that bubbling means the fruit juices have thickened. If you pull it early, the apples taste undercooked and the filling stays loose even after cooling.
Letting It Set Before Serving
Give the crisp about 10 minutes to rest after it comes out of the oven. That short wait lets the filling settle so it spoons neatly instead of flooding the plate. It’s still best served warm, with ice cream melting into the cracks of the topping.
Three Ways to Adjust This Crisp Without Losing the Texture
Make it dairy-free
Swap the butter for a solid plant-based butter block, not a tub spread. The flavor changes a little, but you’ll still get a crisp, clumpy topping if the substitute stays cold and is cut in the same way.
Make it gluten-free
Use a 1:1 gluten-free flour blend in place of the all-purpose flour and check that your oats are certified gluten-free. The texture stays close to the original, though the topping may be a little more delicate when it cools.
Use pears instead of half the apples
Replace up to half the apples with firm pears for a softer, more floral filling. Pears release more juice as they bake, so the cornstarch matters even more here and the crisp needs the full bake time.
Add chopped nuts for more crunch
Fold a handful of chopped pecans or walnuts into the topping if you want a deeper, toastier bite. They add texture fast, but keep the pieces small so the topping still clumps and covers the apples evenly.
Storage and Reheating
- Refrigerator: Store covered for up to 4 days. The topping softens a little, but the flavor holds up well.
- Freezer: It freezes well after baking. Cool completely, wrap tightly, and freeze for up to 2 months; thaw in the fridge before reheating.
- Reheating: Warm in a 325°F oven until heated through and the topping crisps back up. The microwave will heat the apples, but it turns the crumble soft and steamy.
Questions I Get Asked About This Recipe
Apple Crisp With Oats
Ingredients
Equipment
Method
- Preheat oven to 375°F, then grease a 9x13 baking dish. Keep it ready so the crumble goes on right after mixing.
- Toss apple slices with granulated sugar, brown sugar, cinnamon, nutmeg, allspice, cornstarch, and lemon juice. Spread the coated apples in the prepared dish in an even layer.
- Combine old-fashioned rolled oats, all-purpose flour, brown sugar, cinnamon, and salt in a bowl. Add the cubed cold butter and cut it in with your fingertips until large chunks and clumps form.
- Scatter the crumble evenly over the apples so every surface is covered. Press lightly so the topping sticks in place.
- Bake 40-45 minutes at 375°F until the oat topping is deeply golden. Look for apple filling bubbling through at the corners.
- Cool 10 minutes before serving warm. Spoon into bowls so the crisp topping stays on top.