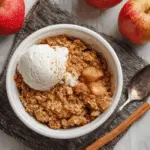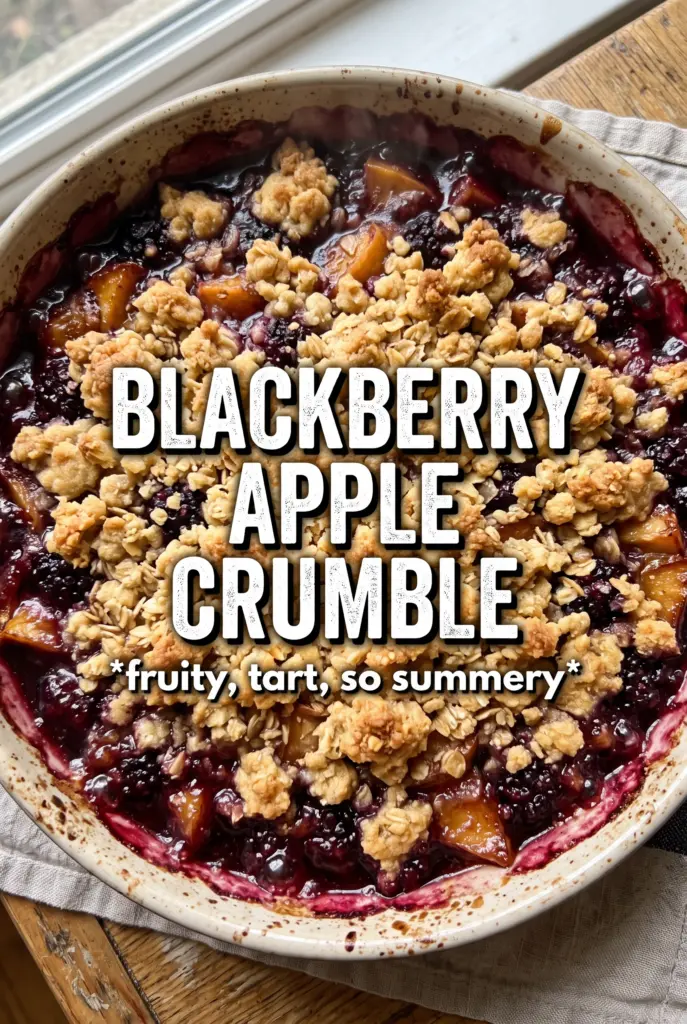
Golden crumble over bubbling fruit is the kind of dessert that disappears fast, and this blackberry apple crumble earns that reaction every time. The apples soften into a tender base while the blackberries burst and stain the filling a deep purple-red, so every spoonful gets a mix of sweet, tart, and buttery crunch. It’s rustic in the best way, but there’s nothing careless about it.
The filling works because the apples and blackberries are treated differently on purpose. Cornstarch keeps the juices from turning soupy, lemon juice wakes up the fruit, and a little cinnamon bridges the gap between the tart berries and the sweeter apples. On top, cold butter is the whole game: if it stays in little chunks while you mix the crumble, those pieces melt in the oven and leave behind crisp, nubbly pockets instead of a sandy layer.
Below, I’ve included the small details that matter most, from the fruit texture to the best way to judge when the crumble is done. If you’ve ever had a topping go soft before the filling was ready, the notes here will help you avoid that.
The topping stayed crisp all the way through, and the blackberry juices thickened instead of running everywhere. I loved how the apples held their shape just enough, so the filling wasn’t mushy.
Save this blackberry apple crumble for the nights when you want bubbling fruit, a crisp oat topping, and a spoonful of cream on top.
The Trick to Keeping the Crumble Crisp While the Fruit Bubbles
The common failure in fruit crumble is that the topping looks done before the fruit has actually thickened. If you pull it early, the apples stay a little firm and the juices pool at the bottom. If you bake it long enough for the filling to bubble through the topping, the cornstarch activates and the fruit settles into that glossy, spoonable texture that holds together on the plate.
The other thing that matters is the ratio of fruit to topping. Blackberry filling releases a lot of juice, especially if you use frozen berries, so the topping needs enough flour, oats, and butter to stay sturdy without turning dense. You want clumps, not dust. Those irregular bits give you crisp edges and keep the surface from baking into one flat sheet.
- Apples — A firm baking apple holds its shape better than a soft eating apple. If yours tend to collapse fast, leave the slices a little thicker so they still have some texture after baking.
- Blackberries — Fresh berries give the cleanest texture, but frozen work well straight from the freezer. Don’t thaw them first or you’ll end up with extra liquid and a looser filling.
- Cornstarch — This is what turns the fruit juices into a glossy sauce instead of a watery puddle. Flour can work in a pinch, but it won’t thicken as cleanly or as quickly.
- Cold butter — This is the difference between a sandy topping and a proper crumble. Cut it in while it’s still cold, and stop as soon as the mixture forms uneven clumps.
What Each Ingredient Is Actually Doing in This Crumble
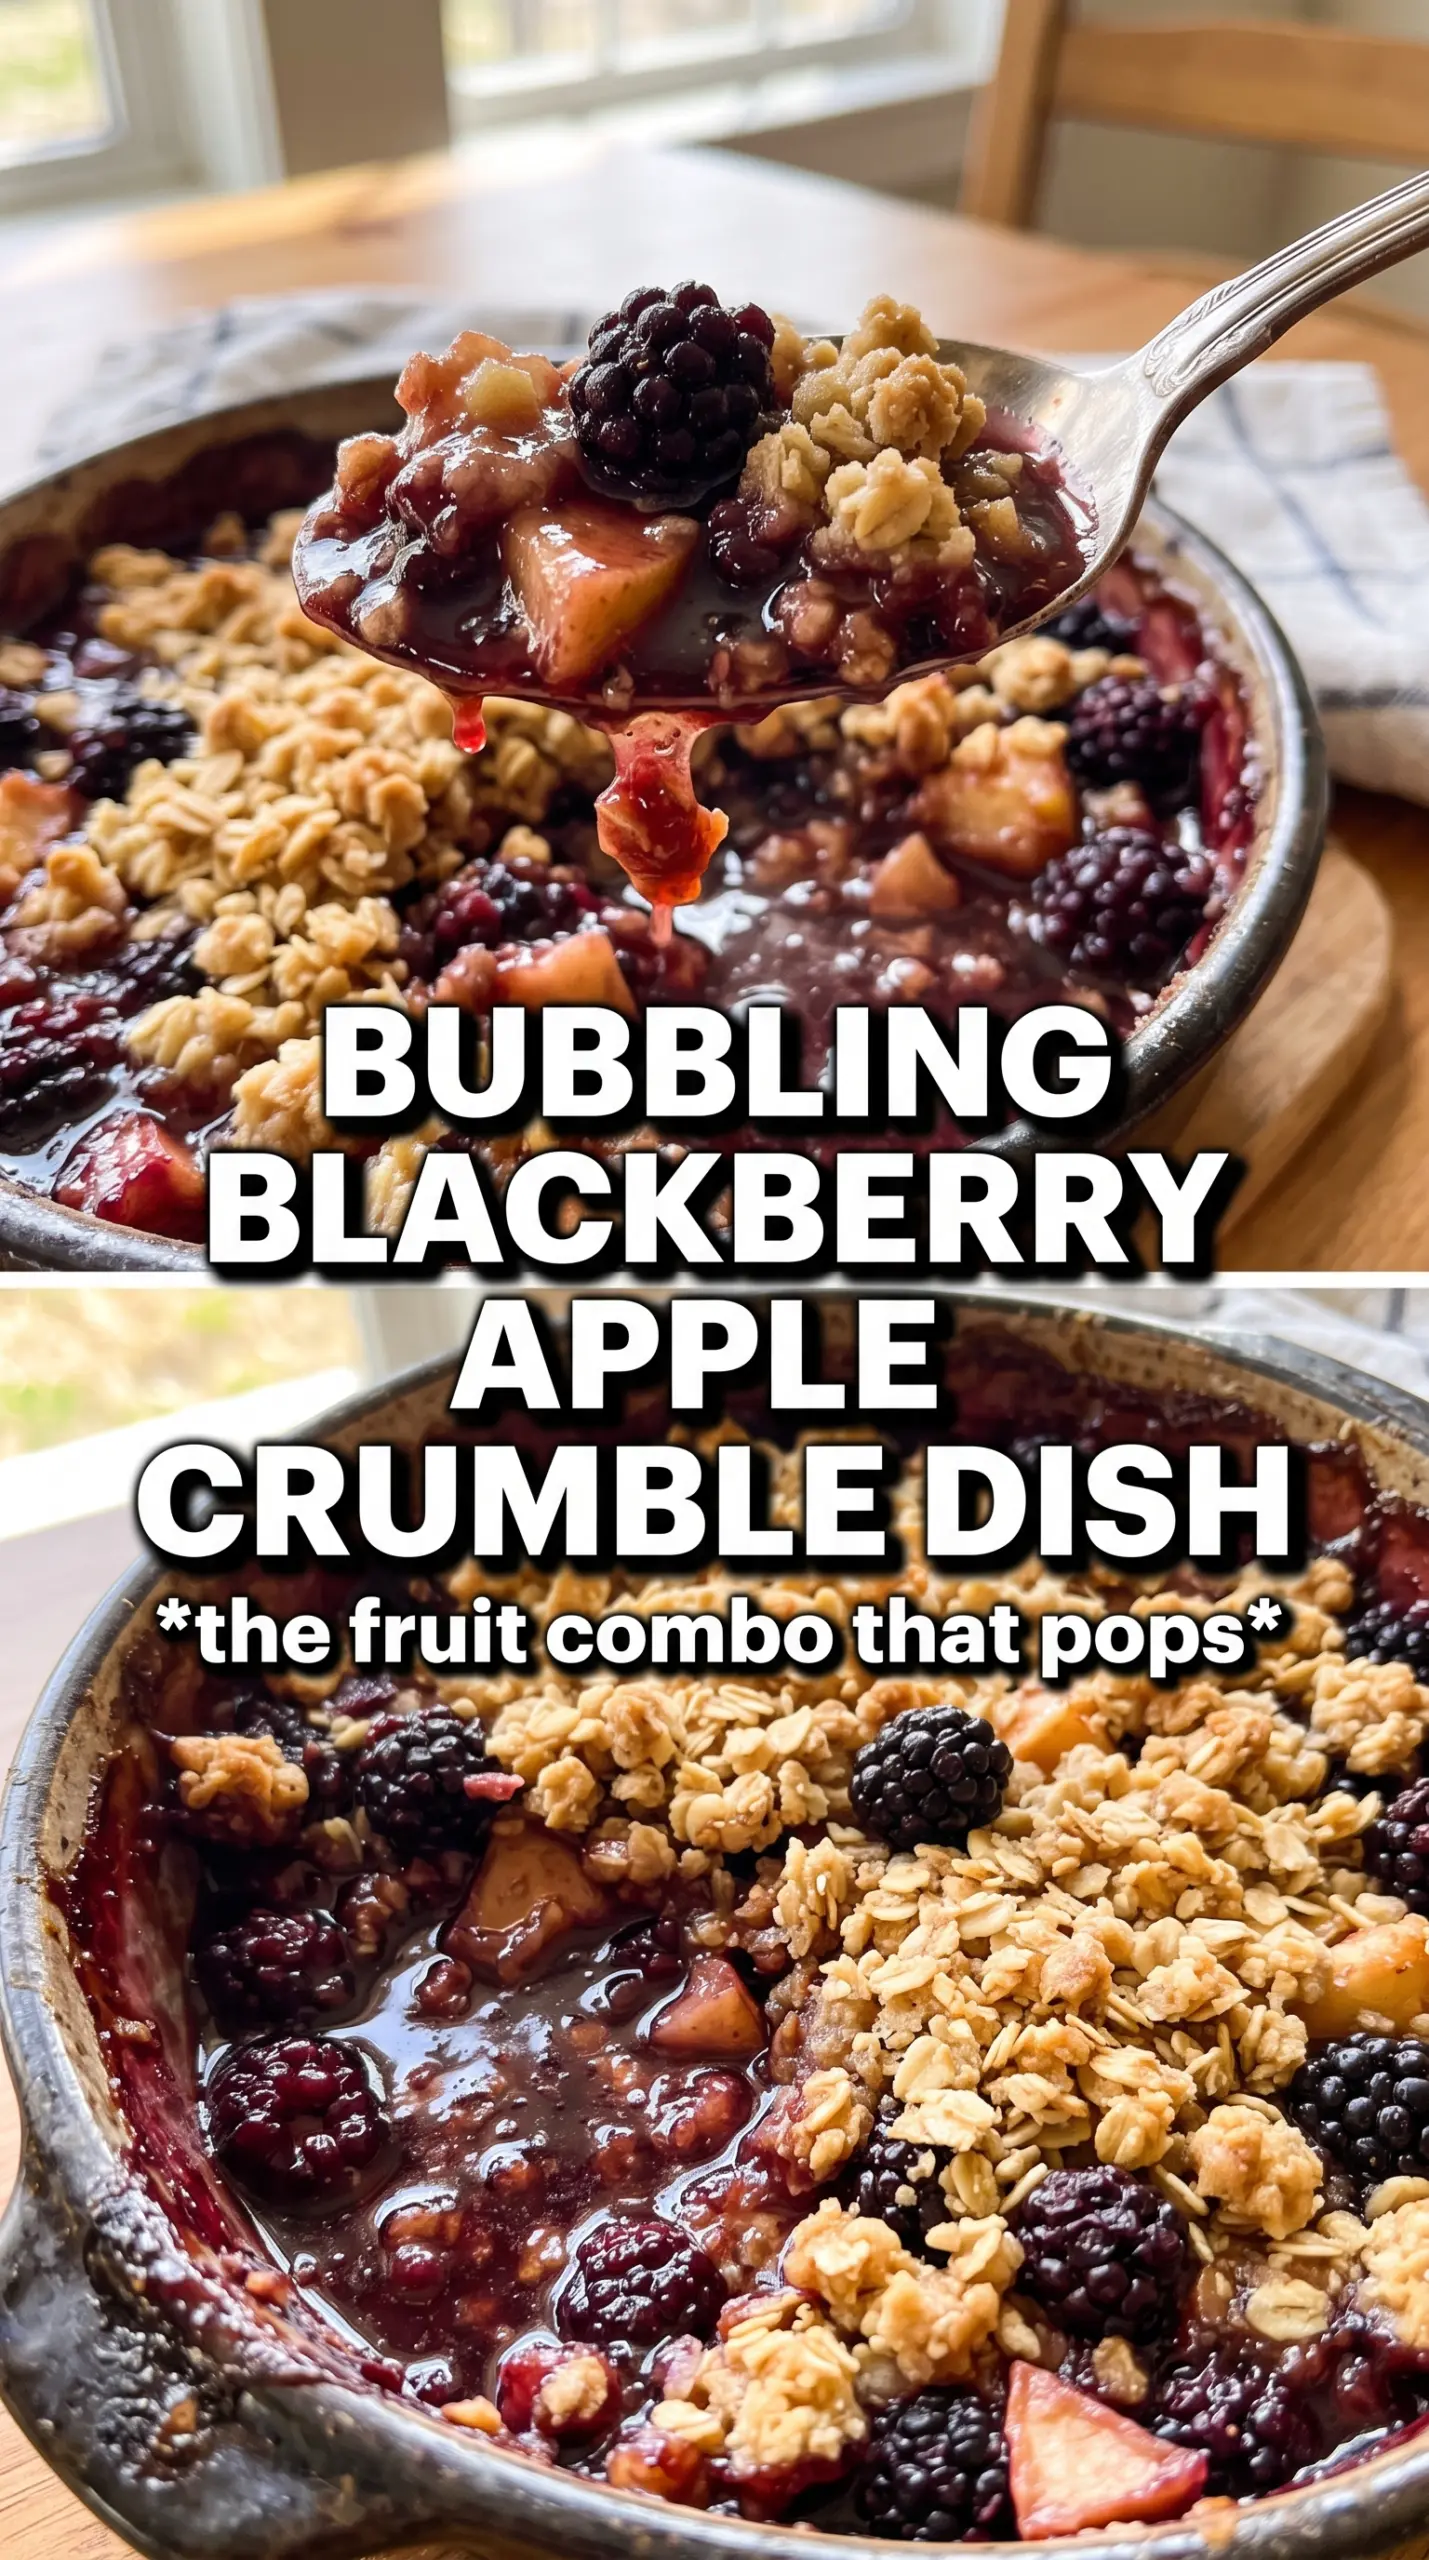
- Apples — They give the crumble its body and keep the filling from becoming all juice. Use apples that soften without turning to mush; that texture survives the bake and gives each bite some structure.
- Blackberries — They bring the sharp, jammy note that makes this dessert stand out. Fresh berries are great when they’re in season, but frozen blackberries are a smart substitute and hold up well here.
- Lemon juice — It keeps the apples bright and balances the sweetness. You won’t taste lemon, but you would notice if it were missing because the fruit would taste flatter.
- Rolled oats — They give the topping its rough, craggy texture. Quick oats soften faster and make the crumble a little finer, so rolled oats are the better choice if you want bigger crisp bits.
- Brown sugar — This adds a deeper, caramel note and helps the topping brown. White sugar will sweeten the crumble, but it won’t give the same warm finish.
- Flour and butter — The flour holds the topping together, and the butter is what makes it rich and crisp. If you need a dairy-free version, use a solid plant-based butter block, not a tub spread, or the topping can turn greasy.
Building the Fruit and Topping So They Finish at the Same Time
Coating the Fruit Properly
Toss the apples and blackberries with the sugar, cornstarch, lemon juice, and cinnamon until every piece looks lightly coated. You’re not making syrup in the bowl; you’re building the base that will thicken in the oven. Spread the fruit in an even layer so the center doesn’t stay undercooked while the edges overbake. If the berries are frozen, work quickly so they don’t bleed too much before they hit the dish.
Cutting the Butter into the Crumble
Mix the dry topping ingredients first, then cut in the cold butter until the mixture looks like rough pebbles with a few larger clumps. Those uneven pieces bake into a better crust than a uniform sand-like topping. If the butter starts to smear, stop and chill the bowl for a few minutes. Warm butter is the fastest way to lose the crisp, craggy texture you want.
Baking Until the Filling Bubbles Through
Scatter the topping over the fruit without pressing it down, then bake until the top is deep golden and the juices are actively bubbling around the edges. That bubbling matters more than the color alone because it tells you the filling has thickened. If the topping browns too quickly, lay a loose piece of foil over the top for the last 10 minutes. Let it rest before serving so the filling settles instead of running across the plate.
Make It More Tart or More Jammy
Use an extra half-cup of blackberries for a sharper, juicier filling, or lean heavier on the apples if you want a milder, more structured dessert. More berries give you a deeper color and a looser spooning texture, while more apples make the filling slice a little cleaner.
Gluten-Free Crumble
Swap the all-purpose flour for a good gluten-free flour blend and keep the oats certified gluten-free. The topping will still bake up crisp, though it may be a little more delicate when you scoop it.
Dairy-Free Version
Use a plant-based butter block in place of the unsalted butter and serve with a dairy-free vanilla ice cream. The filling stays the same, but the topping needs a firm butter substitute so it can clump and brown instead of melting flat.
Storage and Reheating
- Refrigerator: Store covered for up to 4 days. The topping softens a bit in the fridge, but the flavor stays excellent.
- Freezer: Freeze baked portions well wrapped for up to 2 months. Thaw overnight in the fridge before reheating, or the center can stay cold while the top dries out.
- Reheating: Warm in a 350F oven until the filling is hot and the topping crisps back up, usually 15 to 20 minutes. The microwave will heat the fruit, but it turns the crumble soft.
Answers to the Questions Worth Asking
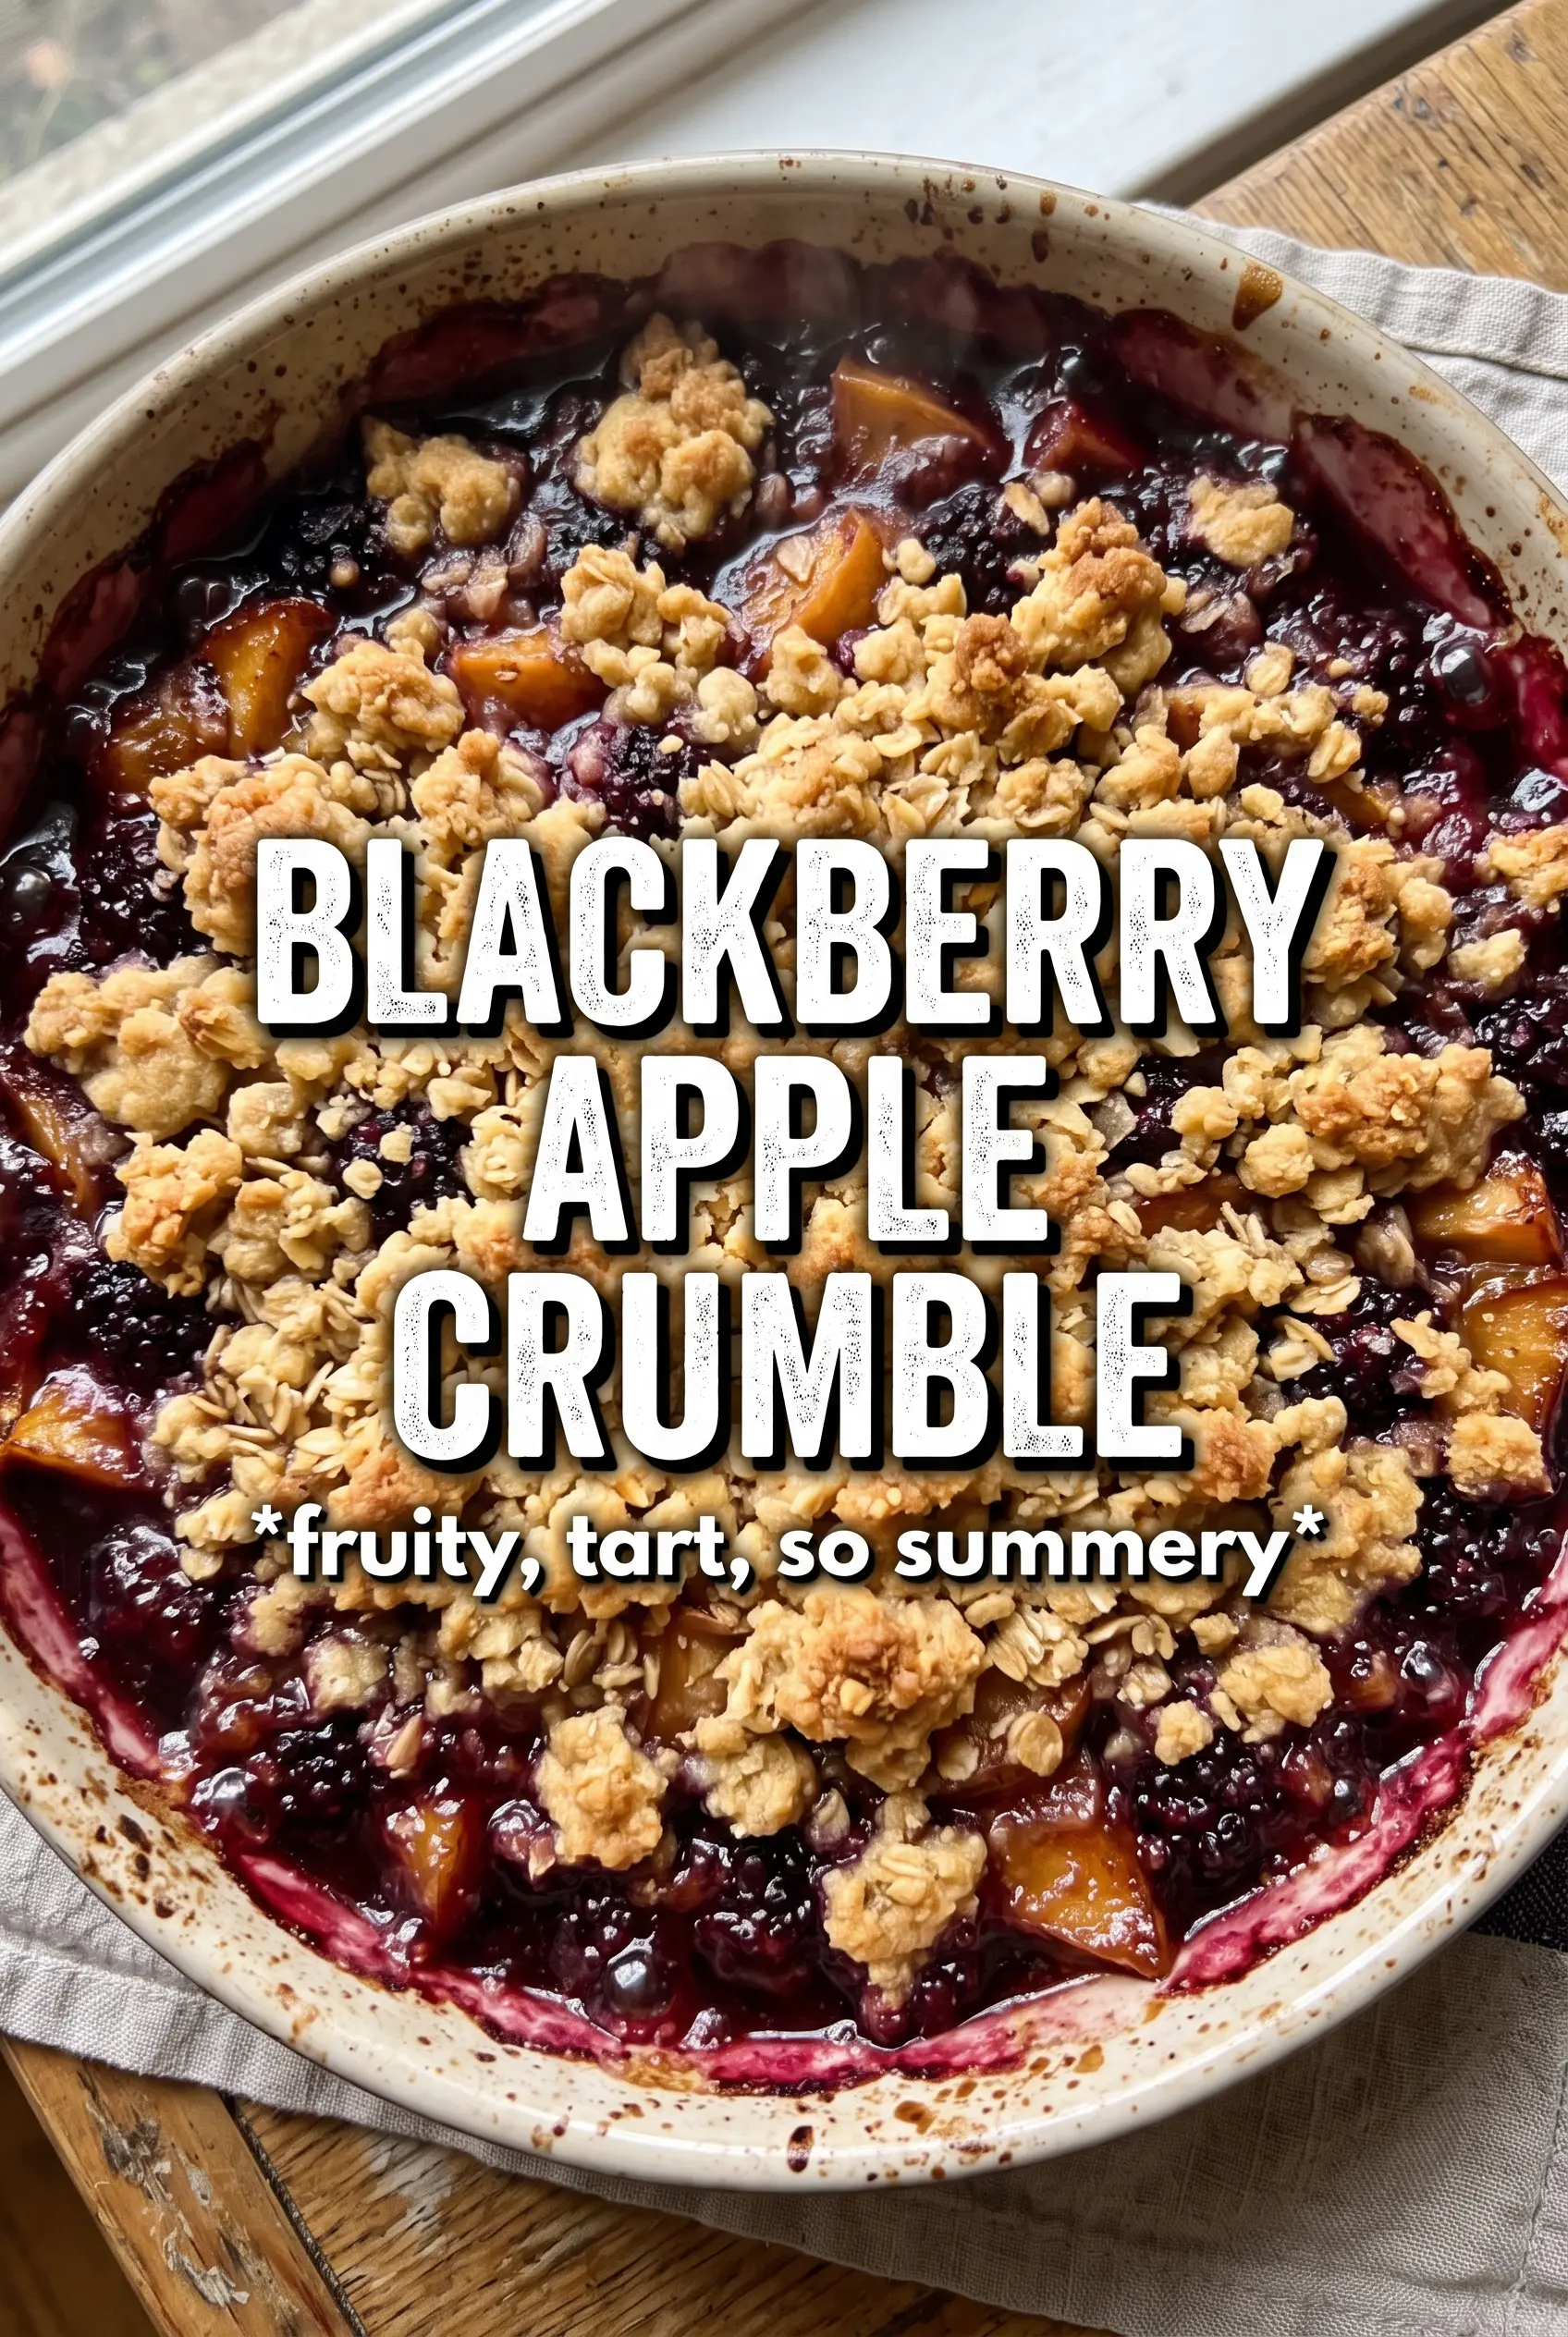
Blackberry Apple Crumble
Ingredients
Equipment
Method
- Preheat the oven to 375F and grease a 9x13 baking dish. Use a dish that fits the full fruit layer so it bakes evenly.
- Toss the apple slices and blackberries with granulated sugar, cornstarch, lemon juice, and cinnamon. Spread the fruit mixture in the dish in an even layer.
- Combine flour, rolled oats, brown sugar, cinnamon, and salt in a bowl. Cut in the cold cubed butter until the mixture looks clumpy.
- Scatter the crumble topping over the fruit. Make sure the topping covers the surface for a crisp, golden top.
- Bake at 375F for 35-40 minutes until the topping is golden and the fruit is bubbling at the edges. Rotate the dish once if your oven browns unevenly.
- Rest the crumble for 10 minutes before serving. Serve warm with double cream or vanilla ice cream for a creamy contrast.